


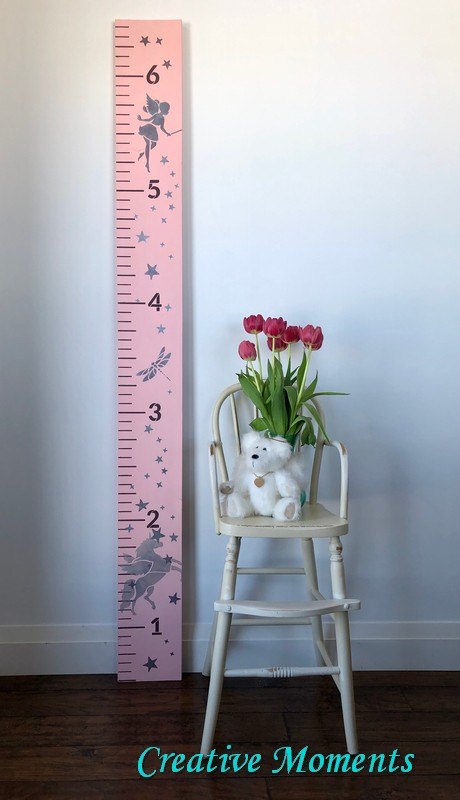
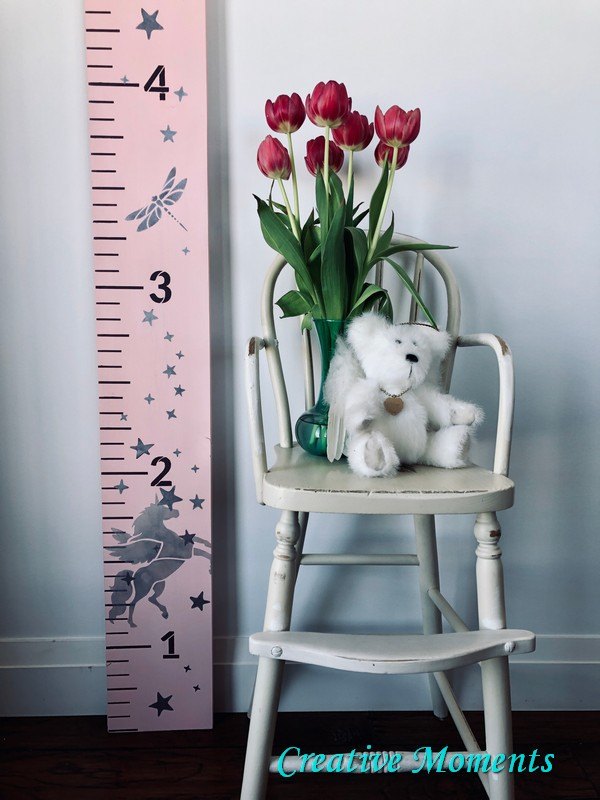
Fairies and Unicorns Millennial Pink Growth Ruler
What little girl doesn't love fairies and unicorns? And what parents do not love to track their kids heights? Combine the 2 loves and see how this pretty growth ruler was created.
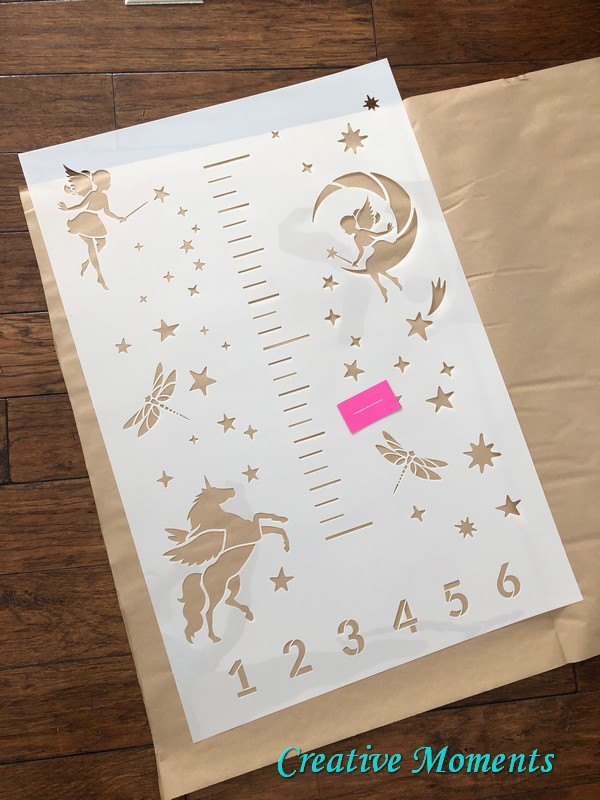
Stencil Revolution created this sweet fairy unicorn growth chart stencil that can be used on walls but I love having a tracking system that is portable when you move. How many folks have left measurements on a door jam at a past home? In the past I have sold many hand painted growth rulers but this stencil will be a faster way to create one with some adorable additional designs.
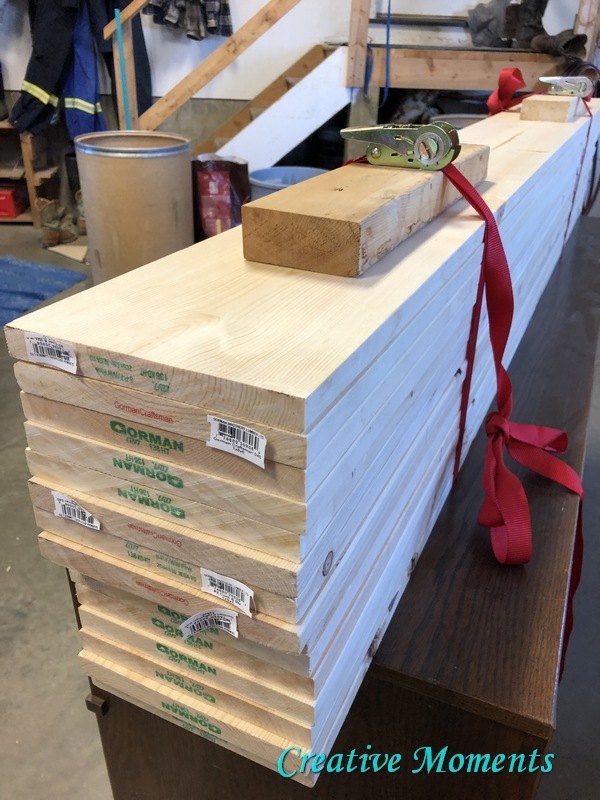
From my stack of 8" wide X 6' long solid pine boards I chose a boards, scraped the wax off the ends with my handy razor scraper then sanded the edges smooth with a sanding sponge.
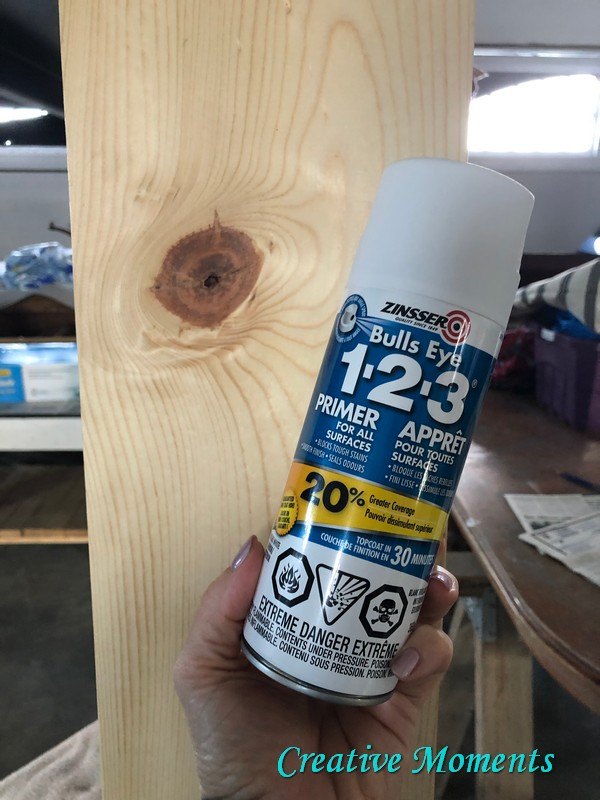
Pine & Spruce can bleed thru on the knots especially thru light colors. To solve this, I spray on a few coats of Zinsser Bull’s Eye 1-2-3 spray primer.
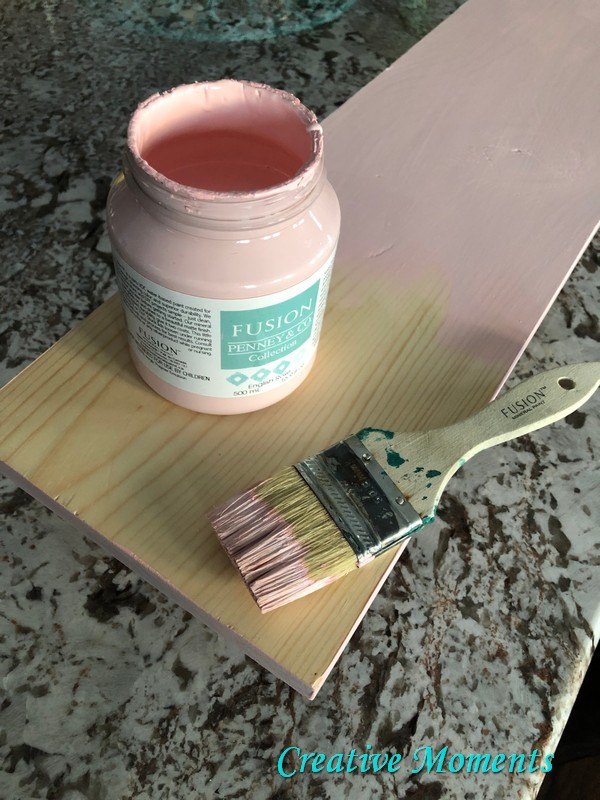
What goes great with unicorns and fairies? Why this gorgeous millennial pink from Fusion Mineral Paint called English rose. Using their 2" chip brush, one coat was brushed on both sides and ends. When the paint was dry it was sponge sanded smooth.
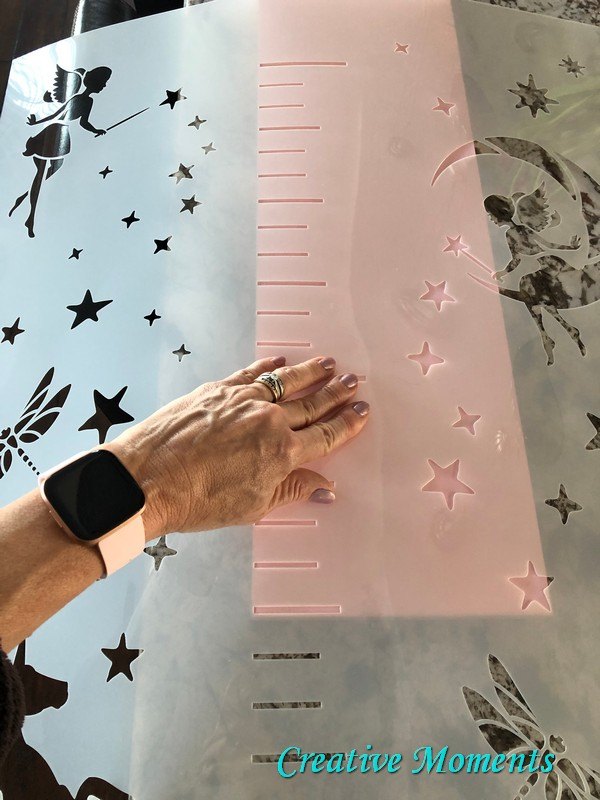
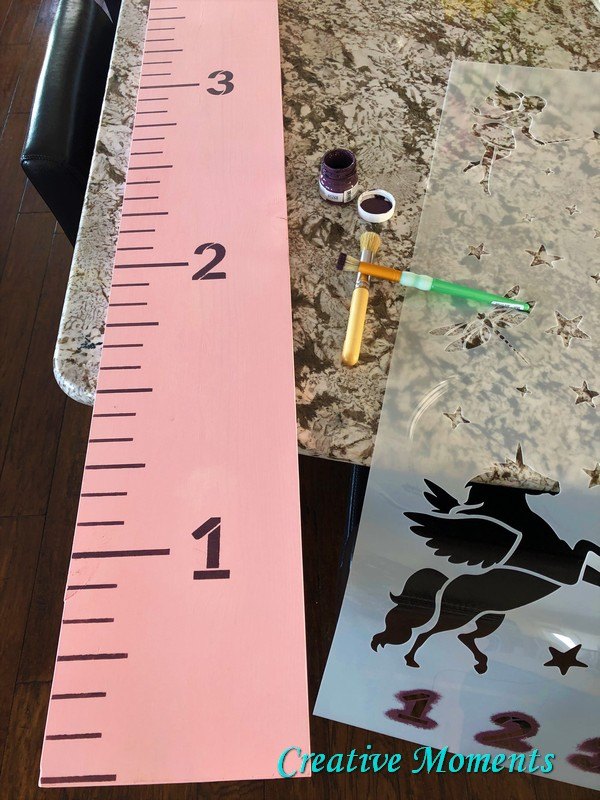
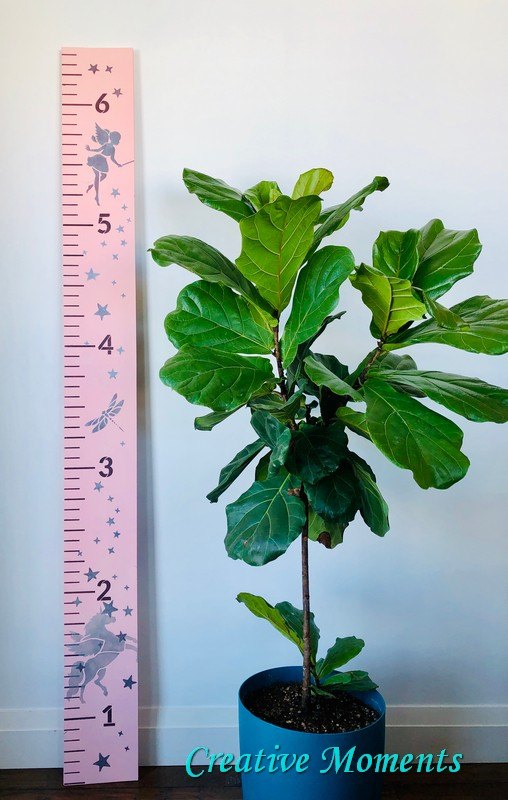
Now for the fun part, the stenciling. Laying the 12 mil thick stencil over the dry paint I started with the measurement marks lining up along the left side starting 6" from the board bottom up to the first full foot mark. I like to do it this way so the growth ruler can be secured to the wall 6" from the floor which accommodates for any size of baseboard that might be in a home.
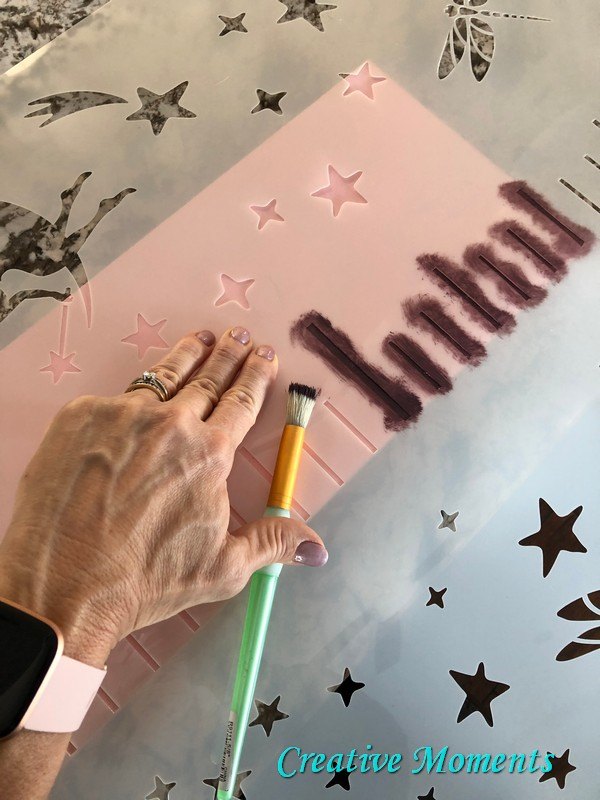
To make the measurement marks pop I chose Fusion Mineral Paint in a pretty purple called twilight geranium to stencil on using a small stencil brush. Lift the stencil and move up the length of the board allowing the paint to dry a few minutes between placing stencil over fresh paint.
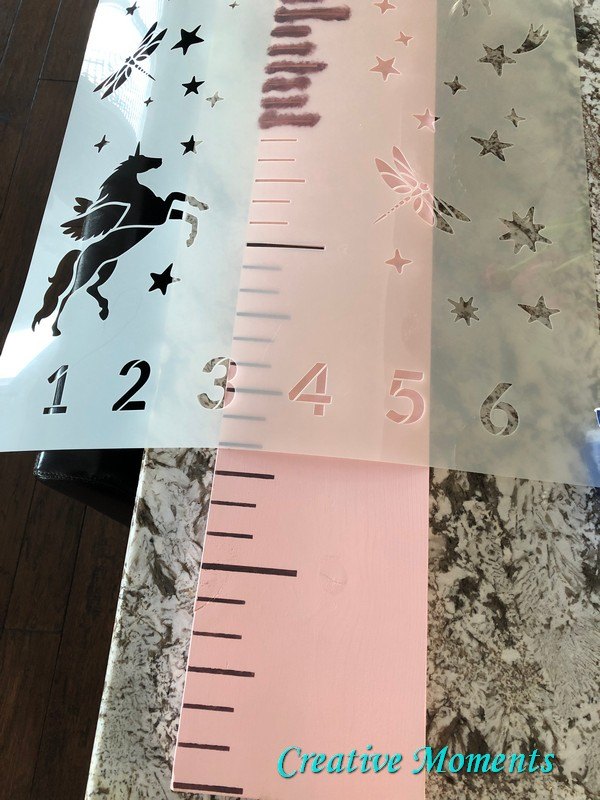
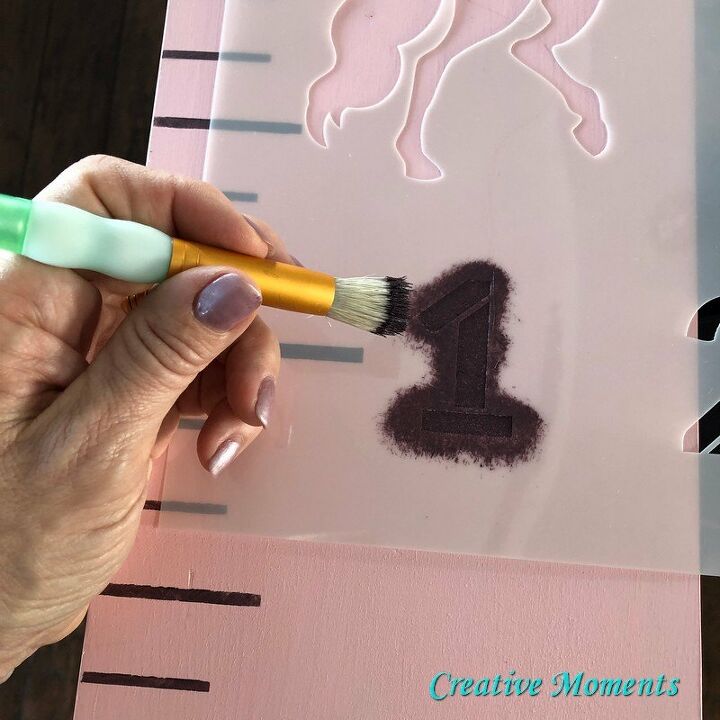
Do the same for the numbers using the twilight geranium and the small stencil brush.
You will now have a completed growth ruler and could stop here BUT
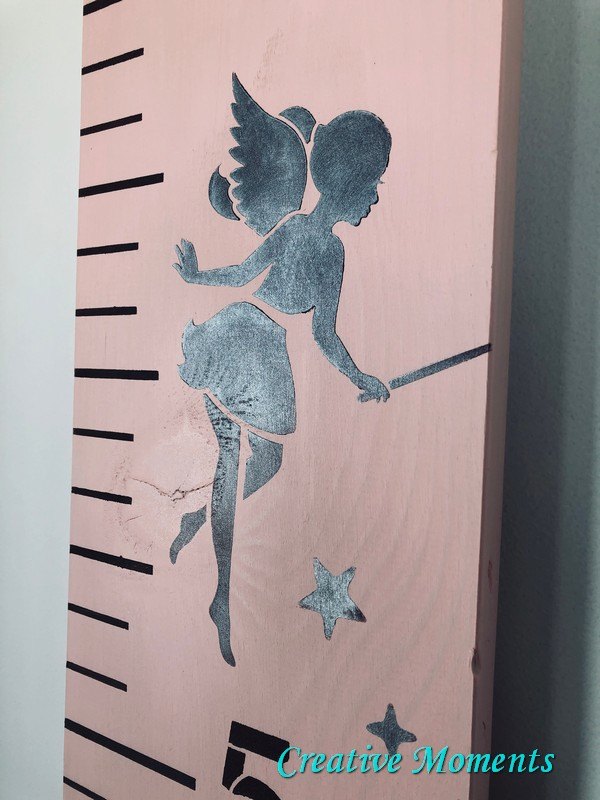
this stencil has fabulous designs included so lets add some. Laying the stencil over your board choose where you want the designs to go. I did the fairies and stars first in the twilight geranium with the small stencil brush and the unicorn in Fusion's silver metallic paint using a medium stencil brush to cover mare area faster.
Here is a one handed demo of how I stencil my pieces
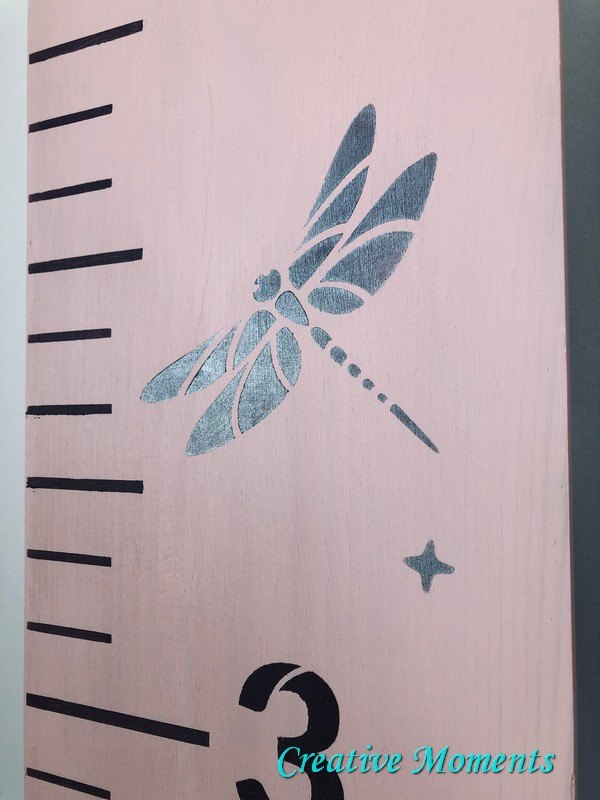
Over top of the geranium I stenciled the silver as well so all designs had some sparkle.
Over top of the geranium I stenciled the silver as well so all designs had some sparkle.Stenciling Video
Another visual to help see what I did to get the layered look.

The entire ruler was sanded smooth with some brown paper and it was complete!

HUGE thanks to Stencil Revolution for supplying the adorable fairy unicorn growth chart stencil to create this one of a kind memory marker.
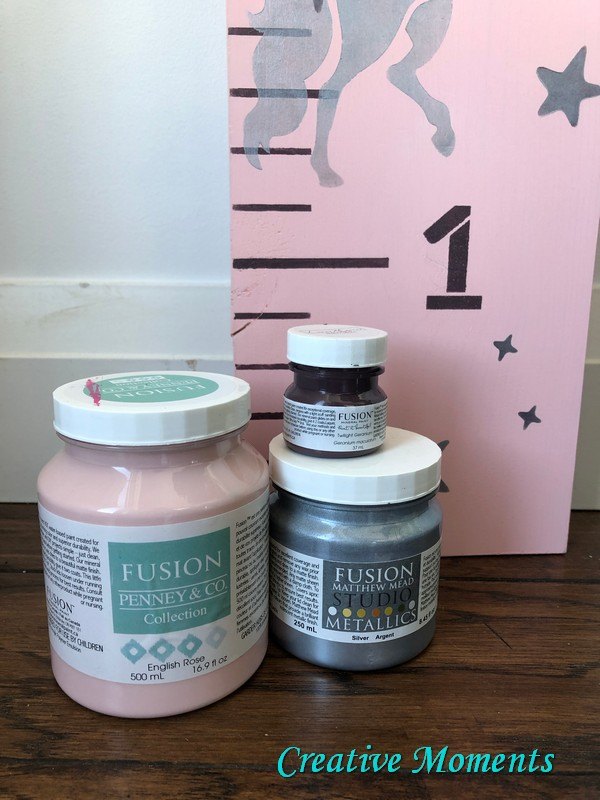
These were the paint colors used with the stencil to create this beauty.This project was sponsored by Stencil Revolution and Fusion Mineral Paint. THANK YOU!
Resources for this project:
See all materials


Comments
Join the conversation
-
This is cute and she can keep it and pass it down to her baby. Great idea!!
-
Very creative. It looks awesome. Thank you for sharing ❤️


Frequently asked questions
Have a question about this project?