


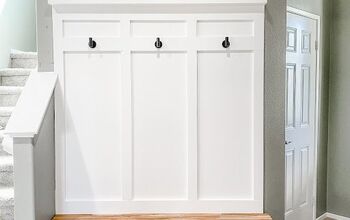
Entryway Refresh- Board & Batten

This is a great time to start those DIY projects around the house. We decided that our entryway was a much needed area that needed a refresh! The bonus is we spent $0 as we had all materials on hand from previous projects! Follow along for a DIY Board & Batten accent wall.
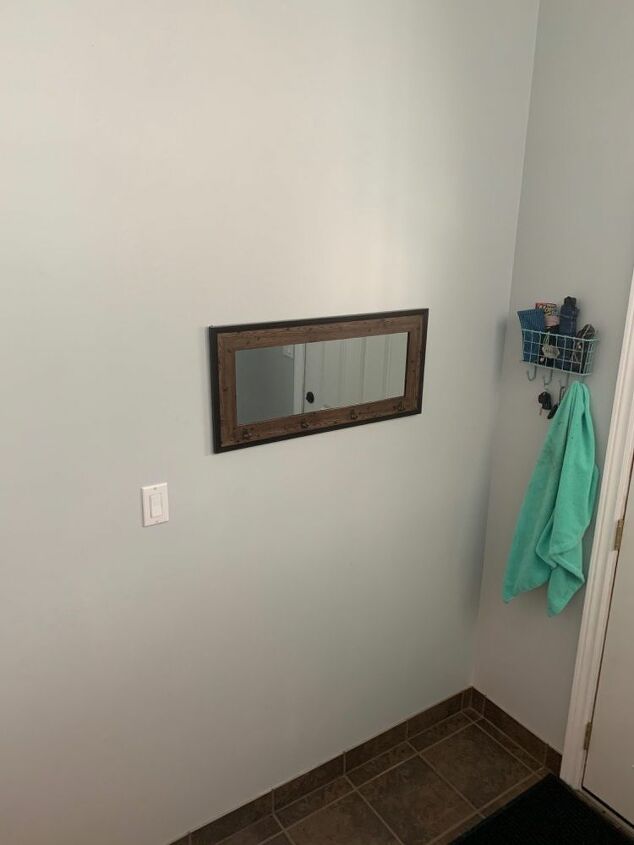
This is what the original space looked like, and as you can see.. not a lot of character here.
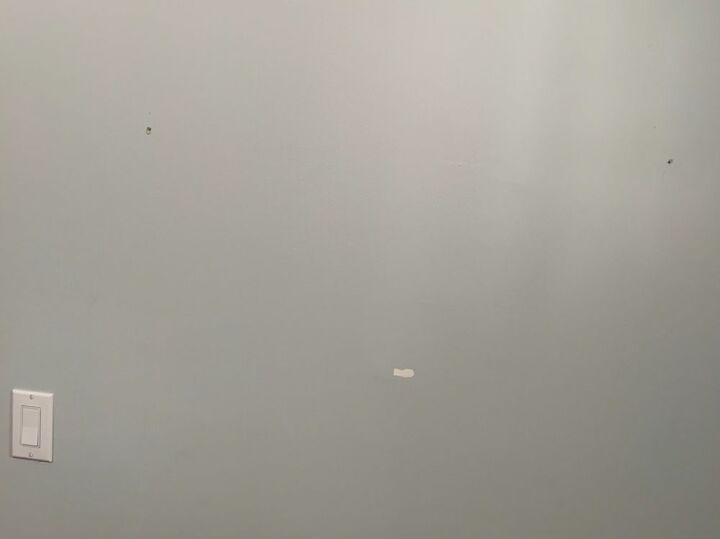
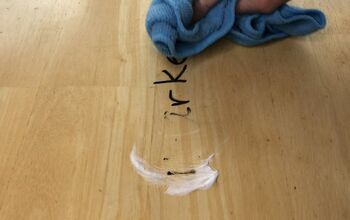
I had these three small areas to patch on the wall from where the mirror was.
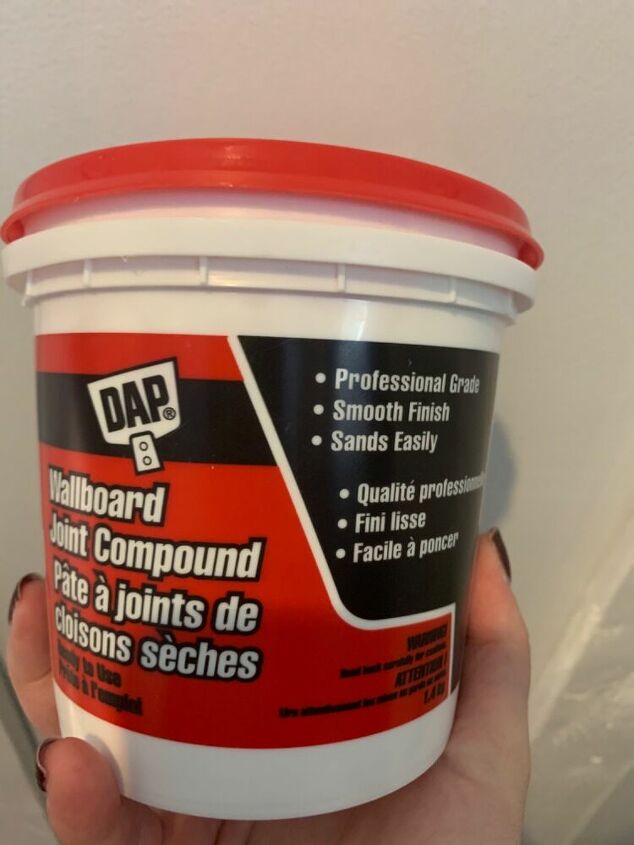
This is the Spackling Compound we used to fill the holes.

After the compound dries you want to sand down the areas. I only had 80grit sandpaper on hand that I could find. I would have used a higher grit sand paper like 120, but I used materials I had on hand. I was sure to sand every lightly.
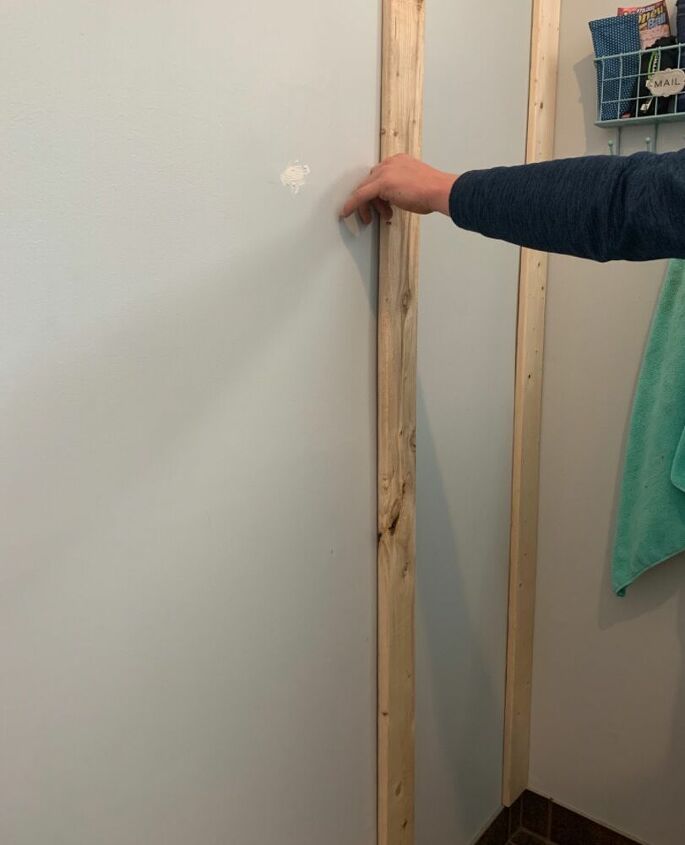
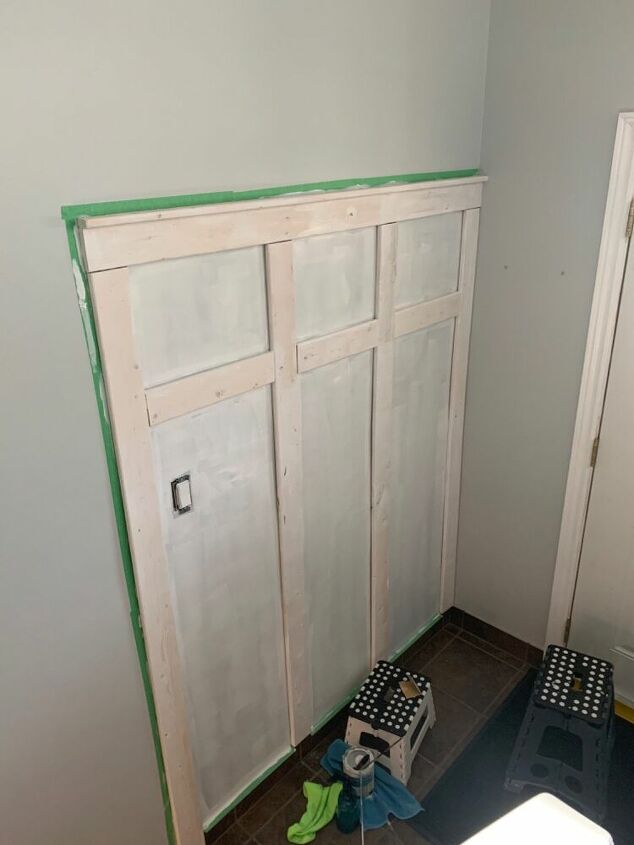
Once we cut our boards to the right length we put them up to ensure all measurements & cuts were accurate. We used 1” x 3” pine strapping we had left over in our garage.
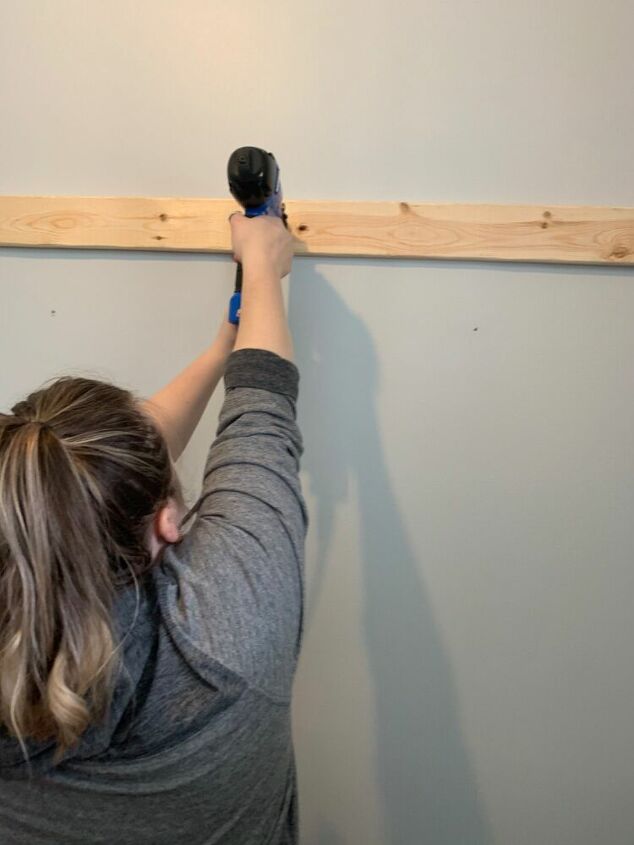
We used a Brad Nailer to add finishing nails into the wood to secure it to the wall. Make sure you hit studs if you can to make sure your wood does not go anywhere.
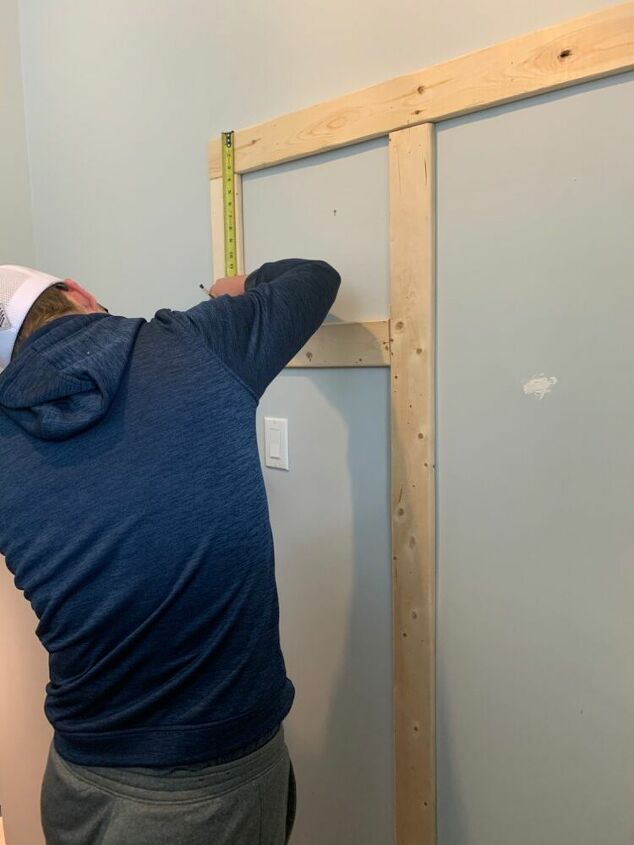
We then added in the small boards. The spacing between boards was roughly 14”. You can put your boards anywhere.. this is all up to your personal choice and how big you want your squares to be. We didn’t want ours too close to the light switch.
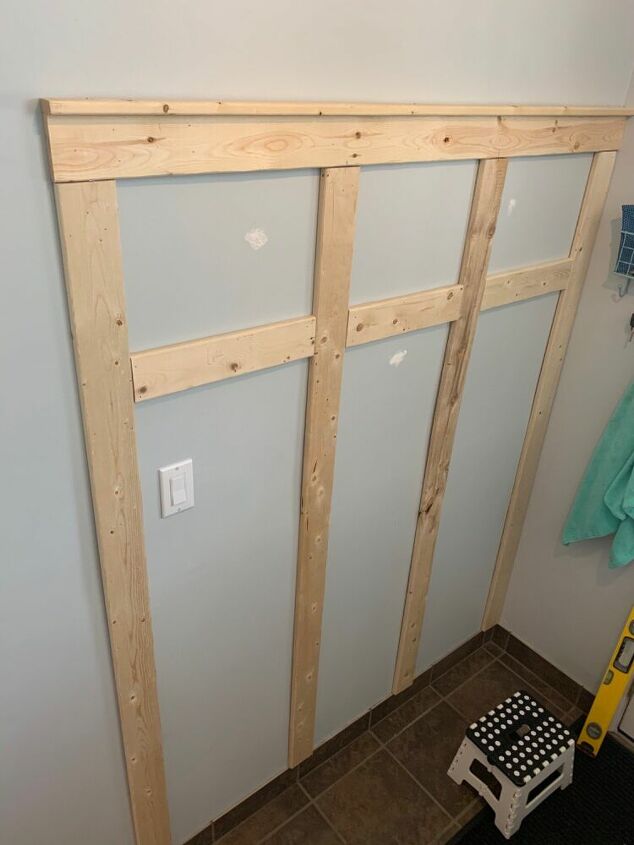
I wanted a little ledge/shelf are for the very top. I think this completed the whole look! This was you can put pictures on top if you wanted. We used a 1” X 1” piece of strapping for this and again just nailed it in place with the Brad Nailer.
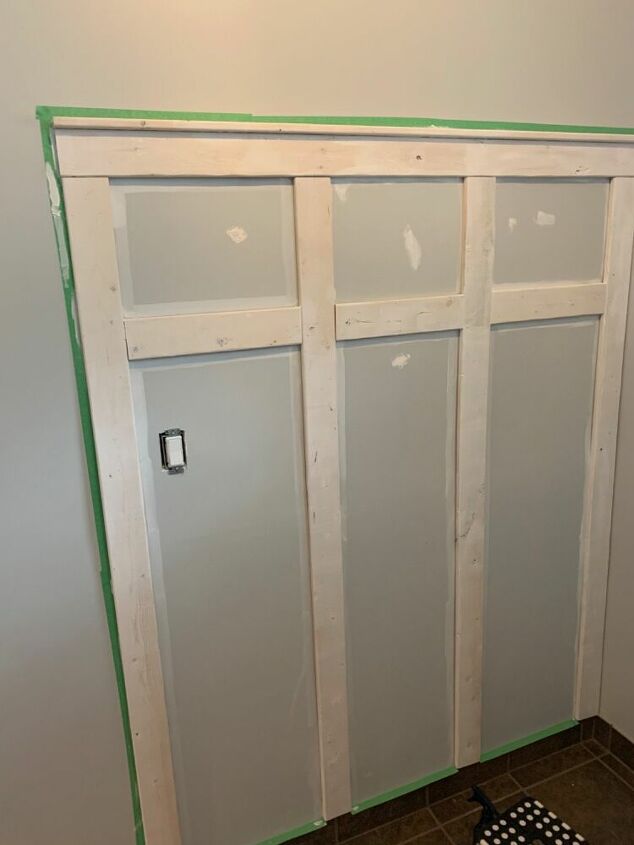
I then taped off any areas I did not want to get white paint on.
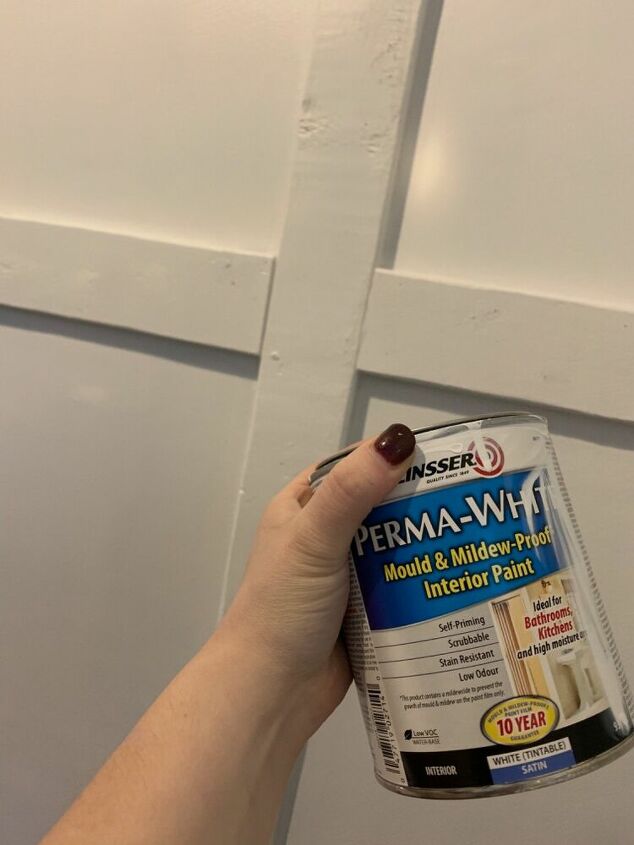
I decided to go with white for the board and batten. It’s always a good idea to use a paint and primer in one on your pine boards. You want to make sure the wood doesn’t eventually bleed through your white paint.
This is after the first full coat of paint. I started painting the wood first and then moved onto the wall. I ended up doing three full coats to get the coverage I wanted.
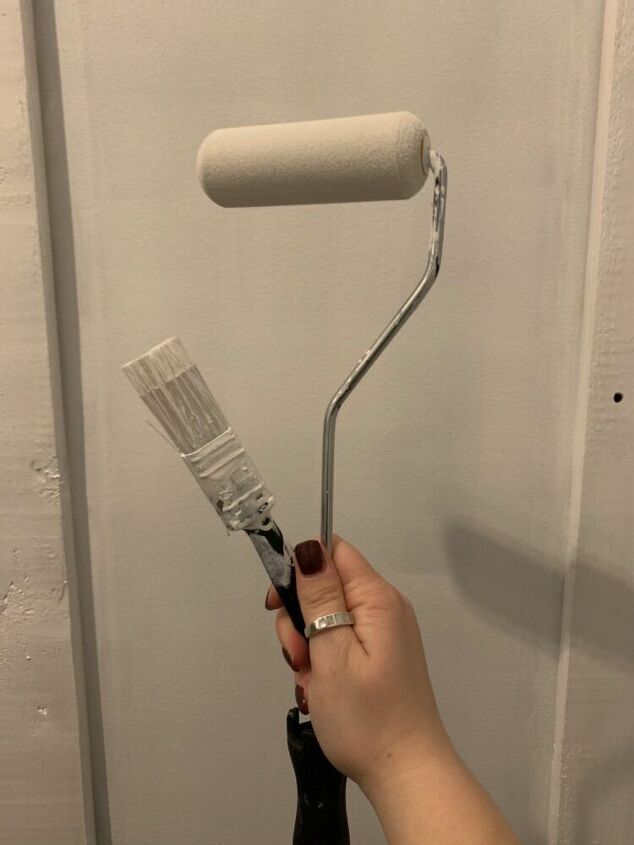
I used a small brush as well as a small roller.
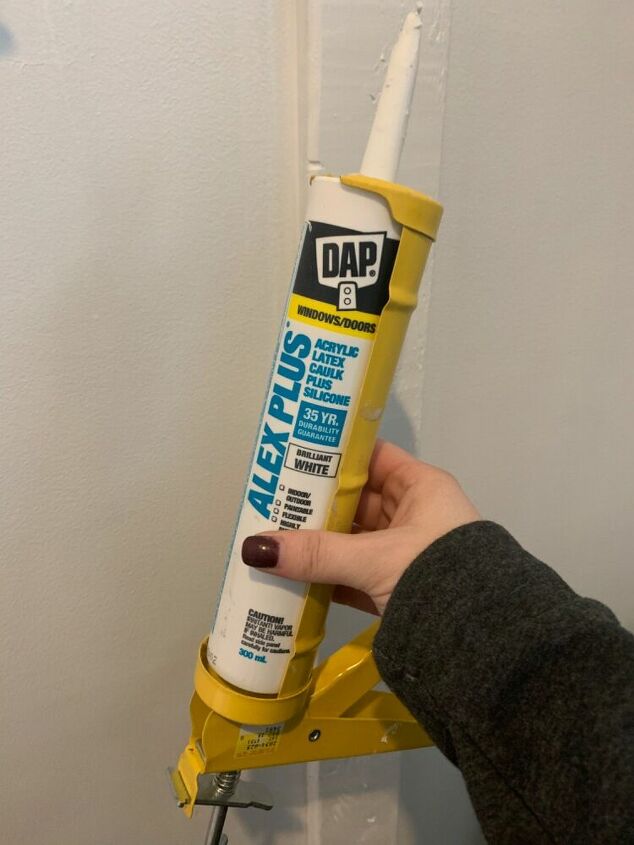
Once the paint was fully dried I caulkers all of the gaps between the wood/wall. I just used a wet rag to wipe off any access. This part is time consuming however I personally think this finished off the look & makes it look seamless! Also, I always buy “paintable caulking” .
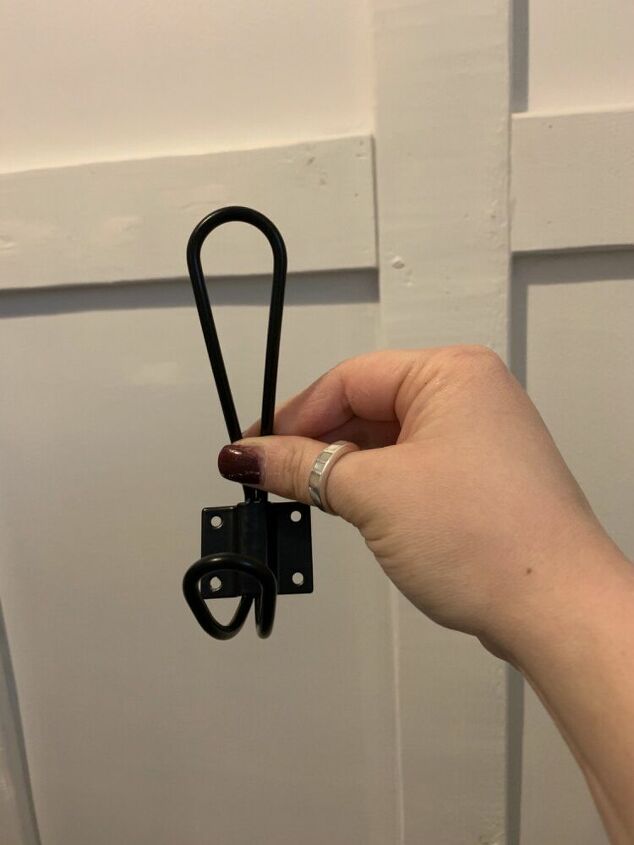
I wanted this area to still be functional and a space where guests can hang their coats, etc. I had a pack left over of these hooks and decided to use them for this space.
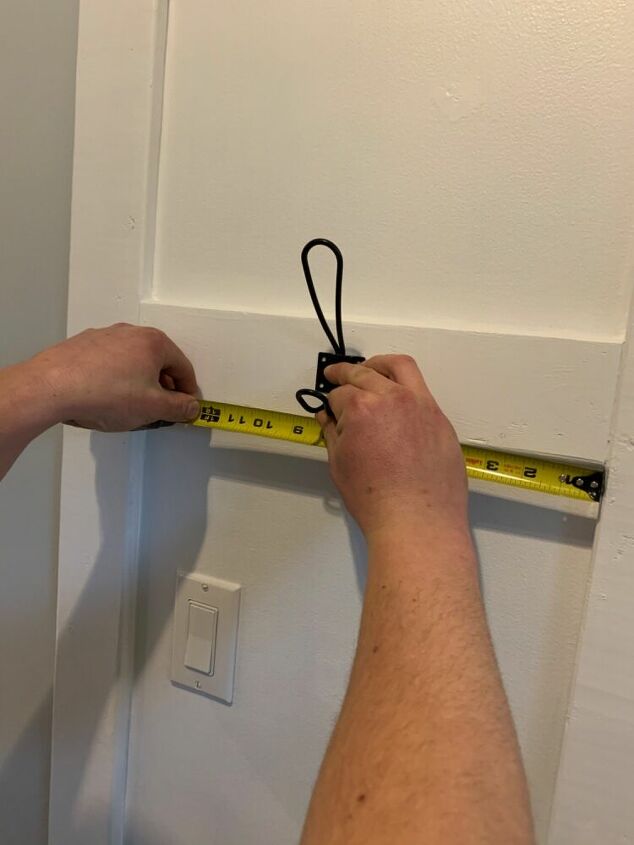
We simply measured and placed the hooks centre of each board and drilled them in. We used three hooks as we added three centre boards across.
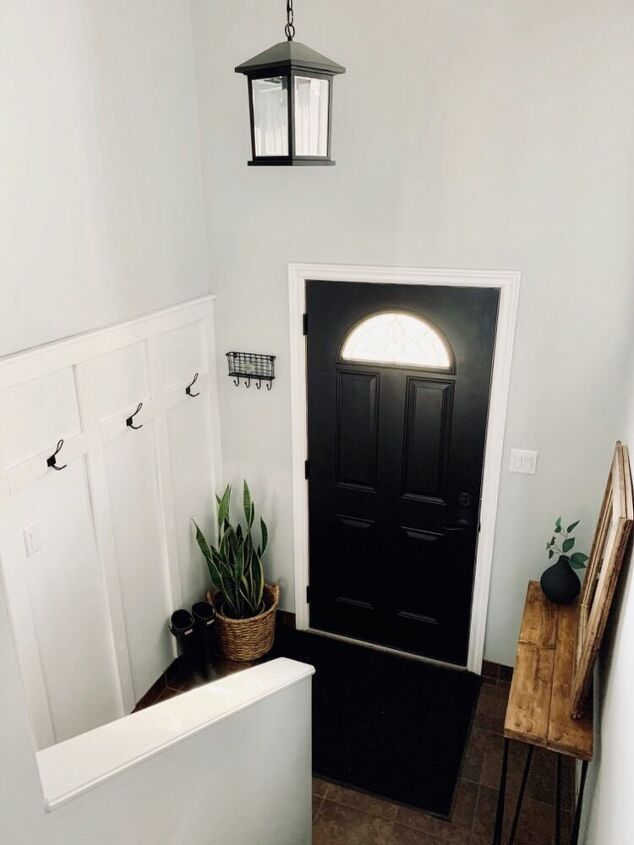
I absolutely love how this wall turned out!! Adds character & is also functional for our everyday life!
Resources for this project:
See all materials


Comments
Join the conversation
-
didn't see the finished product!
-
Wow, you did an excellent job! The look of the entry is great and now so functional. Just great. Thanks for sharing.


Frequently asked questions
Have a question about this project?
I really like what you did, what if you add a storage box at the bottom to keep boots n wellies, umbrellas in AND you can sit on it to put them on/off ???
in hindsight would you have painted (at least two coats) of the boards prior to installation?