


DIY Face Masks

Editor's Note: This mask is not a N95 mask. It is meant to be used for general protection from coughing and sneezing when out in public. This is not protection in place of social distancing. At this time, it is best to stay home when possible. For necessary trips out, like trips to the grocery store, the CDC recommends wearing a mask to provide whatever protection you can for yourself and others.
Ugh. Can you believe what's going on?? I'm a little overwhelmed. I was trying to think of some way I can help when one of my sister's asked me to make her some face masks. Perfect. While these won't protect from the virus, the CDC recommends we wear them when we have to leave home. And they specifically said homemade masks so the N95 masks can be used by the wonderful doctors and nurses on the frontlines.
This is the pattern they suggest. So if you would like to make some for you and your family, gather some scraps and follow along.
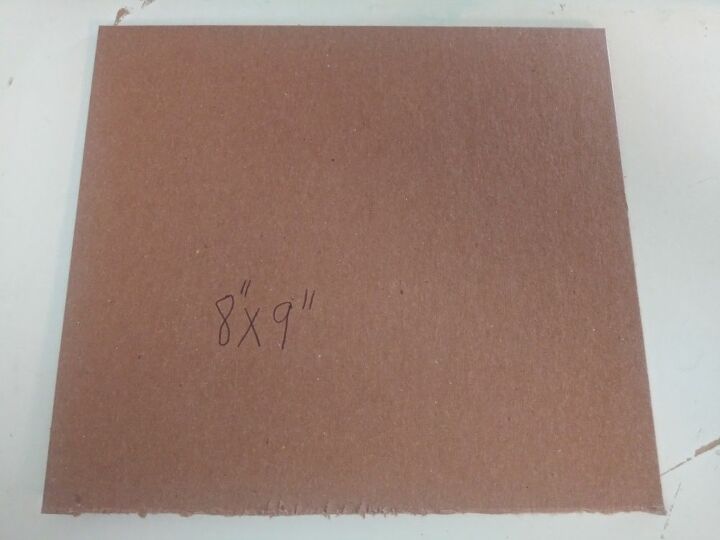
I'm making quite a few, so making a template makes sense, rather than measuring each piece of fabric.
The pieces will be 8"×9"
You'll need to cut 2 8"×9" pieces for each mask.
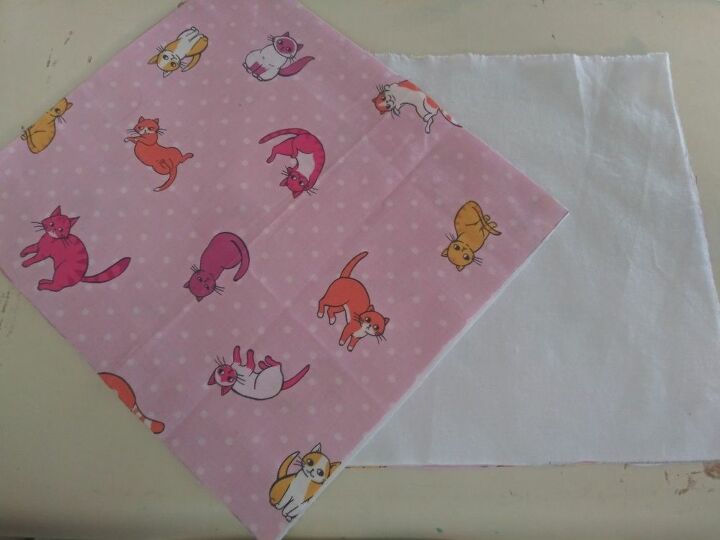
Cotton is best. Don't use silk or sheer fabric. You want a tight weave.
I also had some interfacing. So I used that, too. If you have it and want to use it, iron it on the wrong side of one piece. If you don't have any, no worries. Use 2 pieces.
I am making ties in this tutorial.
First of all, where ever all the toilet paper went, it took all the elastic with it.
BUT I have been reading that the elastic gets very uncomfortable on the ears. So I made ties. My first try I made bias tape and made ties from them. It worked but was very bulky and not very easy to tie. So back to Google. I saw that this way is THE best. And I have to agree. T-shirts. Knit fabric. What ever. My husband has so many brand new t-shirts from work that he can't use because they changed their name. Bingo!
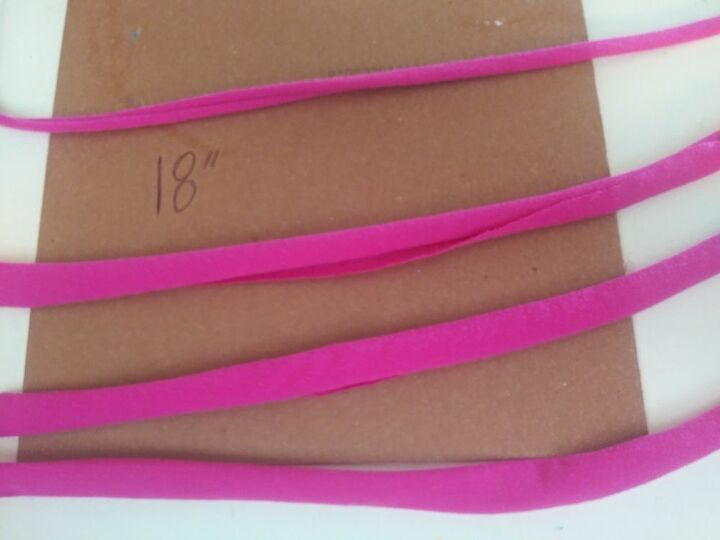
Why this is so great is this... when you cut strips of knit (t-shirt) and pull the ends, it curls up on itself! It curls up and makes a lovely strong strap that needs no hemming or any thing else done to it. Cut it, stretch it, that's it. And it's soft behind your ears. And it's easy to tie and untie. Trust me on this one.
So you need to cut 4 1"×18" strips from knit fabric or old t-shirt. Then grab the ends (one at a time) and give it a good tug.
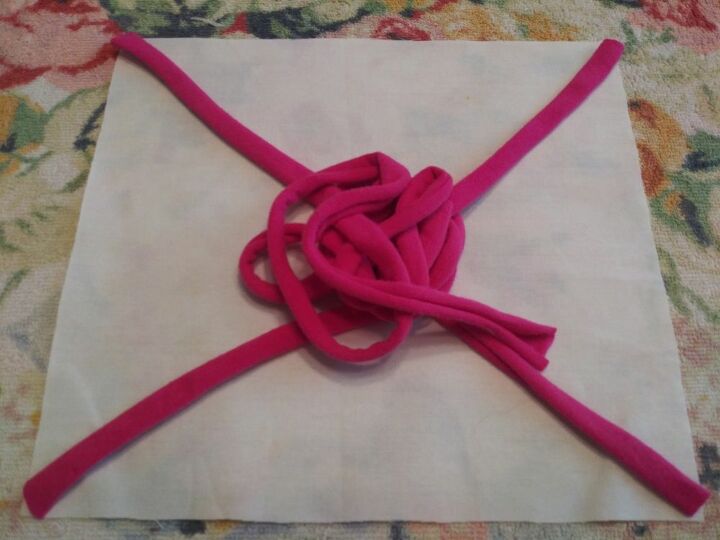
Place a tie in each corner of one square, right side up, as shown. Bundle the ends together and put them in the middle.
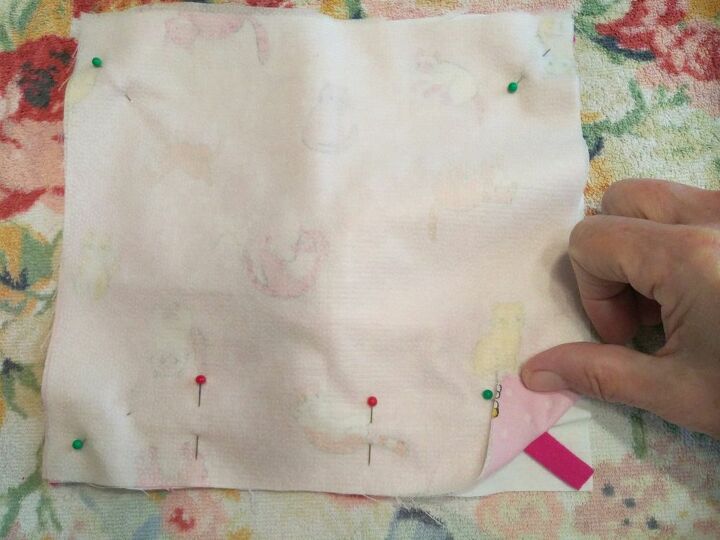
Place the other square, right side down, on top and carefully pin each corner, being sure to catch the tail of the tie.
Place 2 pins (red) along the edge, at least 2 inches, to leave open so you can turn it once you are done sewing.
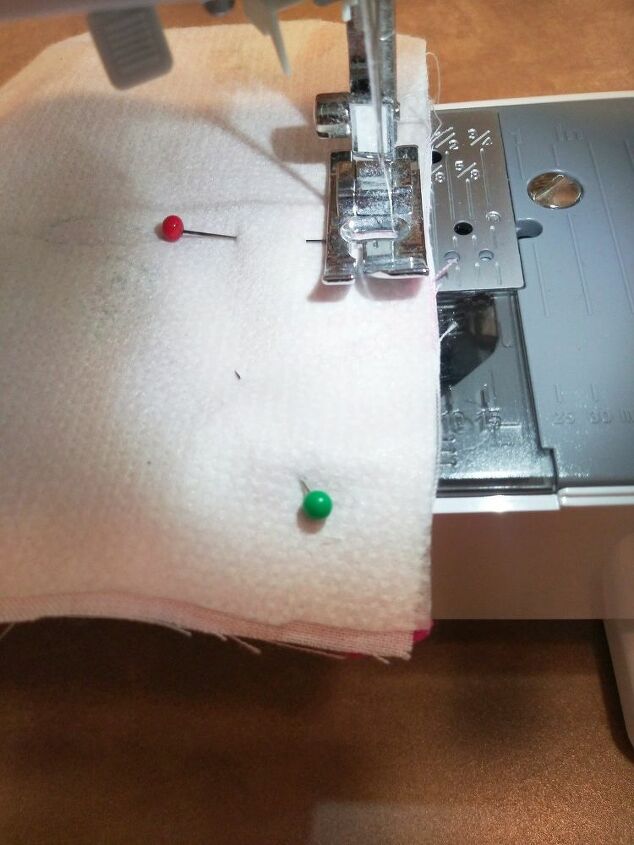
Starting at one pin, start sewing along the whole square, stopping at the second pin. I'm not a seamstress in any way, so I don't know the lingo. But I sewed using the width of the foot from the edge.
Don't forget to backstitch starting and ending. I also backstitched a couple of times over each tie for added strength. And make sure the bundle of ties stays in the middle!
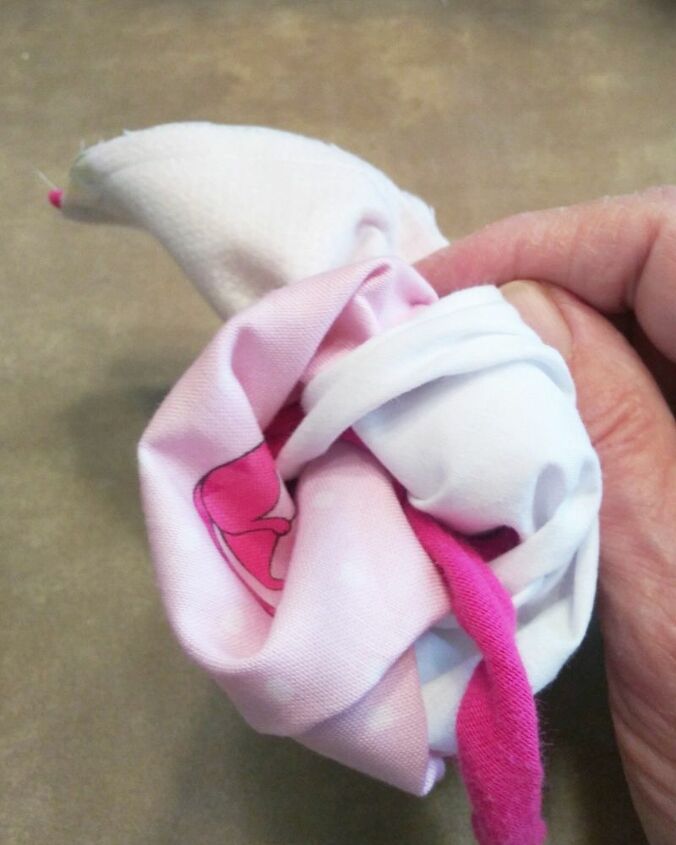
Once you finish sewing, turn it right side out.
Press the seams and give it a quick ironing. Don't worry about the gap. That will be taken care of in the last step.
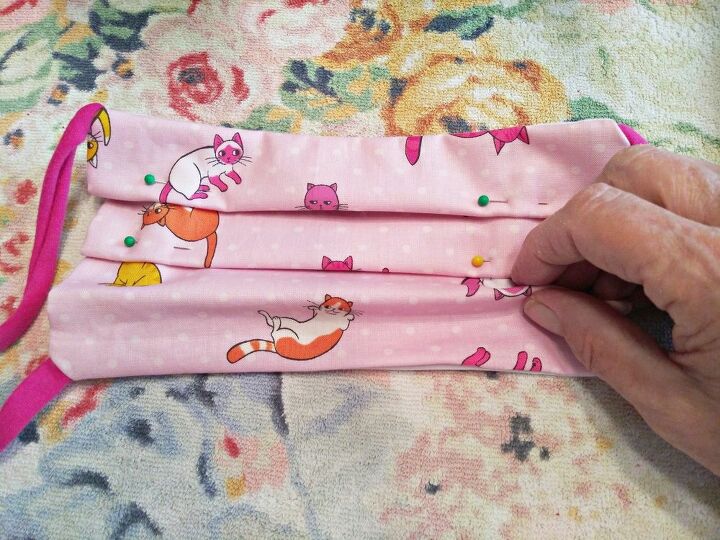
Next you're going to put in 3 pleats. Fold the fabric down and under and pin in place. It doesn't matter if the pleats are 100% equal in width. Eyeball it and it will be fine. The pleats are important, as they help the mask contour to your face. So please don't skip this step.

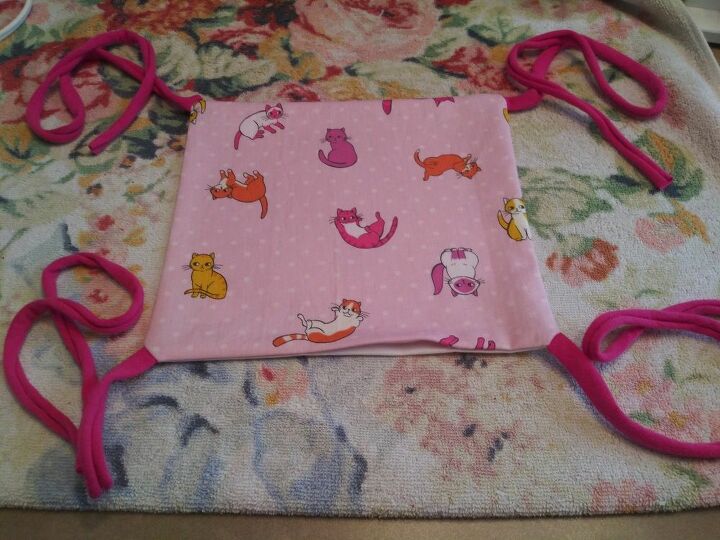
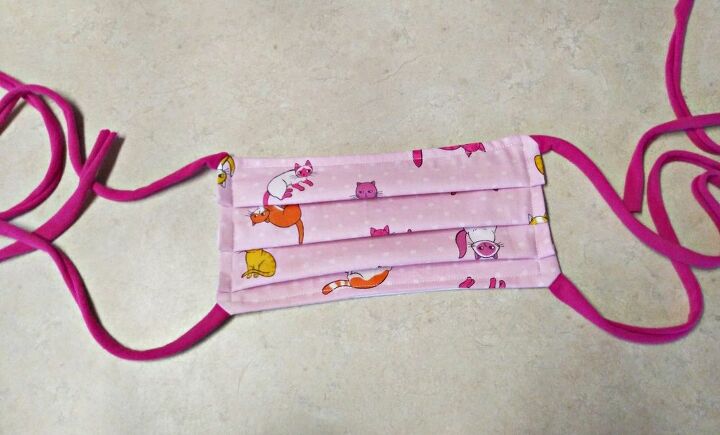
Start sewing and sew around the whole square. Hold your pleats down and make sure each one is caught. This step also closes the gap.
I also want to say a few things about this mask. Don't share. Give each person their own mask. Wash daily in hot soapy water in the sink. You can throw it in the washer or dryer, but make sure the ties are tied together.
You may want to push the pleats back in and press after washing. It doesn't matter. The pleats aren't meant to keep their shape, but to help the mask form on your face. Also, when you wear it, wear it with the pleats facing down.
Hope this helps someone. Stay safe and blessings to all.
Comments
Join the conversation
-
Thanks! Easy to understand
-
Awesome and simple instructions. Going to make these today. Thank you for sharing.


Frequently asked questions
Have a question about this project?
Is the side of the mask that is next to your face the right side of the fabric or the interfacing side of the fabric? It would help to see a picture of the mask turned over.
Fabric is 8 X 9. But what is the dimensions. With pleats in? Need idea of how deep to make pleats