


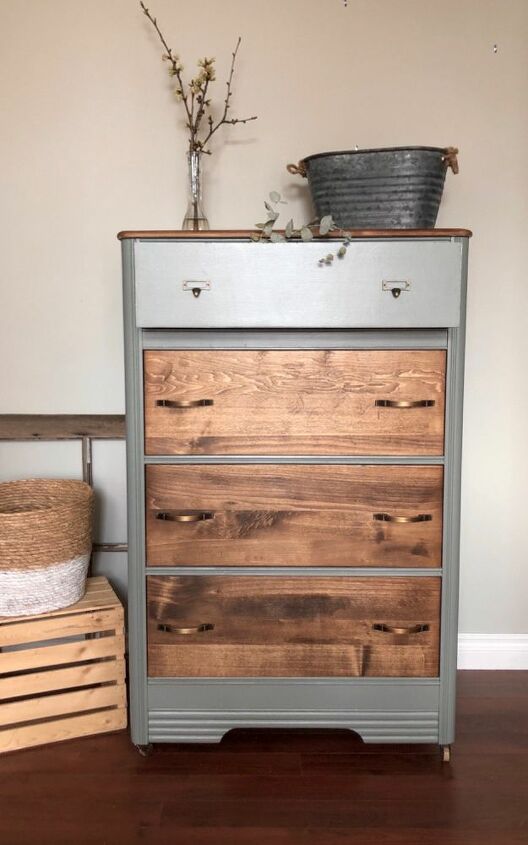
Veneer Vs. REAL WOOD Dresser Upcycle!

Okay! Let me catch my breath after all that work in this dresser phew!...🤪 this dresser was a project and a half! But 100% worth all of the effort. I had almost completed this dresser, until I decided to BURN and CHISEL away the veneer!
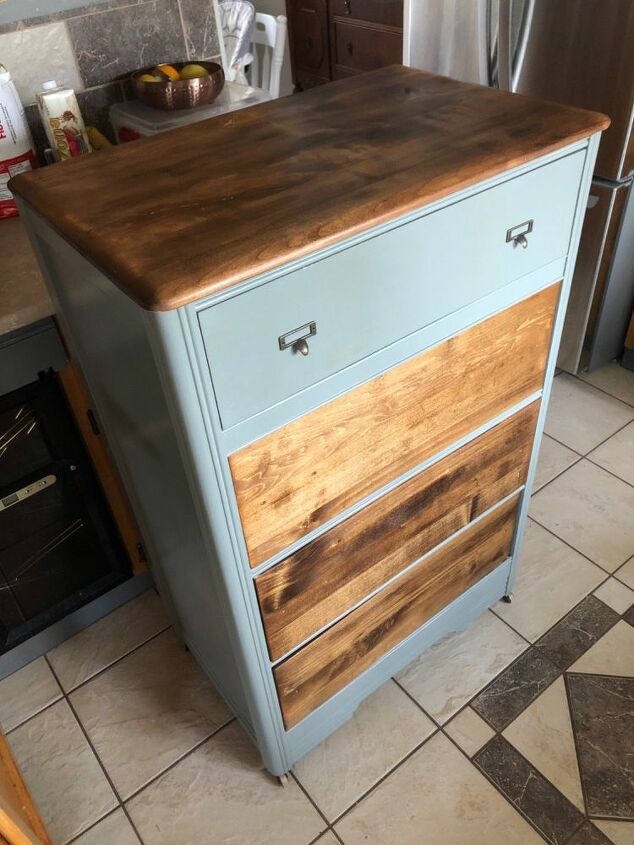
I hope you agree with me that the veneer was a poor choice in comparison to this gorgeous wood!!!😍😍
check out my Instagram for video follow along for this project.
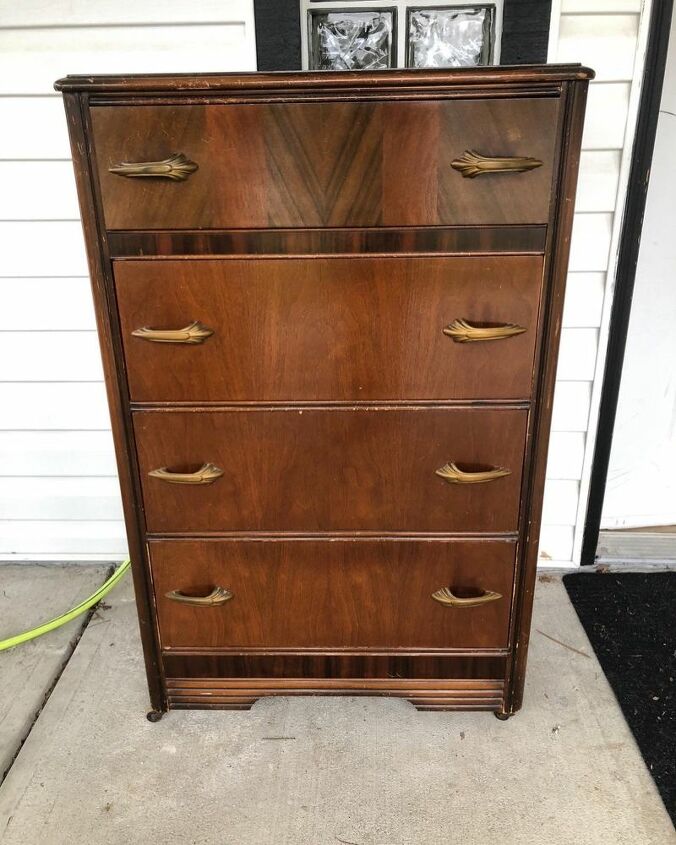
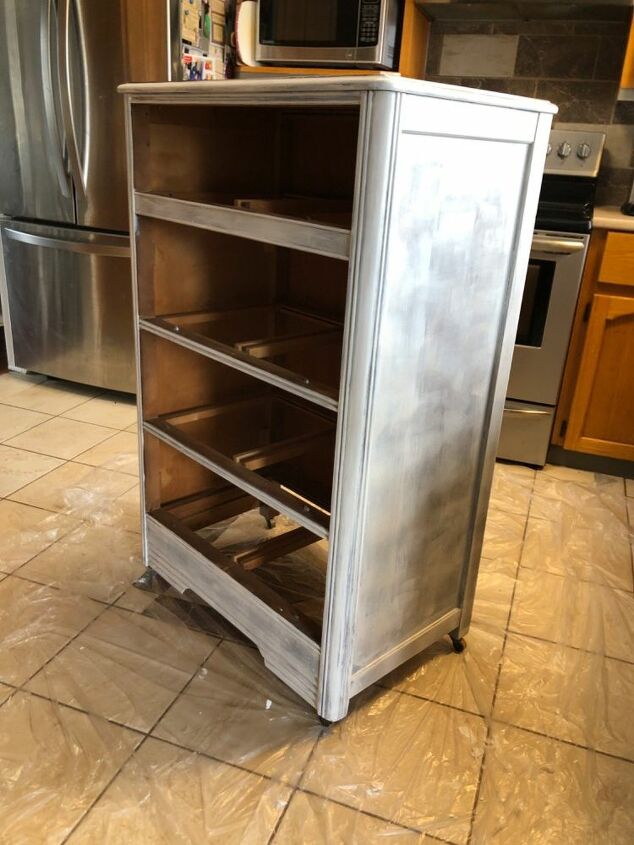
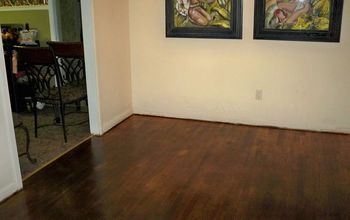
Vintage, good bones, but needed a facelift!
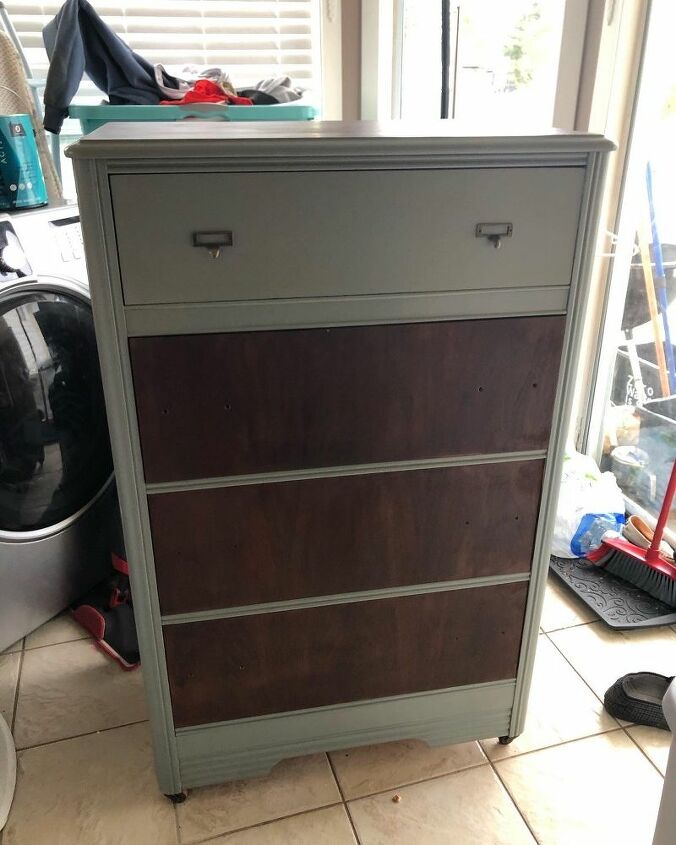
This was how much I got done before I decided to strip off the old veneer! I was hesitant because I had never done it before.
stripping veneer is like digging for gold! You work so hard and you could possibly not find what your looking for 🤷♀️
Sand frame! If your planning on painting the frame you don’t need to take it down to the original wood, that’s just too much work. You will be priming next. Just make sure your surface is even.
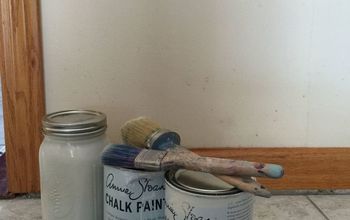
Prime frame!
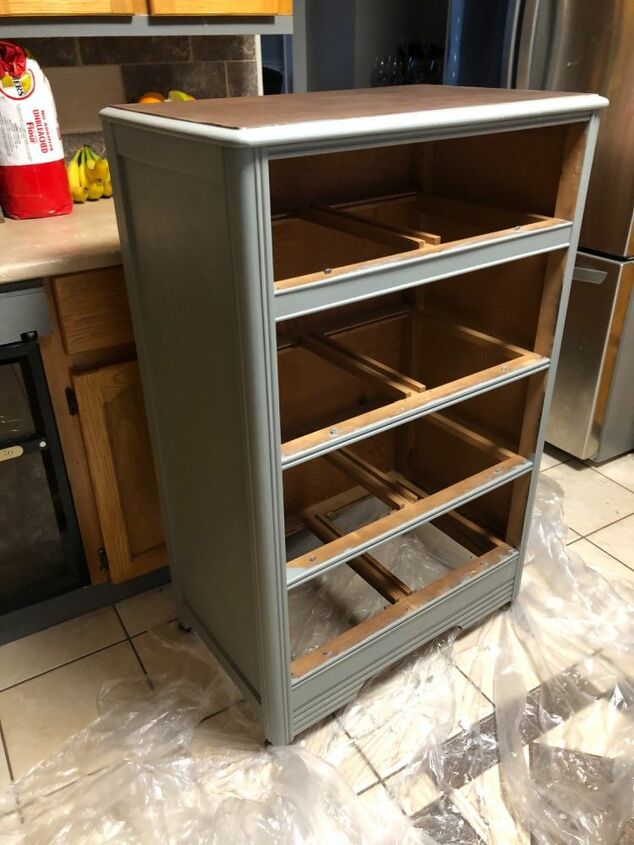
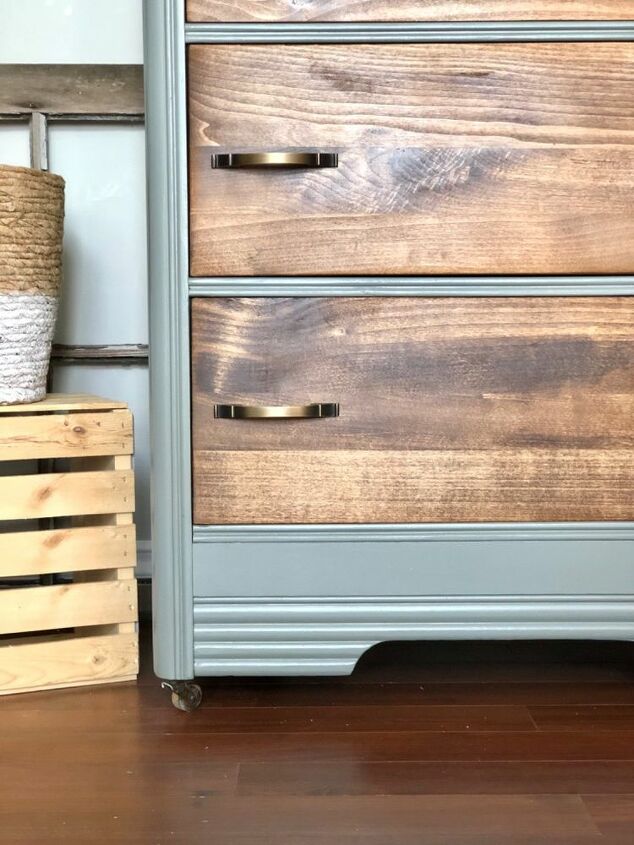
I used fusion mineral paint - sacred sage / chalk paint!
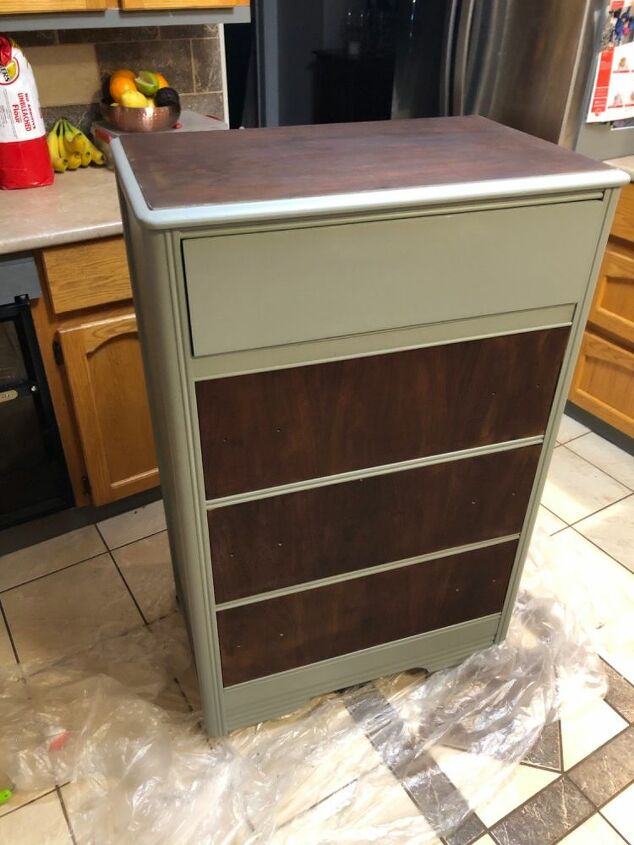
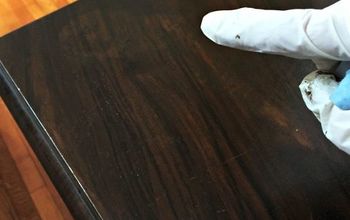
Using miniwax provincial stain
As you can see , I had almost completed this. And this was BUGGING ME! I noticed the veneer was chipping.
So I was thinking to myself... ‘do I try taking this all off?? To find better wood?!’
so I did!
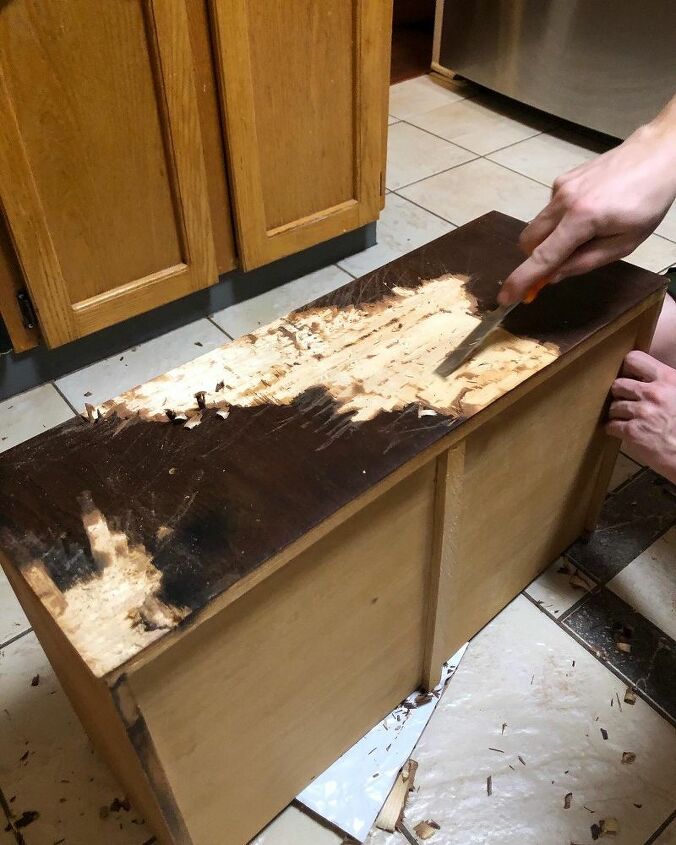
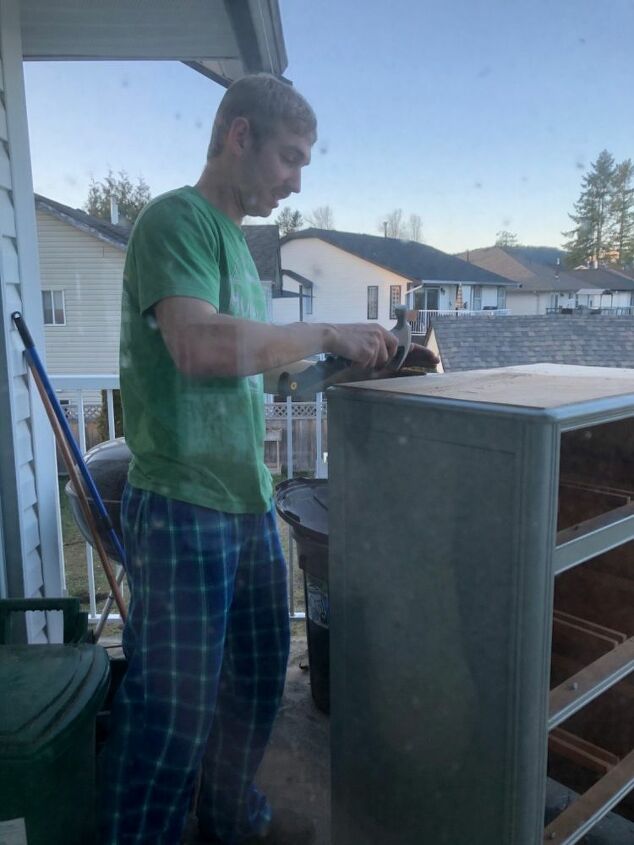
I took a wood chisel and a heat gun! This was what 15 minutes looks like. TERRIBlE! This was quite possibly going to be a flop.... but it was a risk and I knew that.
I kept at it!

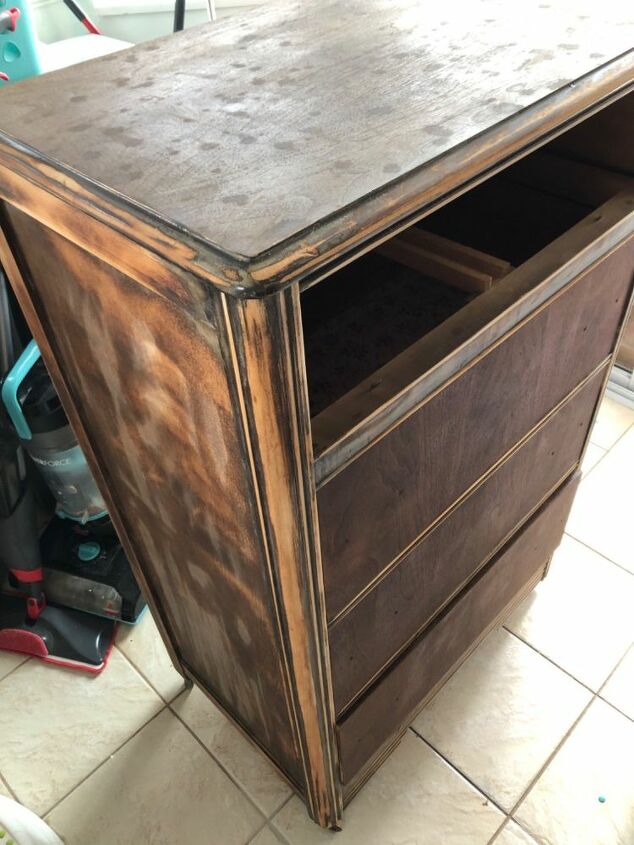
K so I began to sand sand sand SAND the drawers down because the heat gun and chiseling wand Working to well. Little did I know the veneer on this was SO old that it was very hard to chisel and burn.
I took 60 grit sanding disk with my orbital sander, each drawer took 3 disks!!
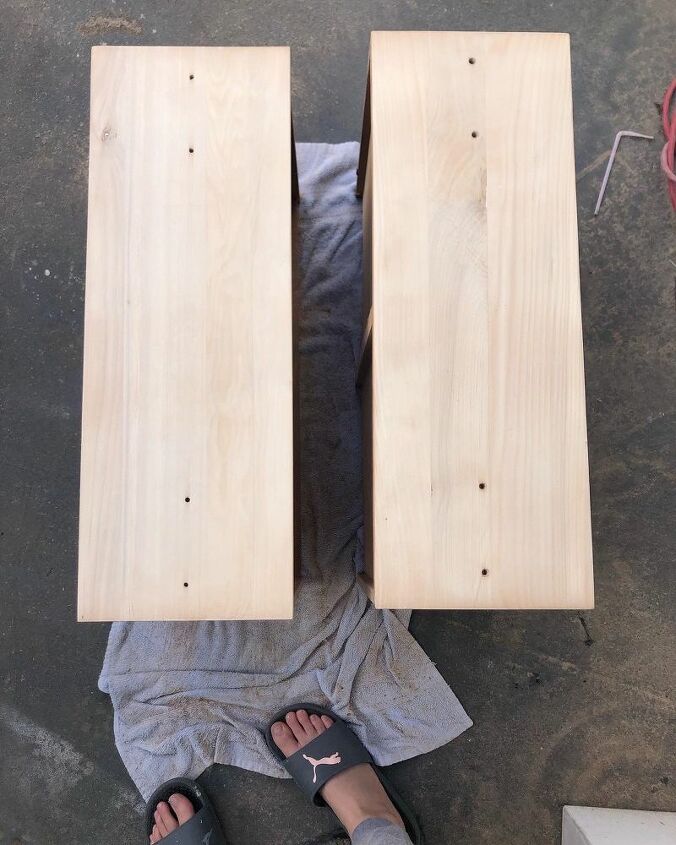
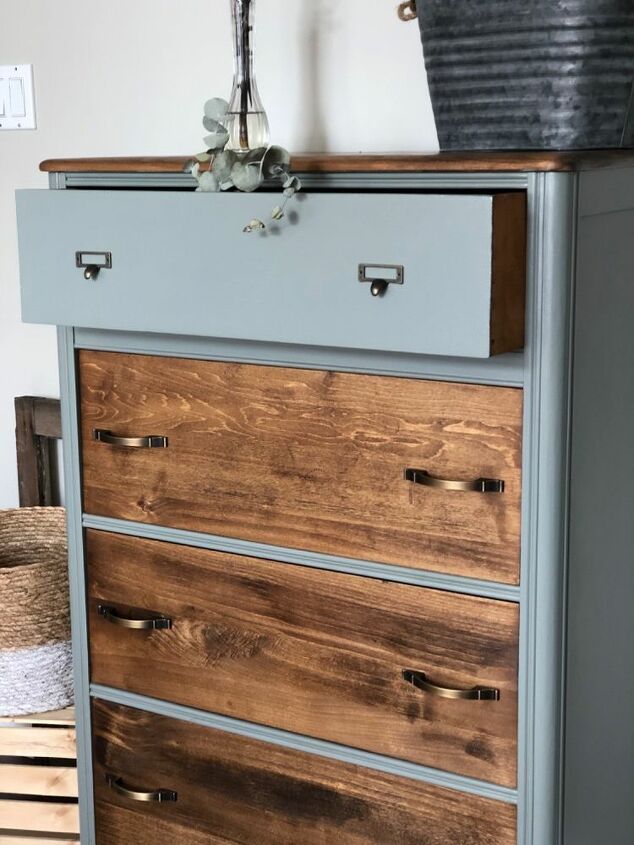
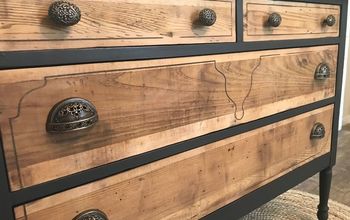
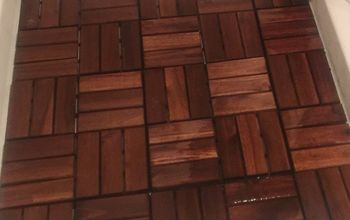
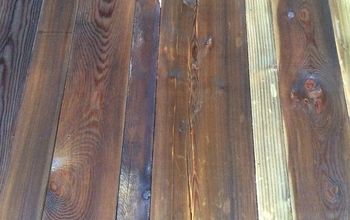
After I was done sanding off the veneer this BEAUTIFUL WOOD was there !!! And so I took a 220 grit sanding disk and finished them up.
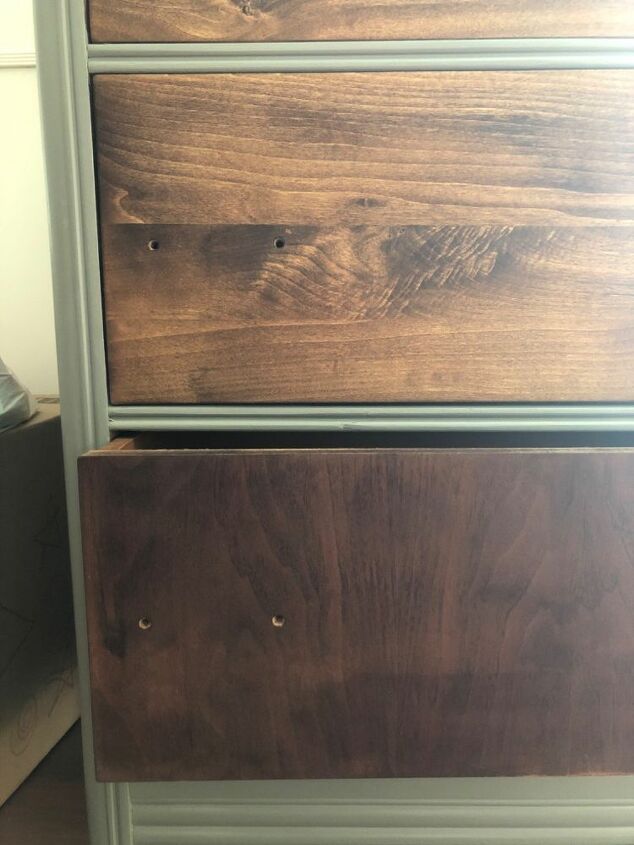
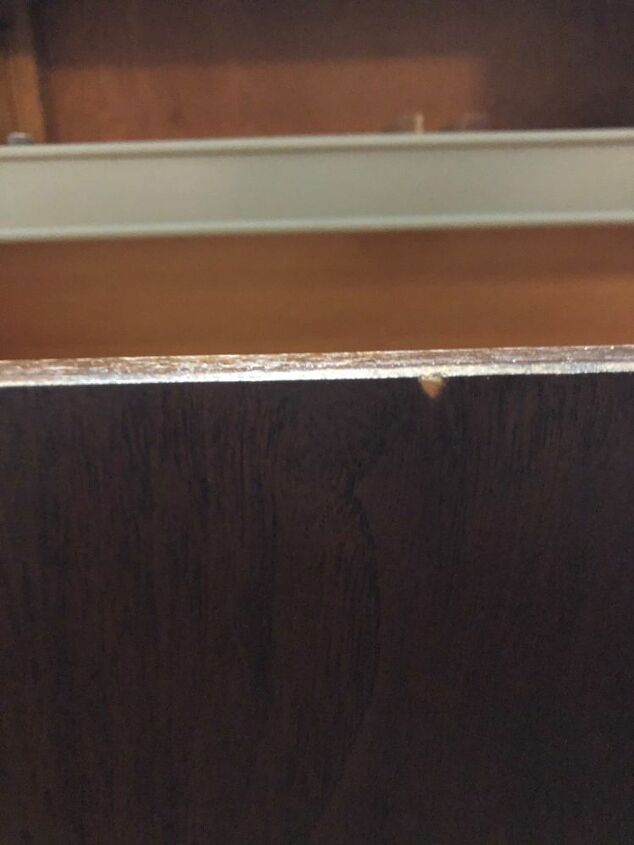
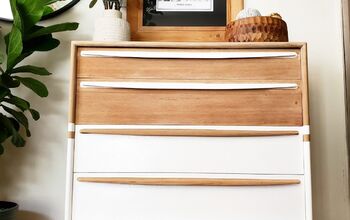
Same drawer same stain! Just one is veneer and the other I stripped the veneer !
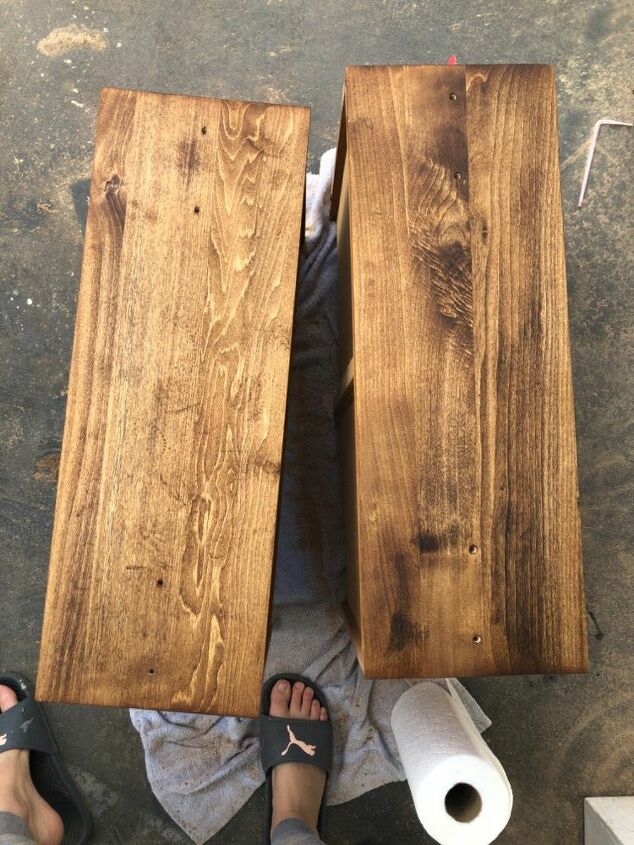
Same stain! - miniwax provincial
Each drawer took me about 30 mins to sand down. So I was expecting the top to be the same.... NOPE! It had 2 layers of veneer, the drawers only had 1. So double the work!!!
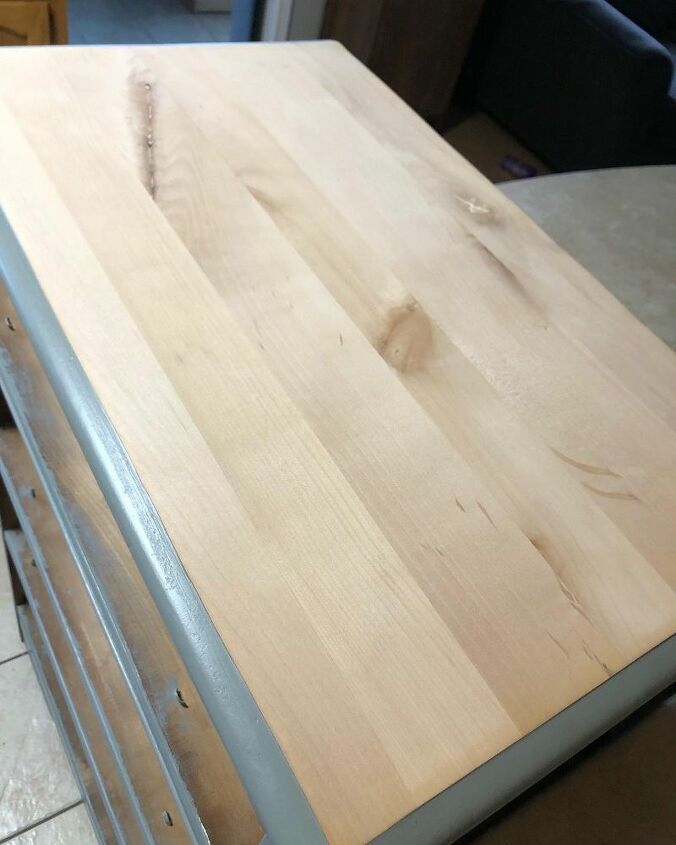
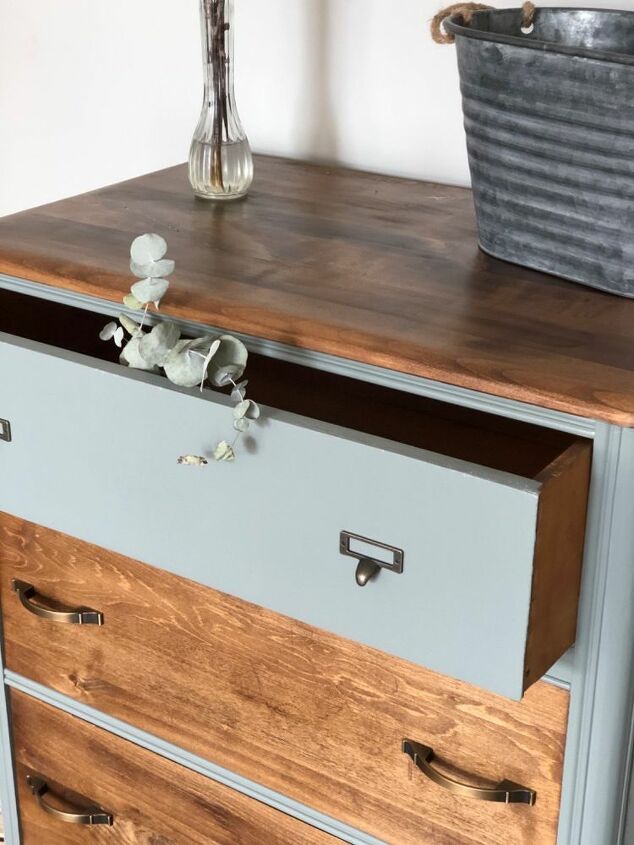
Top sanded and smooth!
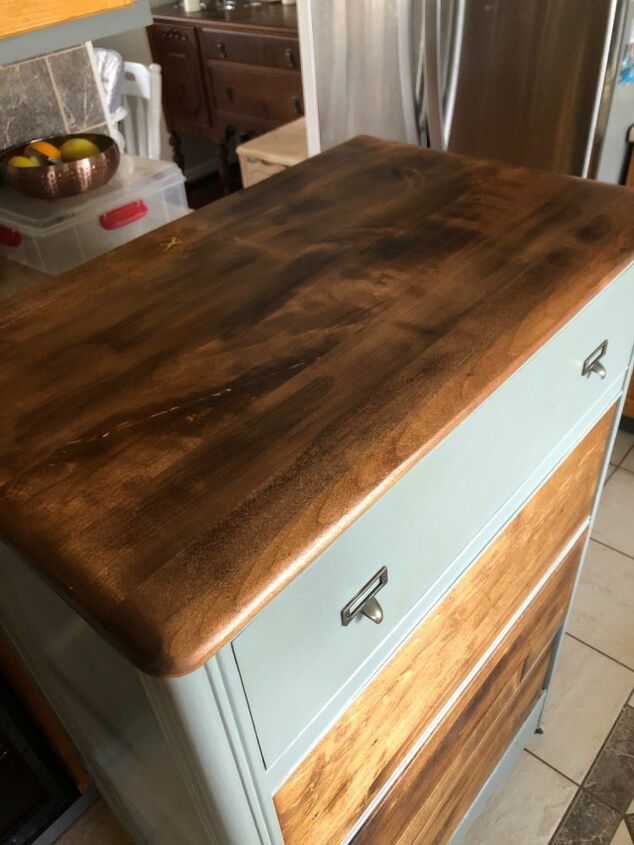
Top coat everything X3 with varathanes professional top coat!

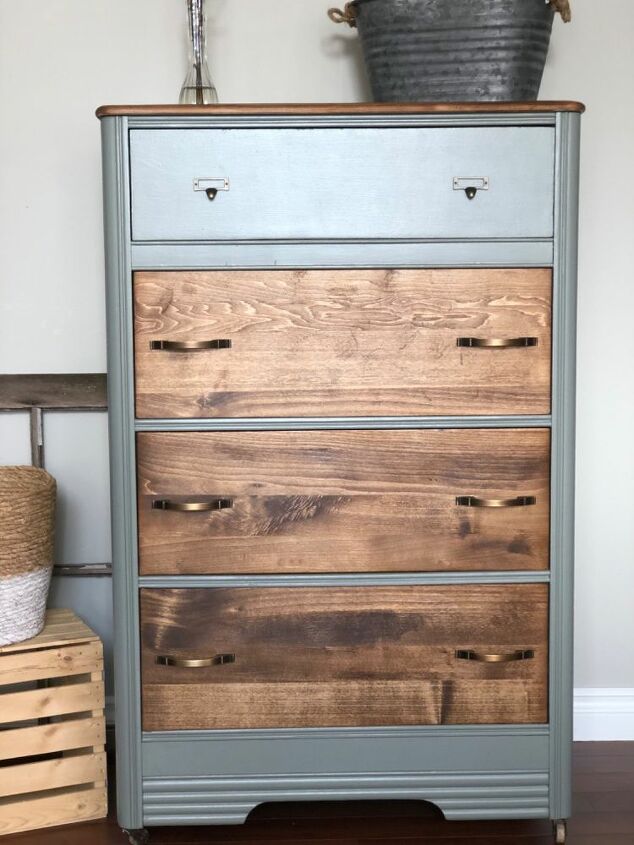
Let’s just say this was very worth it!! And I challenge any of you who have veneer pieces to take the risk to find the wood underneath it! 😚😚


Comments
Join the conversation
-
It is nice but sad that you painted the nicest drawer with the beautifully intended wood grain design.
-
Very gorgeous finished job!
I was just given an old beat up dresser so I'm going to try all of you guys' tricks. This will be my first ever project and hope it won't be my last.
Thanks for the inspiration!!


Frequently asked questions
Have a question about this project?
Beautiful job on the chest! I am pining, though, for those original drawer pulls. Would they happen to be available?
I also heard you can take a clothes iron and wet towel to loosen veneer glue and use a wide blade spackling tool to lift off veneer. I’ve got a dresser to do. We’ll see if this works.