


How to Clean and Seal Tile & Grout
The grout in our laundry room had seen better days. It was looking a tad dirty and I even had a few stains from dropped laundry detergent. Oops! I decided it was time to give all of the floor in the laundry room a good clean and seal it to protect it from future accidents.
For the full step-by-step tutorial (and links to the products I used), check out this blog post.
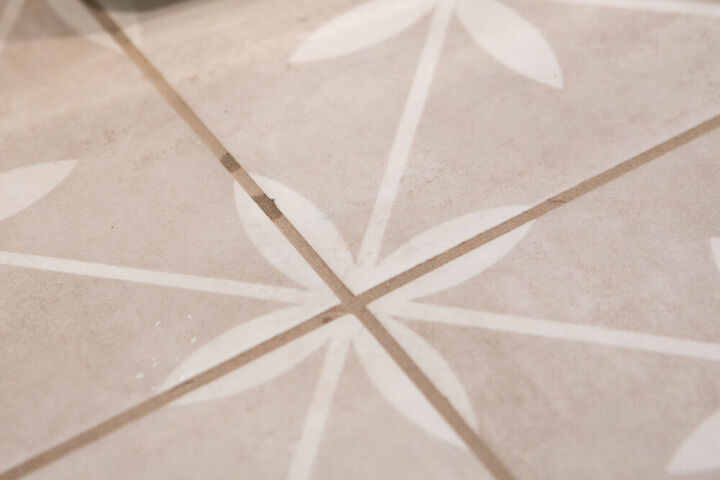
Here's where I dropped laundry detergent in the grout lines. It ended up leaving stains that I couldn't get out!
Sealing your tile, stone, and grout on a regular basis is key to prevent it from getting dirty and damaged. A top reason grout is stained or becomes loose is because it wasn’t sealed or the sealer is worn down. Some people try to use bleach on their grout to clean stains, but that is a huge no-no! That actually eats away at the grout and makes it so much worse.
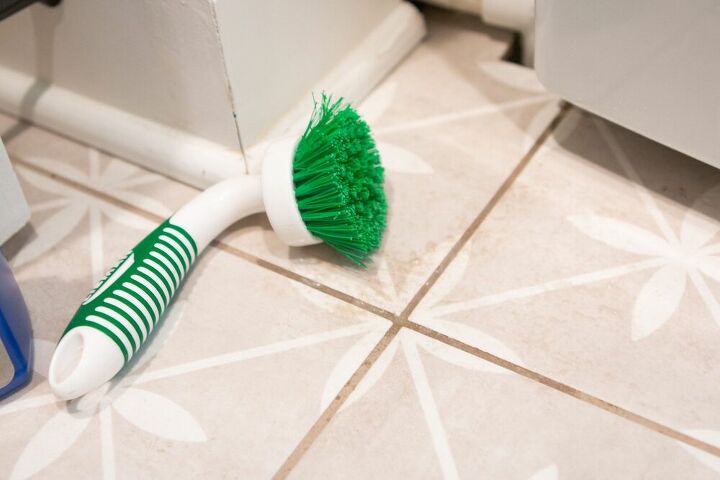
First, I vacuumed the tile to get rid of any debris. Then, I took a good look at the floor, searching for stains and really dirty areas. You’ll want to spot treat those areas with a tile and stone cleaner first so they get extra attention!
Spray the cleaner onto the stain and use a brush to agitate it. Then, let it soak in and sit on the surface for about fifteen minutes. Once the time was up, I used a warm wet cloth to wipe up the residue.
After you tackle the troubled areas, you can do the entire floor.
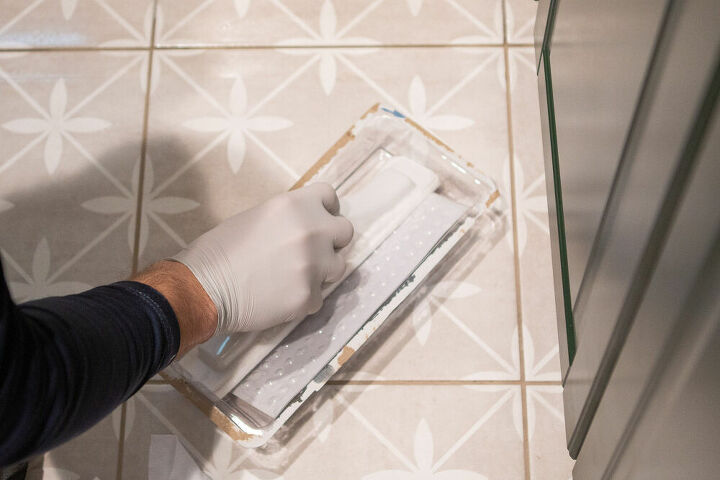
When everything dries, it's time to seal! You'll dip your applicator in the sealing solution and brush it all along the tile and grout lines. Allow it to sit for five minutes before wiping it up with a clean, dry rag.
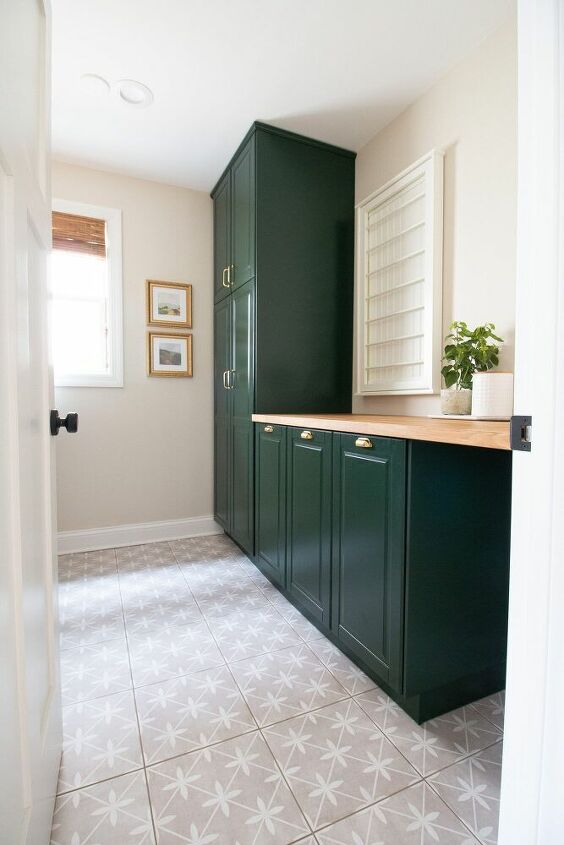
The floor is definitely cleaner and stain-free, but overall, you can’t tell it has changed because the sealer creates an invisible barrier on the surface. Plus, this sealer is guaranteed to last for five years so we won’t have to do this again for quite some time!
For more tips and links to the exact products I used, head to this blog post.

Comments
Join the conversation
-
As a pro tile setter, I NEVER recommend sealing tile grout on floors. It will eventually wear off unevenly, leaving it looking worse than ever. I only recommend sealing tile walls and counters and using a prodiluct such a 511 Impregnator to seal it.
-
I take the easy way out. I mop with bleach, to get the grout clean. Once it’s dry I use white paint on the grout. I do this about once a year.


Frequently asked questions
Have a question about this project?
Why was the cost of the project listed as only $10?
The applicator referred to in the blog post was $4, and there was no listing of what the three different products (in the blue jugs) cost.