


Budget Friendly Bathroom Update

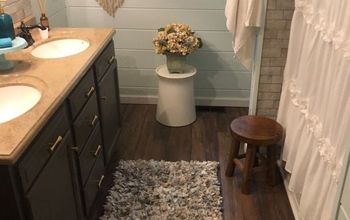
My kid's bathroom has been plain and boring since the day we have moved in a couple of years ago. We literally only hung a shower curtain up....that's it.
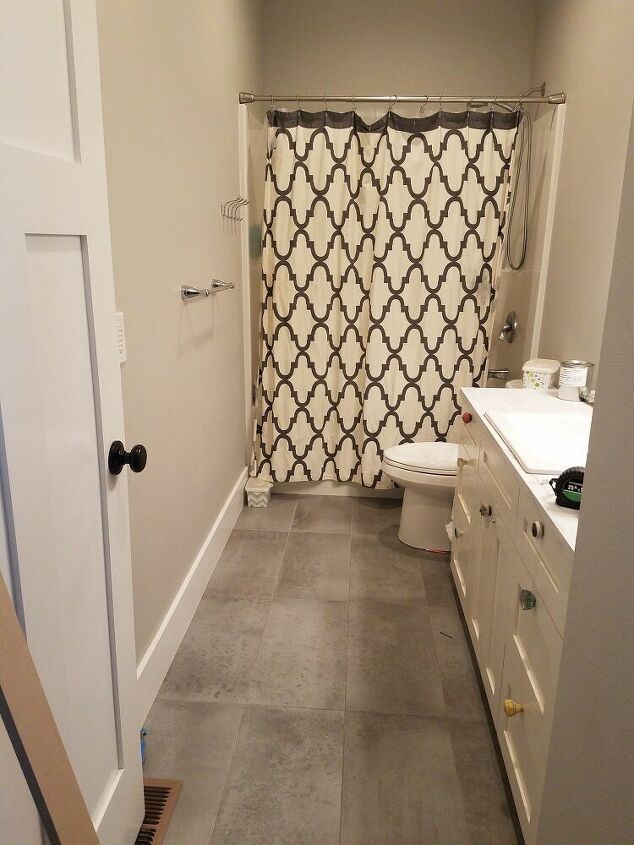
Everything about it was gray. Gray walls, gray rug, gray shower curtain, gray floors. I couldn't wait to add some life and color into it.
Since we have been stuck at home, I couldn't quite go to the store to get paint samples and see which ones I liked best. But I have been dying to get some dark green on at least one of the walls in my house. So I took to the internet to find the best dark green colors.
Paint Choice
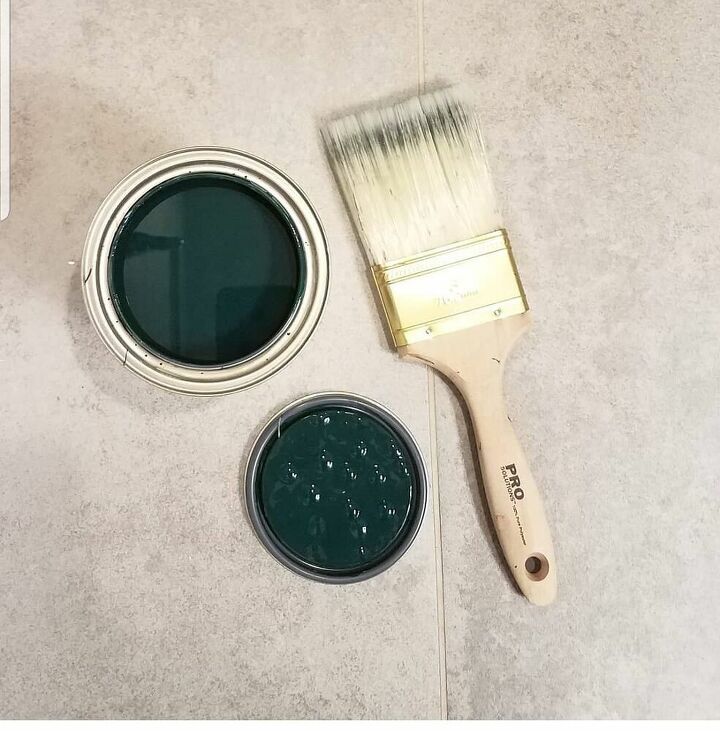
Of course, there were so many good options. However, I chose Benjamin Moore Salamander.
It seemed like the perfect mix of dark green but still had a little bit of brightness to it. So I did curbside pick up at my local Rodda paint store and went right to work.
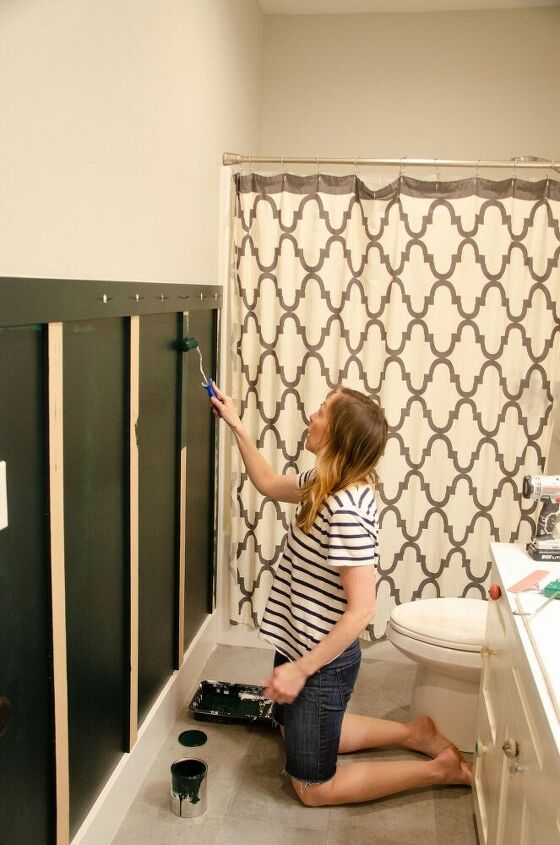
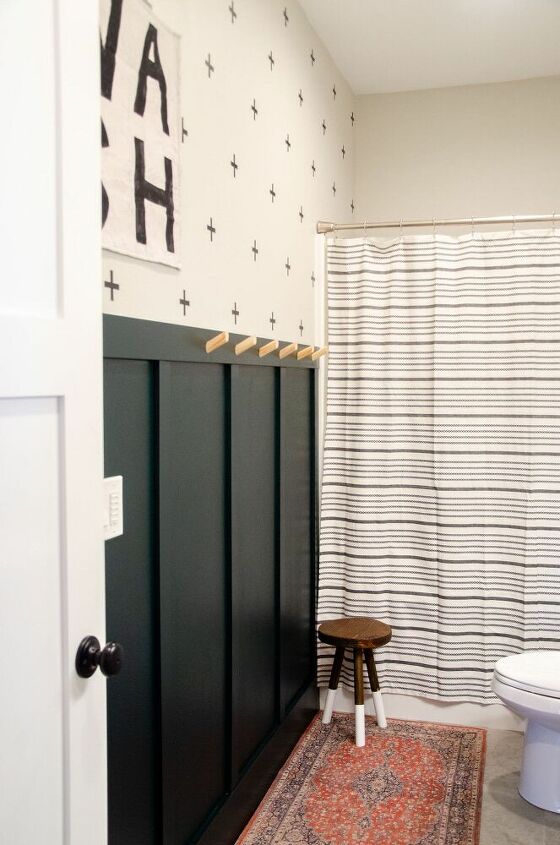
First up Board and Batten
Now, I always try to do EVERYTHING on a budget. So this whole bathroom makeover was as cheap as I could do it. These 2.5 inch strips of MDF were some left overs from another project. The 4 inch MDF top was a left over trim piece from when we were building our house. So the only thing I paid for on this wall treatment was an $11 quart of paint. That was a definite win for me.
Another design detail I wanted to add to this bathroom was some cross decals to the top of the wall. I used a level to measure the decals 15 inches apart along the row and 8 inches apart in between each row. Of course, I didn't want to spend money on buying these decals, so I found some black tape I had in my craft room to make the crosses.
Wooden Dowel Towel Holders
These cute wooden dowels were one of my favorite features. They are 1 inch and I cut them at a 30 degree angle. Before I put up the top trim piece, I drilled in some 1 1/2 inch screws at an angle. I was thinking I could just screw the dowels into them. However, that didn't quite work as I had hoped. I ended up having to drill a pilot hole into the dowels that was a little bigger than the screw. Then I put some wood glue down that hole and on the back of the dowel and hammered it on.
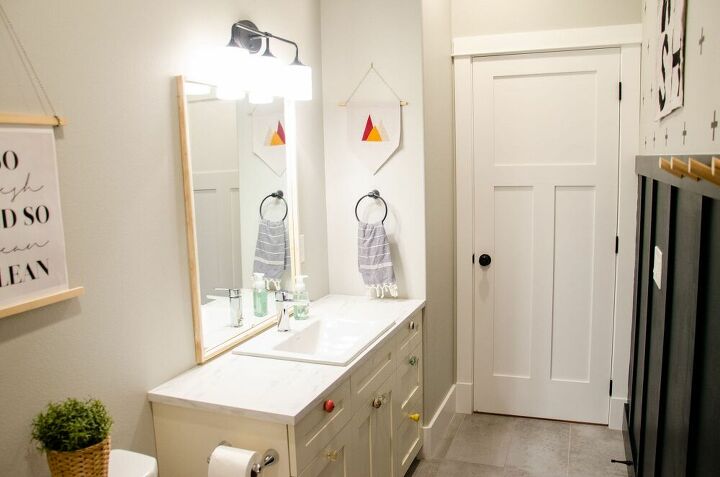
Adding a Frame to the Mirror and Updating Lighting
Before this bathroom refresh, the mirror did not have a frame around it. I used a 1x2 that I had on hand and cut it down to the size I wanted for the mirror. The last thing that was left was spray painting the lighting and the towel holder black.
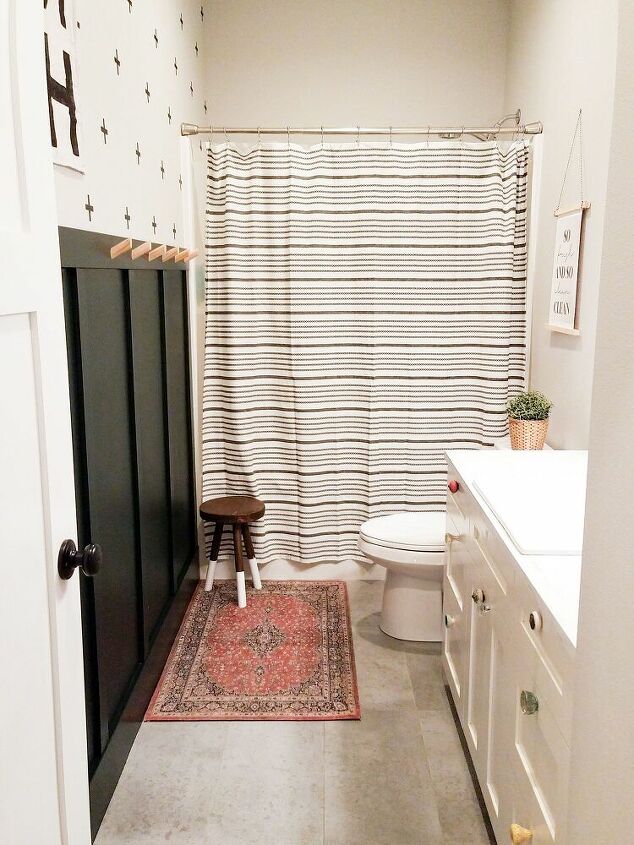
Add Some Decor
I topped off this refresh with a lot of homemade decor. The wall hangings and stool were all DIY and all completed the look with this new shower curtain from Target. Overall, I spent around $15 on this update. However, if you didn't have all of these things on hand this cosmetic refresh could be don'e for around $70.
More Wallet-Friendly Room Makeovers
Resources for this project:
See all materials


Comments
Join the conversation
-
Nice job!
-
Great work, you are very talented!


Frequently asked questions
Have a question about this project?
I don’t have a question.. you are very talented! Great job on a budget!!
I love the little stool...where did you get it??
Great job overall 👏
Did you just leave the tape on the wall for the crosses or paint it? Can’t see how tape will stay in place in a hot, steamy environment.