


DIY Terrarium
A broken-rusty lantern becomes an indoor garden terrarium!
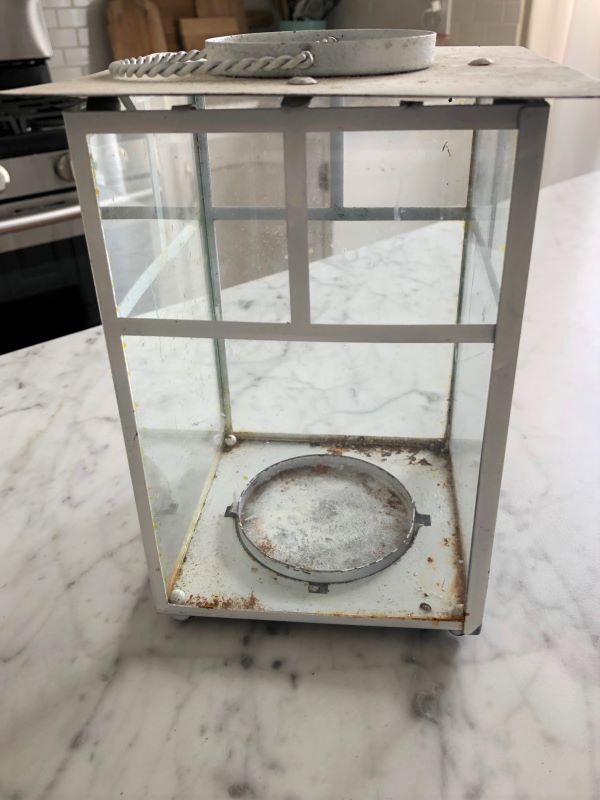
This rusty lantern had a broken glass pane and was ready for the trash can. But I decided instead to give it new purpose!
Take the lantern apart
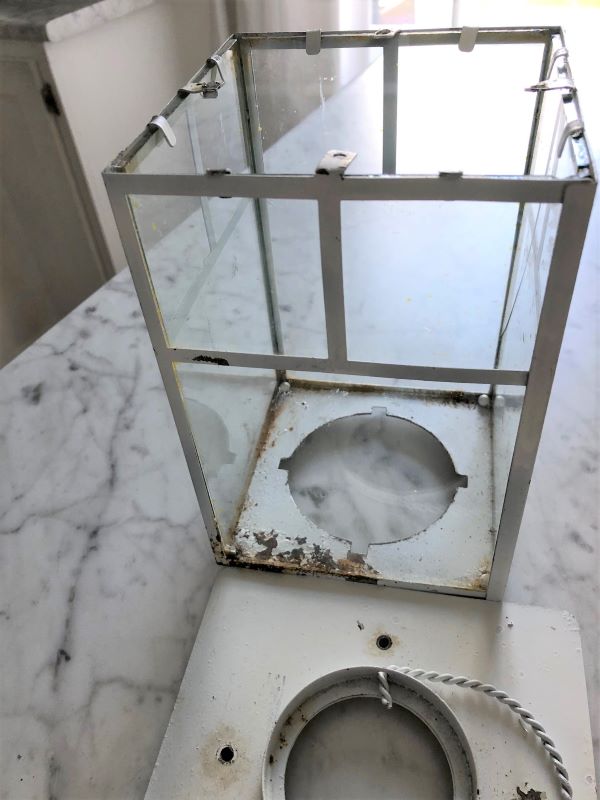
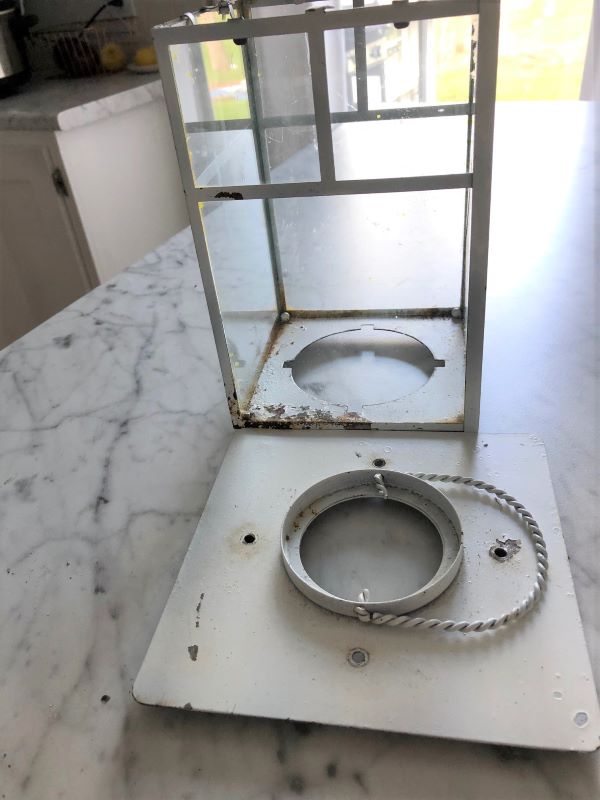
The first thing that needed to be done before figuring out how to make a terrarium out of this lantern was to take the lantern apart. That started by removing the rivets on the lid of the lantern. A drill will do the job, but it's a painstaking process as you really need to be gentle so as not to break the glass panes. Once the top is removed you can then remove the glass panes. Since one was broken I only had to worry about three! The tabs that held the glass in place were also rusty so it took time and patience but eventually I was able to remove all three without breaking any.
Give the lantern a good cleaning with soap and water.
I wanted to give the lantern a new coat of paint but before I could do that I needed to scrub it with soap, water and a good brush. (I used an old toothbrush). Once all the dirt and grime was gone, I got after the rusty spots and made sure there was no more chipped paint.
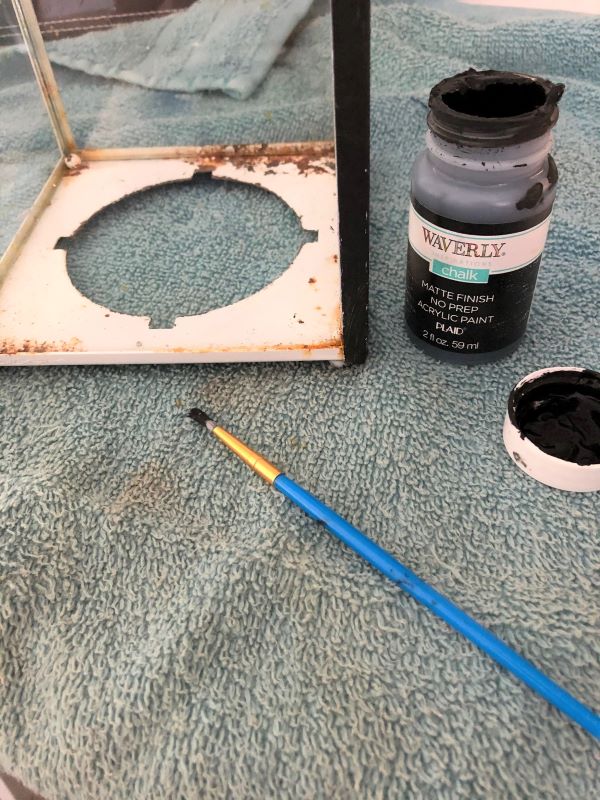
Paint the lantern
This step would have been a lot easier had it been warm enough outside to spray paint. But it wasn't so I used my favorite chalk paint instead. It coats well and all I needed was 1 coat with a few touch ups. Since I did use chalk paint-I also gave the lantern one coat of enamal clear coat to protect the finish. This step is not necessary if you spray paint.
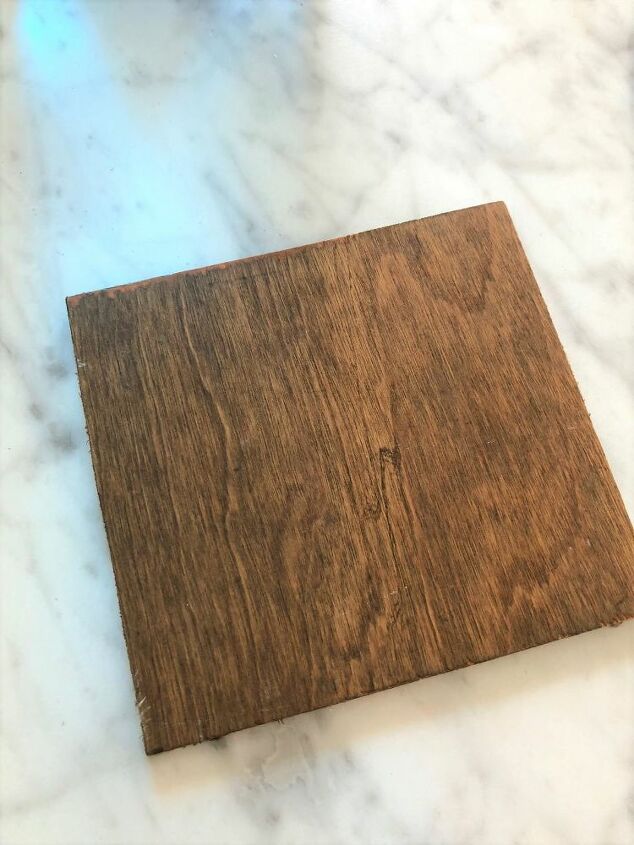
Create a base for the Lantern.
This step is again optional. The base on my lantern never worked properly and I wanted a different look anyway. So I grabbed a piece of scrap wood from our stash, measured the bottom of the lantern from inside to inside and cut the wood to size. Then I gave it a coat of Early American stain.
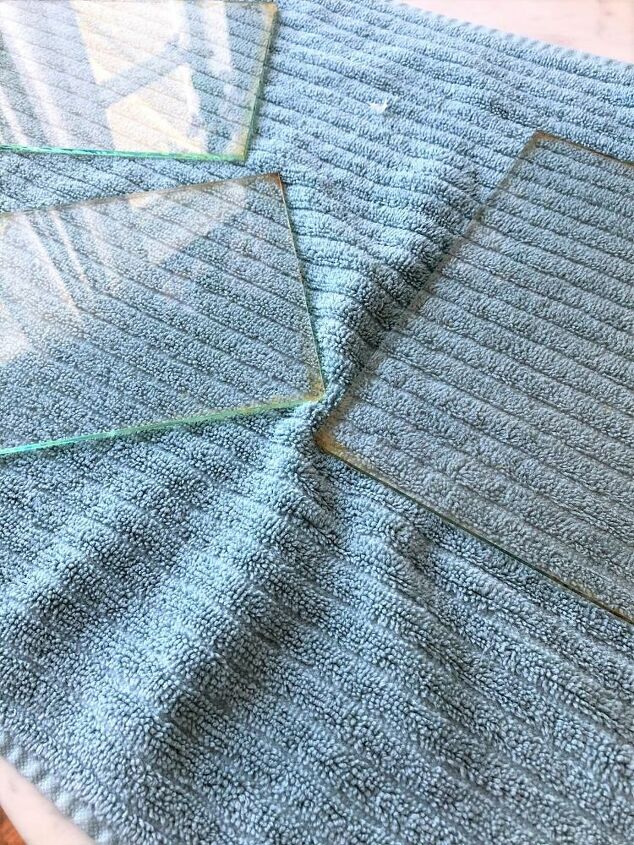
Clean Glass Panes
While the wood and lantern dried I worked on getting the panes clean. I just used a simple vinegar and water solution and got off as much of the grime and rust as I could. Then they were ready to be re-installed.
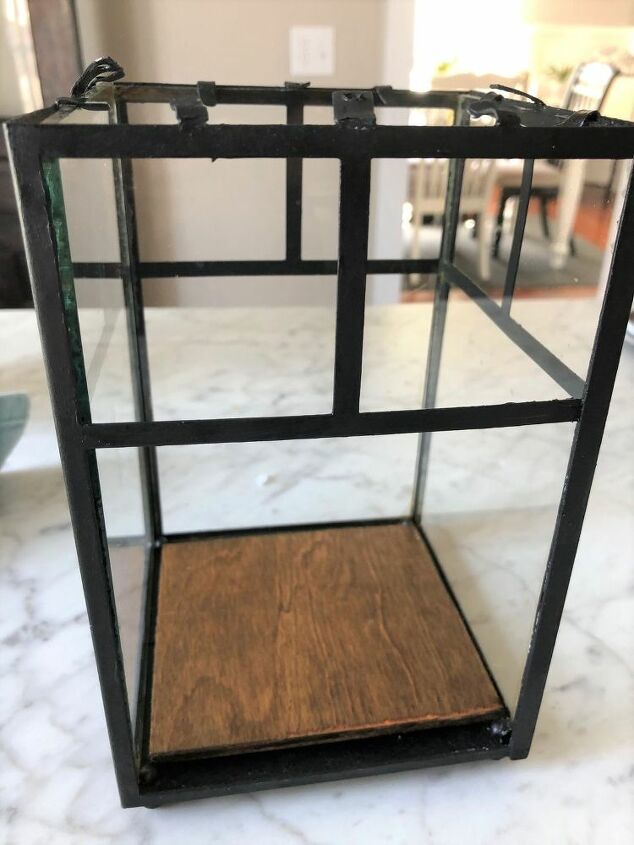
Add the new bottom to your lantern
Once the glass panels were back in (Just put them in place and bend the tabs back over the top of each) I then laid the piece of stained wood in to create a bottom.
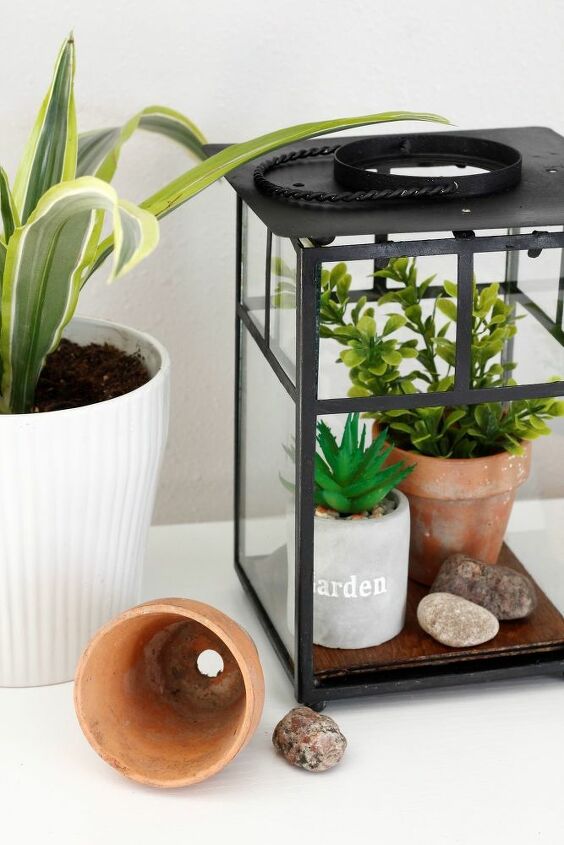
Fill your Terrarium
My plan is to fill the terrarium with succulents when I'm able to visit our local nursery but for now I just used faux ones. I also added a few rocks from our garden outside.
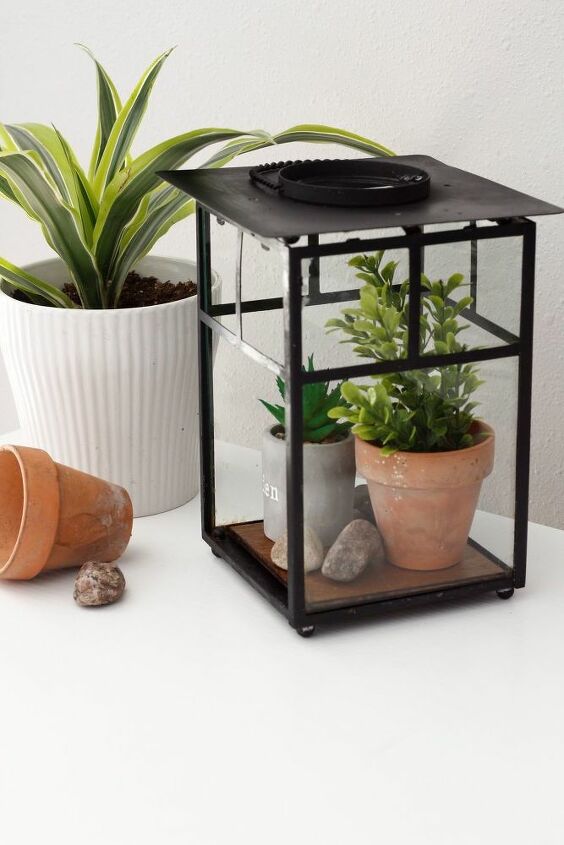
Having the one glass pane break ended up being a blessing because now I can remove the plants for watering or changing them out whenever I want without removing the top. The total cost for this project was $0 because I simply repurposed a lantern with existing supplies! You can find the full tutorial for how to make a terrarium up on my blog!
Resources for this project:
See all materials


Comments
Join the conversation
-
Now I know what to do with an old lantern I have been saving. Thx for the idea.
-
Vinegar works well on rust.


Frequently asked questions
Have a question about this project?
Very nice. And since there are very realistic looking faux succulents I think that’s the best.
Unless they can be in full sunlight living succulents won’t survive.