


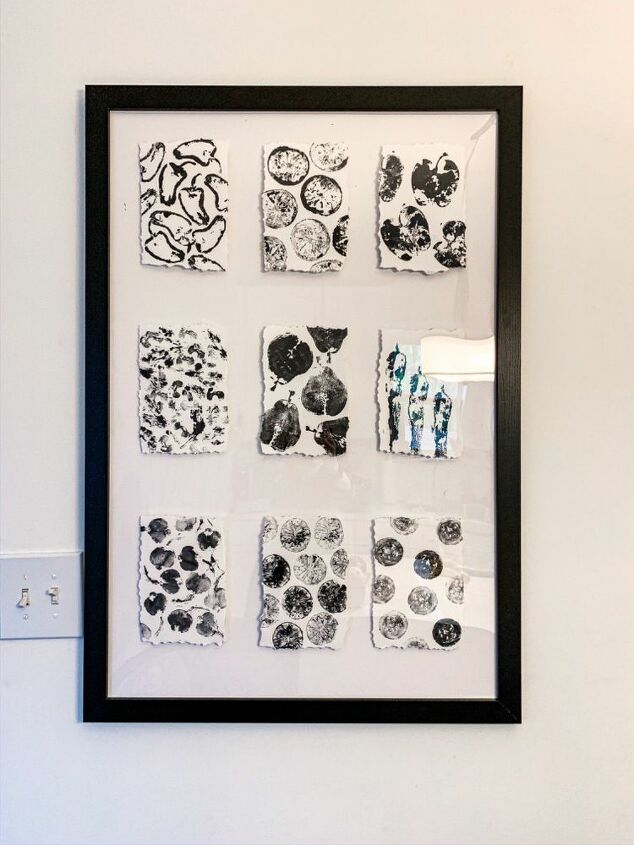
Abstract Kitchen Art
Stamping with paint isn’t just for kids! I decided to make a grown up version of stamping fruit and veg for my kitchen wall into abstract art. Generic ‘prints’ of art in this size can run anywhere from $80+ in our favorite home stores.
Making your own art is easy, much cheaper and is an original with all its glorious texture. With an ordinary Michaels coupon I paid less than $15 for the frame and cardstock, everything else I already had.
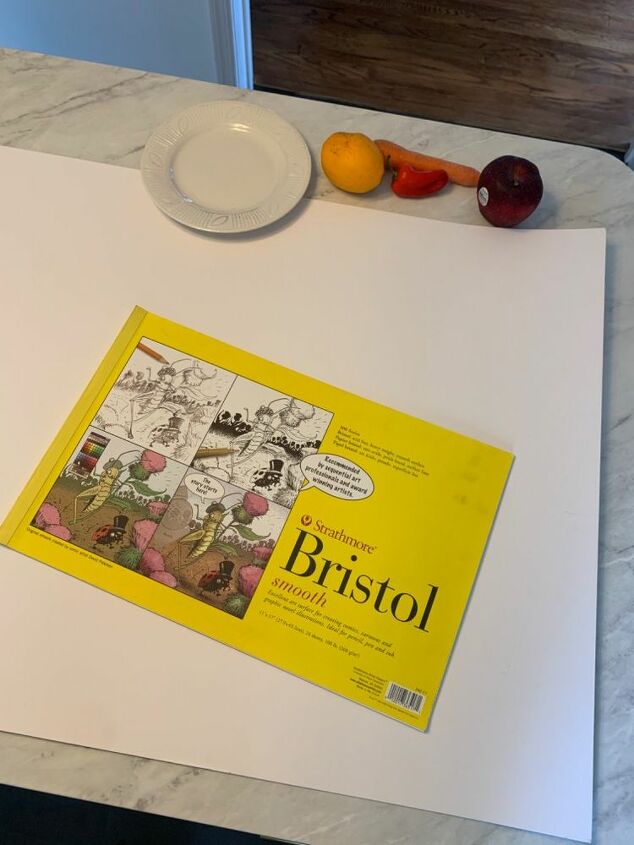
A frame (mine is 24x36), white cardstock to fit the frame, acrylic paint, fruit and veg, an old plate to put paint on, thick art paper (I used the kind for pen and ink), cardboard, paint brush, scissors and a glue gun.
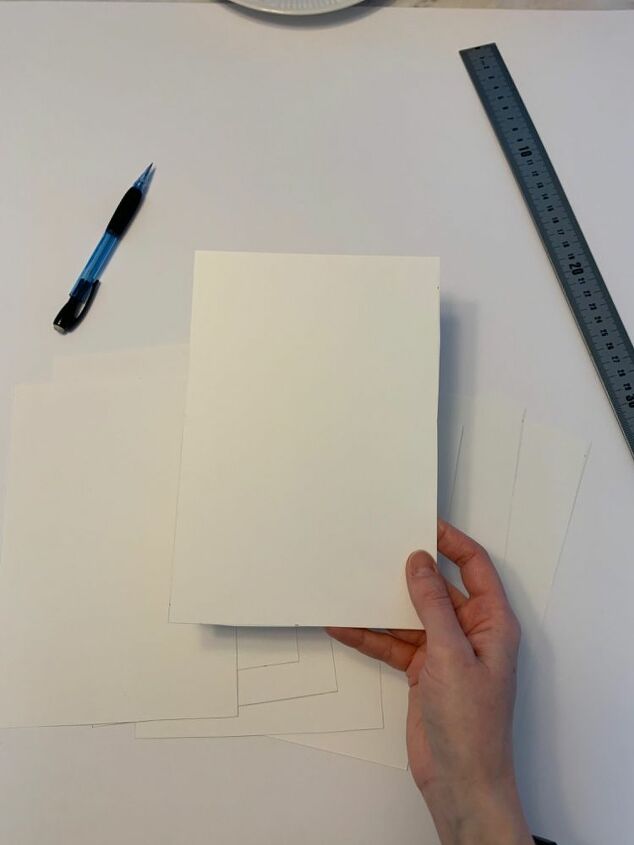
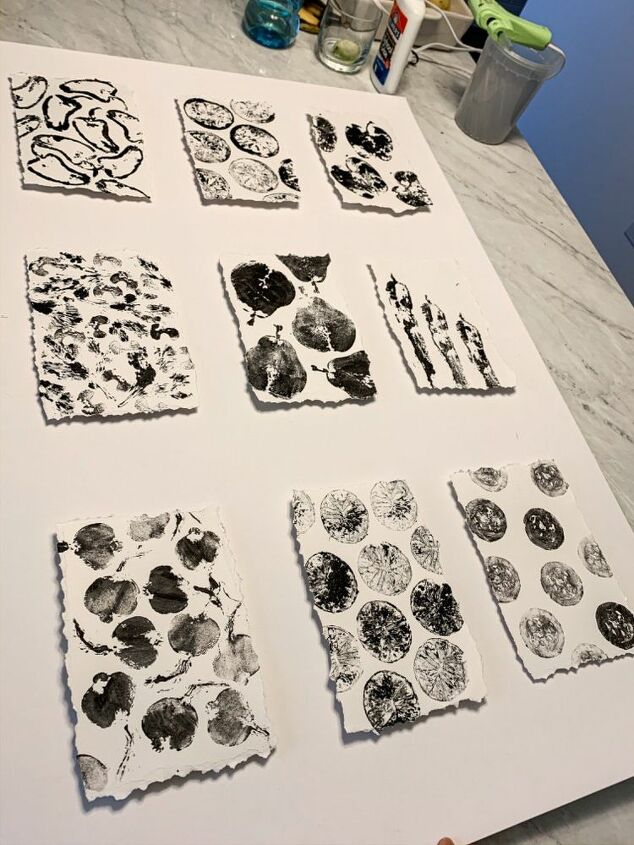
You can print right onto your white cardstock, but I wanted this to look a little more arty whilst also adding some depth so I started by cutting out 9 pieces of my art paper into tiles measuring 21cm x 14cm each.
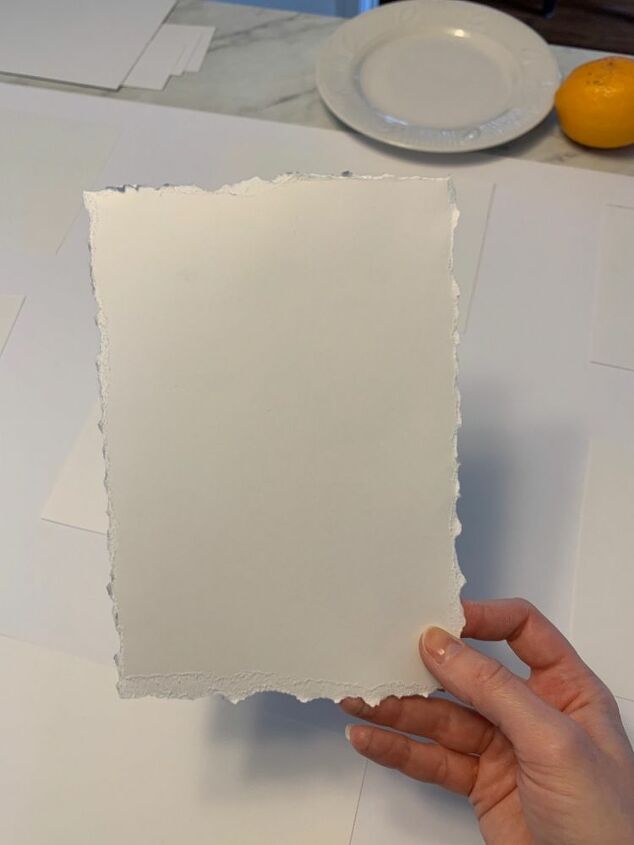
Tear down the edges on all sides on the 9 tiles removing just enough to give you a ragged edge. The ink Weight paper is perfect here because of its multiple layers.
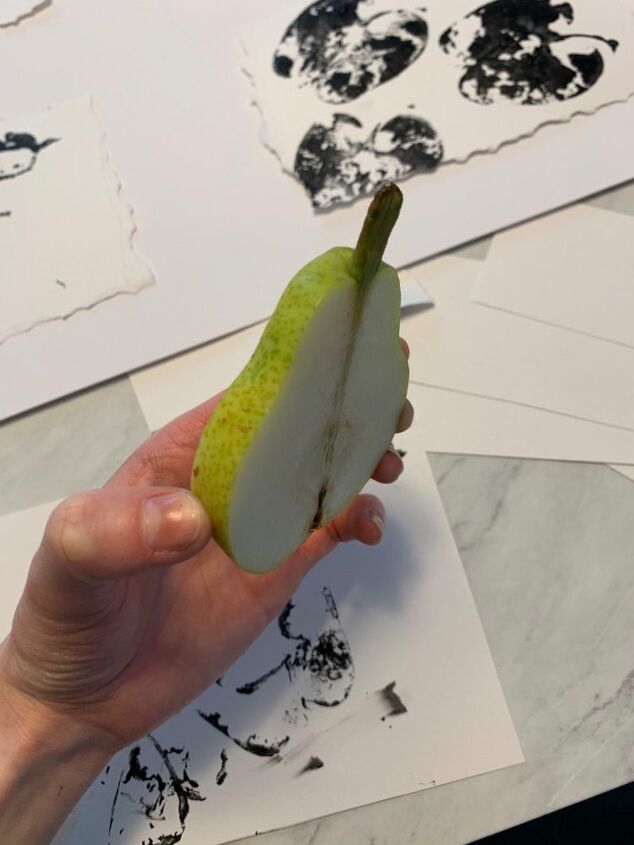
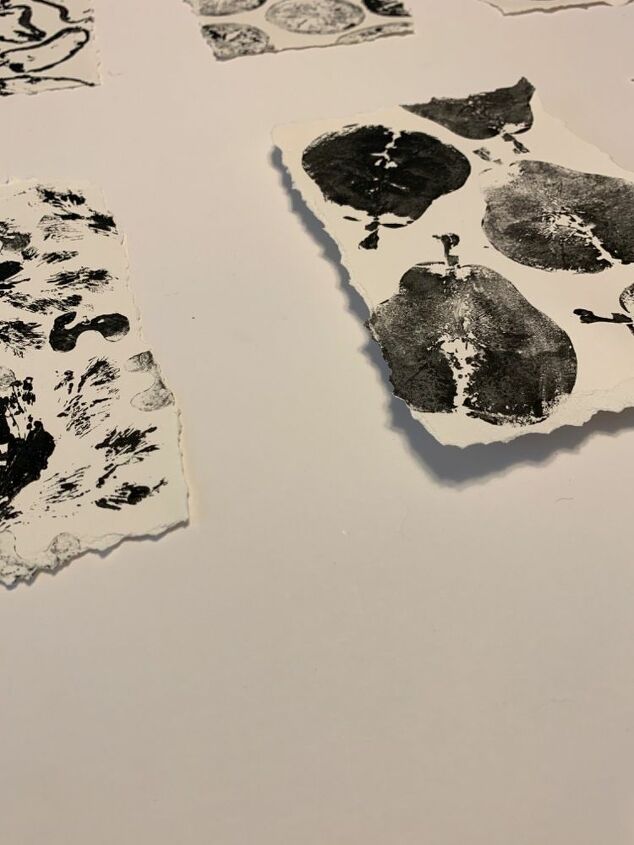
When you’re ready to cut your fruit and veg think about the details you want to print, like leaving the stalk on an apple or pear, leaving the seeds in a Chili, or leaving the roots on a radish like I did below.
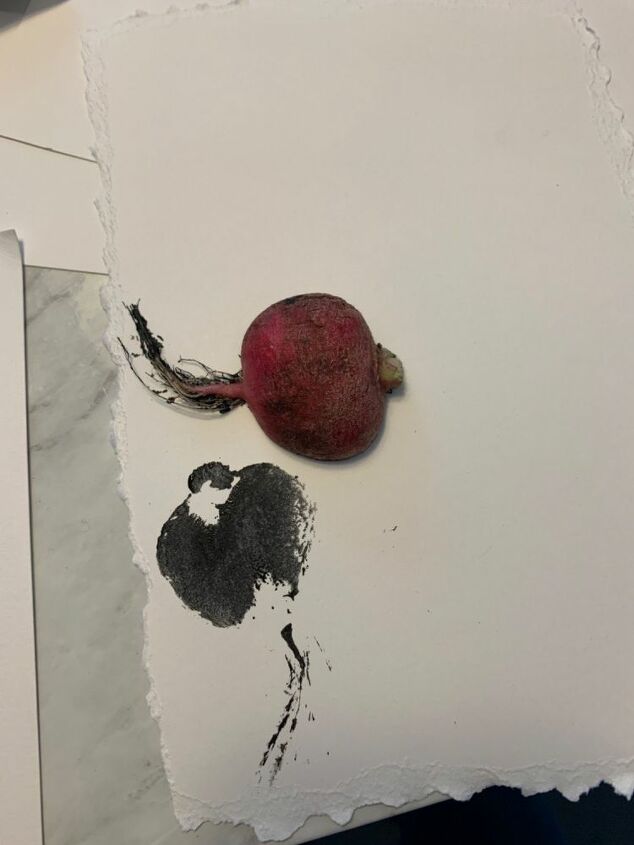
It works best to brush the paint lightly onto the fruit and veg. If you dip it, it tends to be too heavy and you won’t be able to see any of the pattern from the fruit.
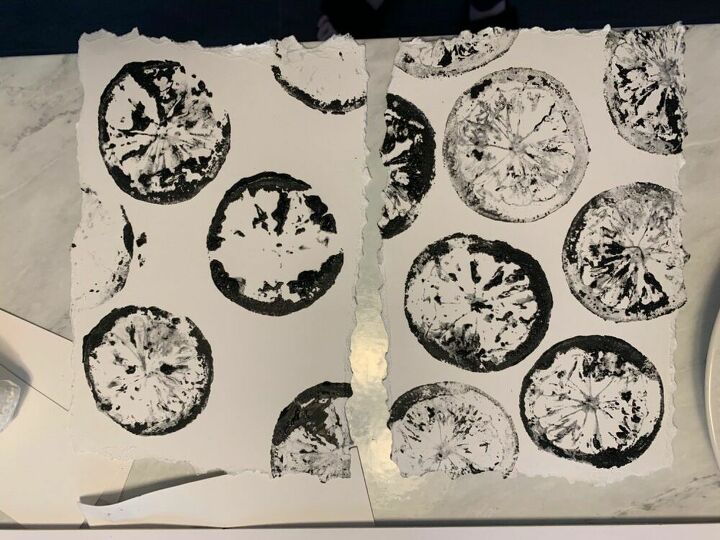
When it comes to citrus fruits like lemon and lime, through trial and error I found that it works best to dry the lemon with a paper towel just enough to let the paint stick to its texture. The picture on the Left is without doing this, and the right picture is much better after using the paper towel.
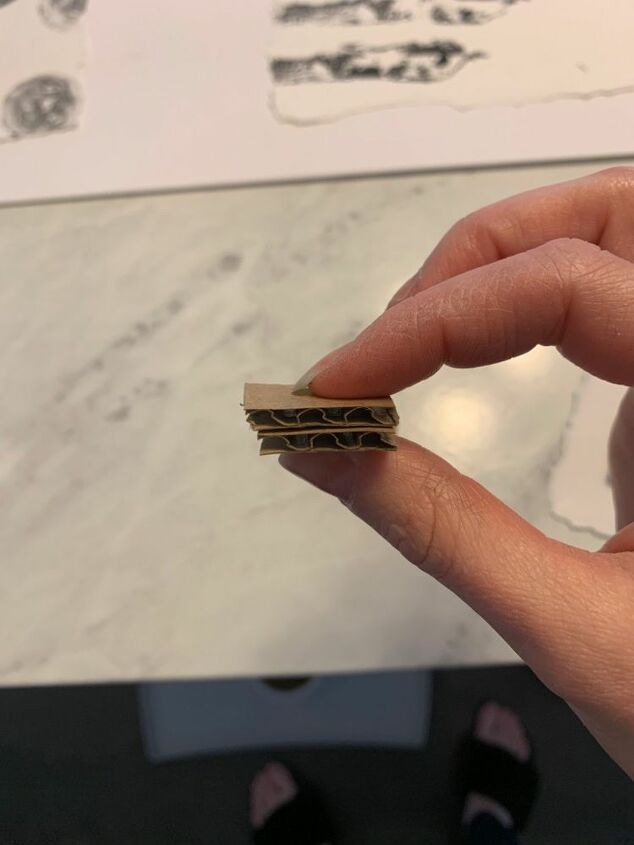
While your stamped work is drying, cut cardboard into small squares and use the hot glue gun to glue two together. You’ll need 4 of these doubles for each piece of paper.
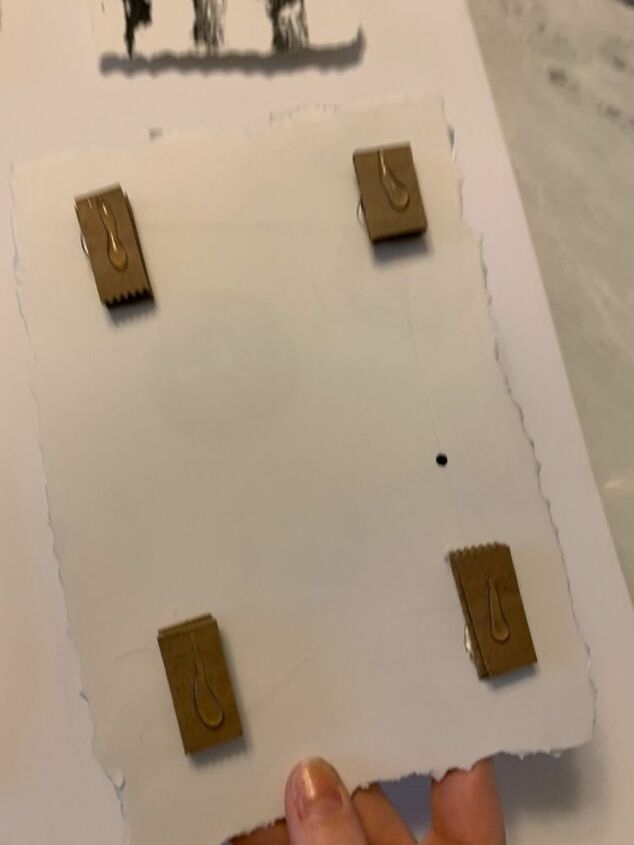
You’ll need to work quickly here so the hot glue doesn’t set. Start with the middle tile and work 1 tile at a time and Glue your doubled squares onto the tile just set in slightly from each corner. When you’re ready, put a blob of hot glue onto each of the 4 squares and quickly position your tile onto the cardstock. We start with the middle so that we can make sure everything is centered.
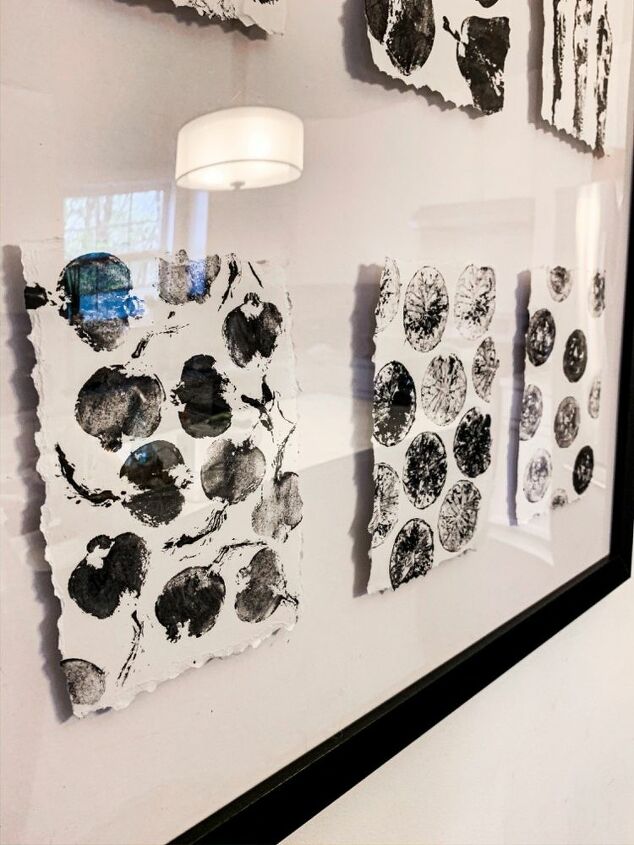
Make sure the paint is all dry before framing
Resources for this project:
See all materials


Comments
Join the conversation
-
FANTASTIC!!!!.
-
I like the top three the best.


Frequently asked questions
Have a question about this project?
What veg did you use on middle row left tile? All the others I can work out but not that one! We did similar with fabric paint and made a table cloth and napkins with leaves, certain flowers ( e.g. Buttercup work well) and apples etc. Love your b/ w scheme.
Very cool idea! Once put together, was the frame different in some way that prevented squishing it flat and losing the depth? Or was the cardboard heavy-duty enough to keep the depth and just make everything a super tight fit? Thanks!
can you do this with leaves?