


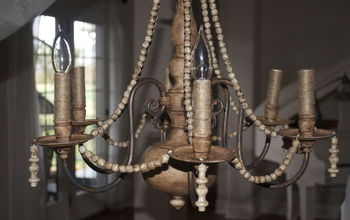
Makeover an Outdated Chandelier

This outdated chandelier
was actually in the formal dining room when we moved into this house. I didn’t care for the chandelier in the casual (opposite of formal) dining room, because the globes and bulbs pointed down and I felt like it was too much light right on the table. So we switched the chandeliers and this works much better for us. Our formal dining room is a home office now anyway, because, well because we’re not very formal.

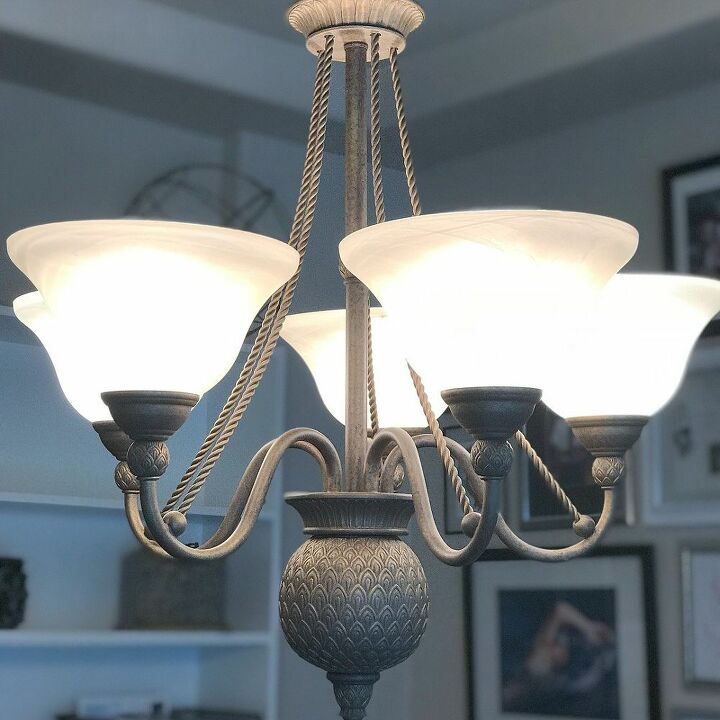
This chandy was dark and heavy looking
and I felt like it would be better if it was lighter. Nothing a can of paint wouldn't fix. Now you know I have a certain color palette that I prefer so I was concerned that finding the right white in a spray paint might not be easy. Boy was I wrong.
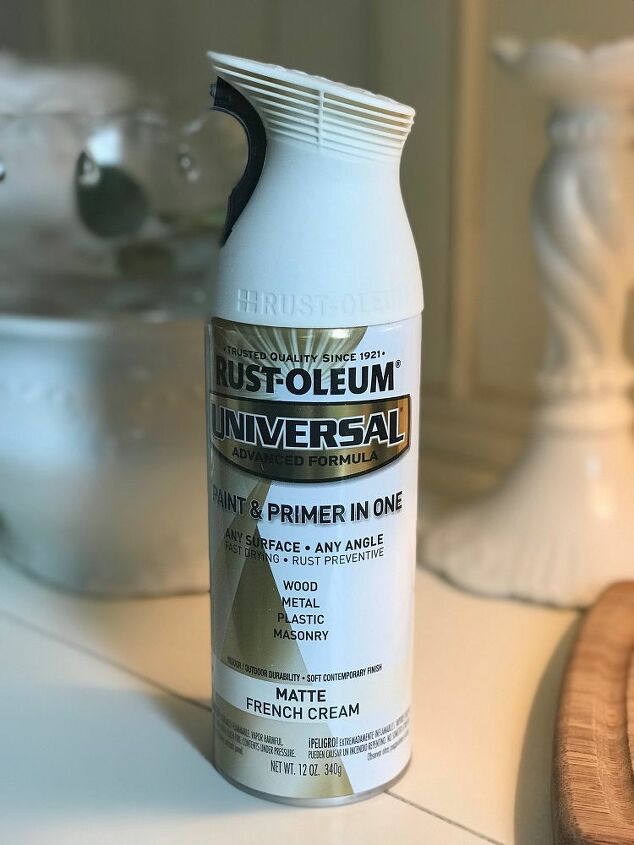
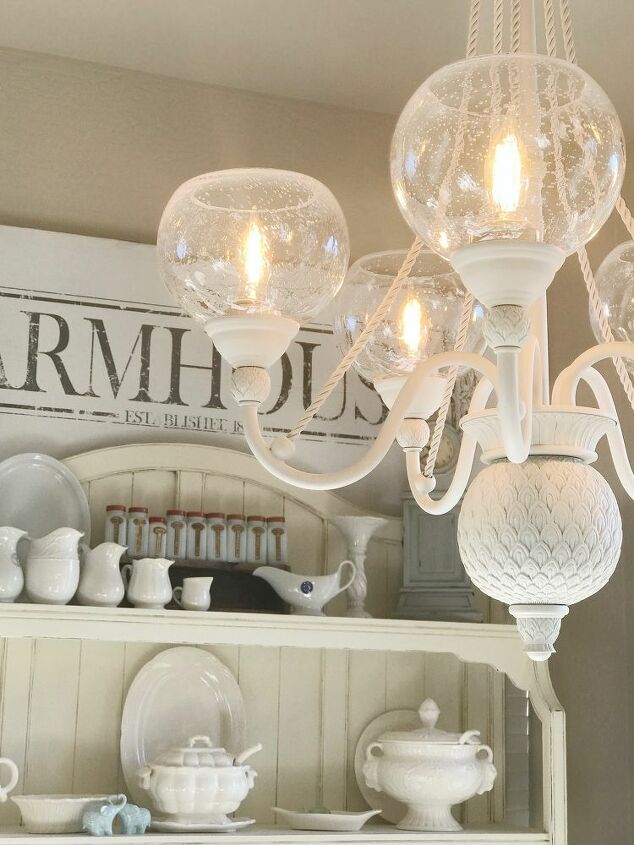
Hello Rustoleum French Cream!
Even the name is pretty! I've used Rustoleum before with great results so when I saw the cap color on this can I figured it would have to be pretty close to my Hutch color as well as the base of my dining room table. Hah! Near perfect is more like it.
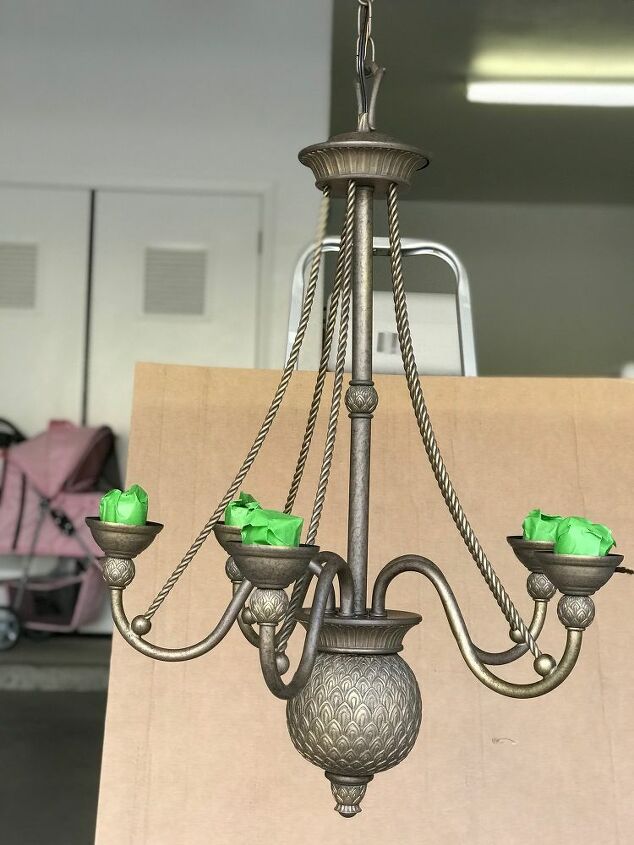
My handy husband, Dee, took the chandelier
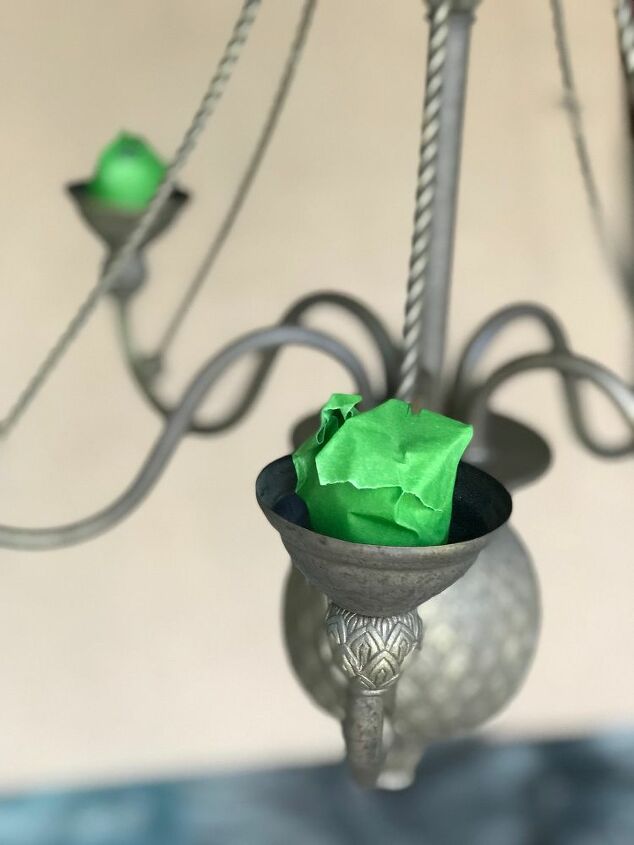
down again and we hung it from a ladder in the garage so I could have my way with it, so to speak. I'll admit right now, so everyone knows, I am NOT a fan of spray painting! I hate the fumes and the overspray/paint-dust that gets EVERYWHERE. Ugh! I feel like it's more trouble than worth, but painting such spindly little parts of this light fixture would not be easy with a brush. So spray paint it I did! I taped off the sockets but painted everything else, even the chain. Another thing I don't like about spray paint is waiting for it to dry, it just seems to stay tacky much longer than chalk paint, but I'll stop complaining now. :)
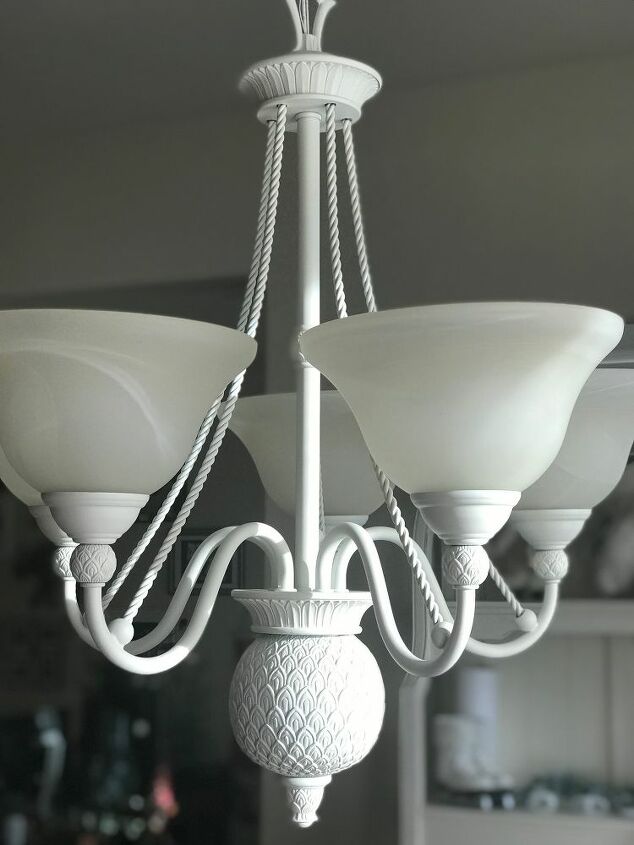
I ended up putting 3 coats of spray paint on it
to make sure it was good and covered. Then I let it dry for 24 hours before bringing it back in; I wanted to make sure it was good and dry and not tacky because I knew it would get handled a lot in the re-installation process.
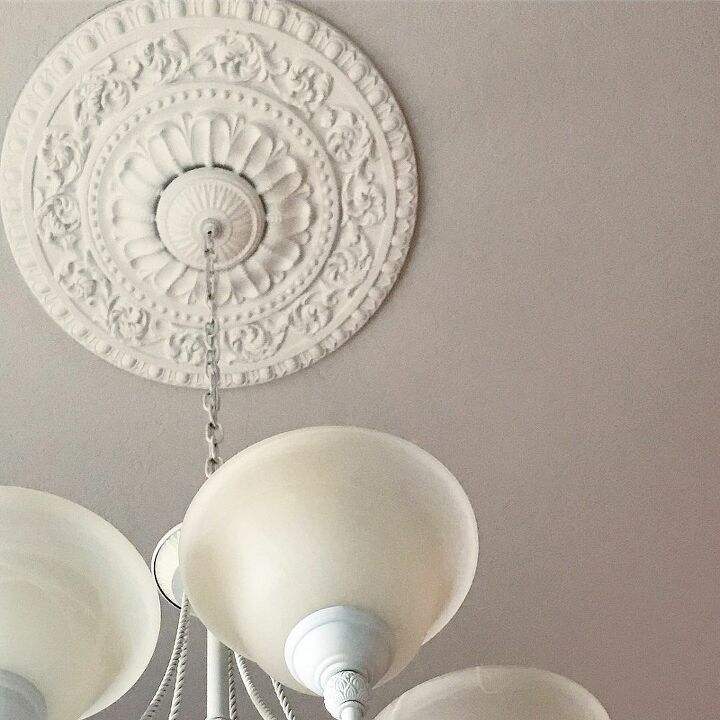
I was very happy with my New-to-Me chandelier...
but it still needed something...something to set it apart from...well...from the ceiling (if you will). That's right! It needed one of those ceiling thingies. What are those called? Hang on...gotta ask google. Ceiling Medallion!!! I found ours at www.udecor.com and this was the very best price for this size. It had really good reviews so I gave it a shot and... I love it! It's a quality piece of material. It's solid and sturdy and paintable...so of course...I painted it to match the chandelier. Perfect!
It's a pretty great transformation for under $50!
here's a reminder of what it looked like before.
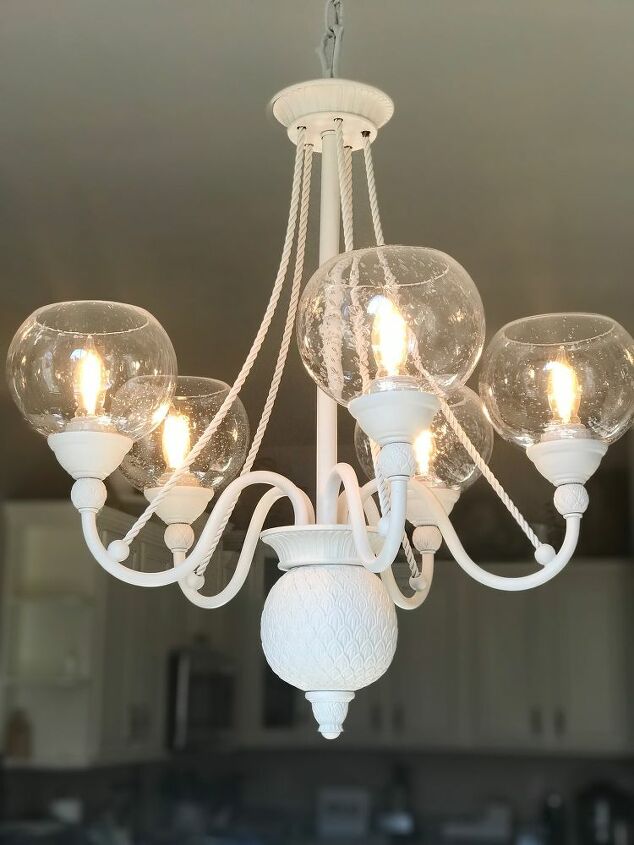
And after!!!
Goodbye old ugly globes,
I had the Bright idea to replace those ugly 15 year old globes with these fabulous seeded globes from Lowes, these seeded glass globes were exactly what I had pictured when I decided to change them out.Never doubt what you can do with a can of paint, new accessories...and a little time!
Happy Painting my friends,
~Cindy~
Resources for this project:


Comments
Join the conversation
-
Love it, looks beautiful!!!!!
-
Love it. Great job.


Frequently asked questions
Have a question about this project?
If it's brass, should it be sanded before spraying? Yours looks great
I thought you said the original globes and bulbs pointed down giving too much light on table. In both before and after pictures the bulbs and globes point up? I really like the transformation. Beautiful!
Love it!