


Easy Tips for Creating a Feature Wall With Wallpaper
Wallpaper is making a huge comeback and it is the perfect way to easily create a stunning statement wall. Wallpaper is really easy to work with and this post will give you some helpful tips and tricks to get it perfect the first time!
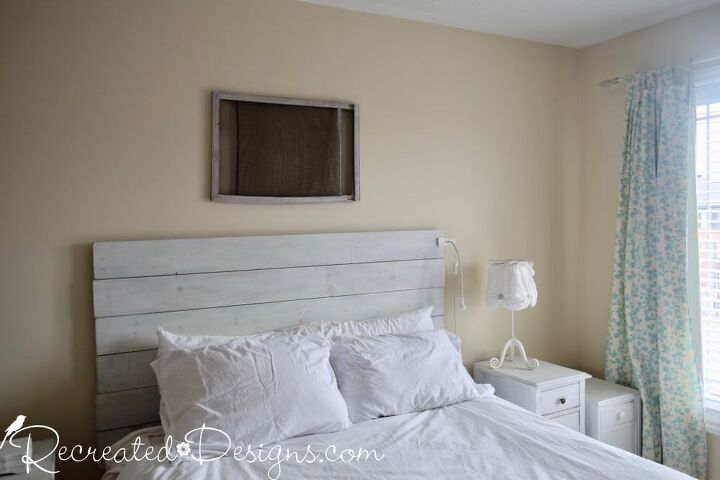
My master bedroom has been on my list of projects to get too for some time and I decided it was now or never. It quite desperately needed to be refreshed and things needed some serious changing up.
I decided I really wanted to have a beautiful statement wall behind the bed and I thought I would give wallpaper a go.
Hanging the first piece of wallpaper is the most important part of the whole process. If you get this piece right, the rest of the wall will just fall into place so taking the time to get it right from the start is really important.
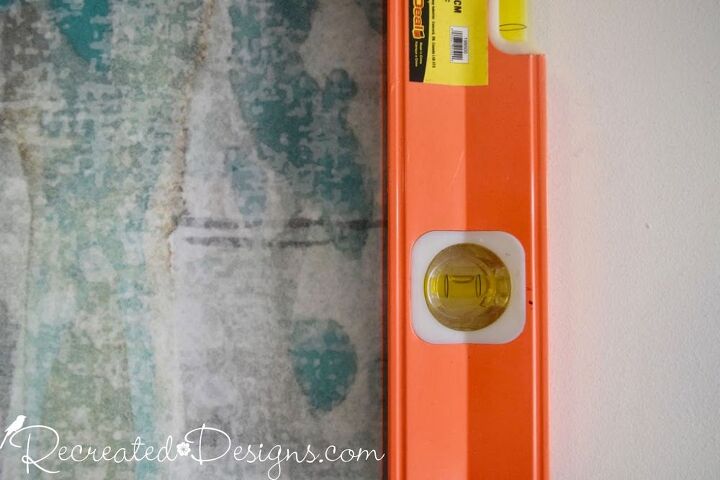
I found it easiest to measure the width of the wallpaper, and then make marks the same length from the corner out onto my wall. Once I had made marks from top to bottom I used a level to line up the marks. What I found is that my wall was not even from the corner.
If I had hung the first piece of paper without finding this out, and had just assumed my corner was straight, each piece of wallpaper would have been on a slant.
In order to get the first piece hung correctly, I had to lay it even with the marks closest to the corner and then wrap a little bit of the paper around the corner at the bottom. I would end up trimming that bit off later so that it was flush to the corner.
With the first piece hung, I checked the edge of the paper with my level to make sure it was hung straight.
This step ended up being the most labour intensive but again, once it was done and that first piece was straight and true, the rest was a breeze.
With the first piece straight, it was easy to move along the wall hanging sheet after sheet. There is no need to overlap wallpaper at the seams but it is important to make sure each piece butts up neatly to the one before.
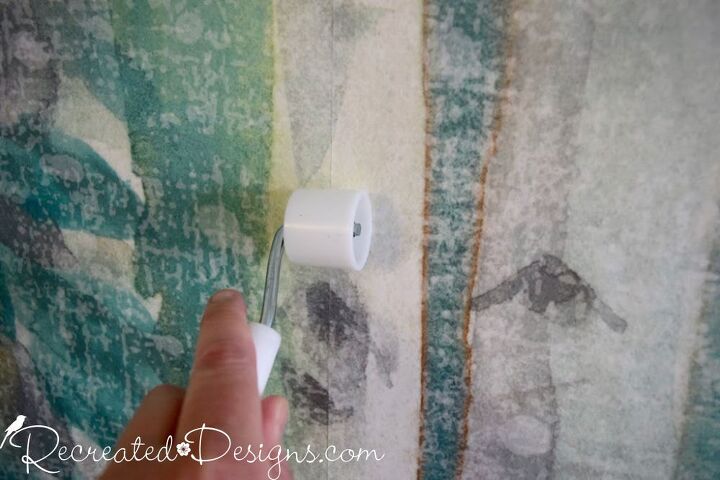
As each piece was laid in place and smoothed out, I used a little roller to run up and down the seam. This smoothed out the edges and made sure that they were securely stuck together for a seamless finish.
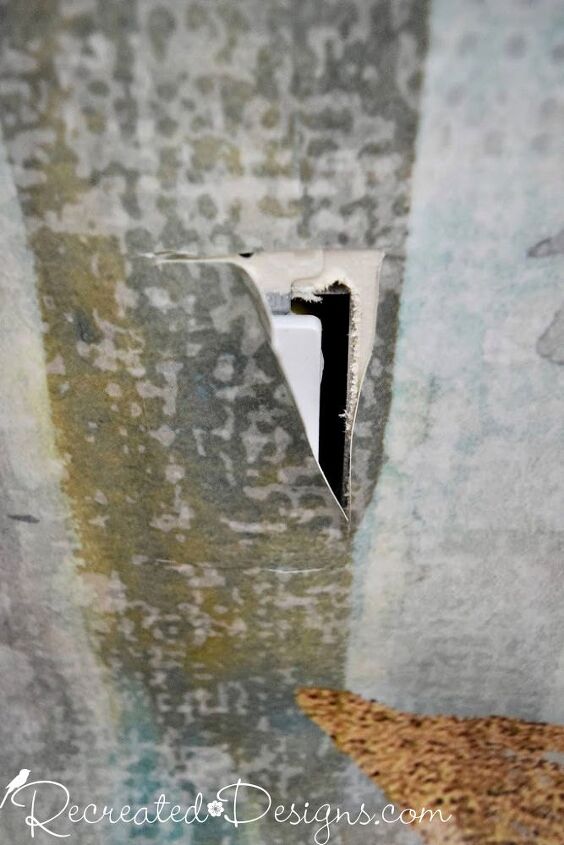
Before trimming the edges, make sure to expose any outlets or switches. To trim around their edges, start on the left or right side and slip the Exacto knife into the hole and slice down until you have it cut. (you may have to lift the paper so that you have some slack to work with). Then, lay the paper flat to the top edge and slice it. Continue laying the paper flat to each side and slicing it until you have the outlet or switch hole cut out.
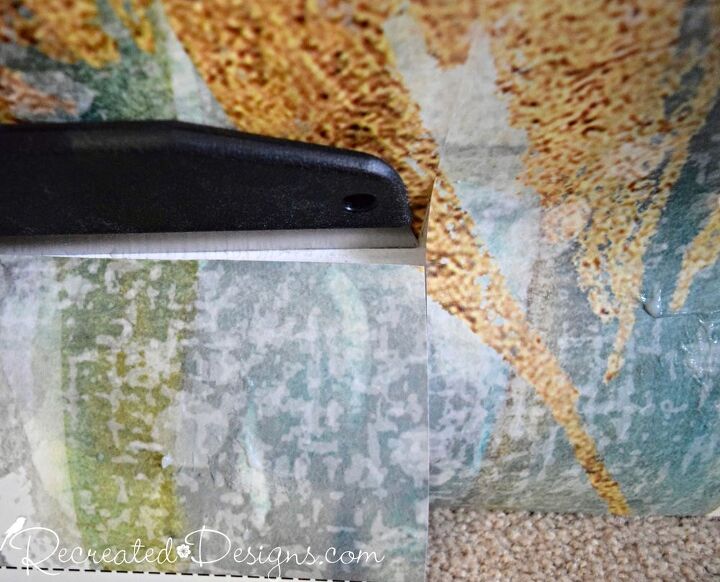
The final step is to trim the excess wallpaper off. I laid a straight edge into the corner, held it in place tightly and then used an Exacto knife to trim off the extra paper. Holding a straight edge tight against the paper gave the trimmed paper a nice even finish.
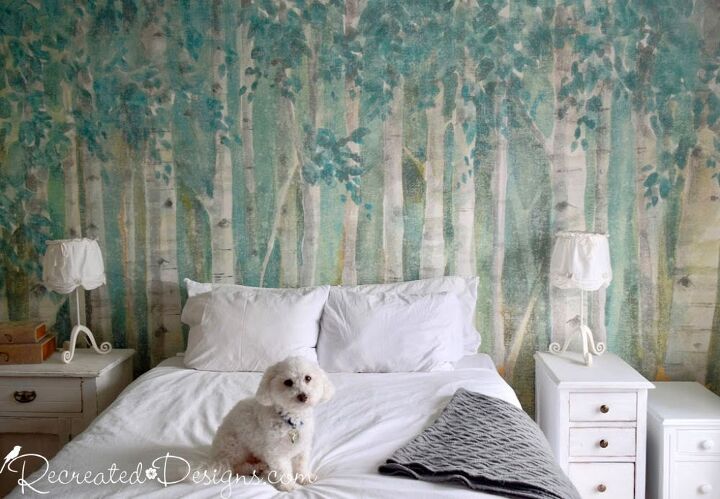
I am absolutely thrilled with how the wallpapered wall turned out and it was so much easier than I had anticipated.
To see more pictures and the original RECREATED DESIGNS post, click here...
To read about why creativity is so important during stressful times, click here...
Resources for this project:
See all materials


Comments
Join the conversation
-
I'm in a bad low stress situation ,ok here it goes a small vintage travel trailer. dilemma.paneling .both walls / cabinets not alot of wall .but alot of windows which or nice. IE .vintage .79 one axle wilderness Fleetwood.
-
I love the wallpaper and your cute little dog.


Frequently asked questions
Have a question about this project?
What is the name of this wallpaper? I absolutely love it!
I am speechless that paper is BEAUTIFUL. I LOVE IT !!! I am a total nature lover . I find every way I can to bring the out doors in. I am remodeling and my bedroom is in turquoise shades and birds. That paper would look great behind the bed. Are you willing to share ?
What are the dimensions of your wall?
'Just wondering how far the $200 cost of the wallpaper goes..........