


Redoing an Old Trunk Coffee Table

Like the rest of the world Covid 19 turned my life upside down and any creativity I had disappeared and it became all about staying safe and healthy. The lockdown gave me a chance to do alot of cleaning and purging, things I wouldn't normally do. During this cleaning I came across some peel and stick wood planks I had purchased and put aside. Nice way of saying I actually forgot I bought them .Lol... So... I decided to put them to use. I made a coffee table out of a old trunk that my grandparents had used over a 100 years ago when they immigrated to Canada. I had initially painted it and added legs and a piece of glass to the top. That was over 8 years ago so it was due for a quick update, and I had nothing but time on my hands....
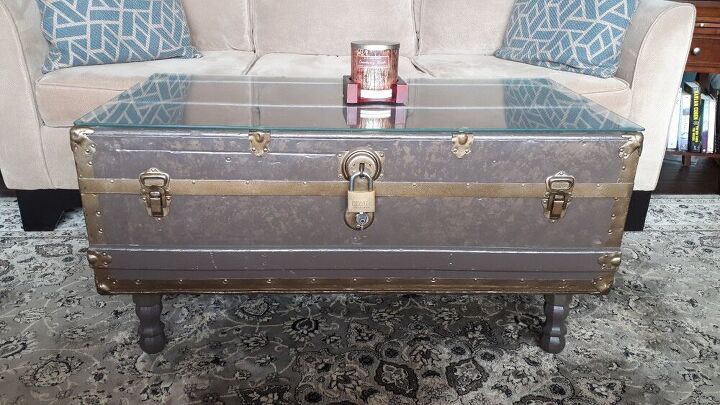
So this was what the trunk looked like when I redid it the first time. To prep the trunk I removed the glass and washed the trunk with soap and water to remove dust and dirt.
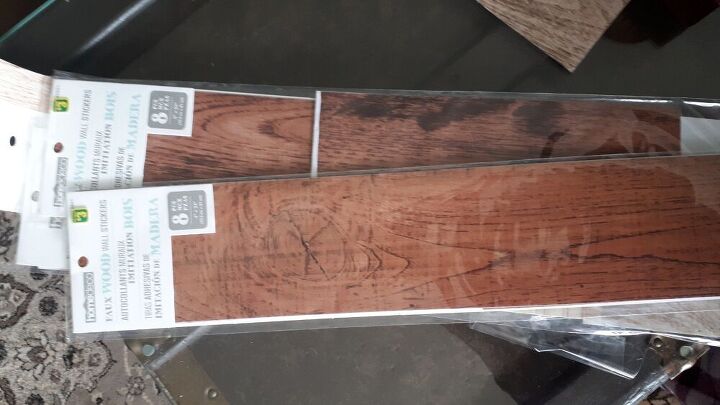
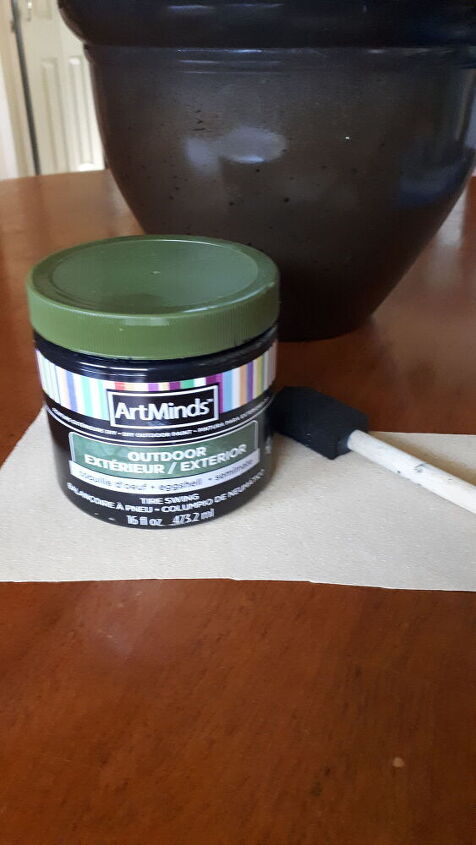
I bought this at my Dollar store awhile back and forgot I had it. For those wondering Dollarama stores still stock this item and it comes in different colors. And yes Dollarama is still open!!
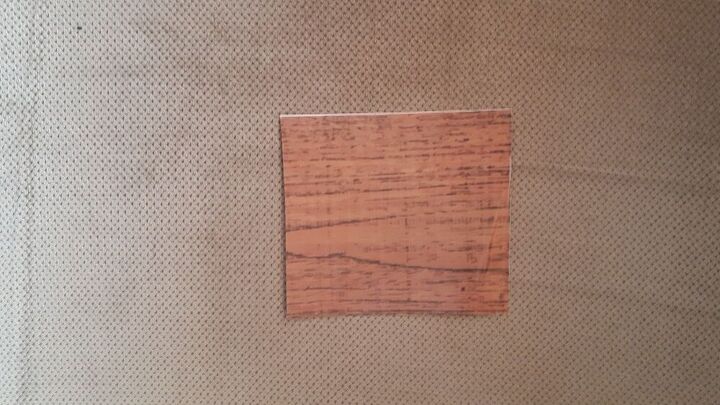
So now it was time to begin a very tedious task, but hey like I said I had nothing but time on my hands. This trunk had alot of detail on it so it required alot of cutting. So using an exacto blade I just measured and cut the pieces to fit, going around the entire trunk and cutting around all the metal latches and hinges with my blade after it was applied. Pretty simple!
This is the first side completed. Continue on with other 3 sides, measuring, cutting and peel and stick.
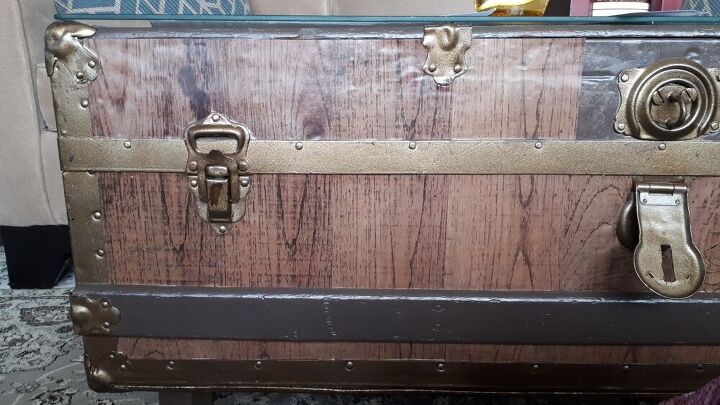
So if you noticed in the previous pictures the trunk in the front had a piece of wood near the bottom , had 3 pieces going across the top of the trunk also. They were all painted brown. So using some black paint I had I decided to change it up and paint the wood black. I did this using a sponge brush.
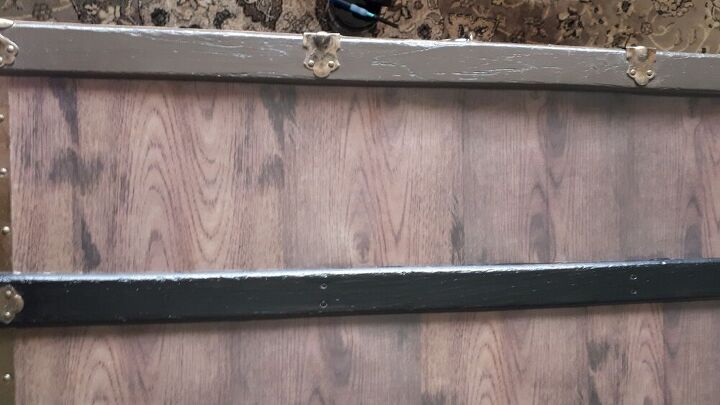
This is the top of the trunk, you can see the brown slat and the painted black one. I also painted out the legs that were brown .
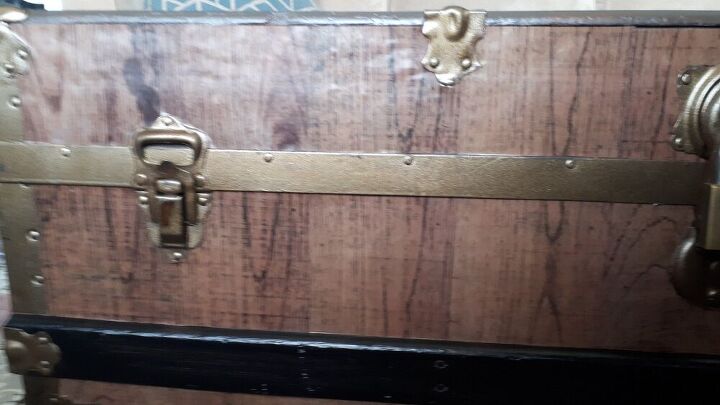
So the trunk had this metal strapping all around it and was gold, so I wanted to age it a bit. Using my black paint and a small brush I added a small amount of paint and dry brushed it on the gold strapping.
So this is a picture of the gold trim with the black added.
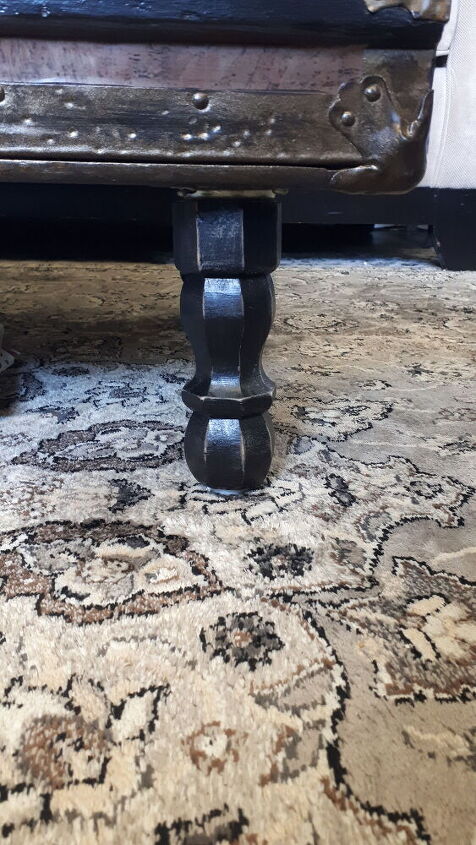
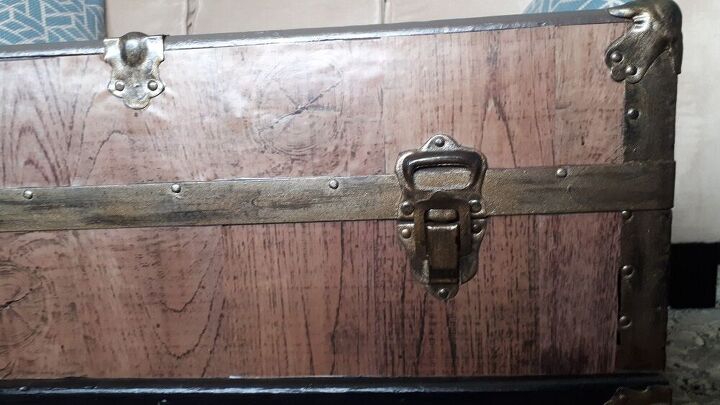
So I wanted to age my painted legs, so using some fine grade sand paper I sanded my legs and the wood slats.
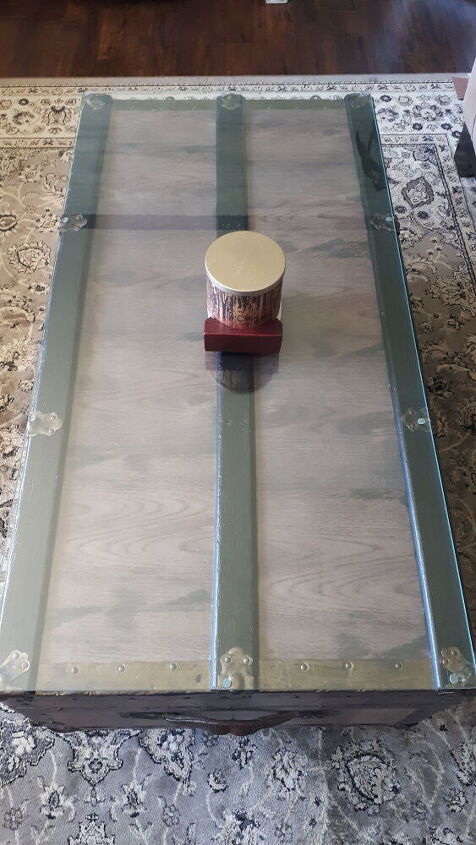
This is the top of the table with the glass back on top.

My trunk is finally complete. I love how this simple update turned out. It was super easy and didn't cost me anything as I had all materials . Have to love projects like that.( If I had to purchase the peel and stick faux wood it would have cost me $16 ) Eventually when things start to reopen I would like to replace the lock with antique one. But for now Stay safe and Be Well everyone!
Resources for this project:
See all materials


Comments
Join the conversation
-
You did a great job, it looks lovely....


Frequently asked questions
Have a question about this project?