


How to Paint Chair Upholstery Fabric
This post was written in collaboration with Zibra Brushes but all thoughts and opinions are my own.
Have you ever painted upholstery fabric before? I tried it for the first time last year and the result is amazing!
After another week of quarantine, I need to keep busy. For me, keeping busy is a distraction that brings me joy. I love tweaking things in my home to make my surroundings more beautiful. My latest project is painting fabric on a chair. It's an easy improvement that can transform a piece for very little money.
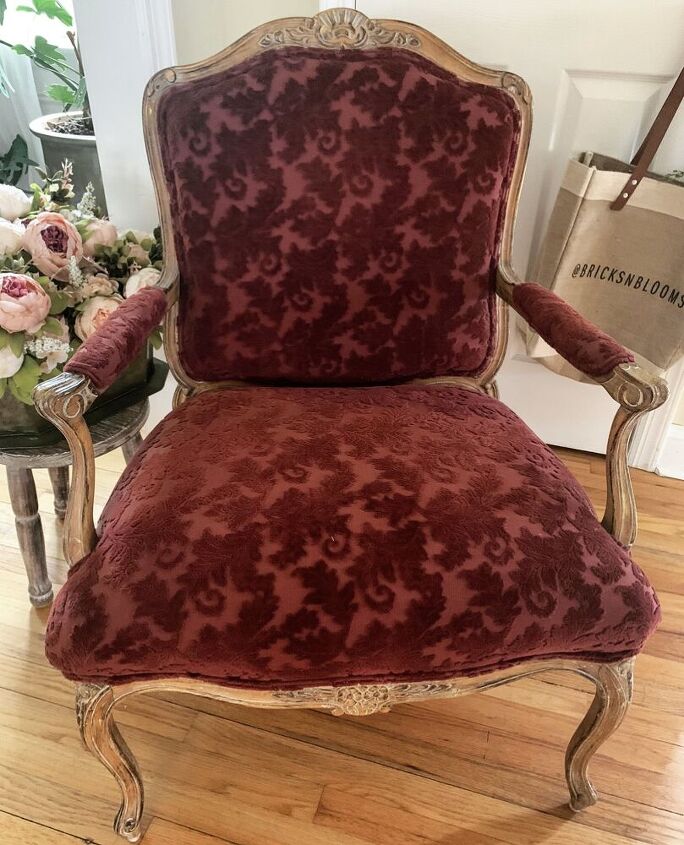
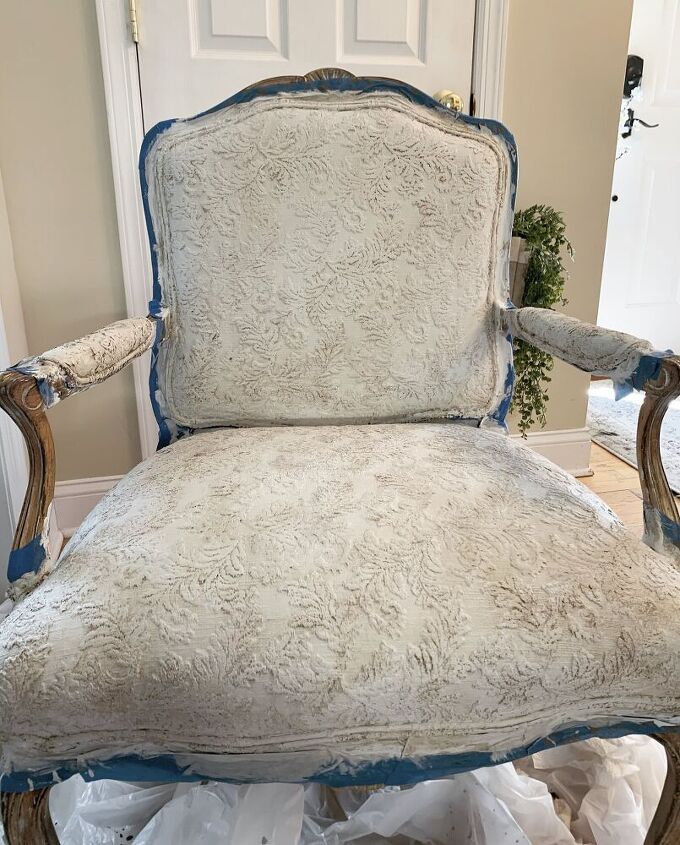
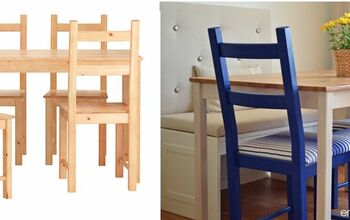
When I refreshed my home last year from a sage, gold and cranberry color palette to neutrals, I needed to update a few pieces so they compliment my new decor. A few years ago, I bought this vintage chair on Facebook Marketplace for a steal. I didn't love the chair fabric, but it worked with my decor at the time.
Since lightening my decor to neutrals, the chair's upholstery fabric is too dark for my home. While I could recover it, I don't want to do that much work with it or spend a lot of money on it. I'm going to paint the fabric instead!
I painted the upholstery fabric on a family heirloom bench last year and the results are incredible! I decided to do the same thing with this vintage chair and love how it turned out.
It's a good thing I had all of my supplies on hand. With the stay-at-home orders, it's been challenging to obtain supplies. But thankfully I had everything on hand, so I was ready to get started.
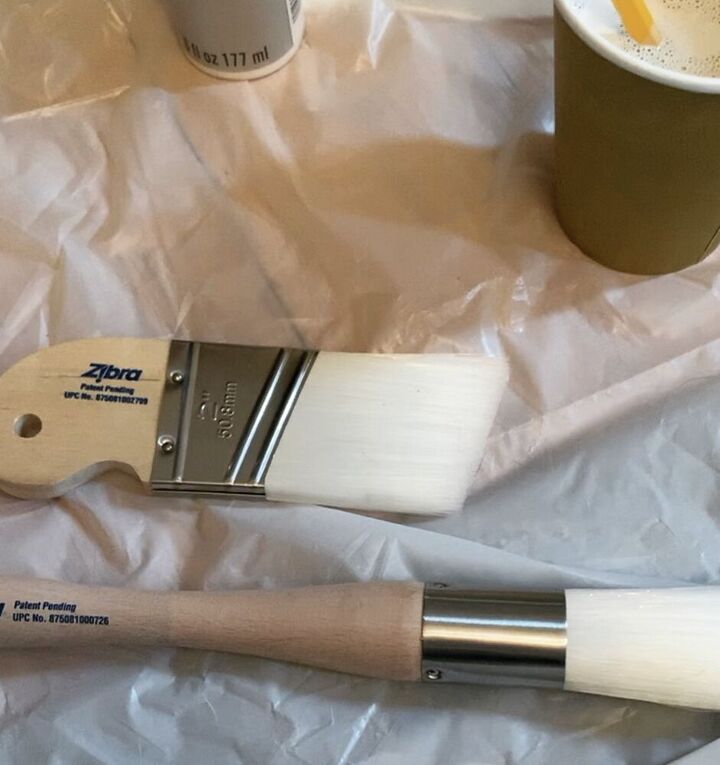
I recently scooped up a few great paint brushes from Zibra and wanted to pass them along because. These brushes are a must-have if you paint a lot and your hands tire easily. They are great quality and are very comfortable to work. Oftentimes when I work on projects, my hands get really tired from gripping the brushes and working the paint. But they did not tire at all using their brush on this project.
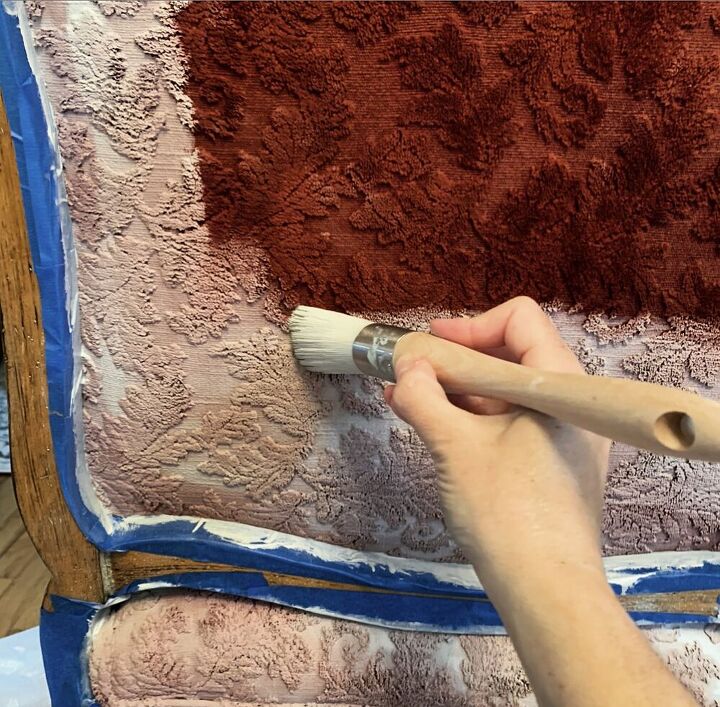
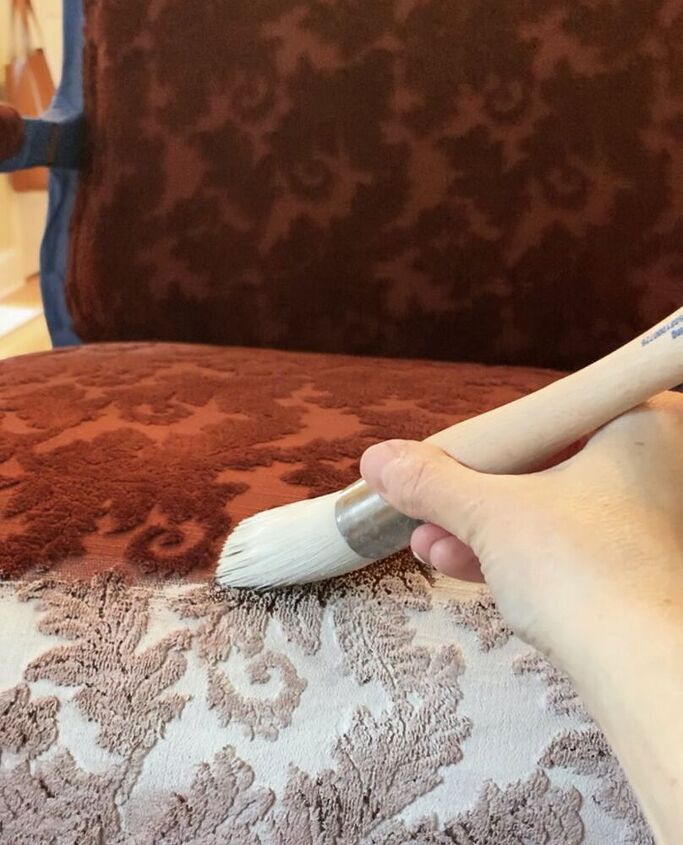
While I received a few different Zibra brushes, I used the 2" round brush to paint the chair fabric. The long soft bristles made the brush very easy to work with and helped apply the paint into the textured fabric.
Most round brushes I work with have shorter and stiffer bristles that require more physical labor while painting. Using the Zibra brush with longer softer bristles was almost effortless and much less tiring. My hand was not stiff and sore at all after finishing. So I'm excited to use the other Zibra brushes that I picked up for future projects.
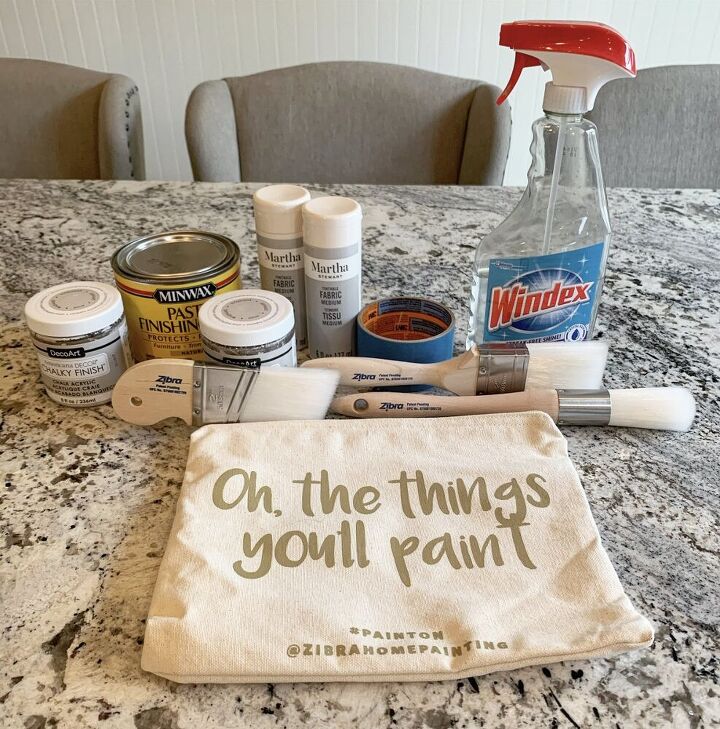
Painting Fabric Supplies
- Fabric Medium
- Chalk Paint
- Zibra 2" Round Paint Brush
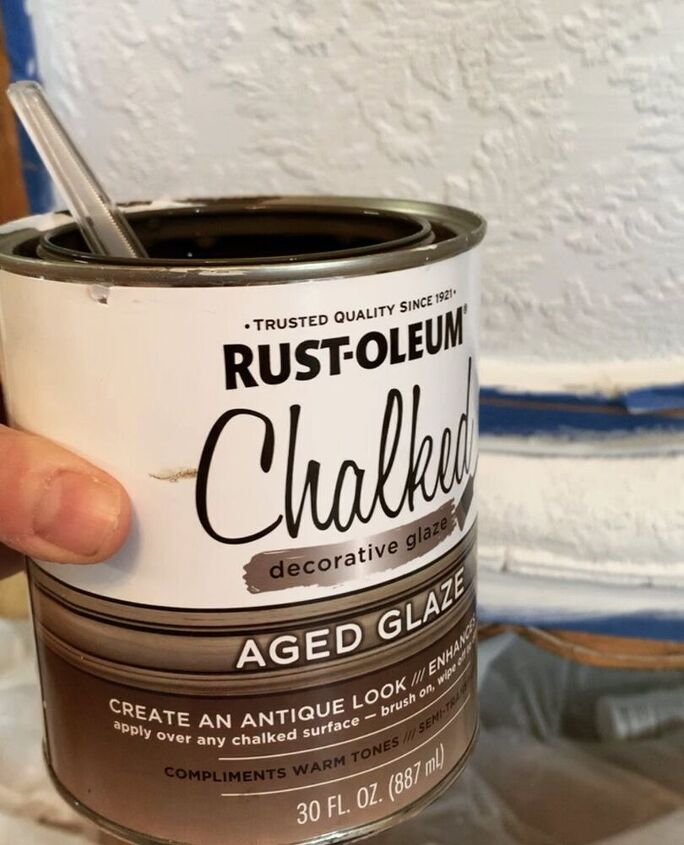
- Aged Glaze
- Water
- Painter's Tape
- Disposable Container to Mix Paint and Fabric Medium
- Spray Bottle with Water (I recycled a Windex bottle)
- Clear Wax
- Wax Brush or Cloth - figure out what works best for your fabric. I preferred working with an old sock when applying wax.
- Paper Towels
Prepare the Piece and Set Up Supplies Before Painting
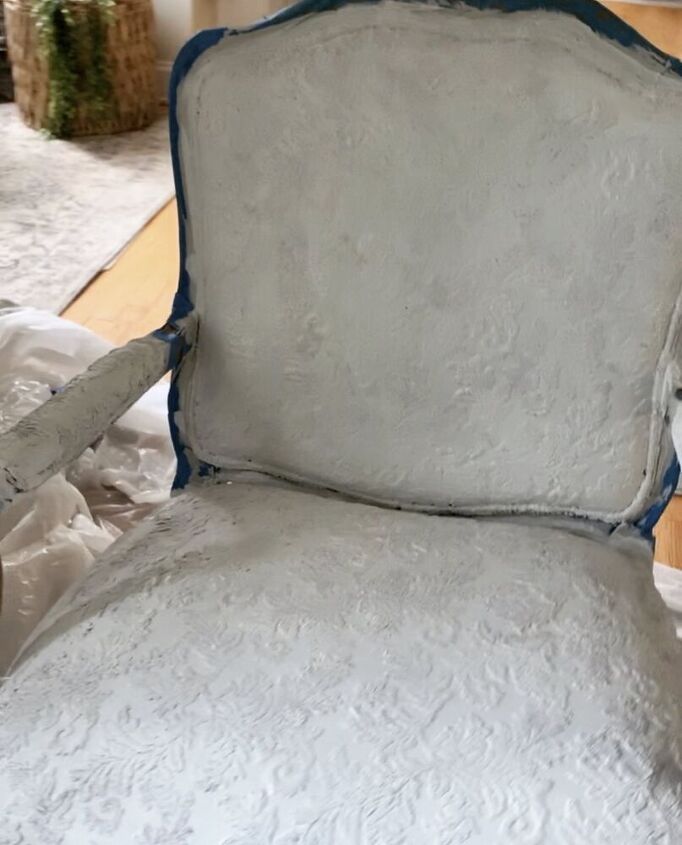
- Tape up any areas where you do not want to apply paint.
- Vacuum and remove as much lint, dirt, etc. as possible before starting.
- Mix 1 part fabric medium to 2 parts chalk paint. (I eyeballed it.)
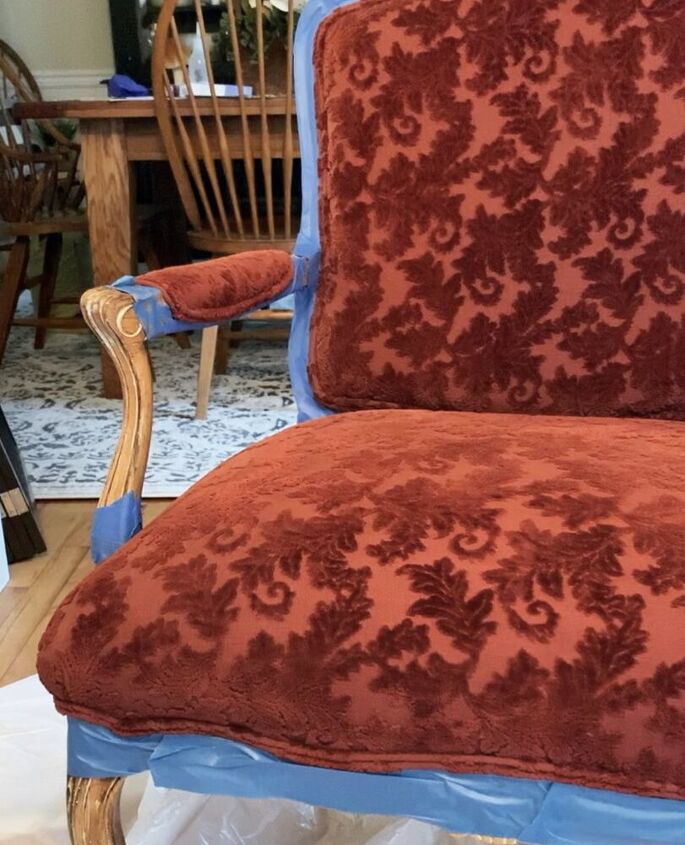
- NOTE: if you are working with raised textured fabric, I recommend applying paint in one direction. The painted fabric hardens a bit when it dries. Applying paint in one direction ensures a smoother finished surface.
- Decide what kind of brush you want to use. To me, this is a matter of preference. For this project, I used Zibra's 2" round brush.
Painting the Fabric
- Start with the back of the piece. As a rule of thumb, it is always best to begin any project with the back, inside or a place you don't regularly see. This gives you room to tweak the process or fix mistakes before you get into a rhythm.
- Spray the fabric lightly with water in the area that you are working on. Rub the water spray into the fabric so the fabric is lightly damp. The paint will glide on and soak in to the fabric better if it is damp.
- Paint fabric and allow it to fully dry in between coats. I applied three coats.
- Give painted fabric at least 24 hours to dry before top coating with clear wax. Although the chair looked really good after painting, it is important to protect the color with a top coat.

Applying Aged Glaze (Optional)
- Before top coating, I wanted to enhance the texture on the fabric and give it more of a vintage vibe. So I applied an aged glaze to the fabric. If you do not want to apply an aged glaze to antique the fabric, then skip to the waxing steps below.
- To apply aged glaze, dampen a paper towel, dip in the glaze and dab onto a section of the piece. Then immediately wipe it off with either a paint brush or wet rag. Because this fabric has such a heavy texture, I used the Zika 2" round brush to help wipe off the extra glaze in addition to using a damp paper towel. Depending on the look you want, wipe off as much or as little as you want. I recommend using a light touch until you know how much you want to antique the piece. You can always add more glaze.
- Allow 24 hours for the fabric to fully dry before top coating with wax.
Top Coat the Piece to Protect the Color
- Apply wax with a wax brush or cloth. I usually use a cloth (ie my husband's old sock) when I apply wax - it's a personal preference. Again, start with the back of the piece or in a spot you won't regularly see so you see how it goes on the piece.
- Play around with how to apply the wax. Different fabrics may work differently so see what rhythm works for you. I applied it then buffed it out to even out the finish.
- Remove the tape and give the wax time to cure before using it.
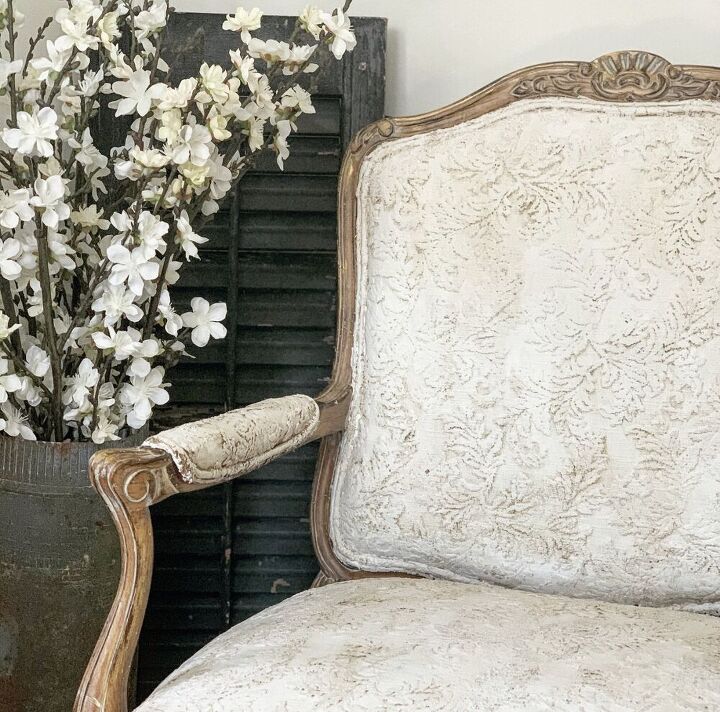
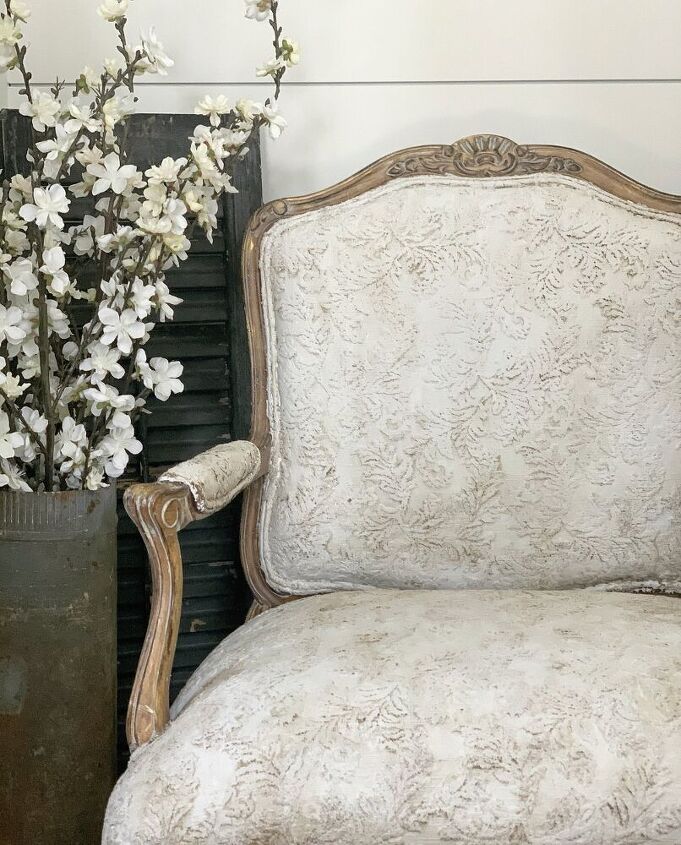
The Result
I love how the chair turned out! It looks so much better with my neutral home decor. And I'm really glad I applied the aged glaze to the fabric. I wasn't sure if I wanted to do that step or not, but once I took the tape off, I love how it looks with the antiqued wood frame.
For more DIY tips, tricks and cool project ideas, click here.
Resources for this project:
See all materials


Comments
Join the conversation
-
I love the look of this after you finished it but as soon as I saw that red chair fabric, omg, did the memories come flocking back because my grandmother had a couch in that very same fabric and that very same color! I loved her couch!
-
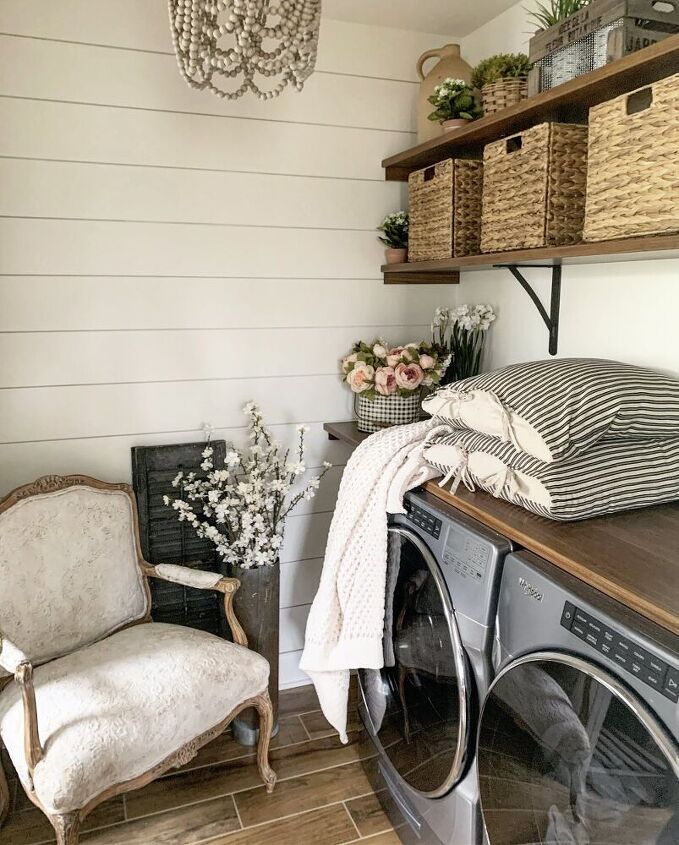
Lovely! Your laundry room is beautiful! Thank you for sharing! 🌺


Frequently asked questions
Have a question about this project?
Won’t the paint be scratchy when dry?
Is this just for show or can the chair be used for sitting without destroying the paint job?
How long does textured painting last? Is the furniture still comfortable?