


Flip Your Bathroom for 1000$

YES I said that right. I am going to show you a few ways I saved money in my bathroom reno, stay tuned ITS A GOOD ONE
I have a full video up on my youtube channel if you want to see it in done in a video form.
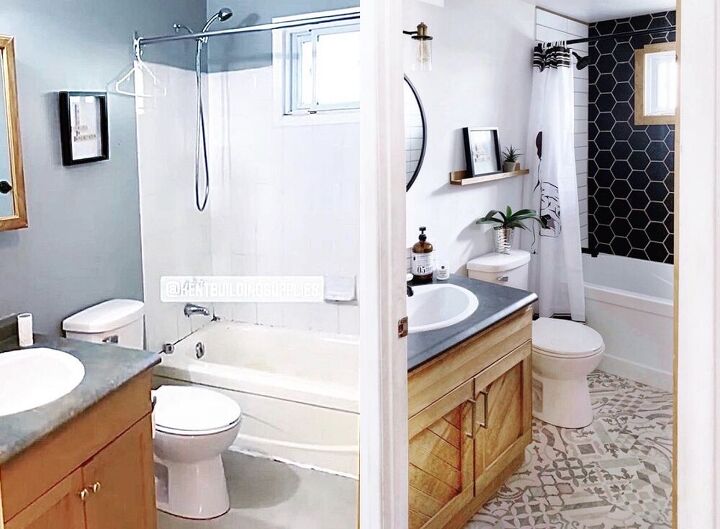
Here is a before and after of my bathroom.
New floor and tub/tile.
DIY vanity and countertop flip
DIY decor from my scrap wood
Paint I already had.
LETS GET INTO IT:
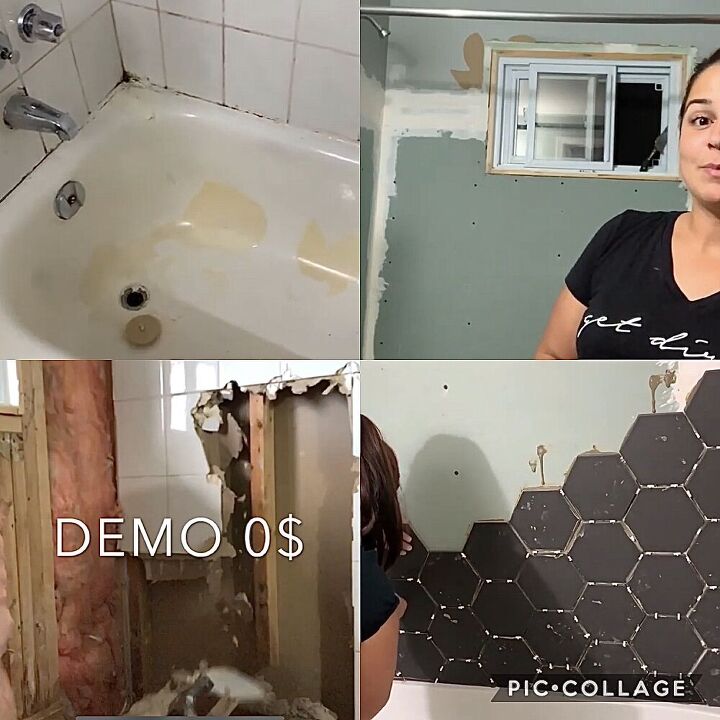
My tub was one thing I could not save. It was old, moldy and had to go.
I smashed it out and replaced it with the most cost effective one i could find for 250$
TIP: When you are at your hardware store, ask them to check out the DAMAGED drywall. Sometimes they are out back and in my case only a small corner was damaged, maybe dropped etc but they cant sell it on the floor like that. So you can sometimes get your drywall for a FRACTION of the cost. This works the best when your doing a small space, just cut off the damaged part.
TILE : each tile cost .89 cents so i was in for about 300$
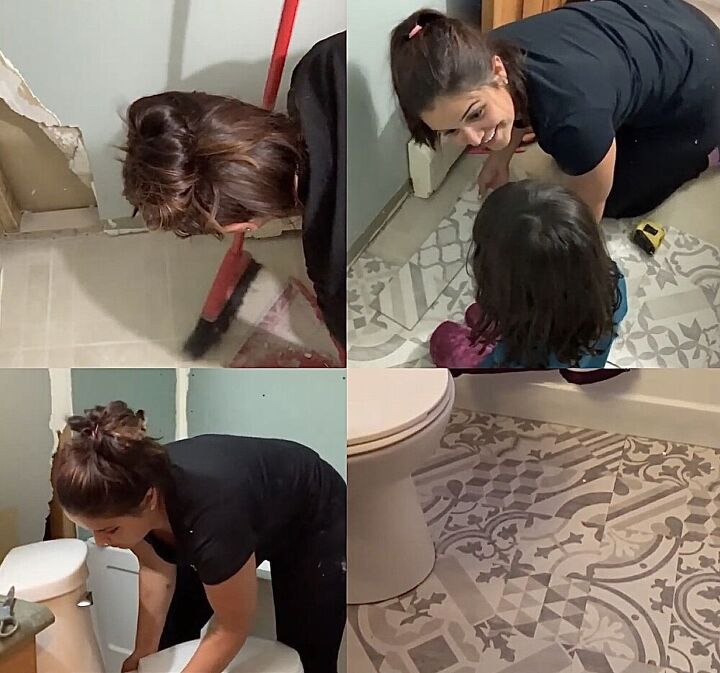
I found and AWESOME vinyl flooring that just friction fits on top of my current floor.
I took the toilet off ( I am not replacing it) cleaned the floor and just cut my pieces to fit.
The whole floor cost 89$ all I needed was one box.
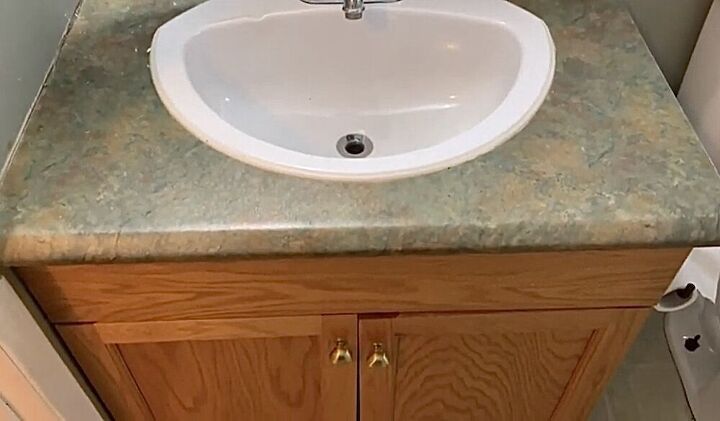
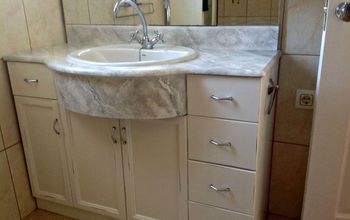
Here is a before photo of my vanity. It wasn't in my budget to get a new one so i refaced it in place.
I cleaned it really well,

Four the countertop and faucet I used BIN123 primer in the RED can and let it sit for 48 hours. In my experience the can say 12 hours but its never fully cured by then. I then spray painted the faucet with a black metal paint and the counter top in grey exterior so its very durable.
NOTE: I did this bathroom 8 months ago and these products still look new!
Total: 44$
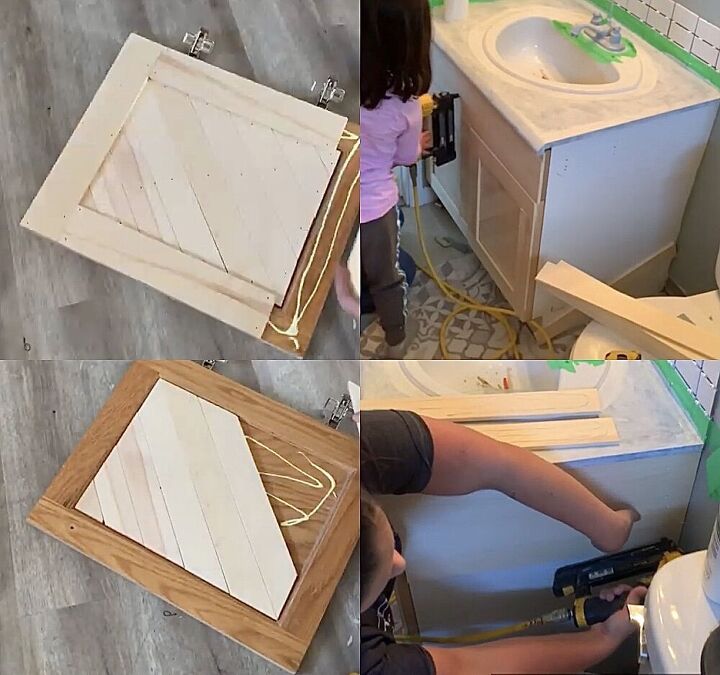
The current vanity only had wood on the front and a white MDF side. (gross)
So I used 1/8 thick pine and cut it into 2 inch strips on my table saw. I then used wood-glue and pin nailed it to the vanity and stained it brown. IT LOOKS NEW - and my favourite part about the bathroom.
Total: 18$
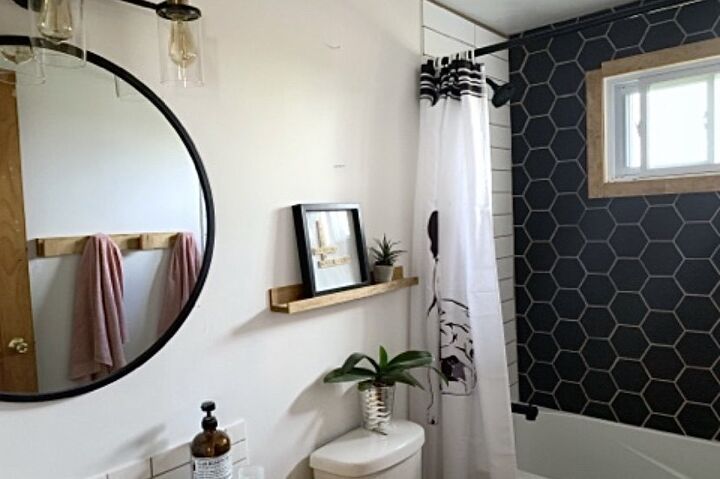
I found a mirror at Kent Building Supplies for 40$ and a new light for 60$
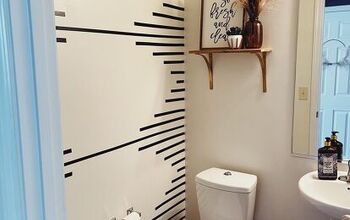
I built a small picture ledge and a towel rack (you can view in video) and the bathroom was complete!
Here is an older video of mine showing you how to tile. If you don't know how, its actually quite easy! Local hardware stores usually have rental shops for tile cutters.


Comments
Join the conversation
-
You Go Girl! Looks Amazing! Thanks for sharing!
-
Great job!!! I love it when I see a woman with determination!!!!


Frequently asked questions
Have a question about this project?
Great Job! You mentioned you would do a couple things different next time. What are those things?
Nice job!! Where did you get your shelf?
Barb
Why didn't you stagger the tile joints with the white tiles? I always assumed that grout lines should be staggered! Just wondering?