


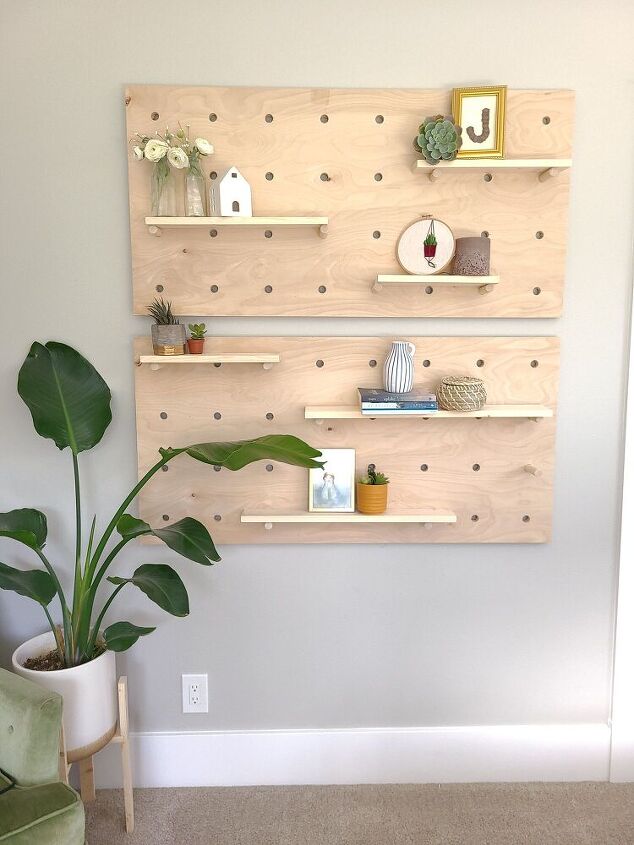
DIY Peg Board Shelf

Who else has been seeing these super cool, modern peg board shelves all over the place???? I have been waiting for the perfect spot to put some and I finally got it. There are a lot of great tutorials out there, but this was my take on the shelves. You can head to instagram.com/frommhouselove and check out my story highlights to watch my whole process of making these shelves.
There are three main things you need for this shelving unit: plywood, wooden dowels, and 1x4 or 1x6 pine shelving boards. All of these can be picked up at your local hardware or lumber store.
I chose to go with 3/4 in birch plywood. I like this plywood because it is thick enough to be sturdy and has a nice beautiful, smooth finish. A 4 foot by 8 foot sheet of this particular plywood is around $53. Home Depot or Lowes will even cut this for you into the size you need! I cut mine into 2x4 foot sections.
I bought two 7/8ths inch wooden dowels and 2 1x4x8 foor pine boards. The wooden dowels were about $5 each and the 1x4 boards were about $5 each as well. However, I only ended up using one dowel and one 1x4.
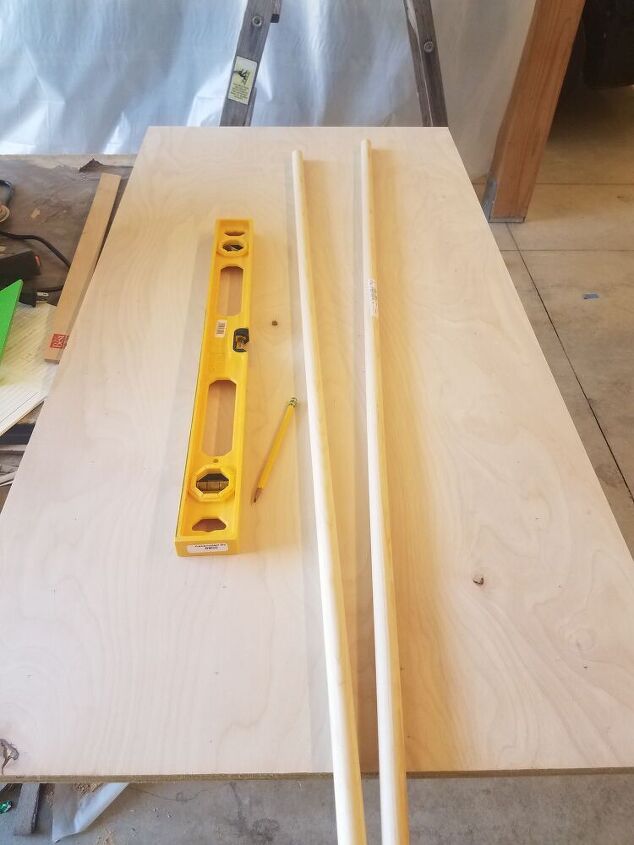
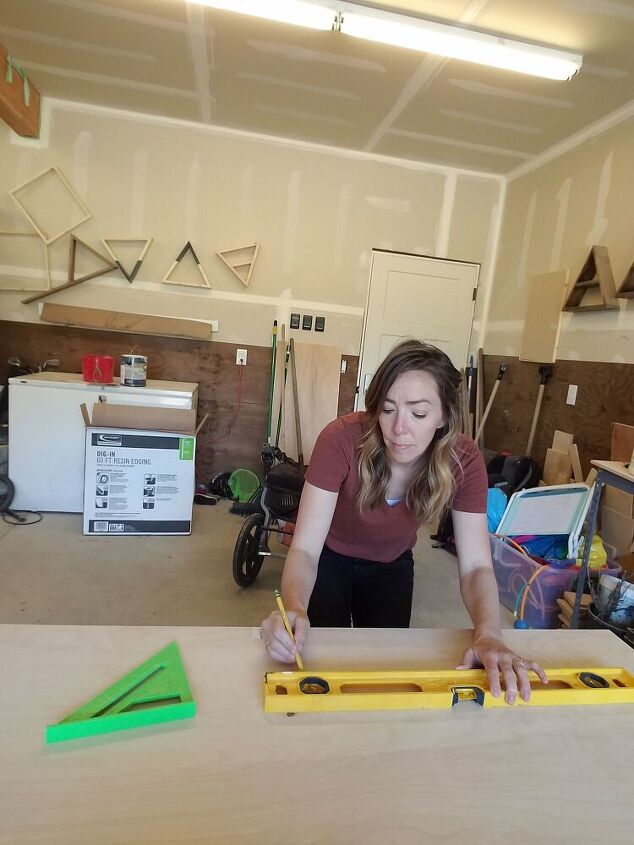
Once I got my materials home I needed to decide how far apart I wanted my holes. I settled on going three inches from each side, then six inches in between each hole. There are probably a lot of great ways to go about this. But I just used my level to measure the holes all the way up.
Once you get all the holes marked, it is time to drill the holes. The easy way to do this would be to use a drill press. I did not have one of those, so I had to use my screw driver. It took a lot longer, but still worked great. You will need a FORSTNER drill bit to make these holes.
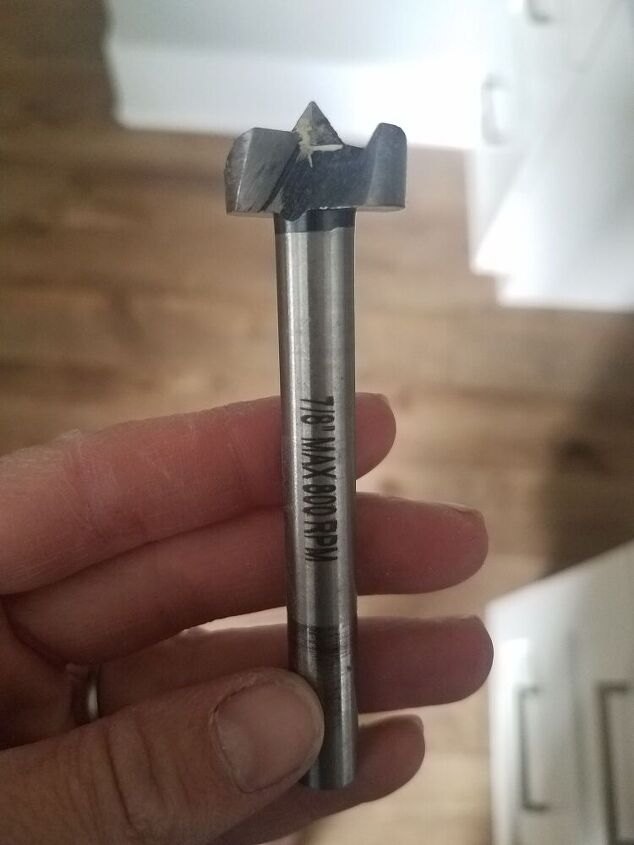
Since my dowels were 7/8ths inch wide I needed a 7/8ths inch drill bit. I attached this to my screw driver and went to town! Once all the holes were made, I did a quick sanding to make sure everything was nice a smooth and ready to hang.
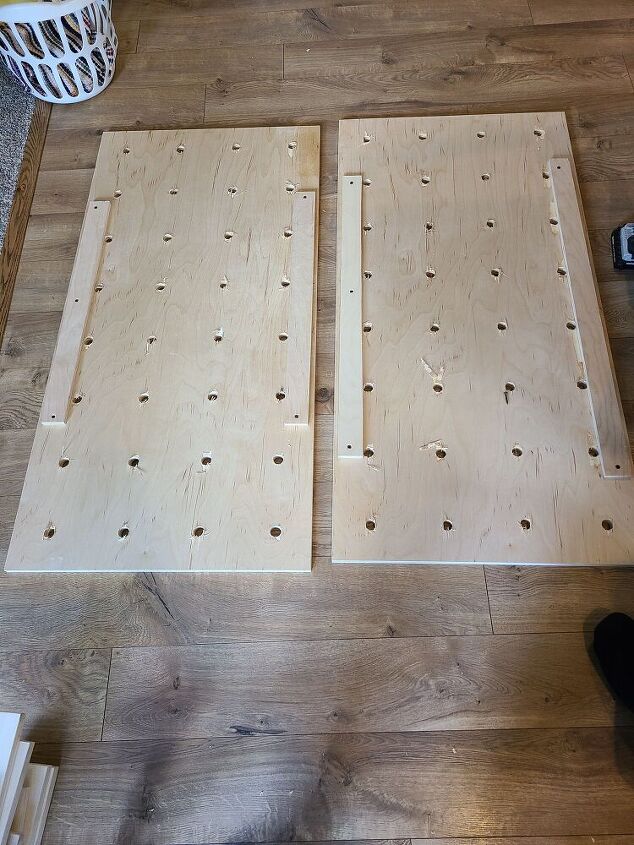
I didn't have a great way to hang these, and I definitely should have used a french cleat...but I didn't. Instead I screwed a board to the top and the bottom of the plywood and drilled some holes for the screws to hang in.
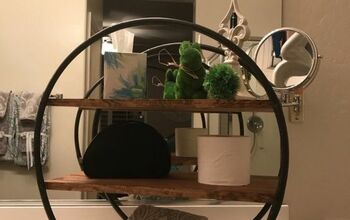
Next up was cutting the dowels and 1x4 boards. Since the plywood was 3/4 inch and the pine board was 3.5 inches, I decided to cut my dowels 4 inches each because I didn't want them coming all the way to the front of the pine board. I cut the 1x4 boards all different sizes ranging from 13 inches to 26 inches so that it would hang a little over the two dowels.
This project is a great way to add some dimension to your space and a fairly inexpensive way to decorate a room. Since I only used half of a 4x8 sheet of plywood, the total cost of this project was less than $40!
Resources for this project:
See all materials


Comments
Join the conversation
-
Wow. You can even go further to stain or paint it. Never heard of this 'french cleat' before so I had to look it up. What an ingenious idea. Everything should be hung this way!!
Great job!
-
Way to go. I love these peg board pieces. Gives a great way of displaying some of your favorite items and being able to move the shelves around is awesome. Also would be great in a kids room to display some of their fun treasures.


Frequently asked questions
Have a question about this project?
Wondering why the resources listed include a picture of wooden beads instead of wooden dowels. Otherwise, the project is fabulous! You go girl!!!