


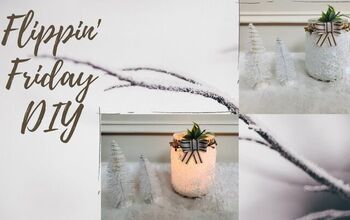
Upcycle Old Jars With This Acrylic Pour Candle Project

We all have tons of recycled glass jars lying around just waiting for the perfect project. This quick DIY will provide you with a matching set of candles and an acrylic paint pour canvas sure to blow away your guests. Create a few sets and give them as teacher appreciation gifts. It’s so easy to make a whole bunch that you could have DIY party decor done in no time. Personalize them according to the season, or according to your home decor. There are no limits! Check out my step by step tutorial to get started on cleaning out a candle jar!
Tools and Materials
- Empty jars (any old jar will use here)
- Acrylic paint
- Floetrol
- Plastic cups
- Canvas
- Candle wax (I used recycled wax from old candles)
- Wicks
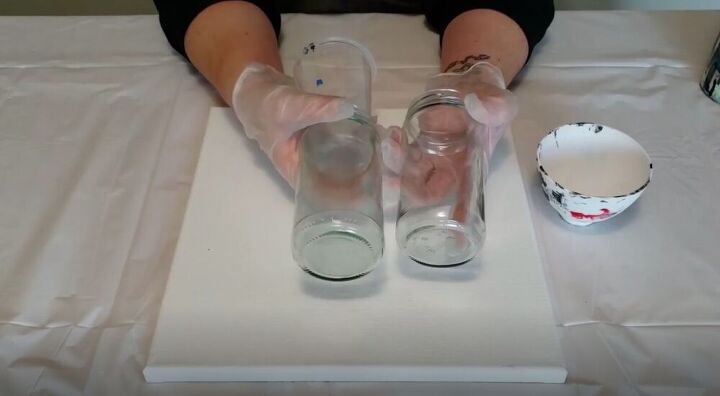
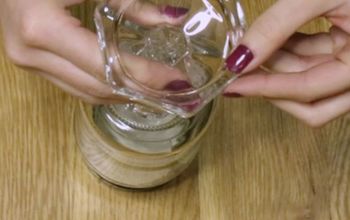
Clean the Jars
Remove the labels from the jars and make sure to thoroughly clean them before you use them for this project.
Tip:
Rubbing coconut oil on the labels and glue is a quick trick to remove any residue.
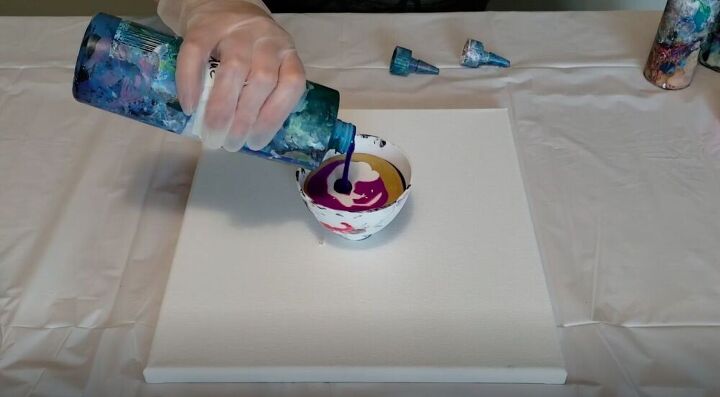
Prepare the Paint
I started by filling my bowl with some of my pour paint. I have quite a few bottles of pour paint that I keep on hand for various projects. I mix acrylic paints with a paint conditioner called Floetrol and some water. This makes them more fluid and makes paint pour projects a cinch. If you are unsure of how much to use, a general ratio is about one ounce of paint for every 16 square inches of canvas.
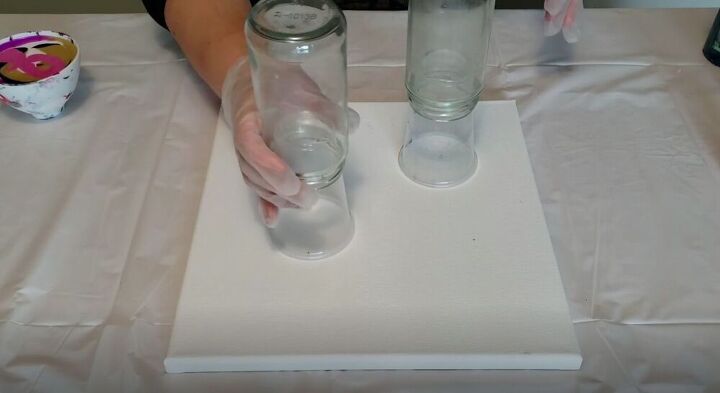
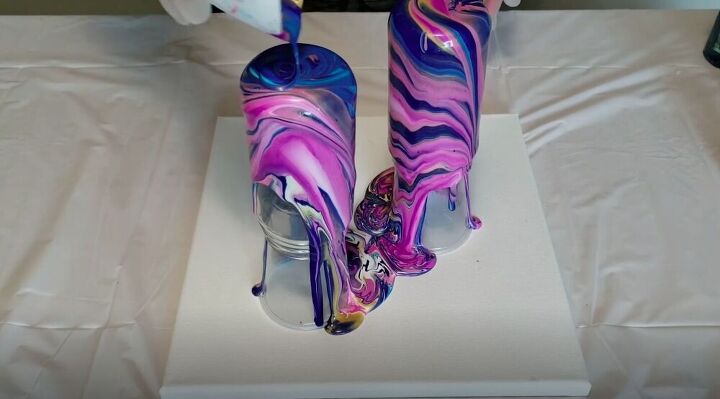
Pour the Paint
I propped the jars up on plastic cups, and placed them on top of a canvas. This project is two projects in one! We’ll have the painted jars and a painted canvas when we’re done!
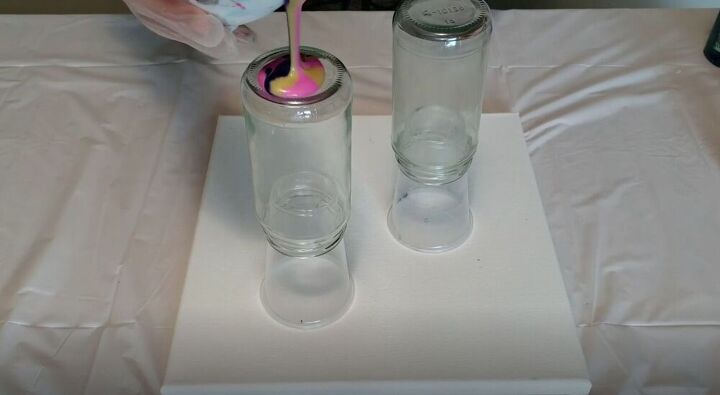
I poured the paint over the jars and let it sit for a few minutes so that as much paint as possible dripped off of the jars. As you can see, as I poured the paint the colors and design changed. This project is so much fun and you never get the same result twice!
I also flipped the bowl that I had mixed my paints in to get out every last drop.
Tip:
If there is a dip on the bottom of your jar make sure to tilt it to get any excess paint out before it dries.
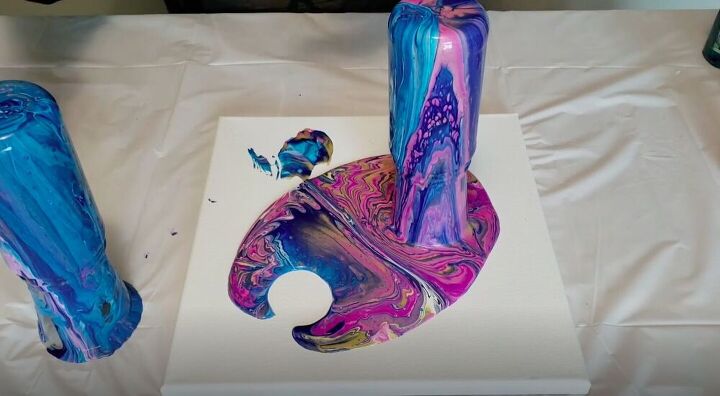
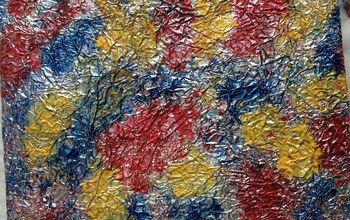
Tilt the Canvas
Next I removed the jars and got ready to tilt my canvas.
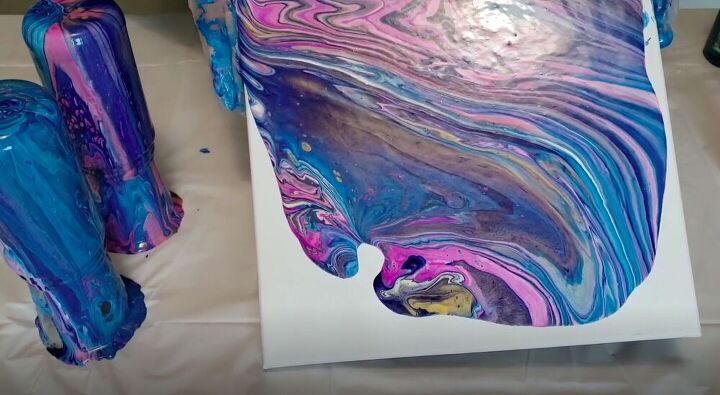
I titled the canvas around a few times, making sure to touch up the sides so that they were completely covered.
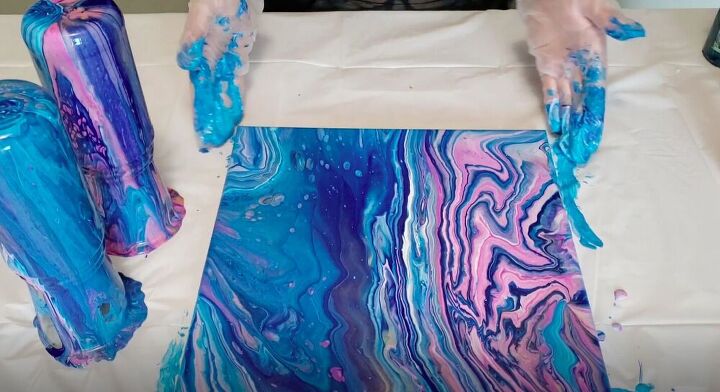
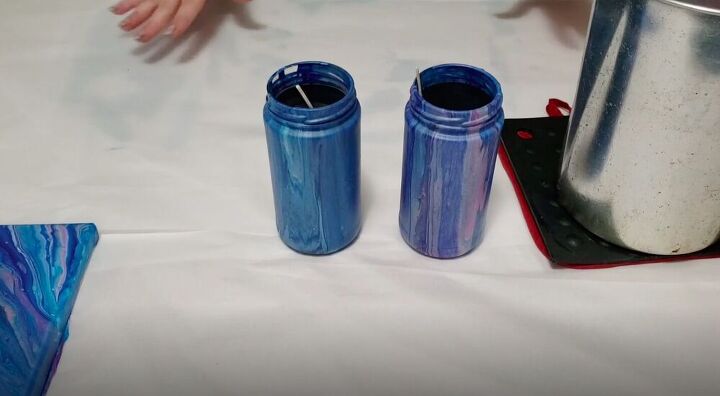
Let Them Dry
Give the jars and canvas a day or two to dry completely.
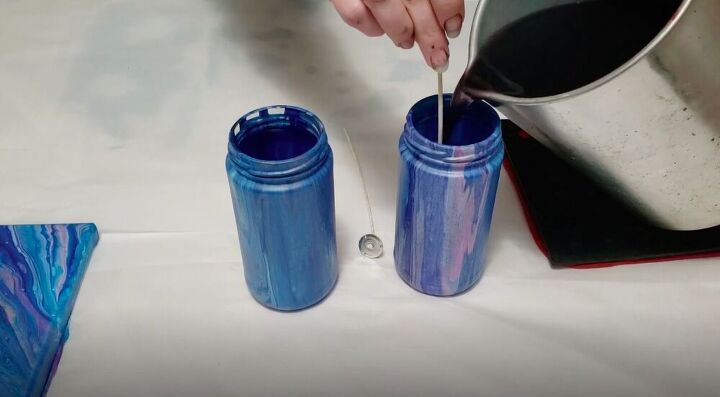
Make the Candles
I used recycled wax to make my candles. I melted old candles that friends had given me, which gave me a nice purple-grey color.
I used store bought wicks, but it’s easy to learn how to make candle wicks on your own with cotton string. I placed a wick in each jar and poured the candle.
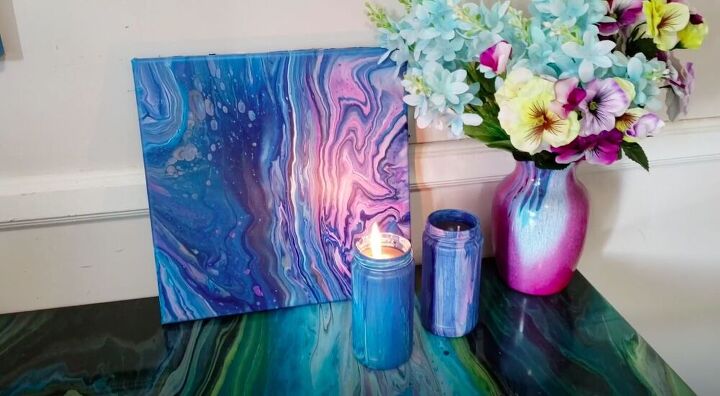
I loved displaying these project sets together in my home. They also make excellent gifts that won’t break the bank! What colors would you use for your pour painting projects? Let me know in the comments below!


Comments
Join the conversation
-
I am a chandler and I noticed you did not use anything to get the wicks in the middle of the jar. This is extremely important so the glass does not get too hot and shatter, which could potentially cause a fire. If you did prop them to the middle, my apologies. It's kind of hard to tell from the still photo. You have to be careful so a fire cannot start. But do accept my apologies if I am wrong or totally way off base.


Frequently asked questions
Have a question about this project?
So you mixed all the colors together and you don't mix up the paints then right!!!????
Your table looks like it has the same technique, but glossy? Is it epoxy or resin?
Which colors did you use for this particular project? Thanks!