


Laundry Room DIY Idea
Sometimes you need a little 'pick me up' to help with the mundane chores around the house. The laundry room is one place we spend a lot of time in daily! This DIY brings a fresh look to any boring washer and dryer and is super easy to do. Take your space from drab to fab in 20 minutes!

Place your transfers on your appliance with blue painters tape in order to determine placement. Keep in mind, your everyday use of the appliance and apply where it can still be used easily.
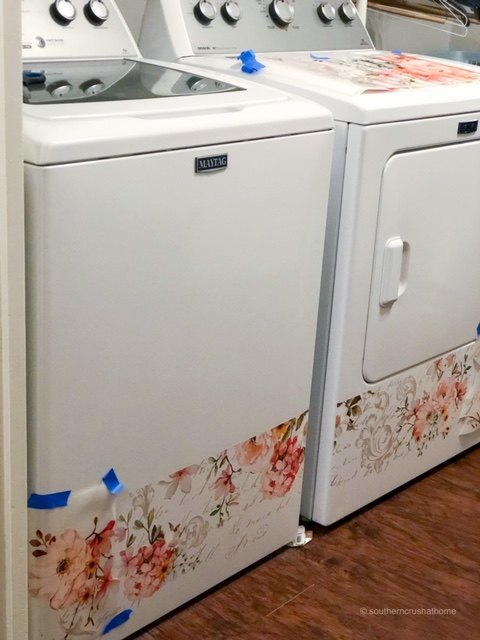
- Cut your chosen transfer to fit the space you desire on your appliance.
- Burnish (rub) your transfer, gently peeling away the backing paper as you go.
- Remove any areas you do not want to stay with rubbing alcohol.
Watch the transformation unfold! How do you think they turned out?
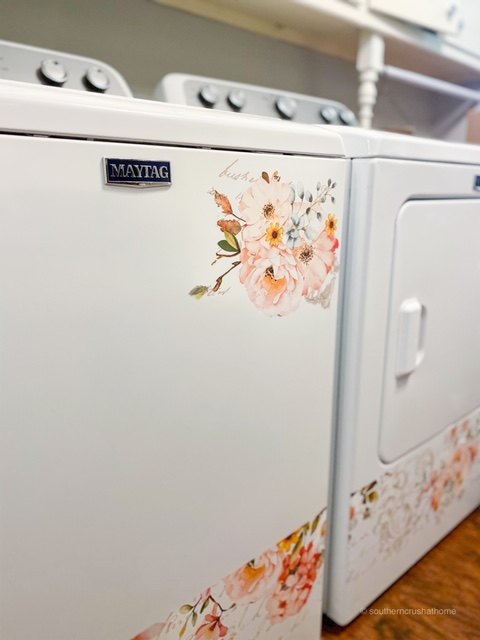
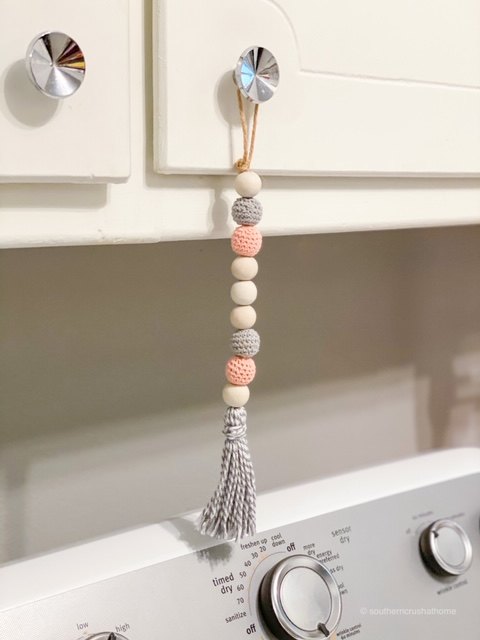
It doesn't take much to create a fresh look for your boring washer and dryer. This was a super easy DIY. I added a cute little tassel to match. It was so easy! See how here TASSEL DIY
Resources for this project:
See all materials


Comments
Join the conversation
-
My washer and dryer fronts are covered with stickers -- fruit, stars, etc. Colorful and it keeps my great-grandson busy peeling them off so my granddaughter and I can visit and watch him at the same time.
-
So cute. I did this one time. I hate our laundry room but it brightened the load when you coukd look at a pretty washer and dryer. 😊


Frequently asked questions
Have a question about this project?
do you make your own transfers? If so how? If not were to purchase? Great idea
The dryer gets hot, how does that effect the transfers?