


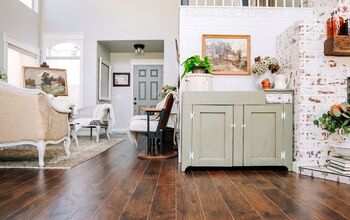
Installing Laminate Flooring The Easy Way
3 Materials
$200
1 Day
Easy
UPDATE YOUR OUTDATED FLOORING THE BUDGET SAVVY WAY BY INSTALLING LAMINATE FLOORING. ITS SO SIMPLE & EASY TO INSTALL, ITS THE PERFECT WAY TO REFRESH A ROOM WITHOUT SPENDING A FORTUNE!

Supplies
Supplies:
- Laminate Flooring
- Underlayment
- Laminate Block
- Hammer
- Miter Saw/Circular Saw
- Jig Saw
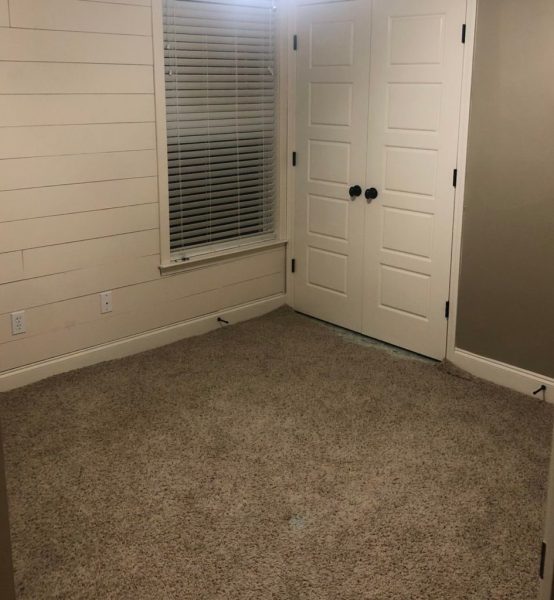
Before
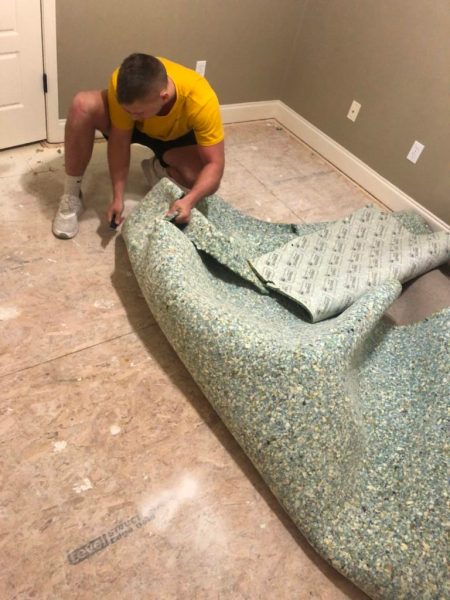
Removing Carpet/Find Out How Much Flooring You Will Need
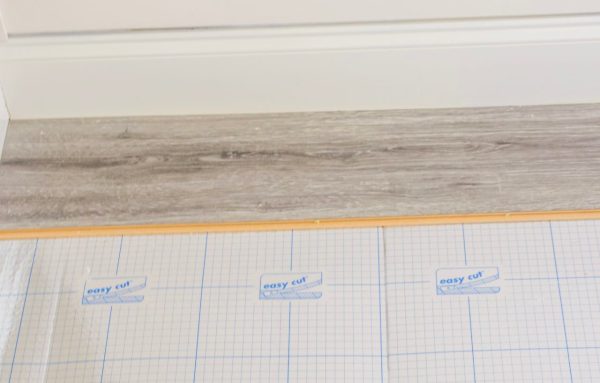
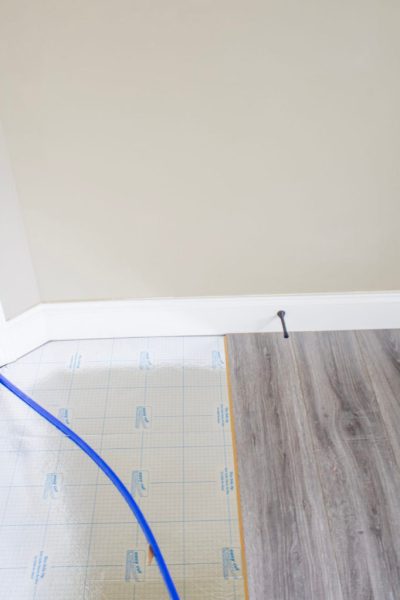
Laying Underlayment
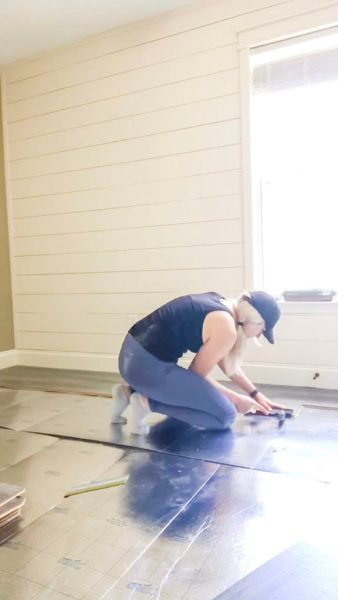
Clicking The Flooring Together
Harder Cuts
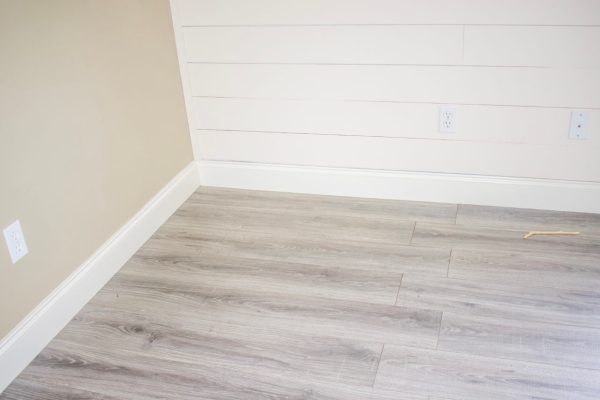
Ta-Da
Resources for this project:


Any price and availability information displayed on [relevant Amazon Site(s), as applicable] at the time of purchase will apply to the purchase of this product.
Hometalk may collect a small share of sales from the links on this page.More info

Want more details about this and other DIY projects? Check out my blog post!
Comments
Join the conversation
2 of 18 comments
-
I also have had laminate for more than 18 years. It looks just as good today. Would not have any other kind. It is installed in the master bedroom. We are considering installing it in the kitchen also.
-
The joints are not staggered properly. This is a massive mistake. I am not one to make a negative comment on someone’s project after so much hard work but it is not right to represent this as an instruction for others. If anyone is considering doing this (and you should) please do more research. Best of luck to us all as we learn and grow.


Frequently asked questions
Have a question about this project?
Was there a trim piece at the end where the floor ends or transitions to another floor type?
What if your concrete floor under the carpet is not level, how do you go about laying laminate on it.
Is it not necessary to remove the baseboards prior to laying g laminate?