


How to Transform a Piece of Wood With a Napkin!
I am taking you back to my crafting roots with one of my favorite techniques and projects! A wood piece can be totally transformed with a napkin and I am excited to share how with you 
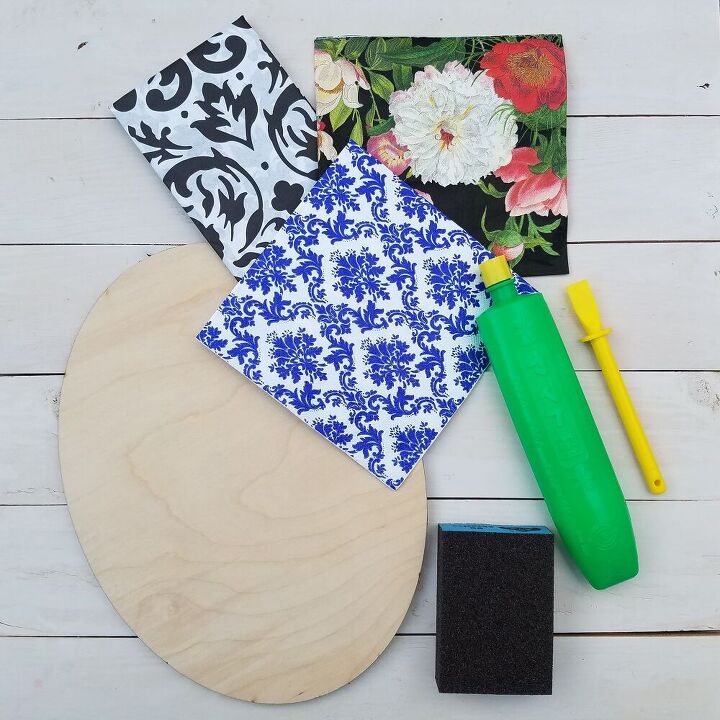
Here is what I used for this project:
- A 12" oval wood piece (you can use any wood surface for this!)
- Rice glue
- Glue scrapers or spreaders
- Napkins or tissue paper
- Sandpaper
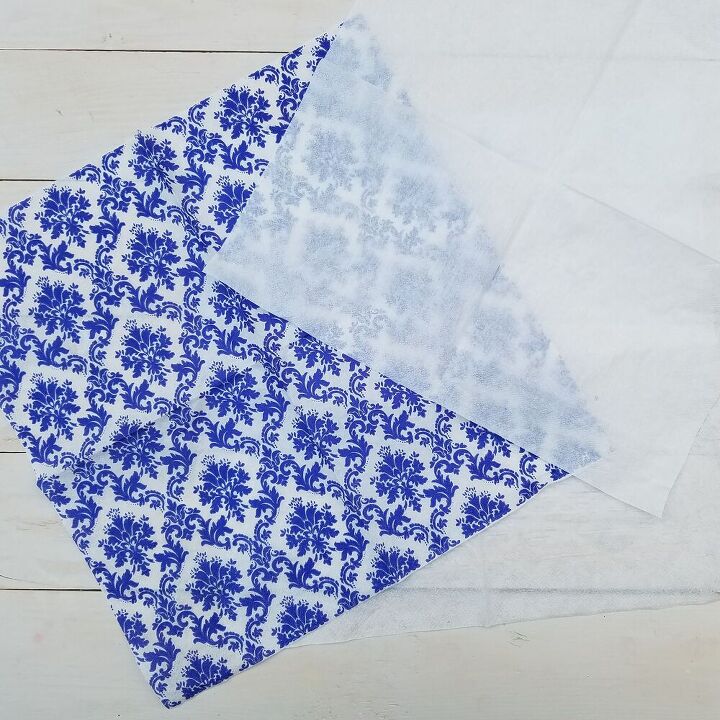
Napkins are usually 2 or 3 ply. You'll want to pull the napkin apart so the design is on just one layer.

Ok. Hear me out. Mod podge is a great tool. But when it comes to napkins and tissue paper, rice glue has my heart.
One of my first big crafting successes was when I sold wooden state signs using napkins or tissue paper to add floral (of course  ) designs. I was having issues with tons of wrinkles when I was using mod podge and went hunting for a glue that was meant to work on very fine paper. That's when I stumbled onto rice glue!
A few notes when working with rice glue:
- A little goes a long way.
- Add a few dabs of the glue to parts of the board. Use the glue scraper to fully cover the wood piece.
- You'll have extra glue, You can scrape it with the spreader and put it back in the rice glue bottle!
- You want a thin layer of the glue on the entire surface. Too thick and you run the risk of ripping the napkin in the next steps.
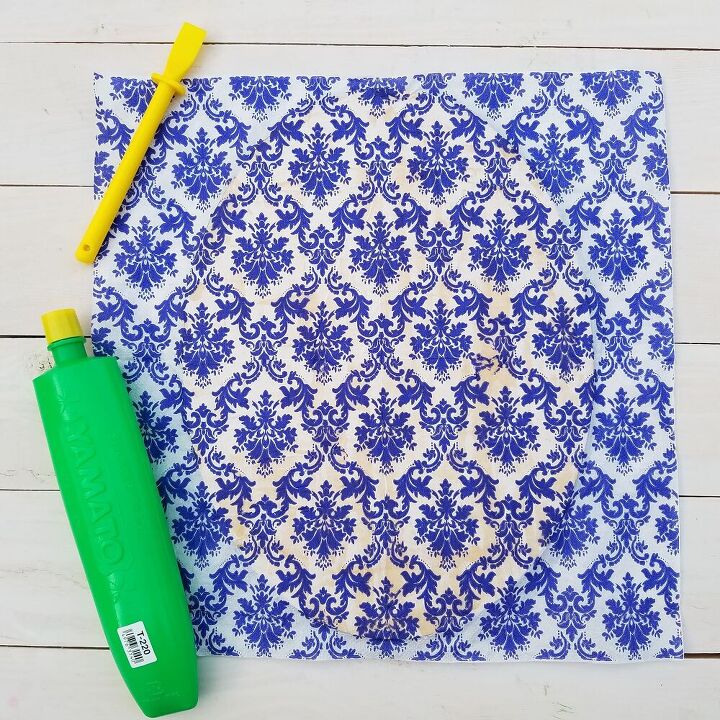
The most important part of this step is to try and lay the napkin down in one shot. Readjusting the placement of it over and over will likely cause the napkin or tissue paper to rip. Once you have it in place, press down on the napkin with your fingers, trying to smooth out any wrinkles or imperfections. After a minute or two, you can then use a clean glue spreader over the top of napkin to continue to smooth out the napkin.
Quick note - if there is white in your design, it may become clear showing the wood surface. I really like that effect but if you want a true to color napkin design, you can paint the wood surface before adding the glue and napkin!
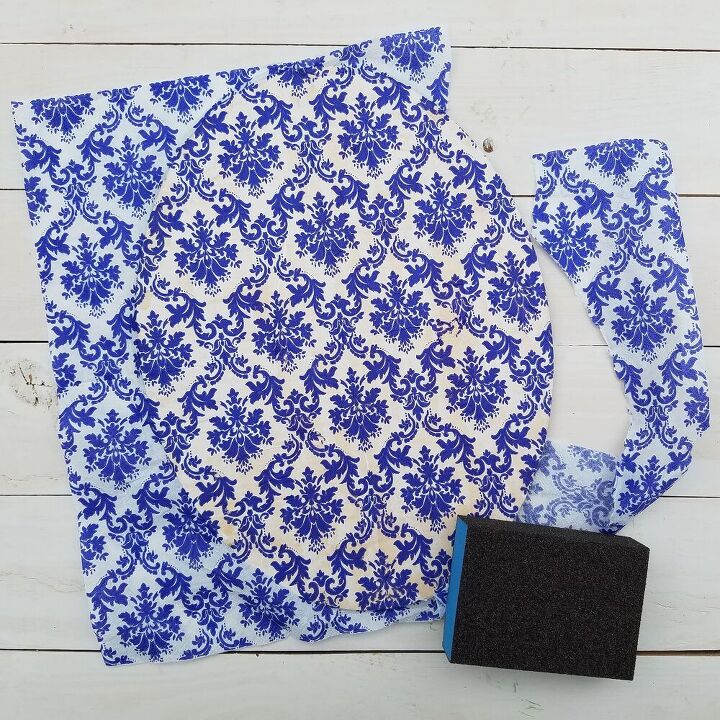
Sand the can edges to remove the excess napkin. To ensure clean lines, sand only in one direction. I like to sand in an up to down direction each time.
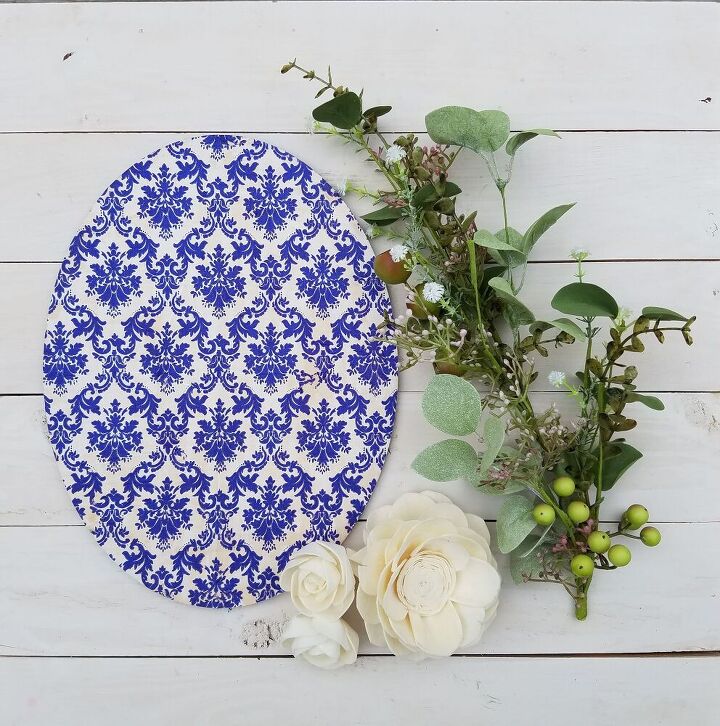
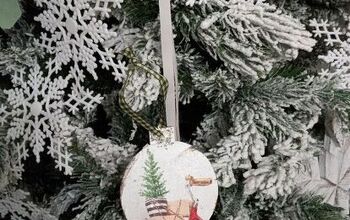
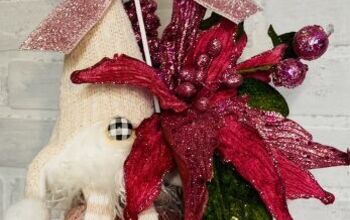
I took a sprig from a mixed greenery bush and a few sola wood flowers to transform the newly designed wood piece into a floral piece of art!
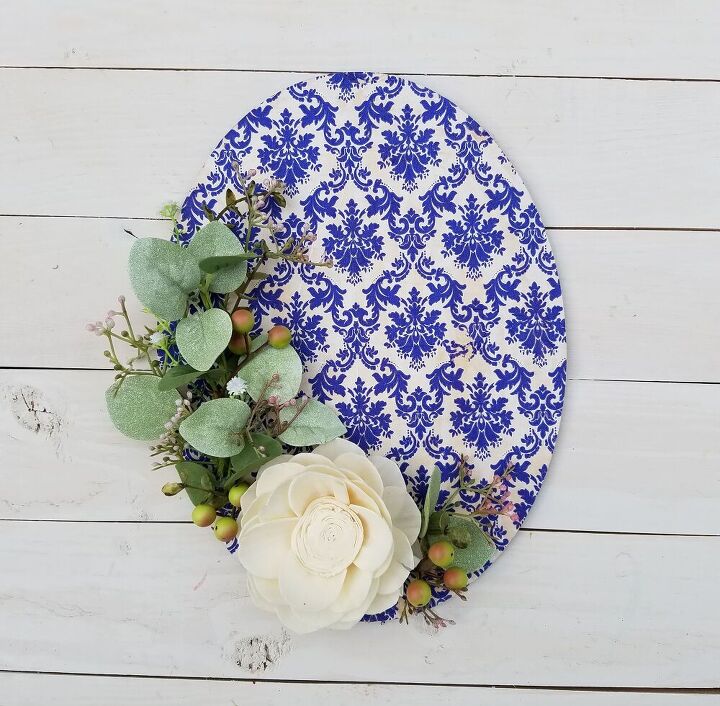
I started by gluing down the mixed greenery sprig on the left, added the large poppy sola wood flower, and glued down some smaller pieces of greenery on the right side.

If flowers aren't your thing (and I haven't convinced you to love them...yet!), you can paint a word wood cutout in a contrasting color and glue it on your new patterned piece!
Resources for this project:
See all materials


Comments
Join the conversation
-
Hi, loved your video its so well explained. I'm like you crazy over napkins and saved them all the time. It's such a relaxing project to work with them and thank you about sharing and I will get some of that glue for sure. Another collection I have is pressing flowers.
-
Hi, that is nice to know about the rice glue. I have had problems with mod podge and I think this will solve that issue. Thanks so much. You give precise instructions which is wonderful.
I did find a diy recipe for the paste from a reliable source.
Mix the rice flour, sugar and the cold water in a medium size pot and stir until smooth. Add the boiling water and bring to a boil over low heat stirring constantly. Heat and stir until the mixture thickens. Add 1/2 teaspoon of cinnamon oil or mouth wash to prevent spoiling.
wowchildrensmuseum.org › ...PDF
Homemade Rice Flour Paste Based on Japanese rice paste or library paste our homemade rice flour paste is made from the flour rec - WOW! Children's Museum


Frequently asked questions
Have a question about this project?
I love this!! So many options!! I have some large wood slices from a tree that came down last summer. I would probably have to get filler to make it smooth before trying this on it, wouldn't I?
Ty! :)
Hello where did you find the wood with the oval scrolling trim for the paper napkin project? I looked at the Amazon site but the scrolled wood wasn’t there. I love that idea. I will try the the rice glue instead of decoupage 👌. Thanks.
You didn't have any purple from the blue napkin? I tired to use it a couple of times and when I would do the top coat the blue ran into purple and it looked awful. I tried on a glass vase and a few pumpkins, only the small ones didn't have purple running down it.