


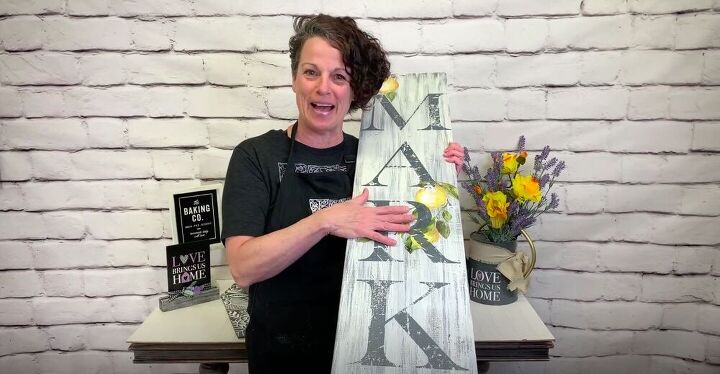
Put Together a Rustic DIY Market Sign for Your Home

Looking to learn some new DIY techniques? In this market sign tutorial you’ll learn how to make a brand new wooden board look like it’s aged one hundred years, how to faux stain wood, and how to apply transfer stickers in a cinch. These techniques can be used on various projects, but here they come together to create the perfect rustic leaning market sign for my home. Customize yours with different colors or decals, or copy what I’ve done if you like my aesthetic. Check out my step-by-step guide below to get started!
Tools and Materials:
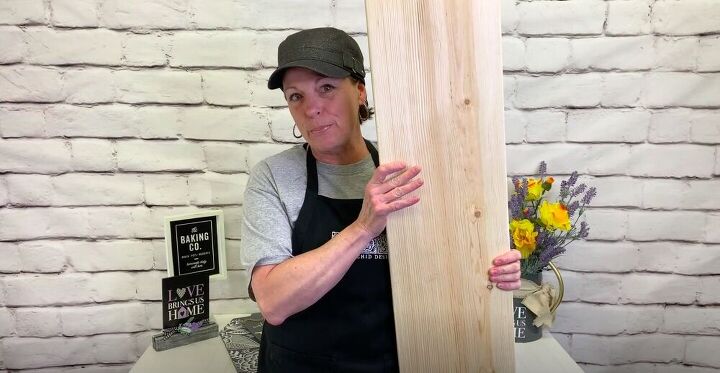
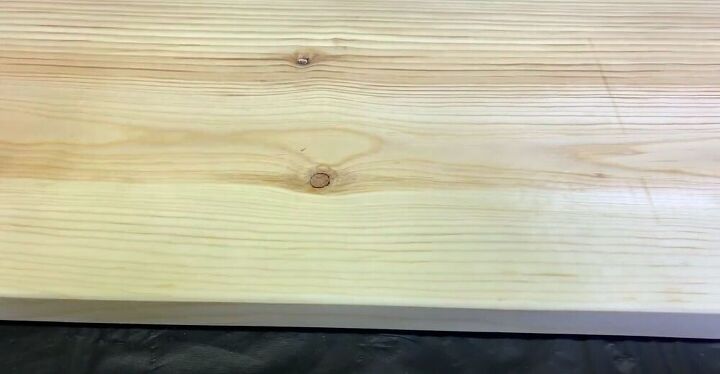
- 1”x10” pine board
- Sand paper
- Grey paint
- Paintbrush
- Burnt umber paint
- Baby wipe
- Decor transfers
- Sealant
I prepped my board by sanding all of the corners and edges with a sander. It helps to use an electric sander for this because it is quite a bit of work if you try to do it by hand.

Then I roughed it up a bit. You can use your tools of choice for this part, but I like to whack it with some metal chains, smack it with a hammer, and beat it up with some other tools. Really go at it. This is a great outlet for any anger or angst you’ve been feeling lately.
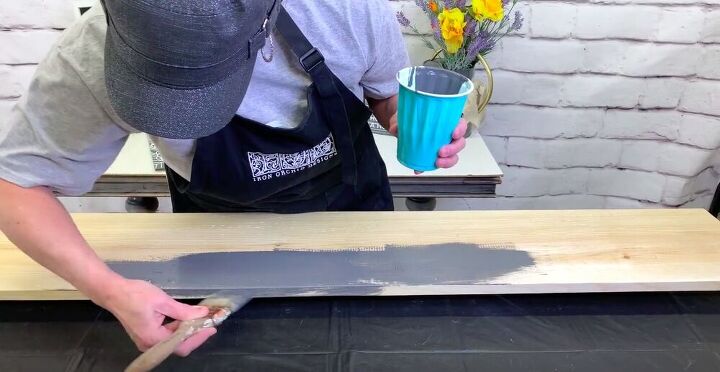
I’m going for an aged barnwood look so I went with an aged slate color for my paint. Make sure to get the paint into every nook and cranny on the board, especially any dents you created in the first step because we really want them to show through here.
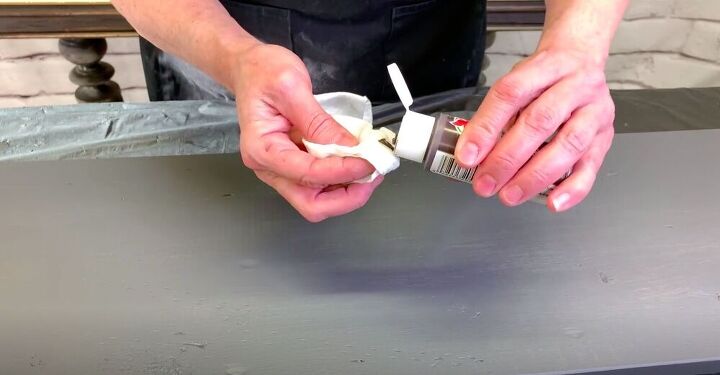
Once my base coat had dried, I added some brown paint, burnt umber to be exact, to add more depth. Using a baby wipe, I pushed the paint down into the cracks and crevasses of the wood.
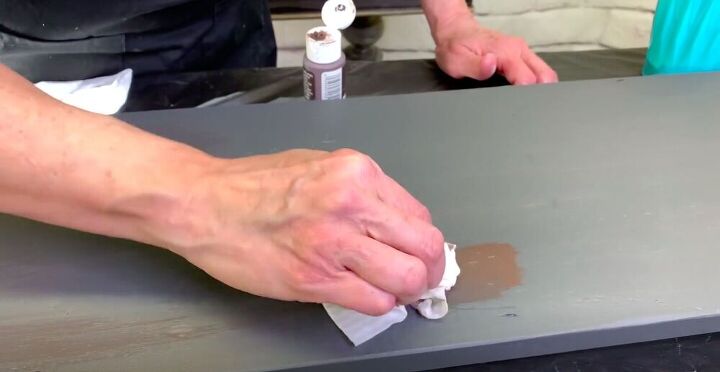
This is kind of like faux staining. With the baby wipe it’s easy to wipe away any excess. Our goal isn’t to paint the board brown, but rather to emphasize any imperfections on the board.
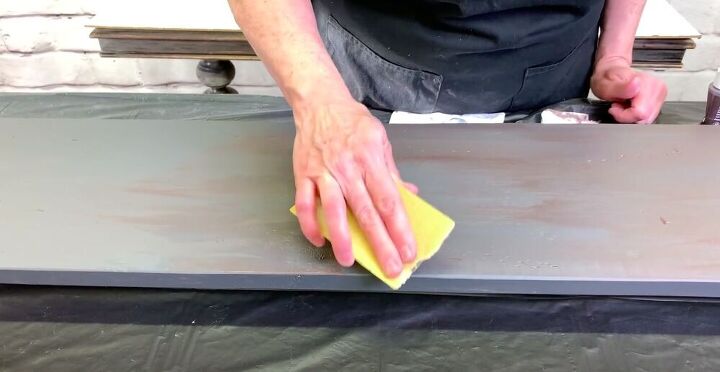
Then I took some sandpaper and rubbed along the edges of the wood to strip some of the paint.
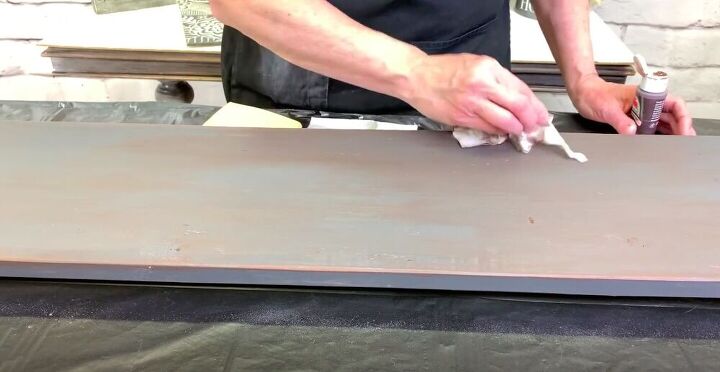
I went back and added some more of the burnt umber paint along the parts I had just sanded. This created that stained look I was going for without having to wait 24 hours for it to dry, as I would with a stain.
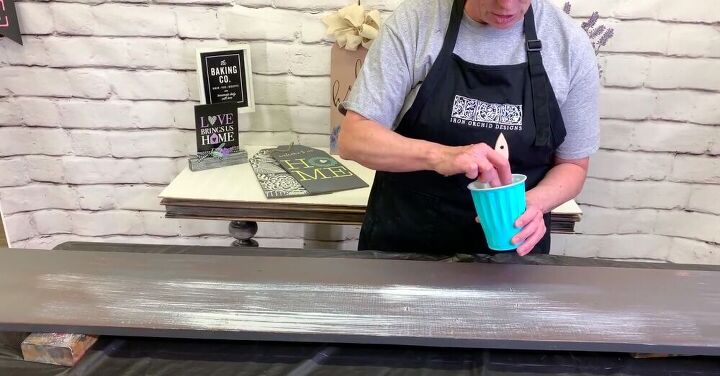
Then, using a chip brush and a bit of white paint, I dry brushed the board. I used long, light strokes to get the effect I wanted. This absolutely does not need to be absolutely perfect, and it’s up to you how much you want to add. The more layers of color, the more weathered the wood will look. I kept working up and down the board until I had applied the perfect amount of white paint for my desired aesthetic.

Once this part was done I left it to dry overnight.

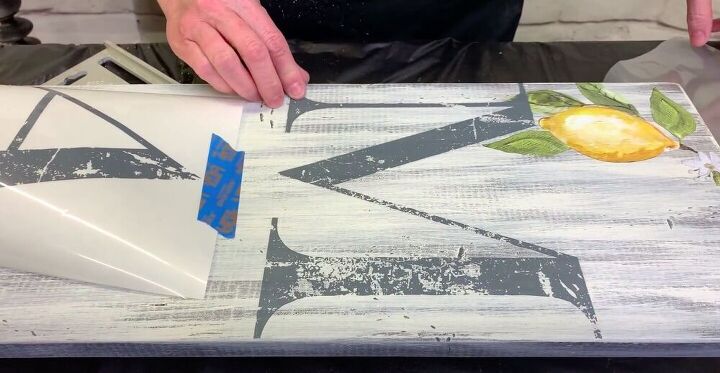
Now this step is very much up to your personal preference. I found a cute decal that said MARKET but I didn’t love the border around the letters. Not to worry, I could easily cut out the letters I needed and get rid of what I didn’t. I also needed to cut the decal down to size a bit to be able to fit my board, so I just decided to cut out each individual letter. I got my hands on a transfer with a bunch of lemons on it, which fit perfectly with my decor as you’ll see a bit later. I cut this one to size as well, as it was quite a long decal.
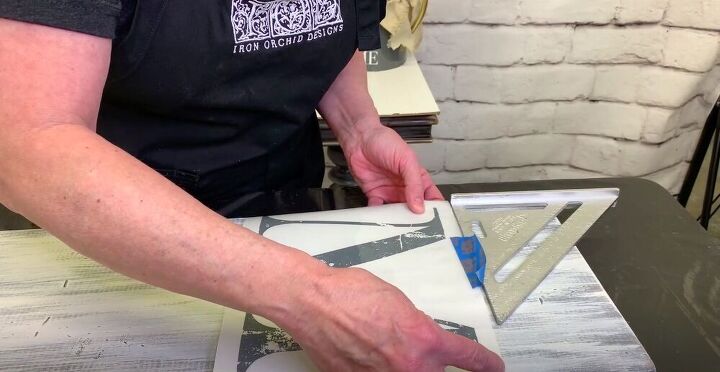
I lay out the M where I wanted it and taped it in place. When working with whole words it’s important to at least try to create even spacing between the letters, or it will look a little off, so pay attention to how I made sure mine were even.
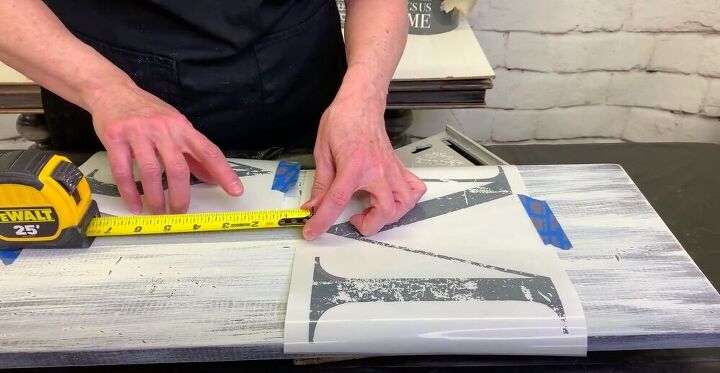
Once I had taped the M in place, I measured 2 inches down from the bottom of the letter and then taped the next letter in place. I repeated this with all of the letters to form the word MARKET.
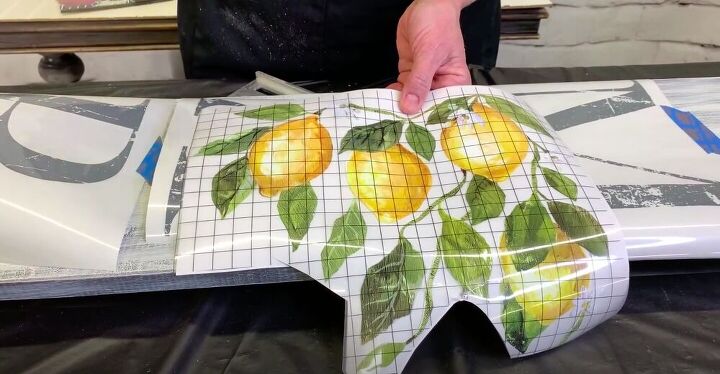
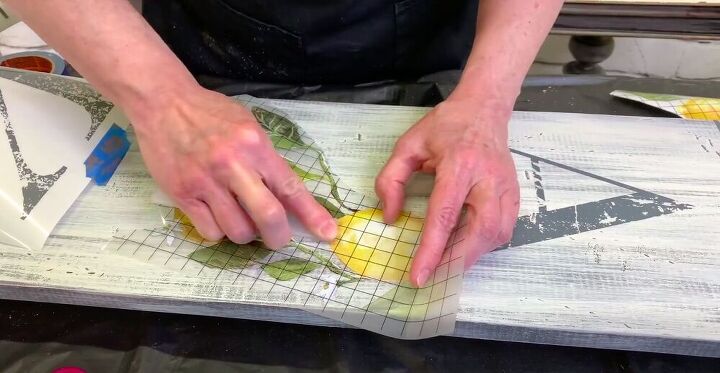
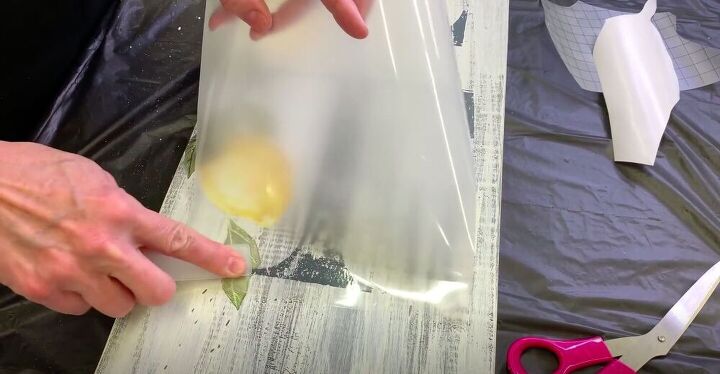
For the lemons, I cut out the specific bits that I wanted for my sign, removed the M for the meantime, and lay it in place. I removed the protective backing and pressed it into place. I used the applicator stick that had come with the decor transfers to completely transfer the lemon design onto my board.
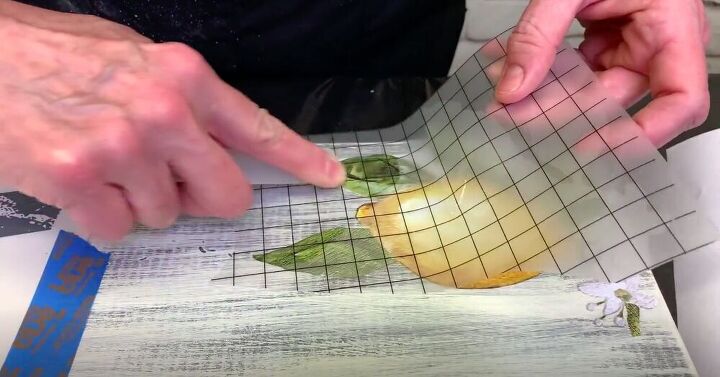
As you can see, as it adheres to the board and is lifted from the plastic, it looks a little dull. This is an easy way to know where you still need to rub with the applicator stick.
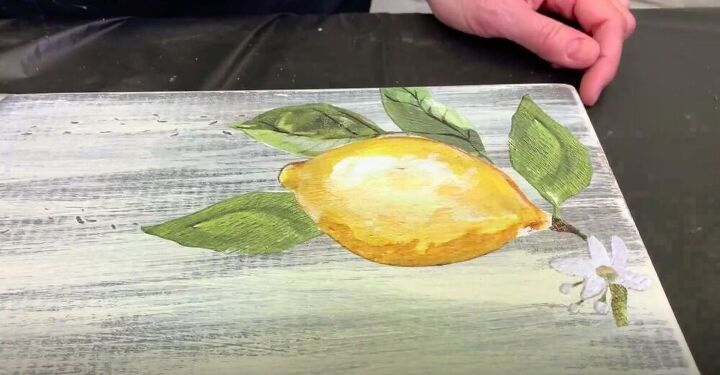
Once I had applied the lemon I went over it a bit with the backing paper just to rough it up a bit. Remember, we’re going for rustic here!
I repeated the same transfer process with the rest of the transfers. Transfers are a great way to add to your designs. They are flexible and easy to work with, and I just love the end result.
When I was about halfway down the board I added another cluster of lemons on the other side of the board. This helps move the eye down the sign and adds visual interest.
Tip:
If a piece doesn’t transfer properly, just lay the transfer back on the board and rub it again with the applicator stick.
To protect my sign for years to come I finished up my project by adding a thin layer of a non-yellowing water-based topcoat. I didn’t need anything too heavy duty as this sign would be living inside my home and not outside at the mercy of the elements.
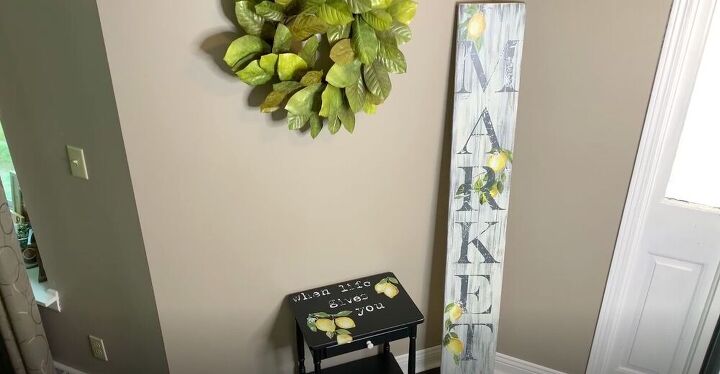
And we’re done! You can use the techniques I showed you in this DIY market sign project for a myriad of other home decor pieces. What would you use these techniques on? Let me know in the comments below!
Resources for this project:
See all materials


Comments
Join the conversation
-
Love your sign thank you for sharing your tips
-
Yes I would, but I would use a different word like welcome


Frequently asked questions
Have a question about this project?
by any chance, would you have it in a pdf format
Can this process work on metal?