


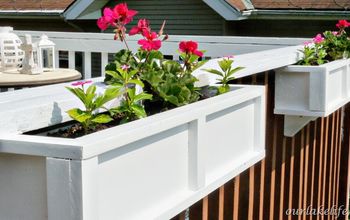
Modern DIY Planter Boxes
CREATE THESE BEAUTIFUL PLANTER BOXES FOR LESS THAN $15 A PIECE! THEIR SLEEK MODERN DESIGN WILL BE THE PERFECT ADDITION TO YOUR OUTDOOR DECOR
(This list is for 1 planter box)
- Kreg Jig
- 1 1/4″ Pocket Hole Screws
- (4) 1X4X6
- (1) 1X2
- Drill
- Miter Saw
- Paint/Stain
- Sealer

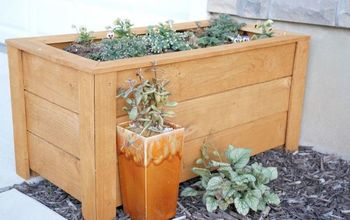
First, you need to figure out what size you want your planter boxes to be. I went with 17″ wide on top sloping down to 13″ on bottom & an overall height of 24″. This process is completely customizable so use whatever size works for your space
After you make your dimension decisions cut the 1X2 board for your legs. I cut mine down to (4) 24″ pieces.

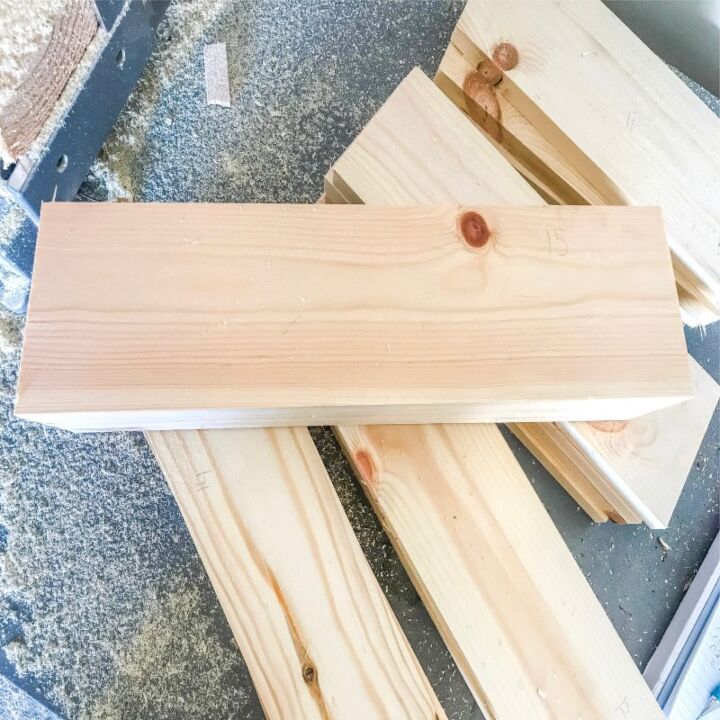
Next, I cut down my slats using the 1X4s. You will have (5) slats per side, 20 total per planter. So I cut: (4) @15″ (4) @14″ (4) @13″ (4) @12″ (4) @11″.
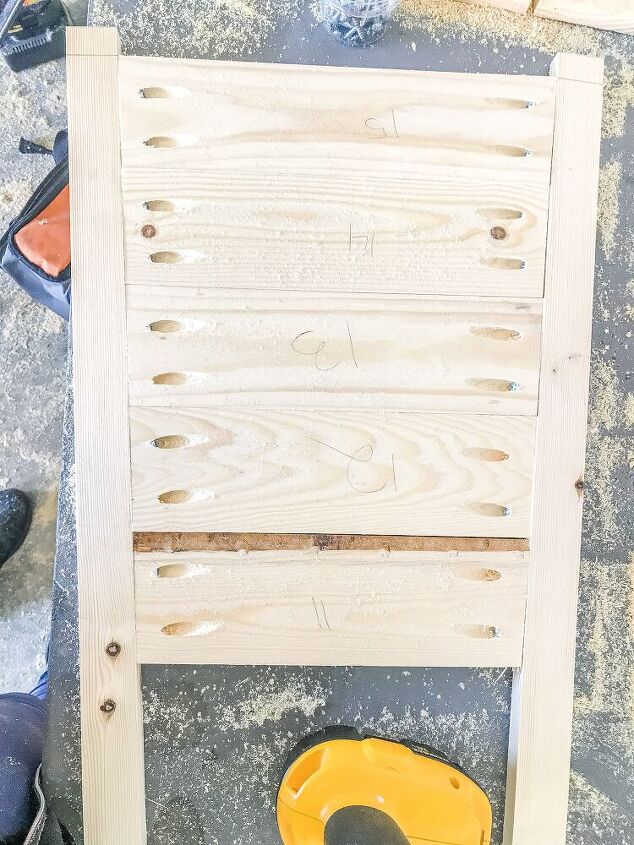
Heres a little tip: Label each piece of wood so you know its length & can organize your pieces easily
Now that all your slats are cut its time to cut each side by 5 degrees. A miter saw is a necessity for this project unless you really want a workout with a hand saw! 5 degrees is not a huge angle so its kinda hard to tell from this photo but you will see it better in the next one I promise!
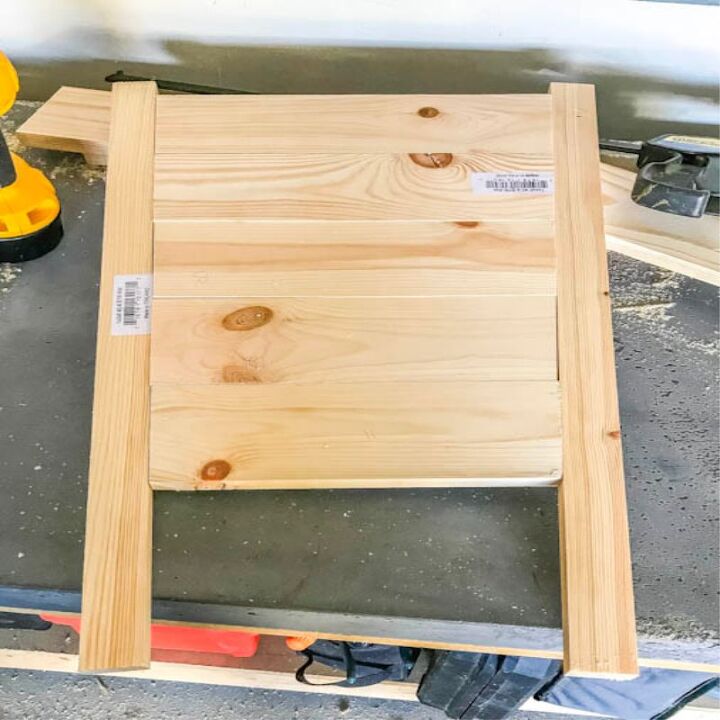
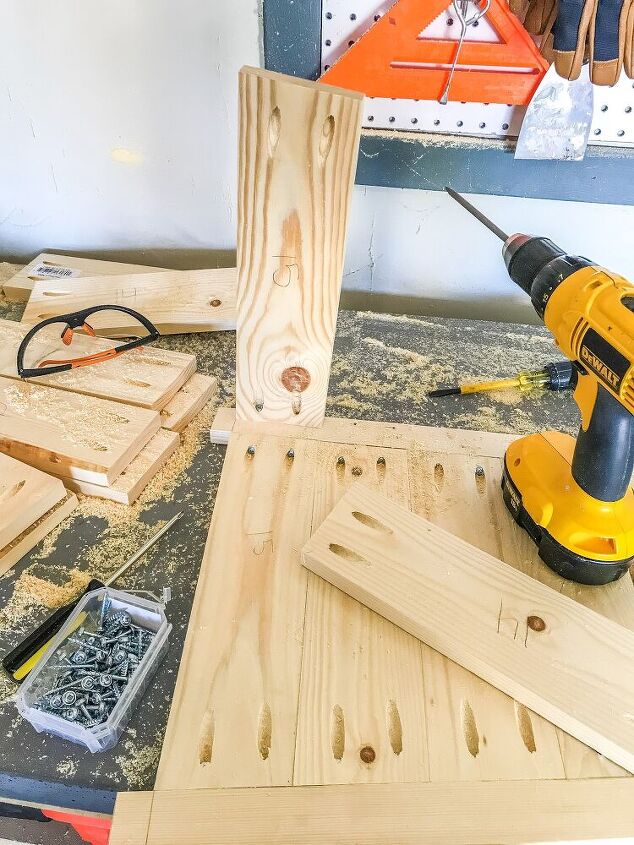
I always do a dry run & piece my wood together to make sure my angles are lining up right with the legs. Now is the time to make any adjustment cuts if need be.
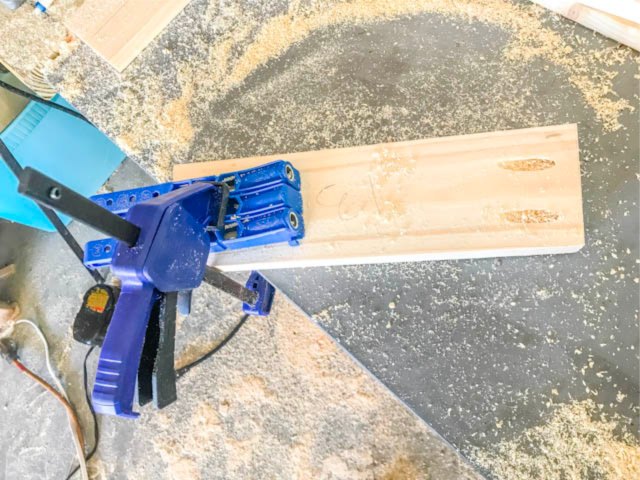
After my slats were cut its time to drill my pocket holes using my Kreg Jig! This tool makes drilling pocket holes a piece of cake. Each slat got 4 pocket holes.
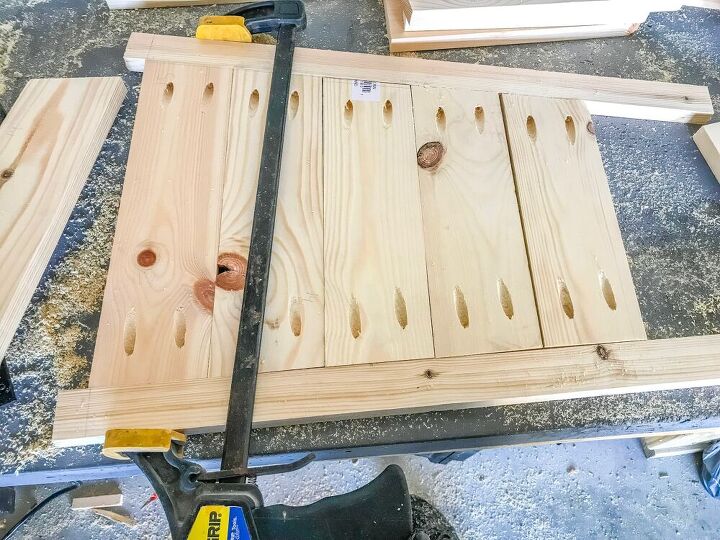
Once your pocket holes are all drilled its time to attach the slats to the legs. Clamp your legs tight onto the slats to make sure they join as flat as possible.
Follow the same steps & attach your other side wall.
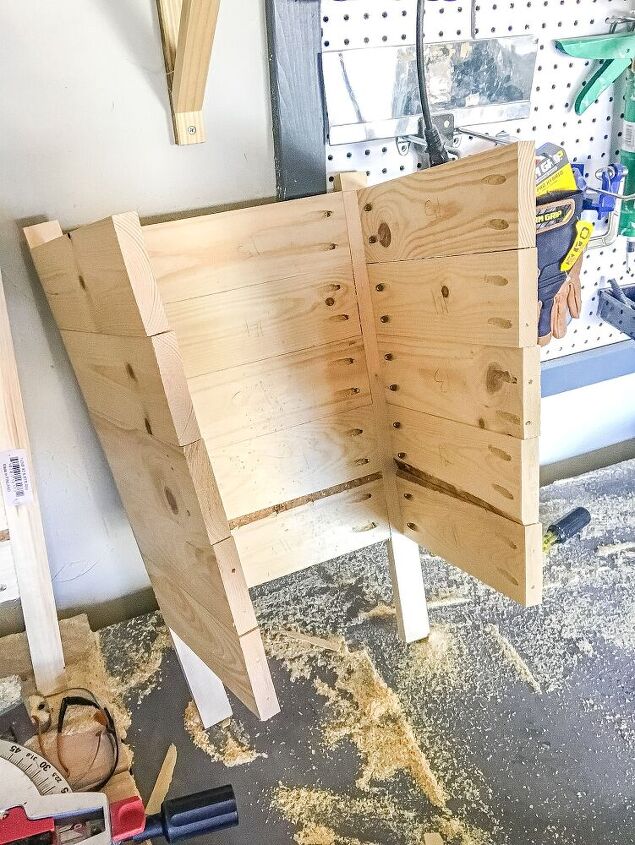
Now that the two sides are built, its time to attach the rest of the planks. I found the best way to do this was to lay one side down on the table & attach the slats while holding it flush with the edge of the leg.
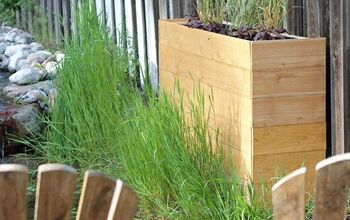
This is how one of your side pieces should look once you have the rest of the slats attached
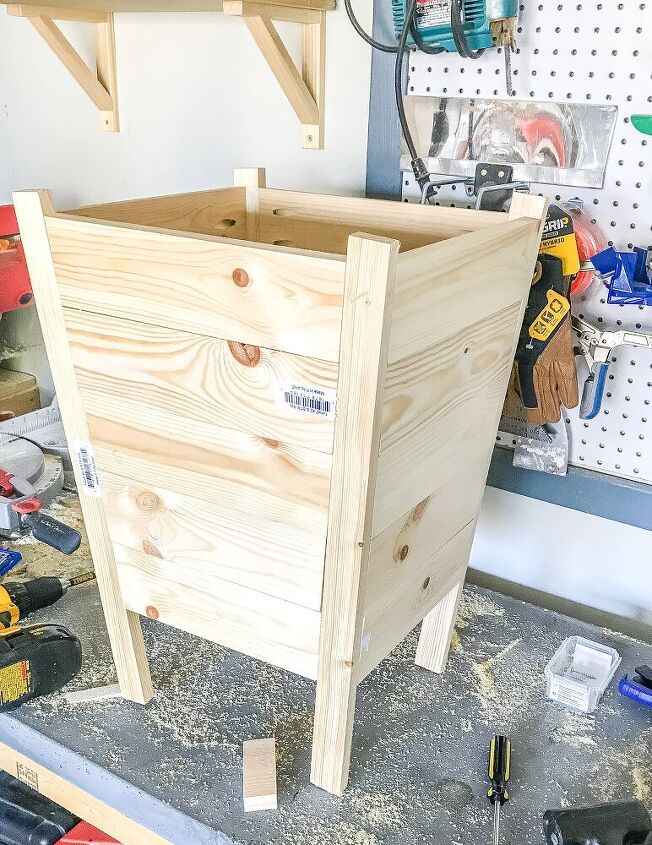
I just laid my other side on top of the other & attached it using the drill & also a screwdriver for the pocket holes that were in the middle, because my drill was to big to fit into the narrower opening.
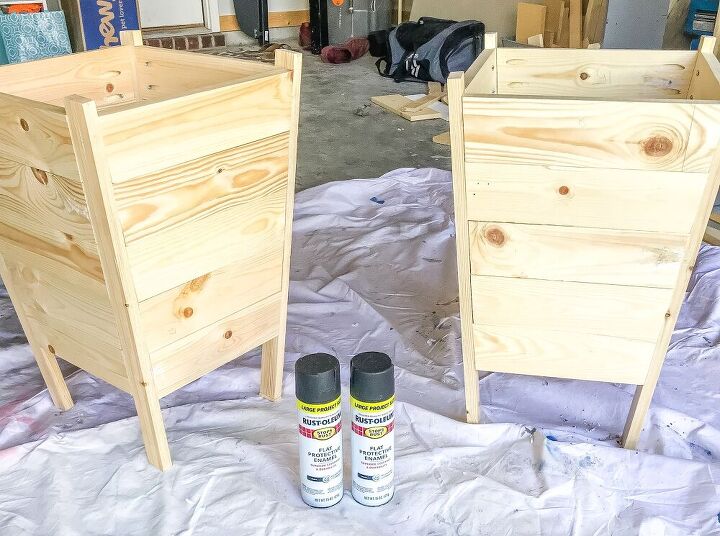
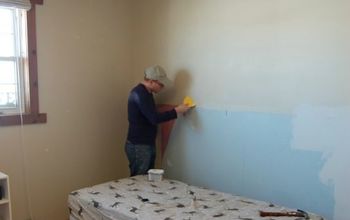
Once I had both my planter boxes built it was time to paint! I used Rust-Oleum flat black spray paint but you could stain or choose any color you want.
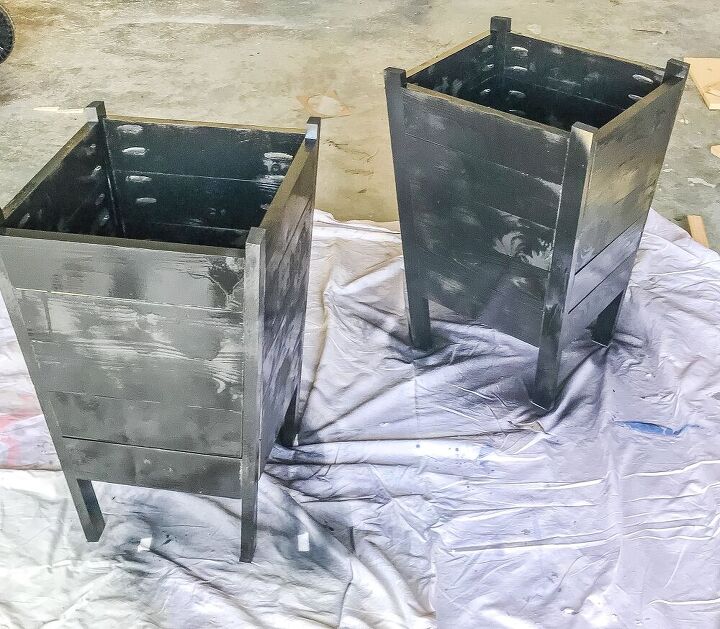
This is after the first coat was on. If you prime the boxes before painting you would probably not have to do as many coats, but I couldn’t wait to paint & ended up having to do two coats.
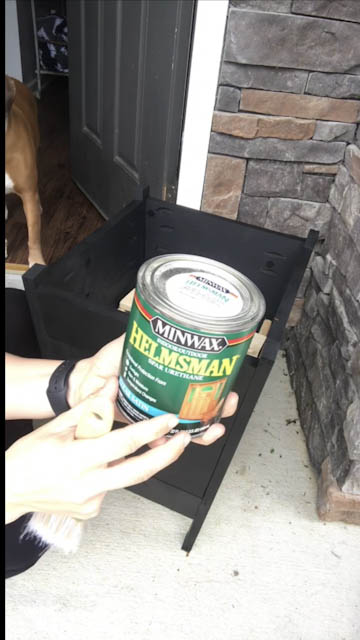
These planters will be exposed to all the outside elements so it’s super important to seal them! I used Minwax Helmsman Spar Urethane in satin because I wanted a little shine
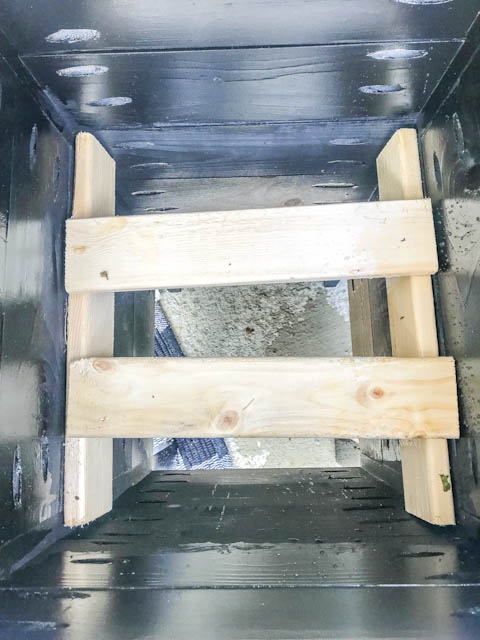
Finally, it was time to add a base for the plants to sit on. There are many ways you could do this but I went for super simple. I just attached scrap 1×3 pieces to the inside of the box & added in two more scrap pieces for my plant to sit on. The two pieces are movable but you could definitely nail them down if you prefer!
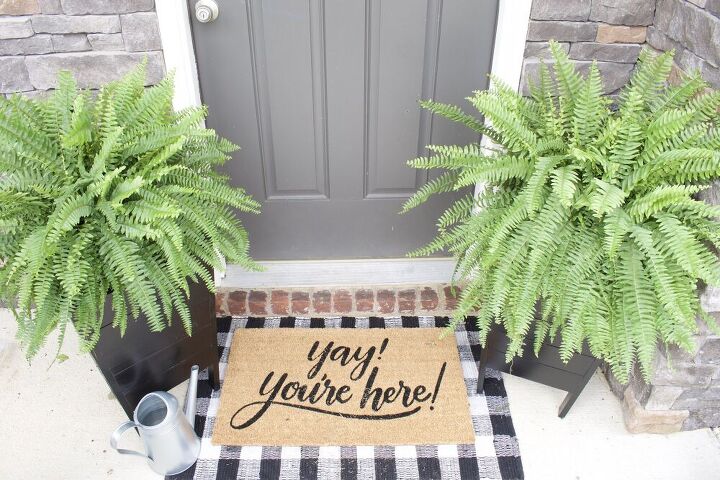
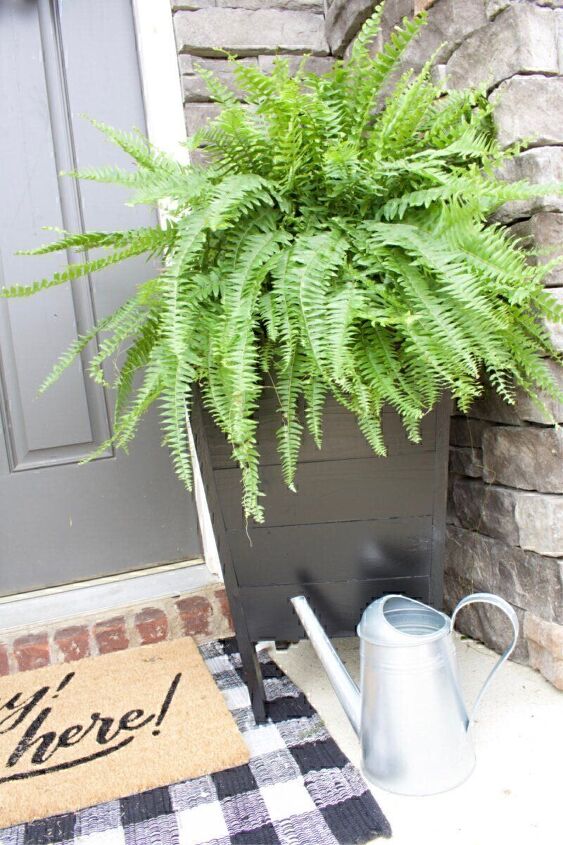
Finished Planter Boxes

Y’all I am so happy with how these planters turned out! They look super expensive & swanky but only cost me $15 apiece to make! These planters fit in so well with my modern/craftsman/farmhouse vibe (yes that’s a real thing  ). If you want to see the making of these planters in action head on over to our Instagram & check out the build in our story highlights. Now all that’s left is to keep these ferns alive, wish me luck!
Want to see more of my DIY outdoor projects?! Head this way!
Resources for this project:
See all materials


Comments
Join the conversation
-
Wow.. my husband was looking for this. He said Thanks.
-
Oh good I am so glad I could help Von!


Frequently asked questions
Have a question about this project?
Wonderful project. Is it possible to print off???
Looks good! Could you do a project for a plant stand for a alevara plant