


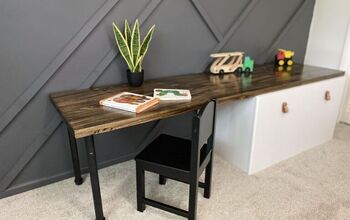
Rustic Butcher Block Desk

This was a very over do project. We’ve had the supplies sitting in the garage for months and finally got to it. We desperately needed a desk in the spare room for my husband to have a space to play video games. All the desks we looked at weren't big enough, so we figured we would make one for ourselves.
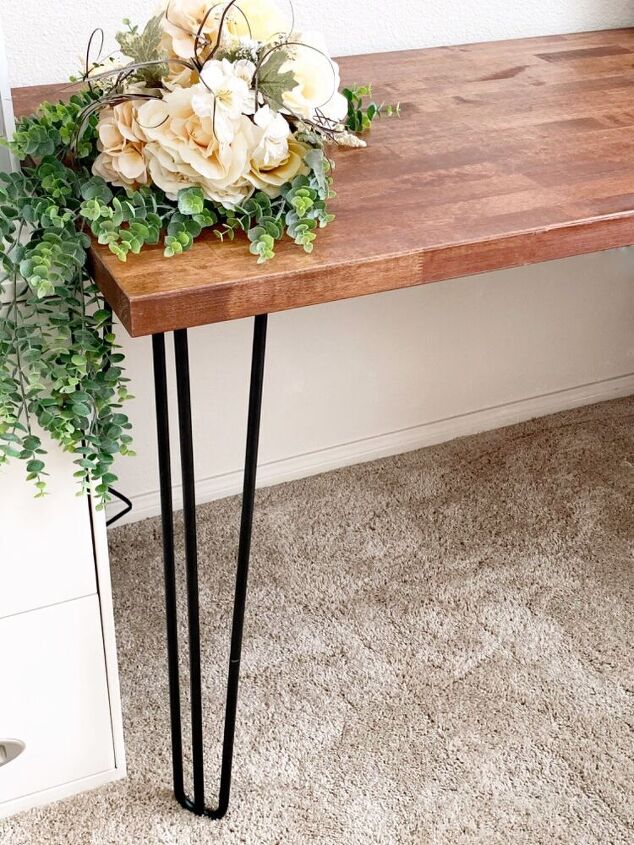
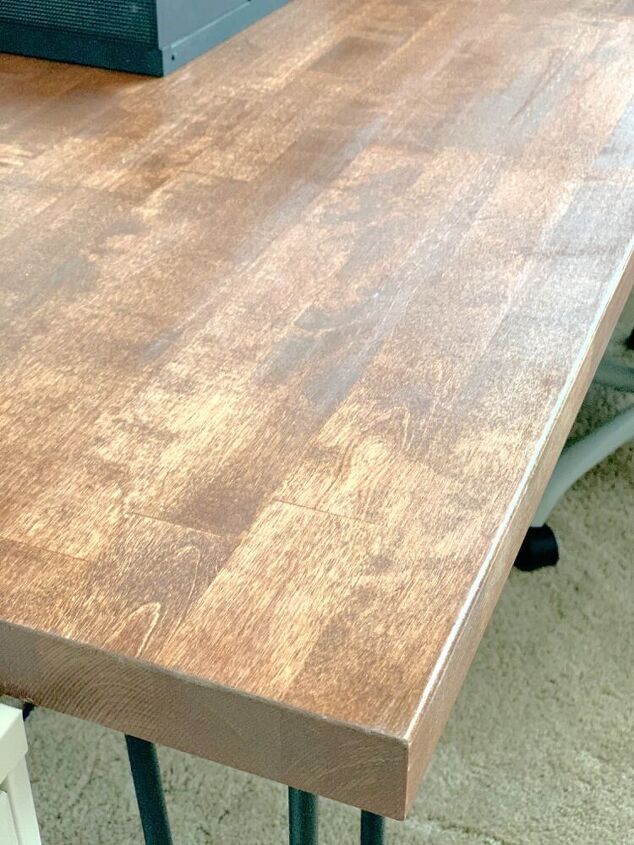
This desk can out so beautiful, it's a shame its hidden away in the spare room.
Most of this project is going to be talking about staining. Which is a very important part. If the staining is not done right, then the desk will have imperfections. My father is a licensed carpenter, and I was lucky enough to learn the tips of the trade.
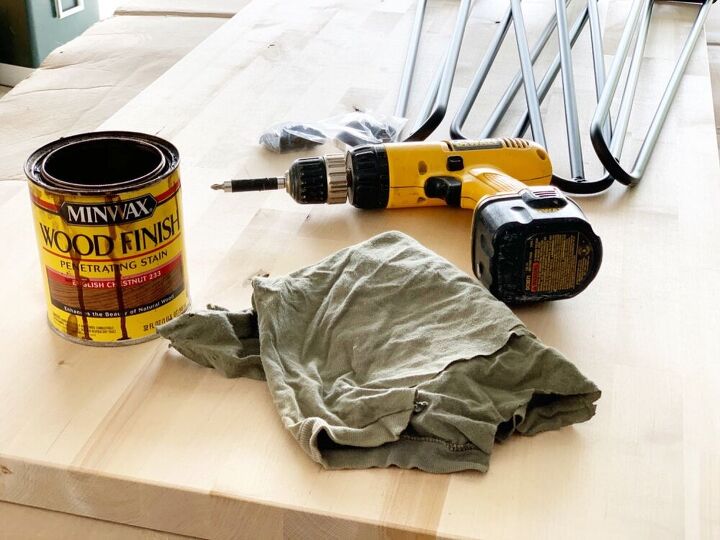
All the supplies did not fit in one picture. So the next couple pictures are the supplies list.
You will need 2 rags (old shirts work great). Or you can use one paint brush and a rag.
Screw Gun
Stain color of your choice. (For this we went with English Chestnut)
latex gloves
Large bucket of water
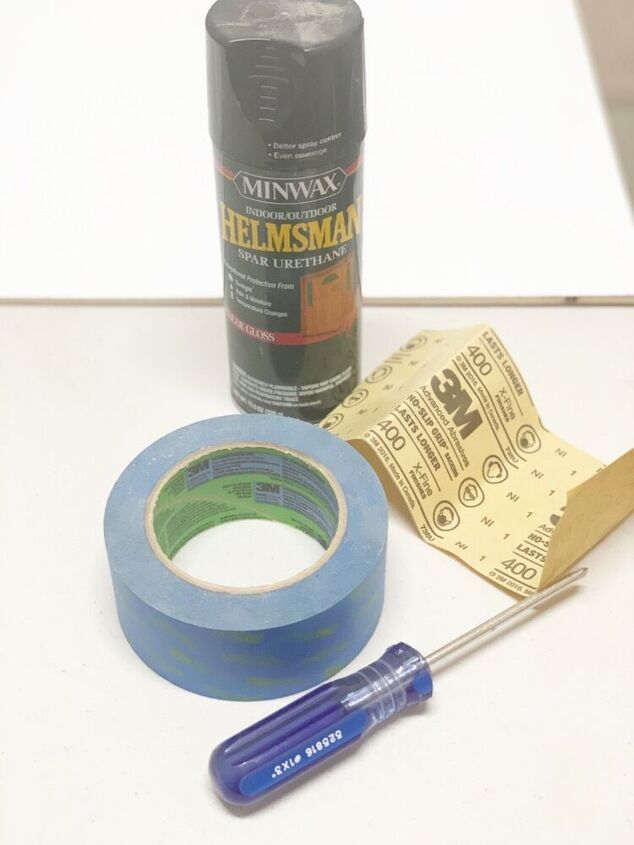
400 grit sandpaper
2 inch painters tape
Clear Gloss Spray
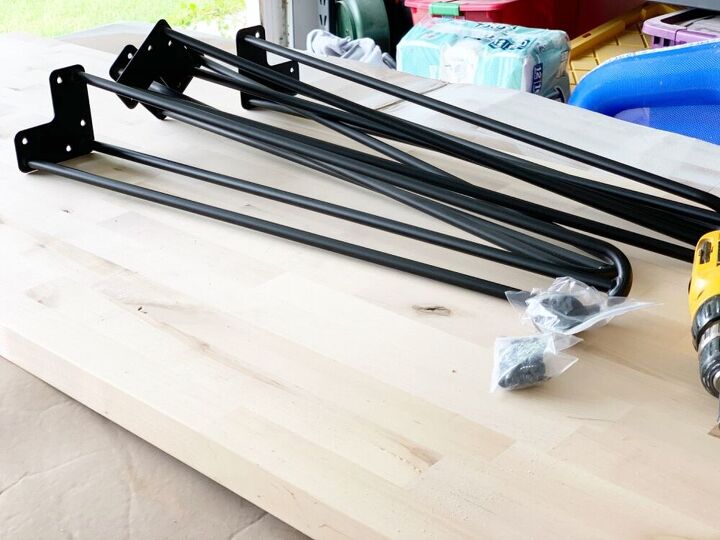
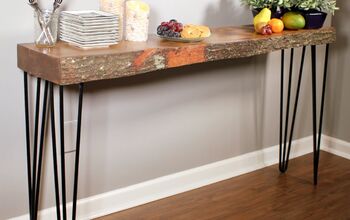
Table legs, it came with the screws. (28" hairpin table legs, we got from Amazon)
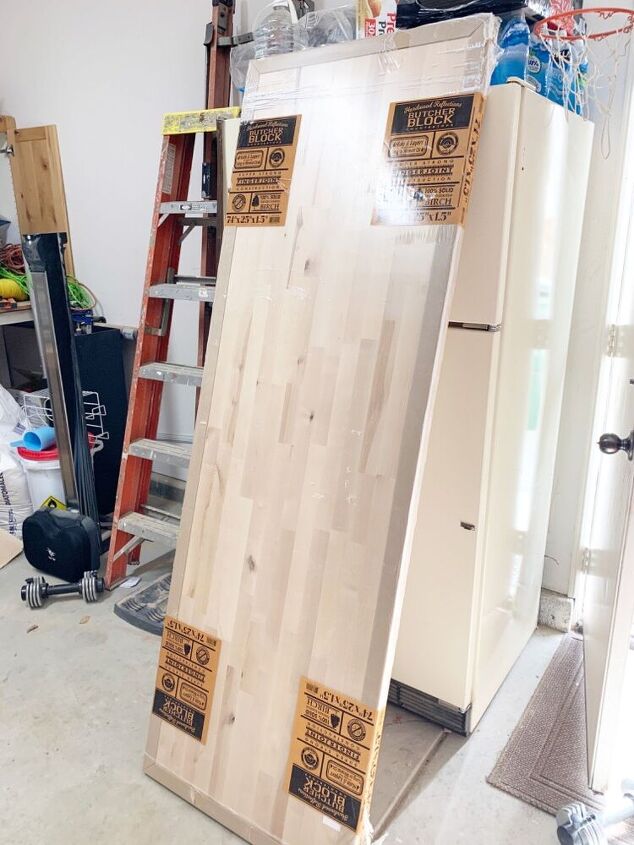
Butcher Block Top
( From Home Depot. 8 ft. 2 in. L x 2 ft. 1 in. D x 1.5 in. T Butcher Block Countertop in Unfinished Birch)
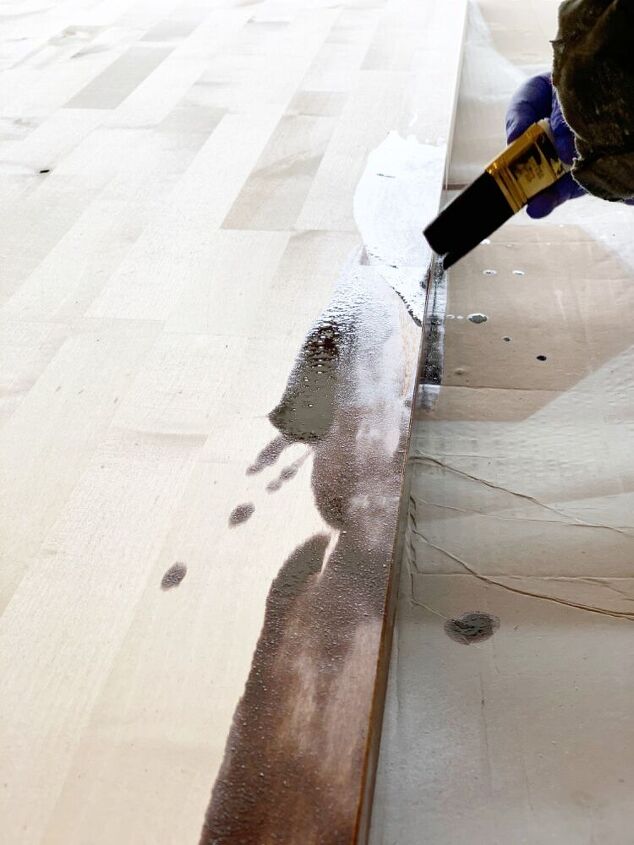
First you will need to stain you tops.
Make sure you mix up the stain before using it.
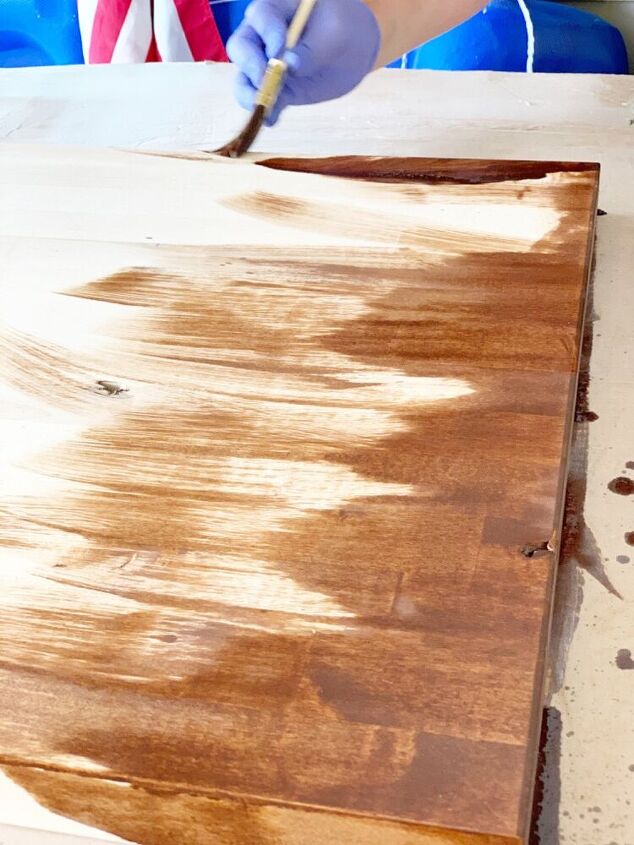
For staining you can use a rag or a paint brush.
When staining go with the grain.
DO NOT POUR THE STAIN ONTO THE WOOD** This will leave the wood discolored. As you can't see my husband has that puddle of stain on the top. You do not want to do this either. It can cause dark spots on the top. It happens, don't worry, just brush that area to most the stain puddle around.
To get an even stain, brush or wipe the top with the same level of liquid throughout.
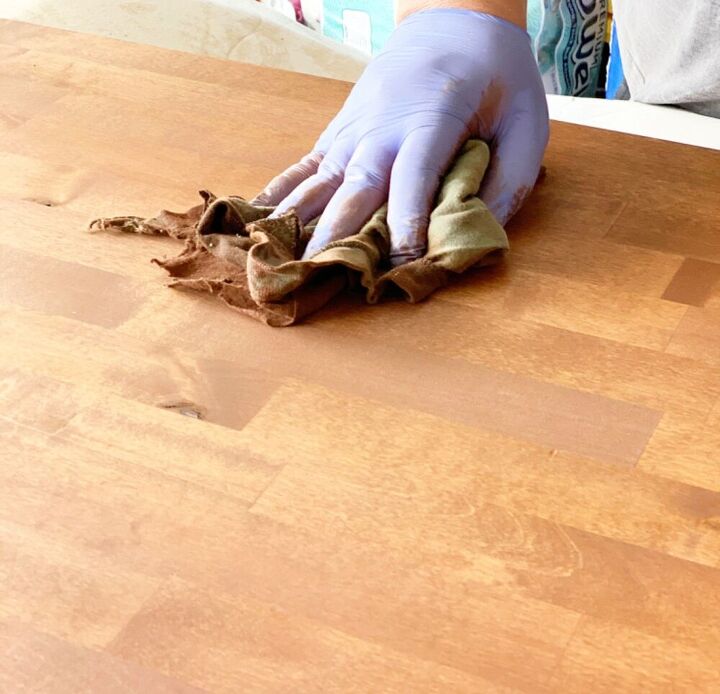
Using a separate rag you want to wipe off the extra stain off.
Again still going with the grain.
Because this top is so big, you will need to do this in sections. If you leave the stain on for too long before wiping the extra off, it can cause dark spot.
You may have seen other projects where someone stains it and you have gunk and bubbles in a spot on the wood, this is from not wiping it down fully.
This is the most important part of this whole project.
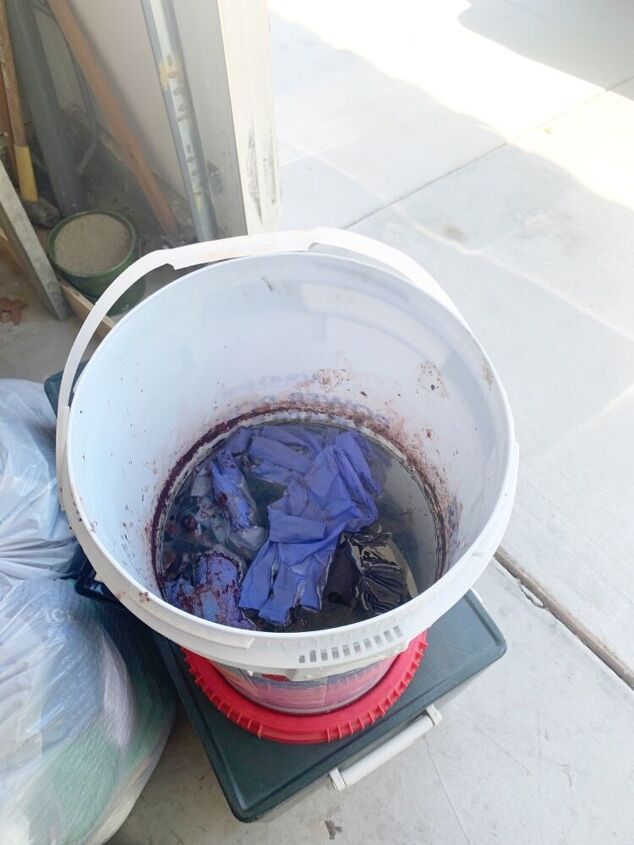
Disposal of the stain soaked rags, gloves, brushes. Anything you that has soaked stain on it. Stain can and will at times combust and start a fire.
You need to leave the rags fully submerged in a bucket of water. We leave this for about 48 hours before disposing of the items. Our town has a disposal facility for these kind of things. Check with your local city, or waste management for yours.
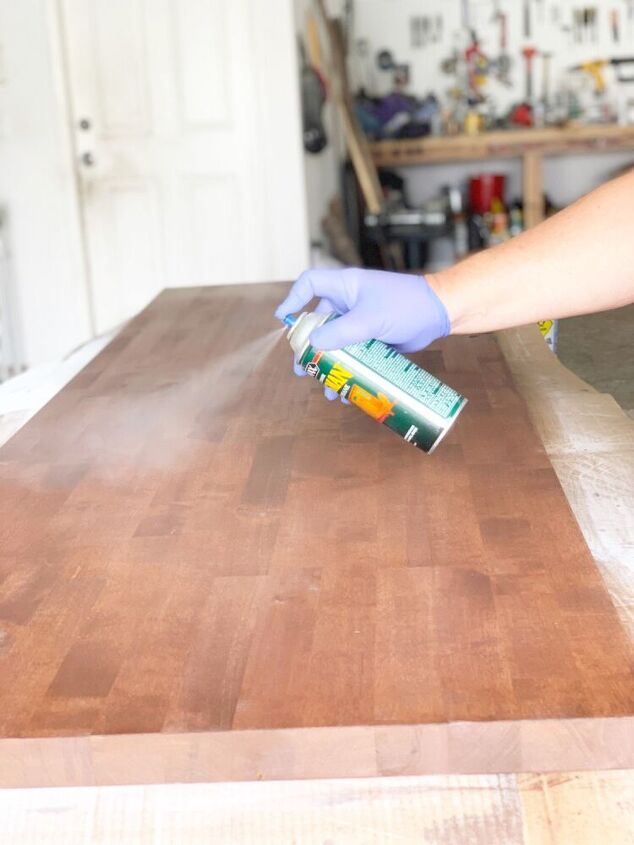
After your stain is fully dry, it's time to spray on the clear coat.
Spray on a light coat.
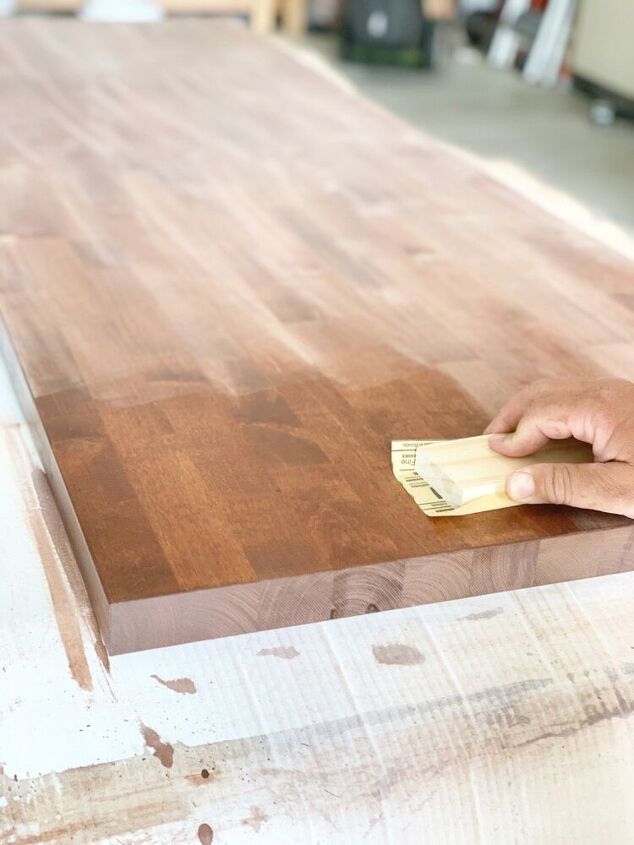
After you clear coat is FULLY DRY, take you 400 grit sand paper and lightly sand the top.
Again going with the grain.

Then you repeat step 3 & 4 and spray the top again, and sand again.
Total we sprayed and sanded 3 times. Lightly sanding the last time as well.
By doing this it will leave your top nice and smooth.
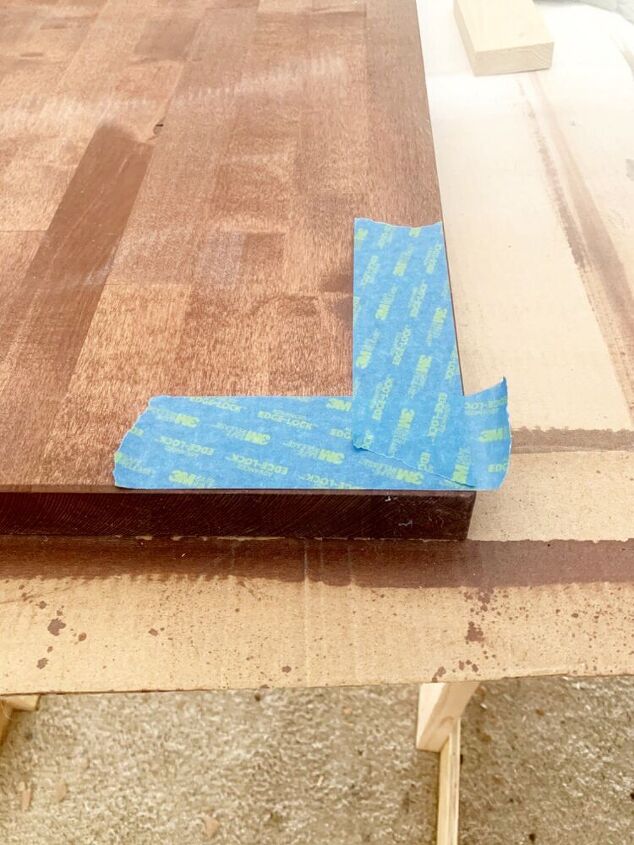
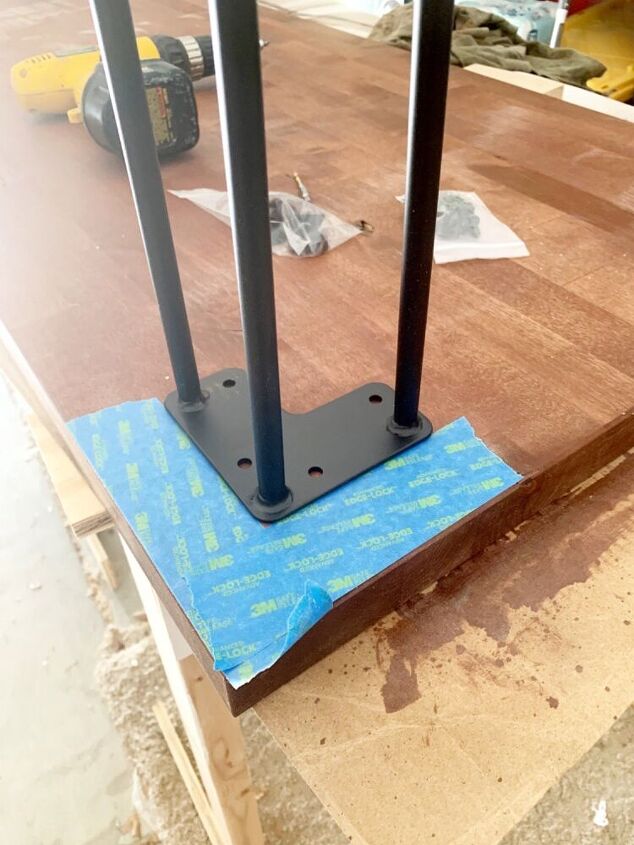
Now it is time to add the legs.
We took our painters tape and tape the edges. This gave us a perfect measurement to line up the legs on all 4 corners.
(Optional)
Now mark your holes with a pencil so you can pre drill out the holes.
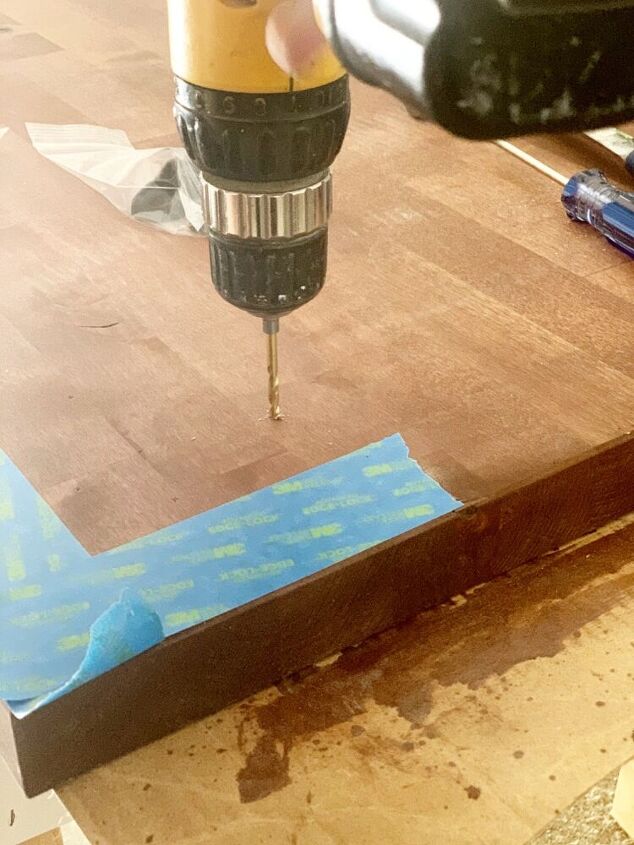
(This is optional. My husband likes to pre drill)
Now pre drill the holes your screws are going into.
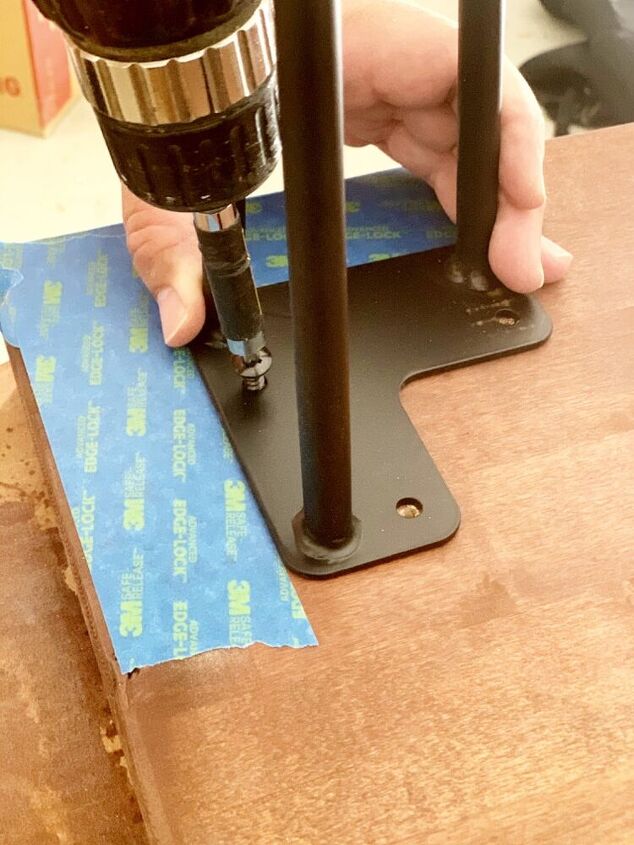
Screw in the legs to the bottom of the top.
The screws came with the legs.
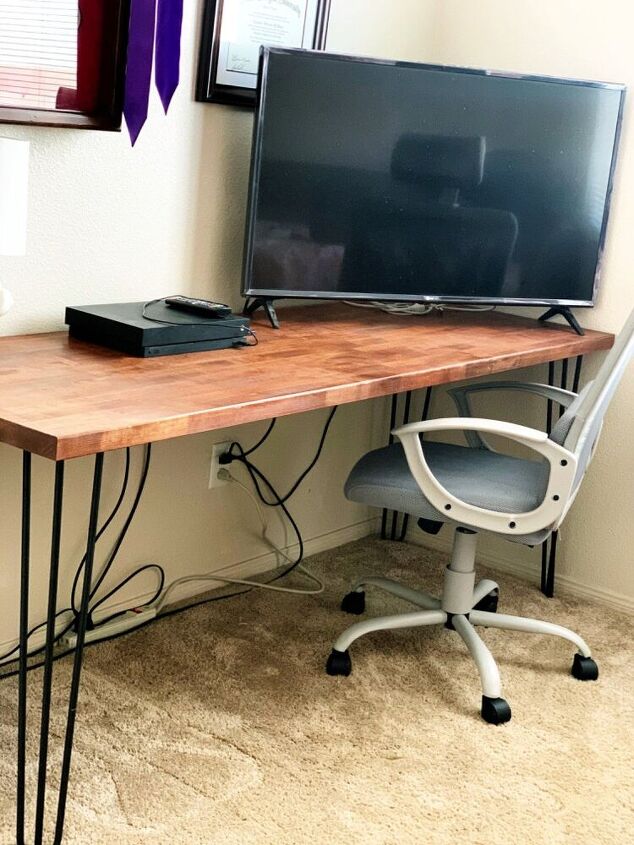
And you are done! Thank you for reading! I hope it was informative.
Comments
Join the conversation
-
Very inspiring, but you may want to proofread your instructions under #1 SUPPLIES- "You will need two rags. . . . . . work great."
-
WOW, what a beautiful desk you have created. Love the idea of using butcher block and the hair pin legs are awesome. GREAT JOB.


Frequently asked questions
Have a question about this project?
How much was the butcher block? Ty
How much was the butcher block?