


Make A DIY Faux Rock Planter From Cement
How to make a DIY faux rock planter for your succulents by sculpting cement, and using foam insulation!
I’ve seen rock planters for succulents in photos and stores. I love them and thought, why not just make one? However, I wasn’t loving the thought of having to drill a rock. So I came up with an easier way to make a DIY faux rock planter, which gives you lots of flexibility. One of the greatest benefits of making your own rock, is that you can choose any shape and color!
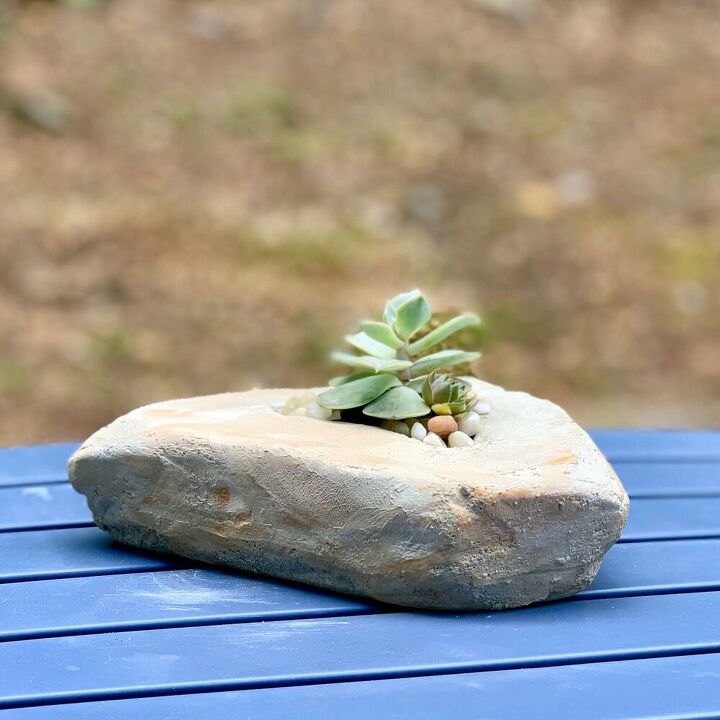
Of course, you can also let them just be the natural color of your cement.
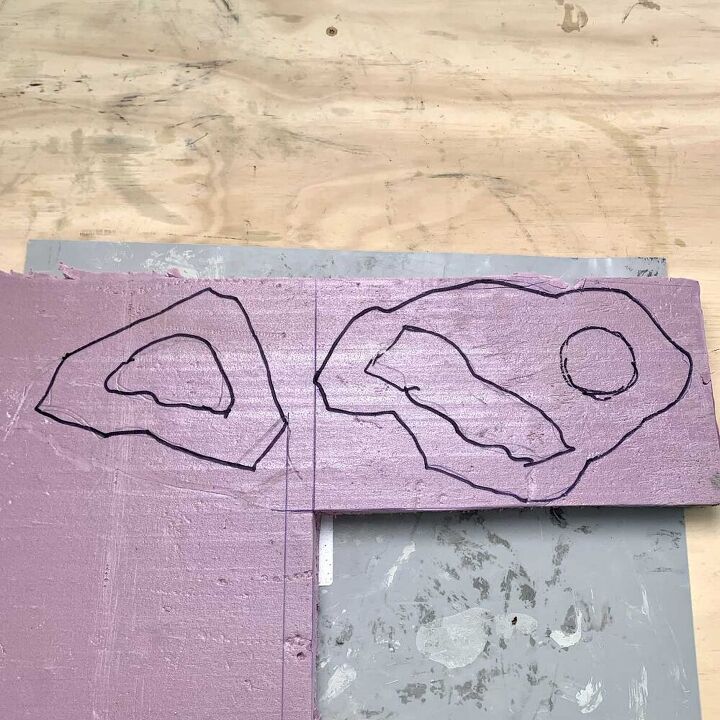
Before you start, think about how a rock is shaped. It may be completely flat, or it may have bevels or angle outward. It could slope inward. Study the rocks around your yard or photos on the internet to get a good sense of shape.
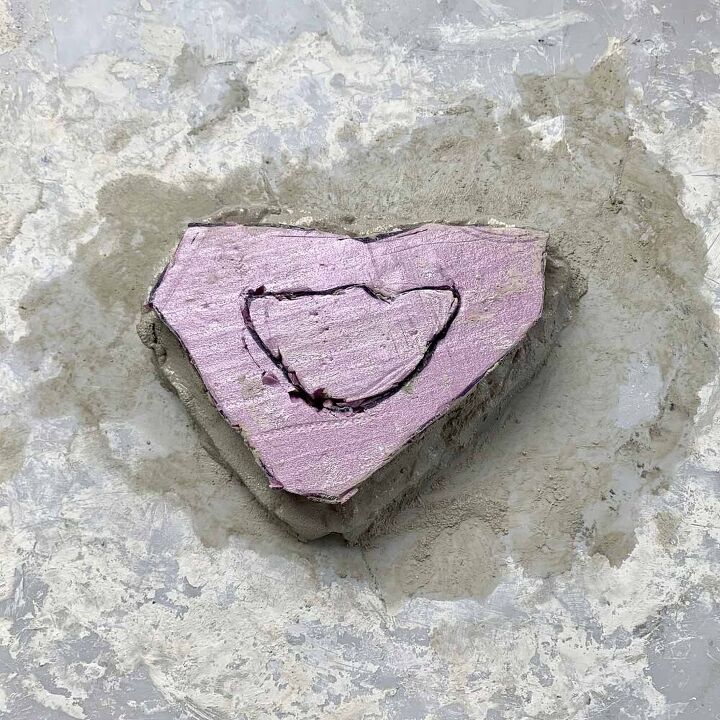
Draw the shape of the rock onto the pink insulation foam. Your final piece will be ¼” diameter larger than what you draw, so account for that when designing your rock. Be sure to draw the void area where the plants will go.

We are using foam to help with the shape, and also so you’ll end up with a lightweight planter.
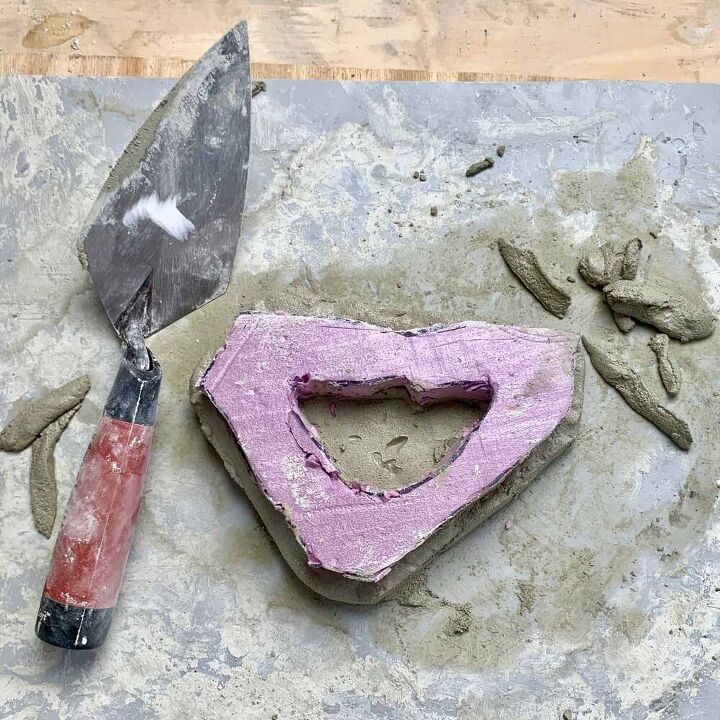
Use a craft knife to cut out the rock core. It’s easier if you cut it with part of the insulation sticking out past your work surface.
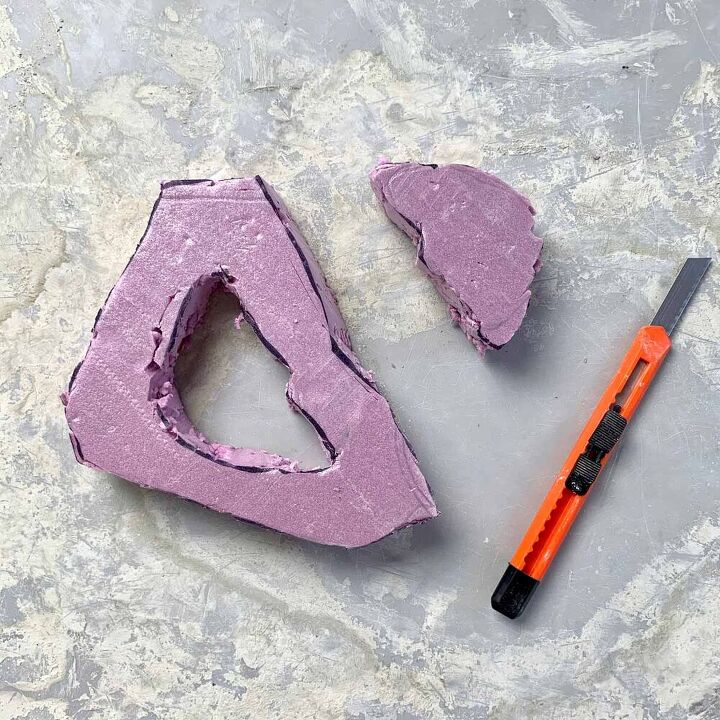
Cut out the inner piece and then place it back inside for now.
SET UP THE COLORANT
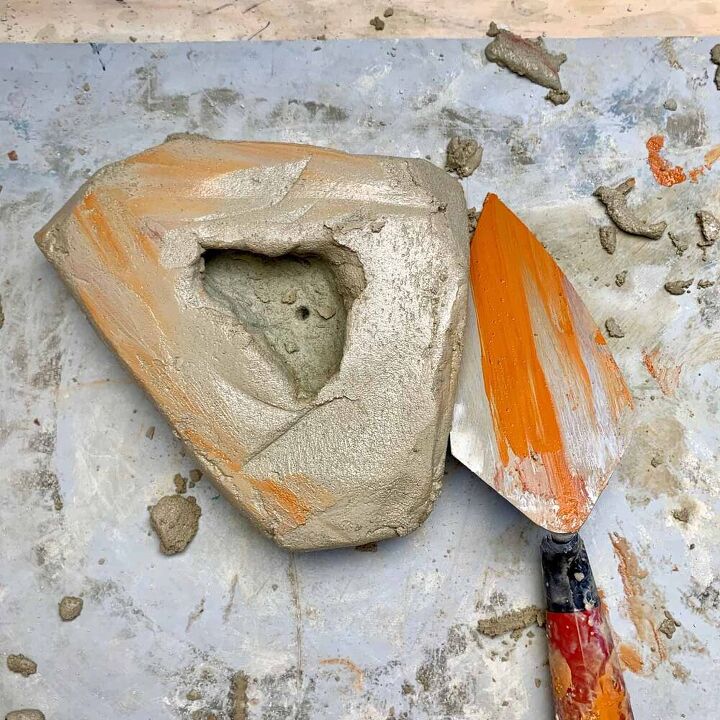
If you want the whole rock to be one color, then you can just mix the color into the cement mixture before you pour. If you want accent colors like mine has, then the best way I found to color it is to add some color to the back of the pointing trowel and smear it on as you sculpt and smooth.
So to get the colorant set up and ready, just take a little bit of the color and pour it into a bowl. Then add water to a cup and place the brush nearby.
Note: The base will need to be ¼” larger than the foam rock you cut out. This is because you’ll want a ¼” wall thickness and once you place the cement on the foam to sculpt it, you won’t be able to see it and won’t know whether you have the ¼” wall or not.
Once you have the base with the ¼” extra, you will be able to see and feel how thick you are making the faux rock.
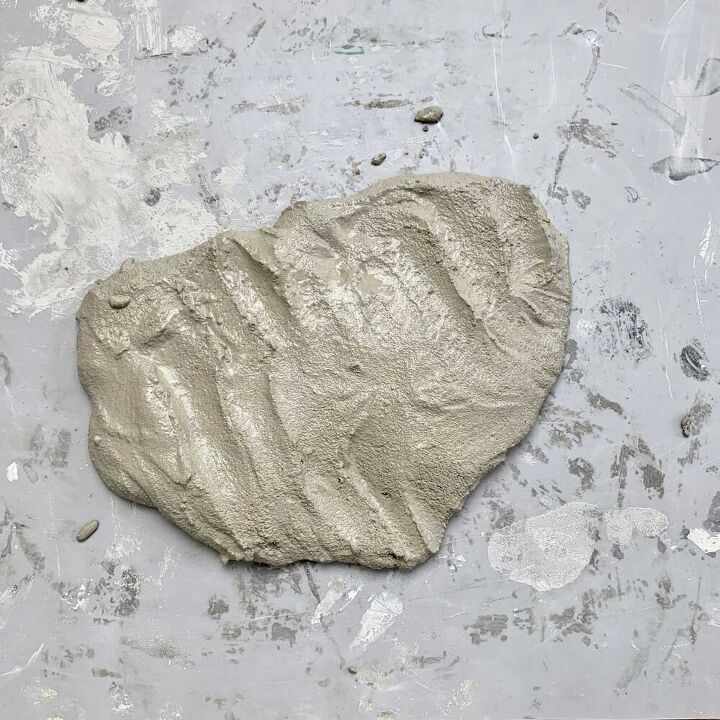
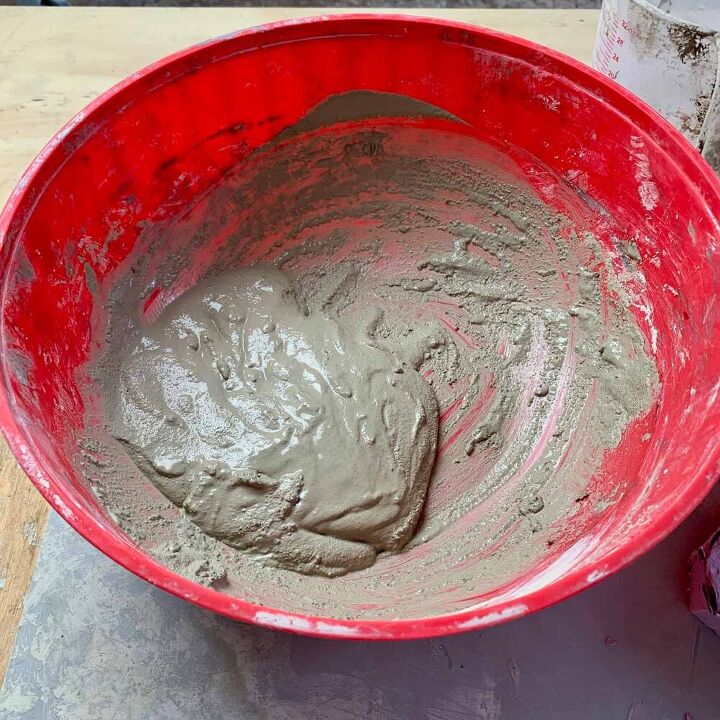
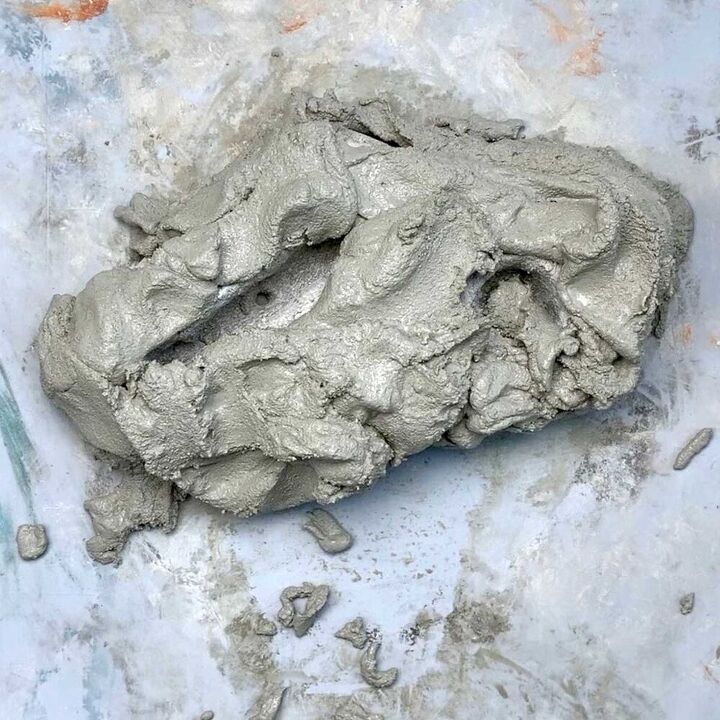
Mix the cement with cold water- you will need a bit of working time to sculpt this and cold water will help slow it down. I put ice cubes in mine and also kept it in a cooler because it was hot the day I made this. The consistency should be a formed mud pie.
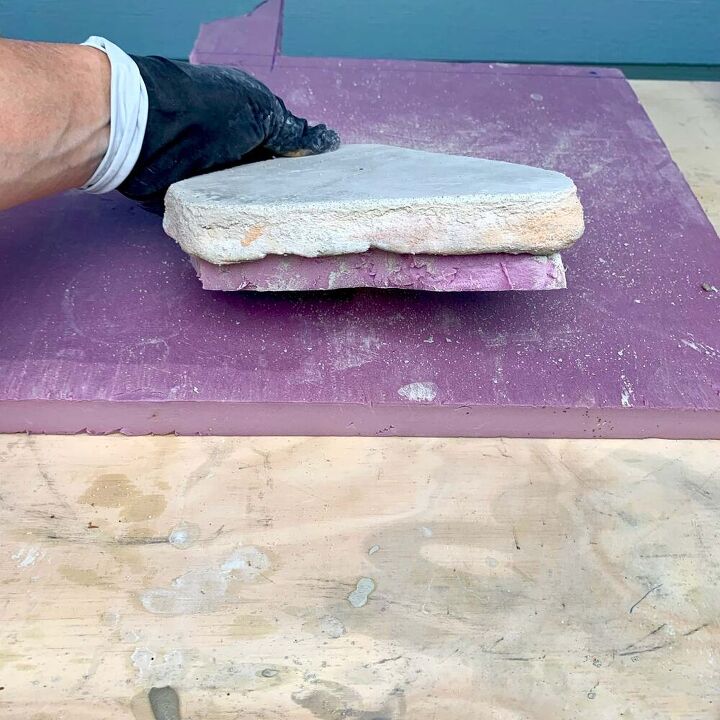
Plop the cement onto your work surface and spread it out to the general shape of the foam and leave it about ¼” thick.
Next, place the foam rock on top of it, ensuring you keep the ¼” thickness underneath. Then remove the inner foam piece, but keep it nearby in case you need it during the sculpting phase.
Now, carve off some of the cement so that the shape fits the foam rock, but leave a ¼” diameter all around.
Keep in mind that a rock naturally won’t have straight edges at the bottom and is likely a bit rounded in places. So take the trowel and angle it in a bit toward the rock and pull a little bit of the cement away from all around the perimeter of the rock base. Now use the clay sculpting tool, or your finger to soften the edge.
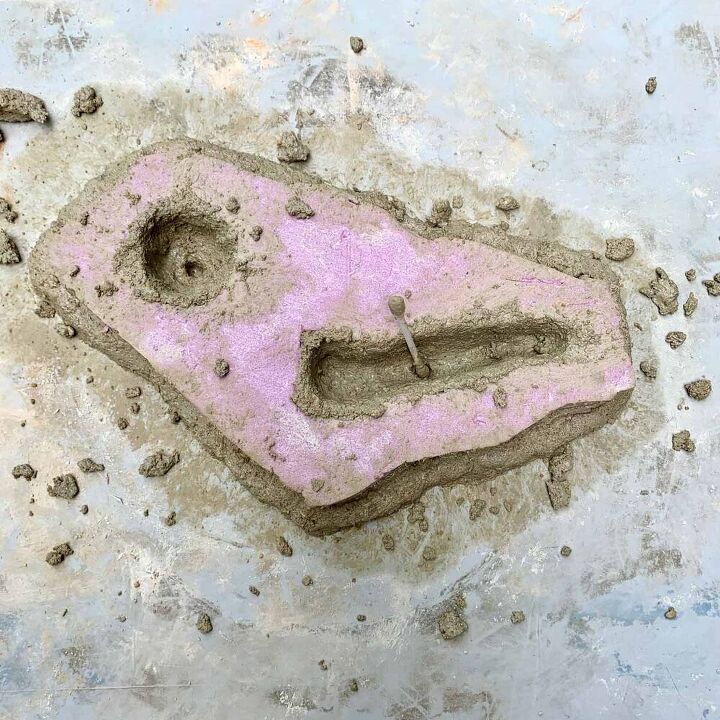
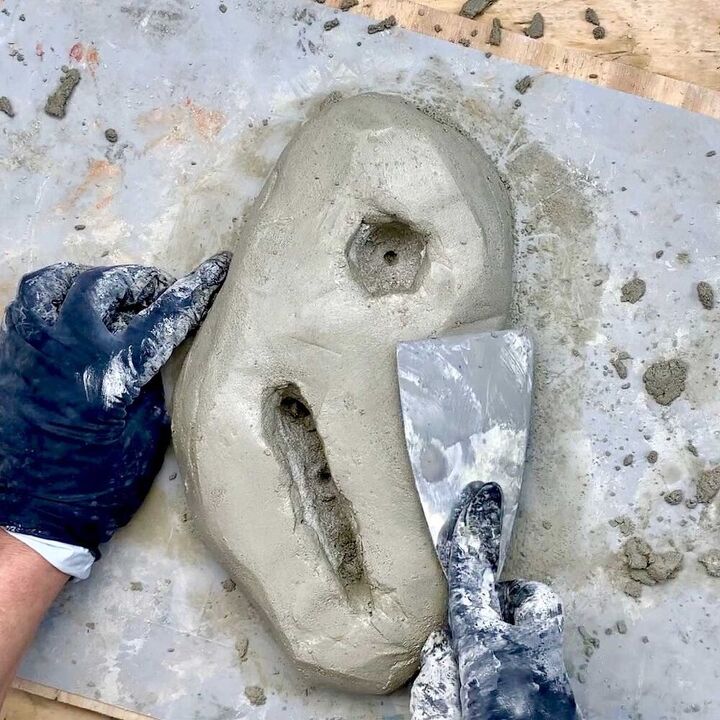
Next, spread the cement onto the inside of the foam where the plants will be planted. Just press it around the sides to cover all the pink. Once it is covered, you’ll create the drainage hole for the planter. Take a cotton swab and press it into the center and twist it. You can dip the tip in water to get the hole a little cleaner if you need to.
Now let the cement cure. It doesn’t need the full hour, you just want it to be mostly cured. Let the cement heat up (it will be very warm to the touch) and when it starts to cool, then you’ll want to sand the bottom edges.
Even though you rounded those edges, you likely will have a harsh line that formed at the edge. It’s easiest to sand it now before the cement hardens.
**If you love making things from concrete and cement, then you may want to check out my post where I did tests to compare the different types of cement mixes. I also have a Free Pocket Guide To Concrete and Cement Mixes there as well. 
Mix another batch of cement, this time you will need more than double what you used for the base. The consistency will be the same- like a formed mud pie.
Apply the cement to the top and sides of the rock, and take care not to get it inside the void you left for where your plants will go. Depending on the design of the rock, you may want to temporarily reinsert the foam inner piece that you cut out in Step 2, to keep cement from accidentally falling in there.
Once the cement has set a bit more you should be able to take the foam inner piece back out.
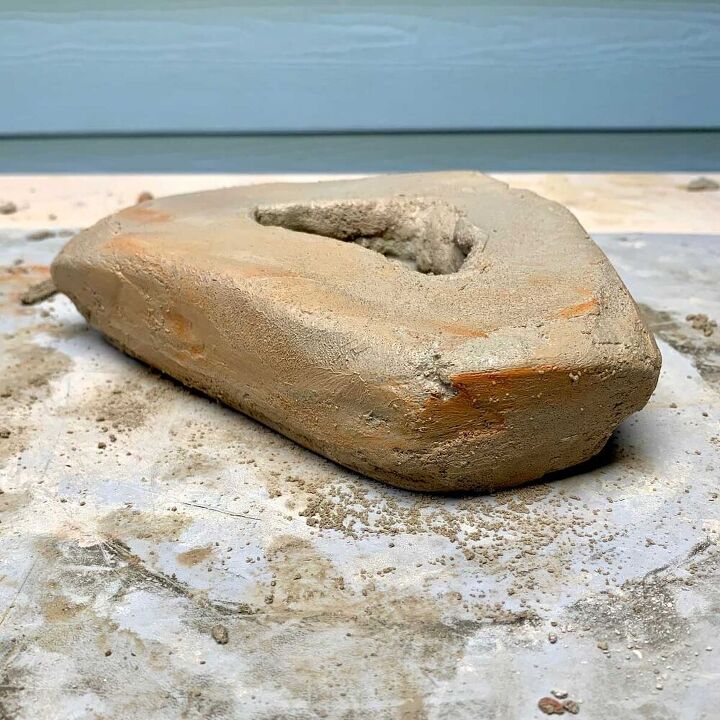
Now, on to sculpting the rest of the rock. First, use your hands to form the cement around it and on top of it. Next, you are ready to sculpt it with the trowel.
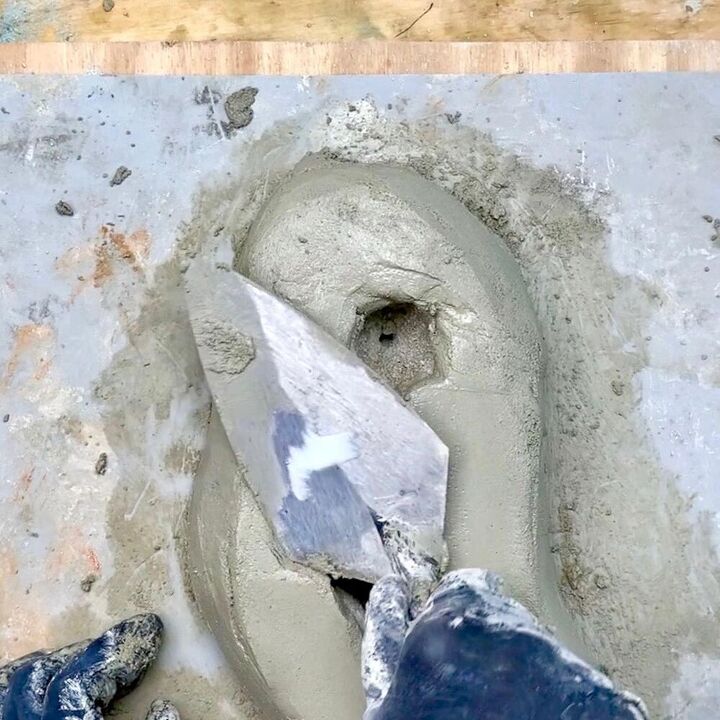
To do this, take the trowel or putty knife and use it as a spatula- as if you are baking a cake. Make smooth, sweeping motions as you flatten and shape the rock the way you observed when you researched rock shapes in Step 1.
**If you love making planters, take a peak here at all my other planter projects. 
Your trowel will work best if it’s clean so when the cement starts sticking to the bottom, making the flatness you create not as smooth, then dip it into the cite of water and wipe it dry with a rag.
You’ve got about 15-20 minutes, depending on climate conditions once you’ve mixed the cement until you finish sculpting. After that, the cement will start drying out and the areas you keep re-working will turn kind of greenish after it’s cured.
As you feel the shape is getting close to how you want it to look, go ahead and add the color. One thing you should try to avoid at this stage is adding water to the cement. It will start to pull the sand through, making it rough. It will also dry parts of it out and give you some discoloration.
Once the rock looks the way you want it to, go ahead and let it cure. It will need several hours to cure. I just let mine sit overnight.
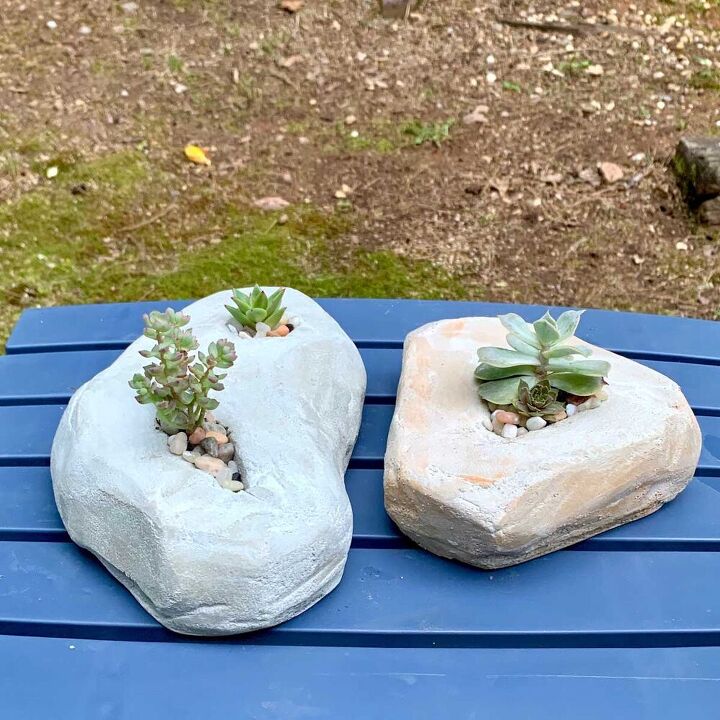
Now your rock is ready for planting. Plant this the way you would for any succulent. Be sure to use a well draining soil mix, or mix with small pebbles and/or perlite.
Resources for this project:
See all materials


Comments
Join the conversation
-
Such a creative way to make faux stones.
-
Love it! I've done this with crummy/cheap/broken plastic planters as the base. And once, over a left over piece of Sonatube, to make a tiki planter.


Frequently asked questions
Have a question about this project?
I love this project and I want to try it. Do I not need to seal the cement before placing plants in it?
How much cement for what size rock?
what brand and kind of colourant? The picture in the materials is tiny, and when i click on it, it takes me to dozens of colour additives on amazon.