


Put Together the Perfect Farmhouse Clock Face for Your Space
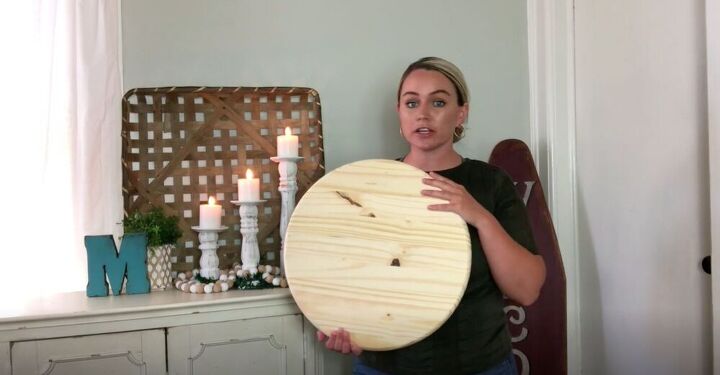
I love creating simple rustic pieces to decorate my home. This project is no different! It’s so quick that if you blink, you might miss it! With some basic materials, I’ll show you how to create a beautiful rustic farmhouse clock face. Add working clock pieces to have a functioning clock, or leave as is and use it as decor in your home, it’s totally up to you. Either way you’ll end up with a stunning piece of decor that you made yourself! Follow my step-by-step tutorial to get started!
Tools and Materials:
- 18” wooden round
- Baby wipe
- Grey chalk paint
- Sandpaper
- White chalk paint
- Chip brush
- Ruler
- Number stencils
- Mod Podge
- Sponge
- Black paint
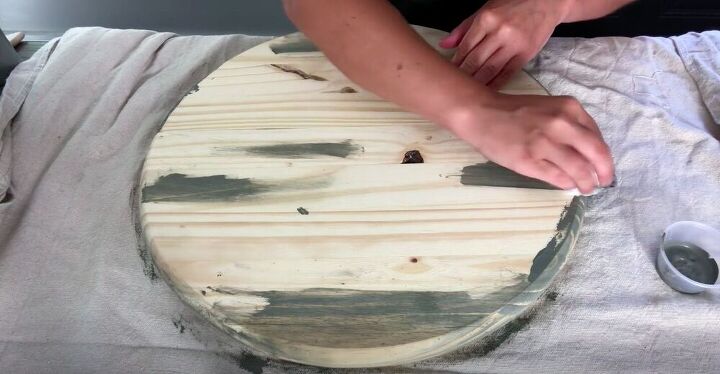
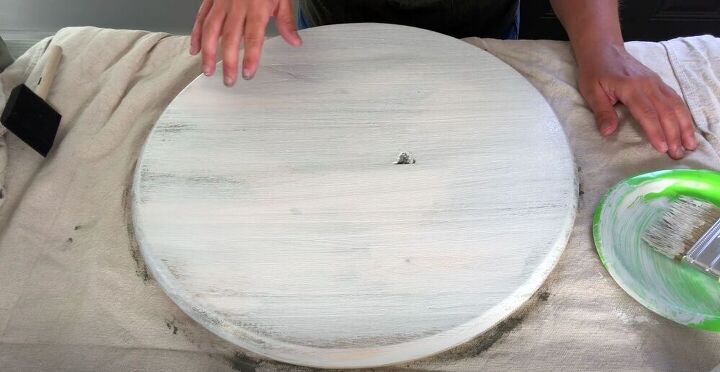
I wanted a bit of depth to my piece, so I started by staining my wooden round. It’s easy to create a faux stain on wood with just a baby wipe and some chalk paint. I picked up a bit of grey paint with the baby wipe and rubbed it on the wooden round. I made sure to get all of the edges first, and then I also added splotches of it to the face of the round. I’ve found that using a brown or grey stain underneath the white paint I’ll be adding later gives pieces a nice rustic feel.
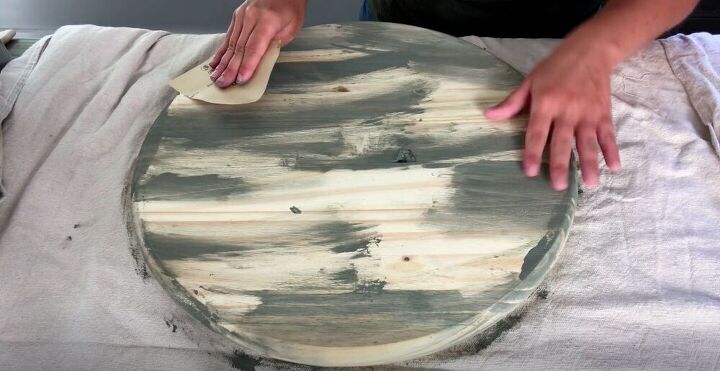
Once I had the wooden round stained to my liking, I gave it a light sanding. You really don’t need to work too hard here, just enough to remove any burrs or rough bits of wood.
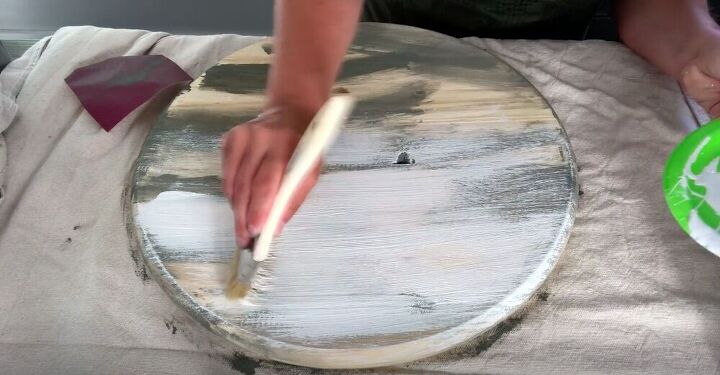
With my wooden round stained and sanded, I was ready to paint. I used a white chalk paint and a chip brush to paint the wood. I like using a chip brush for projects where I want a rustic look as the rough bristles of the brush make the paint look distressed the minute it’s painted on. I painted a light coat of white chalk paint. I really wanted the bare wood and stained wood to peek through the white paint, adding to its farmhouse look.
Tip:
If you want to get more full coverage, I’d suggest working with a sponge brush.
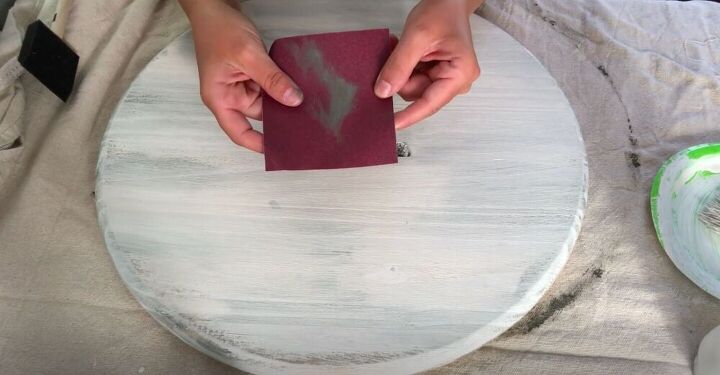
Once the paint had fully dried, I lightly sanded the wooden round. I put a bit more pressure along the edges of the round to distress them a bit more. This allows the grey stain to show through and emphasize the rustic look I was going for.
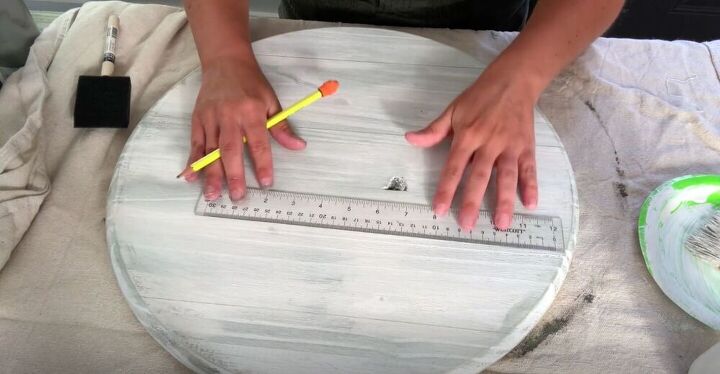
We all know that shiplap is the ultimate farmhouse decor motif, and of course I wanted to find a way to work it into this project. Using a ruler I made a few lines with a pencil. It doesn’t have to be perfect, so I’m not measuring to make sure that the lines are evenly spaced, but if that’s important to you go ahead and do that.
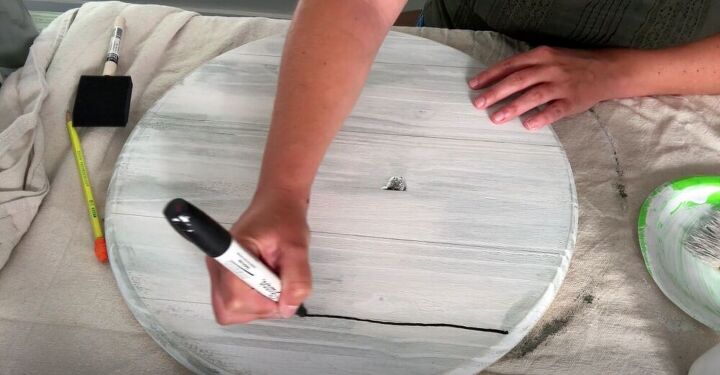
Once I had drawn four lines, I went over them roughly with a paint pen. Once again, I’m not going for perfect here so I wanted the lines to look a bit squiggly.
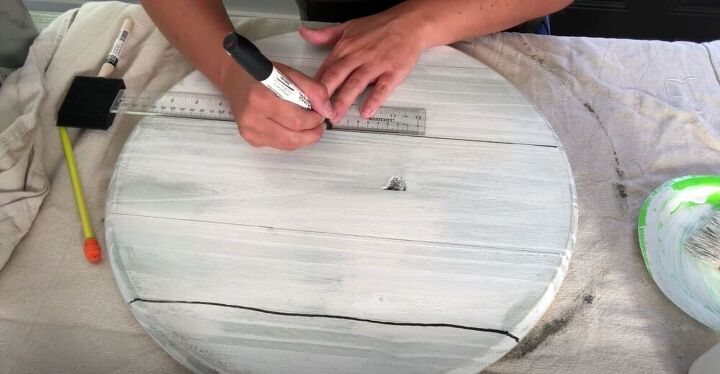
If you want them to be perfectly straight, use a ruler to add the shiplap lines.
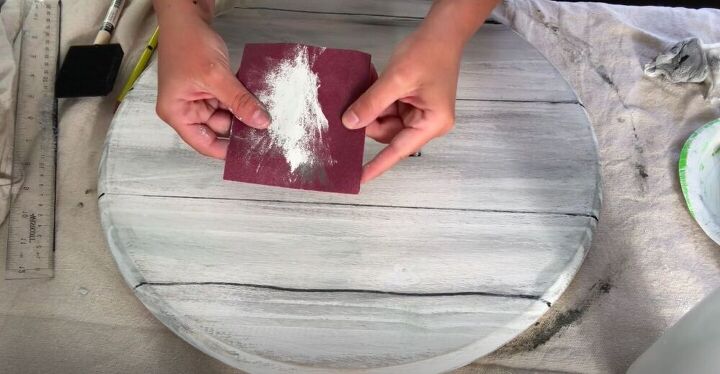
Once my paint pen had dried, I gave it a gentle sanding one last time. The goal is to make it look rustic, so there is no right or wrong when it comes to how much you sand.
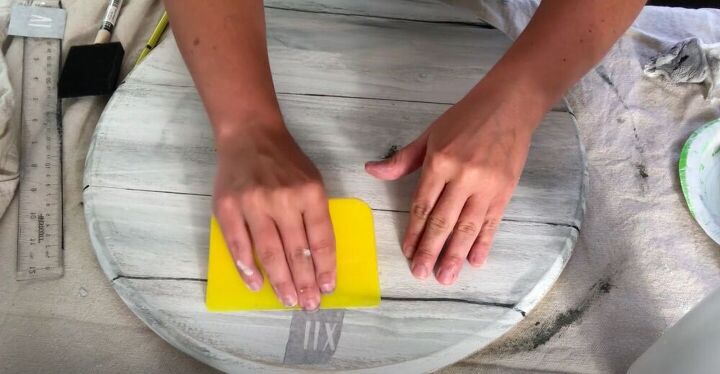
You can add the numbers to your clock in a number of ways, but I chose to work with stencils. I used vinyl stencils for my numbers. Using a squeegee I made sure to press the transfer onto the wood really well, so that there were no bubbles or spots where the paint could get under the stencil.
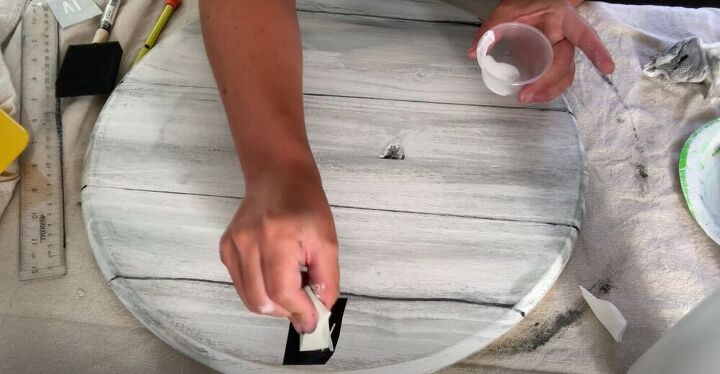
Then I sealed my stencil using a bit of Mod Podge and a sponge.
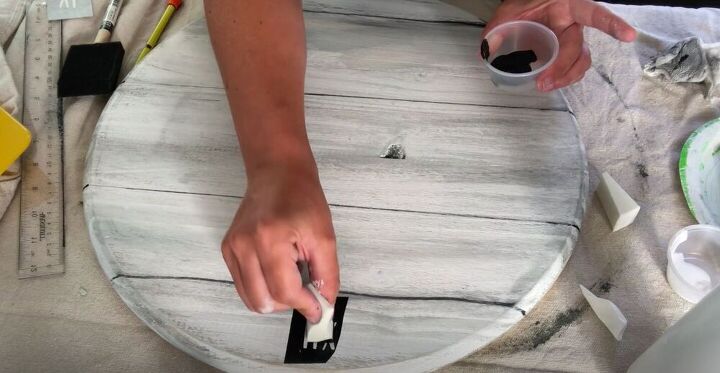
I dipped my sponge in black paint and dabbed it onto the stencil. Do this part gently to make sure that none of the paint gets under the vinyl.
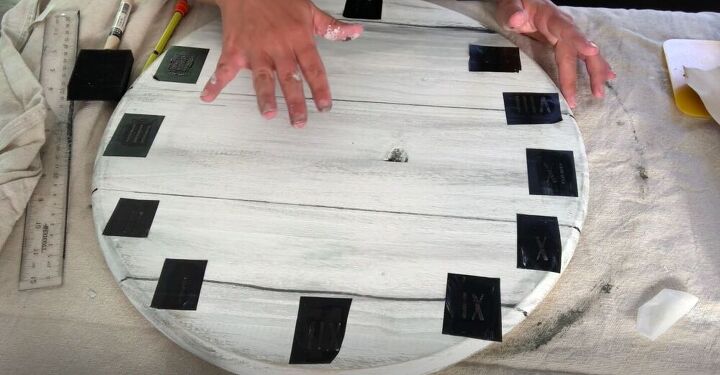
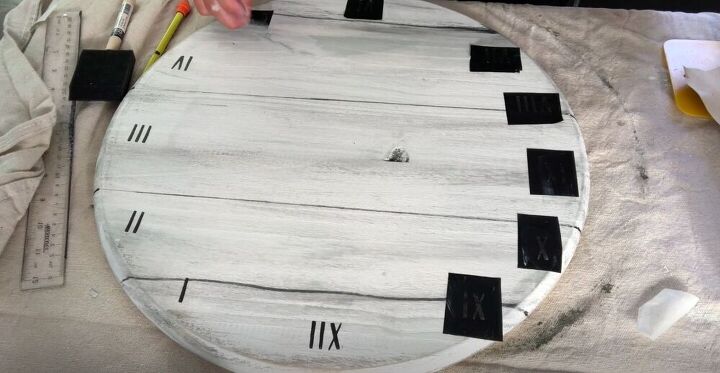
I repeated this process with all of the numbers and then gently peeled the stencils off.
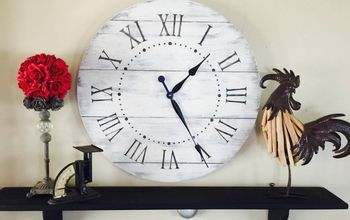
If you want to utilize this as a functional clock, go ahead and add working clock pieces. These can easily be found at your local craft store. I’m just going to be using mine as decor, so I didn’t add working clock pieces.
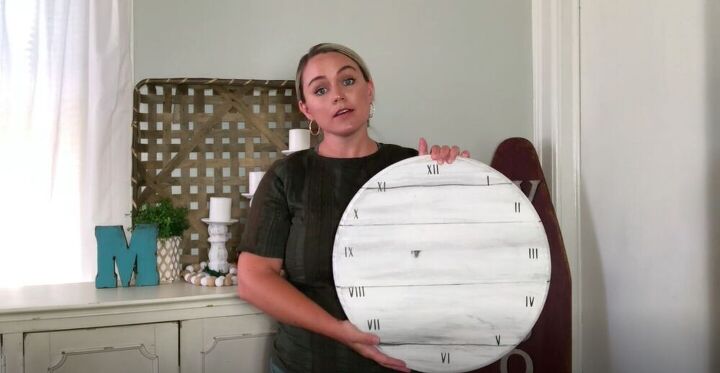
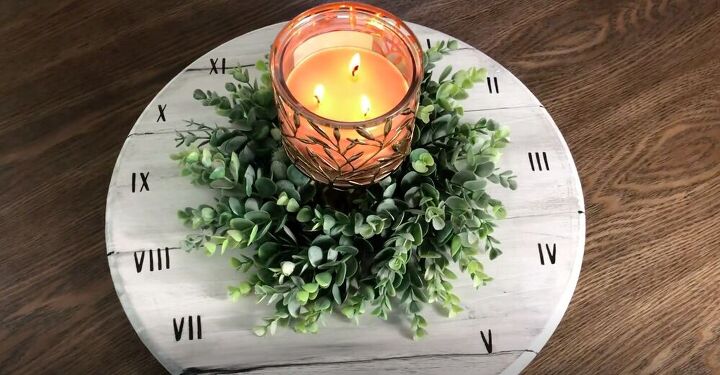
Here’s one idea for how you can style this farmhouse clock in your home! I added some faux greenery and a gorgeous candle to create a stunning piece of decor for my home. How would you style your farmhouse clock? Let me know in the comments below!
Resources for this project:
See all materials


Comments
Join the conversation
-
I had a tree slice and I need a clock! Thank you so much for the idea. Because I'm crazy about clocks, I may use a second clock slice atop a stump for an end table. You've inspired me absolutely. 🙂
-
You might use a “slice” of wood as a sundial, as well. Love the rustic look of the clock!


Frequently asked questions
Have a question about this project?
Curious why you would use a baby wipe. Why not a piece of an old rag?
Seems like odd ingredients to put paint on with. I listed the ingredients.
Water (sometimes aloe vera)
Detergents (surfactants) to help remove the dirt.
Moisturising agents or humectants (like propylene glycol and glycerine)
Fragrances.
Preservatives.