


Steel Trolley to Night Stand

This 90’s relic gets a new look that makes it relevant to the 20’s.
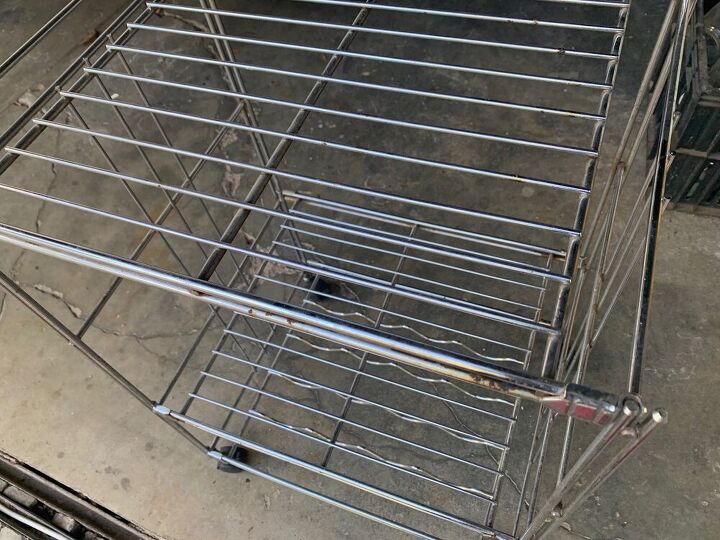
This steel trolley was a wedding gift and served us well for decades. Sadly, now not only was it rusted but also out of fashion. Nevertheless, we needed a bedside table so the trolley was ready for about it’s 4th incarnation.
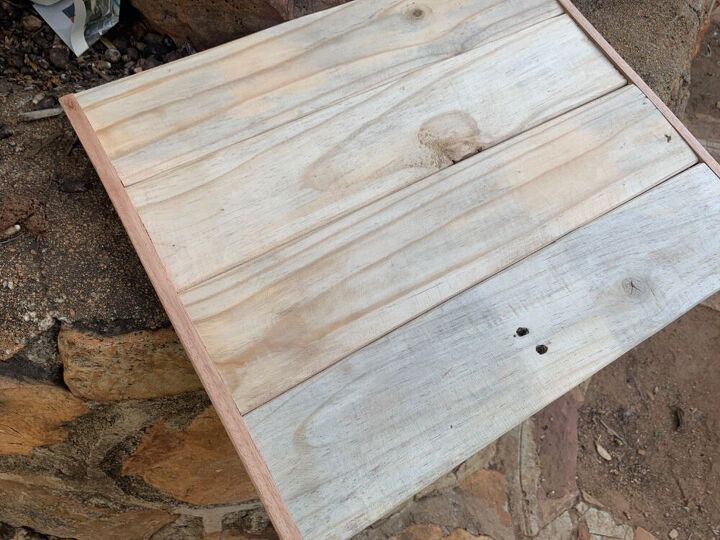
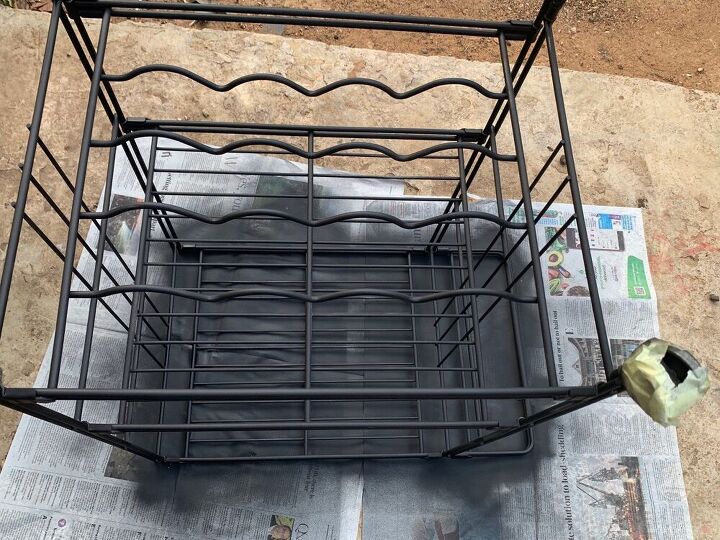
I must admit I crooked - I don’t have many power tools and don't do woodwork so set off to a local job creation centre with trolley in hand to have two shelves made up from pallet wood for 6U$.( Don't judge, you don't know the circumstances in my country.)
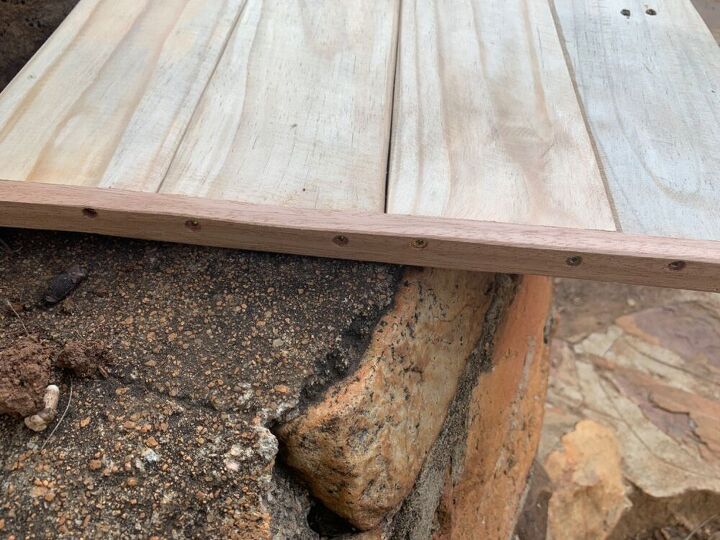
If you are looking for instructions to do this yourself, Jody Harris, amongst her many other great projects, did a similiar one to this. . Mine is constructed a bit differently with the planks attached to two thin strips on two opposite sides. An important tip to remember is that you cannot assume that the trolley is perfectly square when constructing the shelves, measure both the front and back and make a mental note of how the shelves fit.
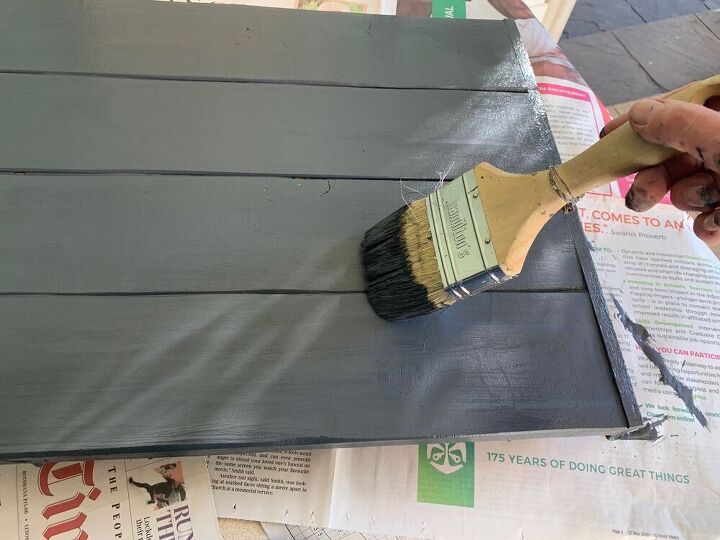
I had some charcoal PVA roof paint left over and painted the shelves with this. For a farmhouse look you could always paint it white and do a paint effect but I wanted to balance the ornate French country-style bed with something more modern.
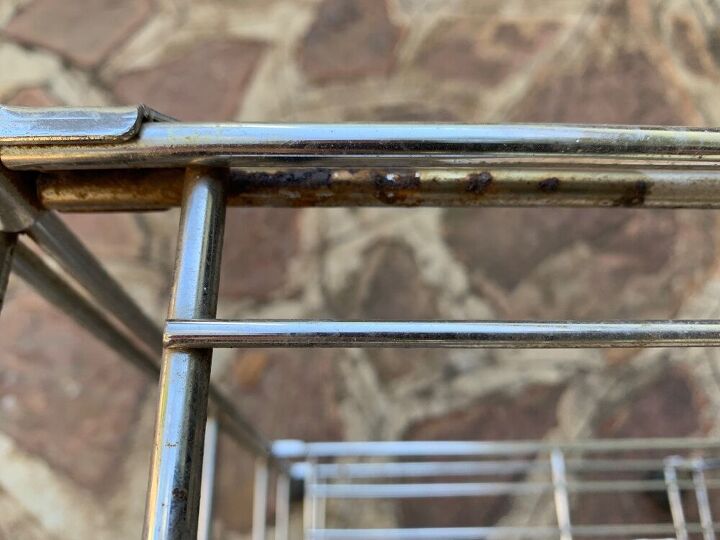
I initially tried to get the rust off the trolley with some product but found that sandpaper and elbow grease did the job. I painted a steel caddy last year and the one thing I learned from that project was that you cannot skip the sanding, no matter how tedious and no matter how good they say the primer is.
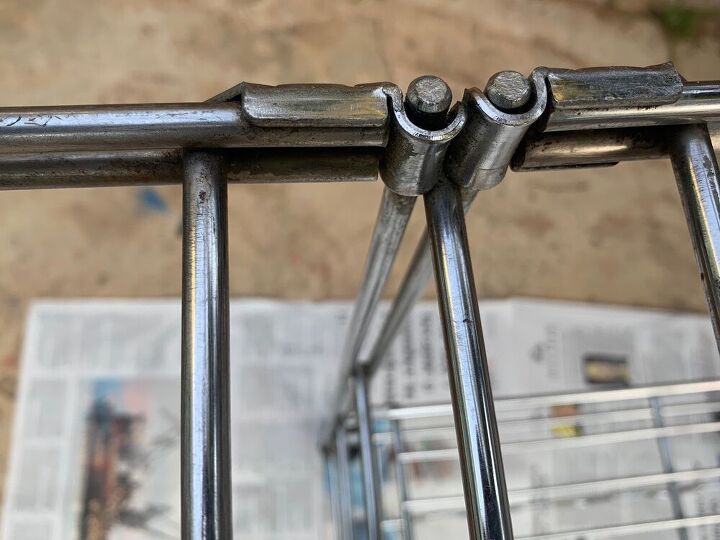
Unlike with last year's effort, I masked the coasters completely this time, not just partially. I primed the steel with an entire can of black matte Rustoleum Ultra Cover Primer. Apparently priming in black under gold improves the end result. This time around I also overcame my impatience and let the primer cure overnight. I’m convinced it makes a difference to make things less prone to scratching. I then sprayed it with Rustoleum Metallic. I used about one and half cans. Unfortunately this is not the most efficient object to spray.
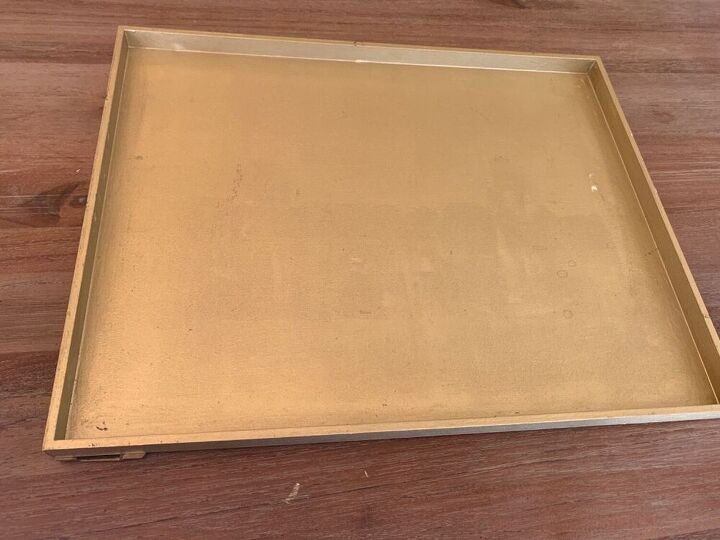
I wanted a lipped surface for the top shelf. I had a gold craft frame that had been a memo board in it’s previous life. Not only was it almost the exact size but after taking off the hooks and starting to spray it, I found that by some miracle the paint matched the old paint from 6 years ago - a completely different brand. I couldn’t believe my luck, I only had to do touch ups.
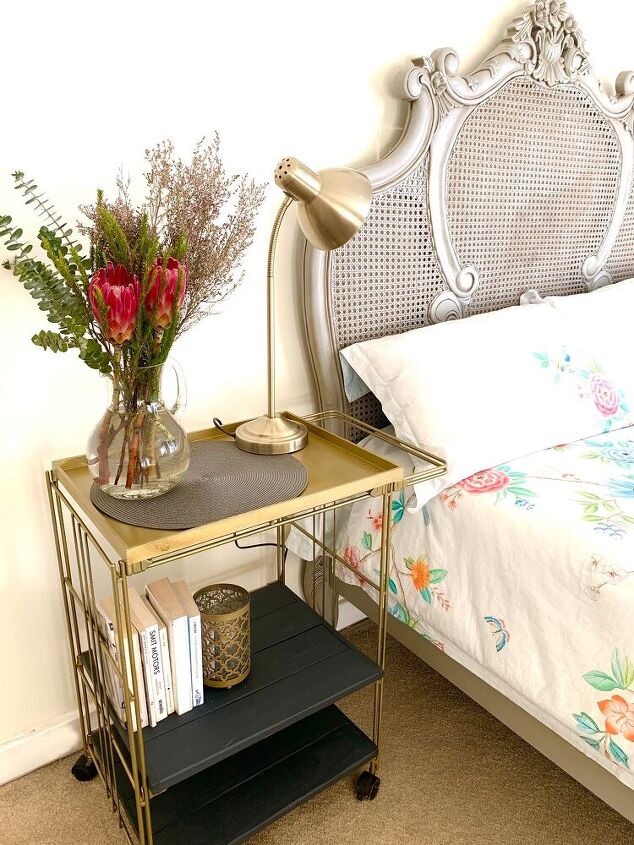
After some shoving (hence my advice on measuring all sides) I managed to get the shelves in place with no scuffing thanks to proper prep work. I placed the tray on top. If you are concerned that it will slide around, you could always make non-slip strips with a glue gun. I think the old lady is ready for another decade or so.
Resources for this project:
See all materials


Comments
Join the conversation
-
What a difference and very pretty
-
Such a great upcycle, I love the new look!


Frequently asked questions
Have a question about this project?