


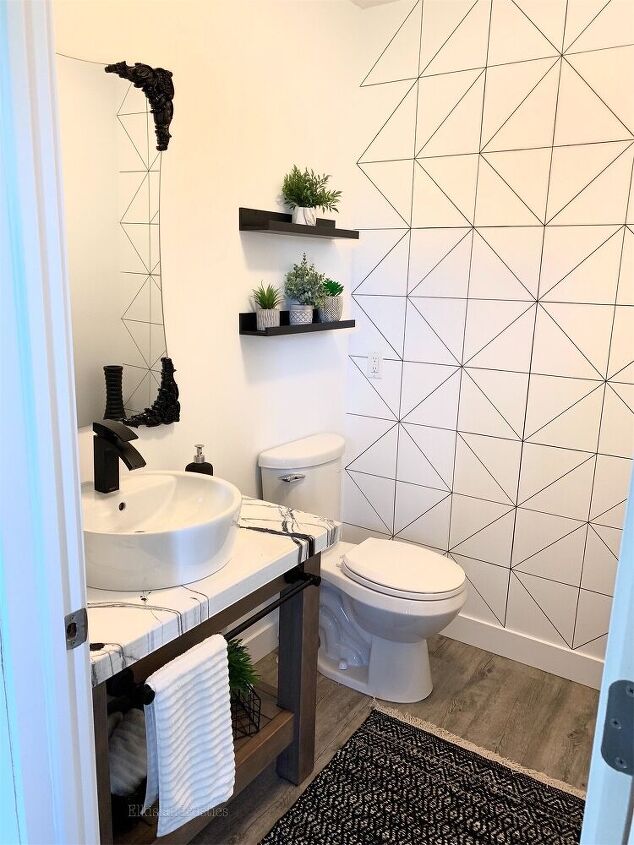
Create a Stunning Statement Wall for Less Than $5.

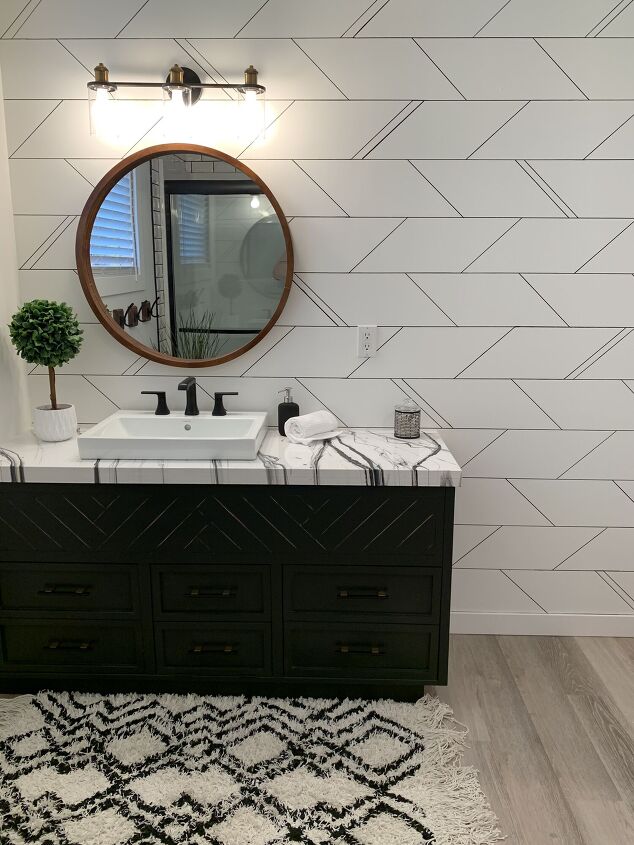
Creating beautiful things for essentially zero cost, is an amazing feeling. This is the second sharpie wall I have done in my home and I often get asked If it’s tile, even when people see it in person.
I absolutely love these walls, they are so cheap and so simple. And If you ever want to change the space, simple apply a coat or two of fresh paint and the pattern is gone.
Follow along with me and I will show you just how simple it is.
Materials needed:
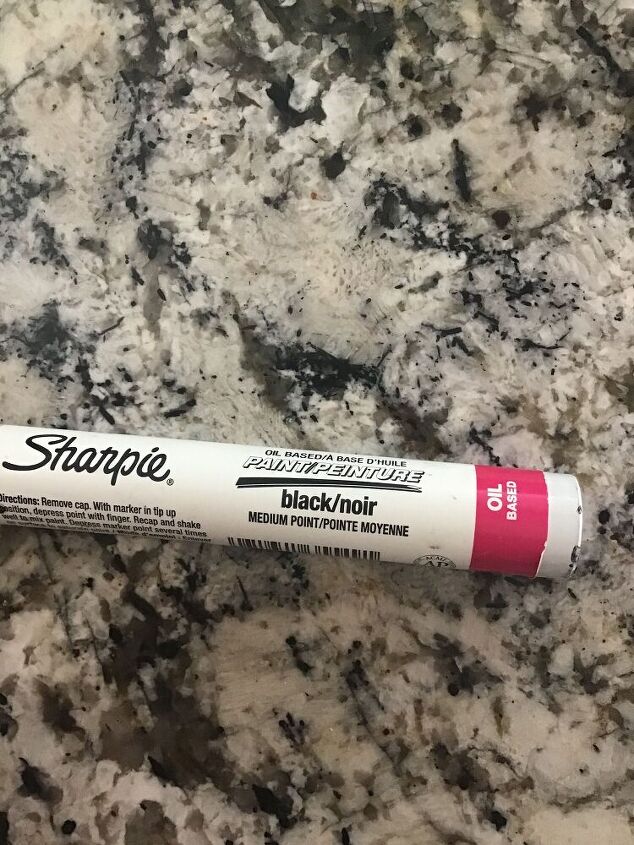
- sharpie oilbased paint pen in black
- 4’ level
Decide on the pattern you want on your wall. I measured out my wall and did a few calculations and figured out what the distance Needed to be between my lines.
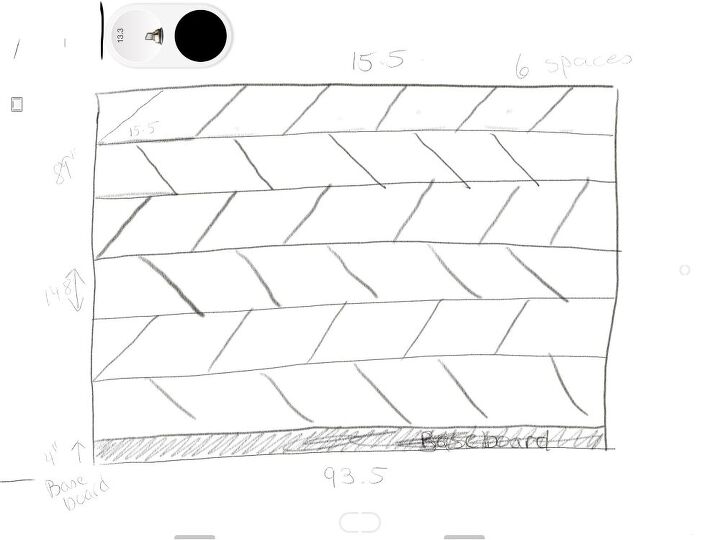
Im a visual person, so I drew it out roughly on my iPad. A simple piece of paper works just as well.
here is my rough sketch with dimensions.
You don’t need to do this but, I would recommend either painting your wall with a fresh coat of paint prior to starting or get a small paint match to the wall. That way if you make a mistake you can fix it by simply painting over it.
you might notice that my sketch only has 6 horizontal spaces but my actual wall has 12. This happened because after I drew out the Initial spacing that I planned for, I didn’t like how big the spaces were so I decided to put in extra horizontal lines.
*this is what I love so much about sharpie walls, you don’t have to be scared to stray from your original plan because If you do something you don’t like, you can just paint over it with the color of the wall you are drawing on.
I drew out all my lines with a pencil first. In this video you will notice I am using a small piece of wood. I found it to be much easier to cut a small piece of wood to the size of your spacing and mark off of this.
It’s much easier to hold a solid piece of wood Flat against the wall then it is to hold a flimsy tape measure up.
I also chose to use a 4’ level for the horizontal lines, this way you can tell if your line is going to be straight by looking at the bubble on the level.
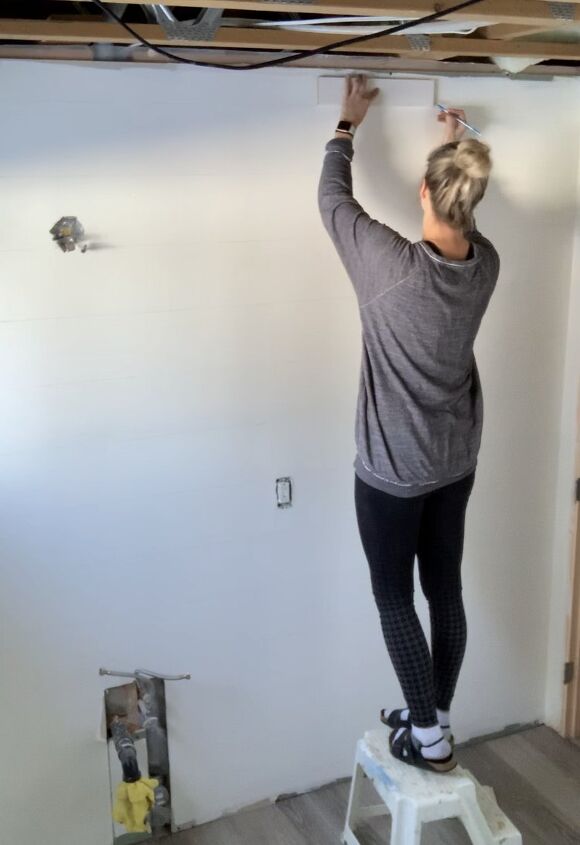
according to my calculations at the start on my iPad, I knew I needed 15.5” spacing between my angled vertical lines. So, like before, instead of trying to struggle with a tape measure, I cut a piece of MDF at 15.5” and used this as a measuring device.
You can see in the video I’m holding the 15.5” piece up along the horizontal pencil lines and making a mark. When you end with the piece touching the wall, you need to start the next line in at 7.75” since this is Half of 15.5”.
Time to use the sharpie
use a straight edge and match each end up to the marks you made on your horizontal lines and press firmly with the sharpie slightly angled upright and draw the line. Continue doing this until all the vertical angled lines are complete.
Once you are done all your vertical lines, draw out your horizontal lines with the paint pen.
You can see in the video at the end, I decided to double up some of the vertical angled lines. This wasn't part of the original plan but last minute I decided to add them and I am happy I did.
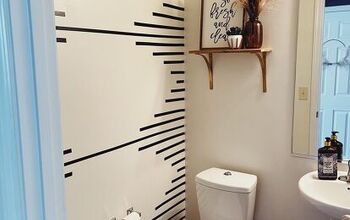
Sharpie walls are so easy to do. Don’t be scared to try one. If you mess up just paint over it. If the pattern with the angled lines intimidates you you can try something more simple. That’s what I did my first time in another bathroom of mine.
that Wall I just started with a simple grid pattern and went from there. If you would like to see a time lapse of this wall head to my Instagram page.
Once again, I cannot thank you enough for following along with me. The hardest part about these walls is figuring out the measurements, after that, it’s easy sailing.
if you have any questions please do not hesitate to ask me. and be sure to hit the follow button on here as well as on Instagram
cannot wait for our next DIY together
xo
Amber


Comments
Join the conversation
-
Great result! A subway pattern over high gloss paint would definitely look like tile.
-
Verrrry nice!! Thanks.


Frequently asked questions
Have a question about this project?
Can you do this technique on mirror
Would an acrylic paint pen be a viable option? Ie: smudge resistant and easily covered or do you think the oil based are still the better choice?
Can you tell me how many markers it took for your bathroom wall? It looks great!