


Flower Pots From Hard Hats

How about a Super Mario Brothers - inspired hanging garden?
I found these cheap hard hats at a store. I doubt that they are to code so unless someone bought them to sing ‘YMCA ‘... When a friend of mine heard that had I bought some, she mentioned that she had some used ones laying in her garage. Used ones would be even better but you would have to spray paint them first to get rid of the scuffs.
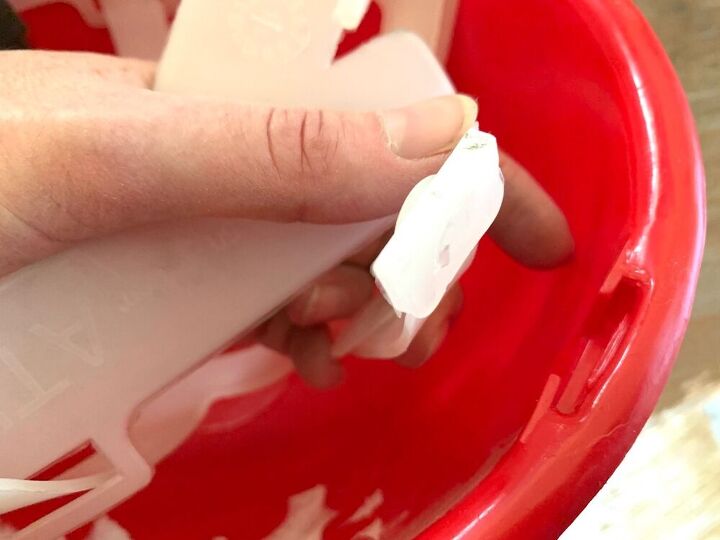
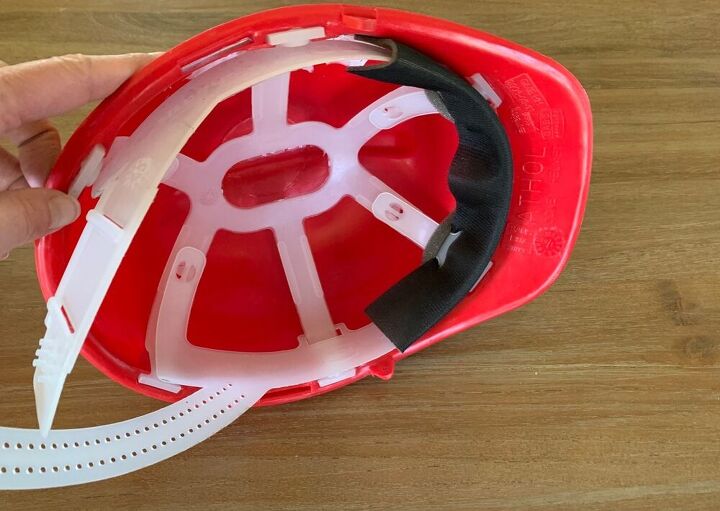
Remove the hammock
I’m not sure what proper safety hats look like inside but the hammocks of these could be removed quite easily by sliding them out of their brackets.
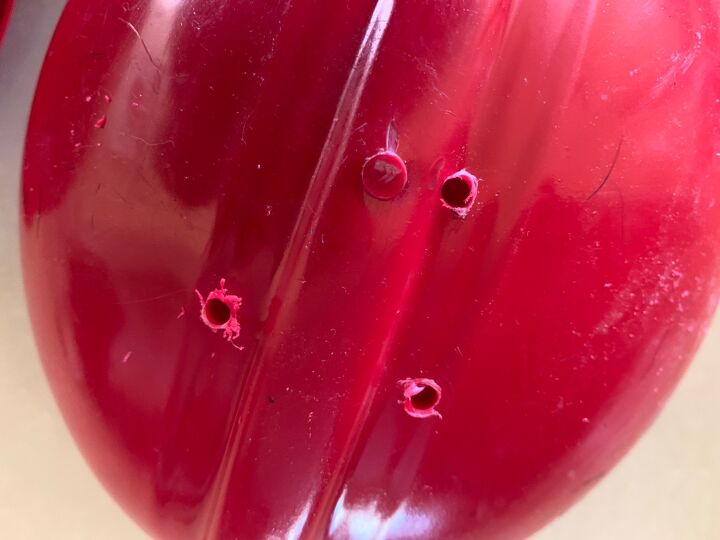
Drill holes
I drilled some drainage holes - for the first time ever! When I video-called the husband to check whether I was using the right drill bit, he looked a bit like you do when letting a pre-schooler play with matches.
Learnings for 1st time drillers (and for the power-tool veterans, don’t you dare snigger!):
- It growls a lot but it doesn't bite. Mostly.
- Use the right drill bit (see below, of course I have no idea what the technical description is).
- Hold on tight to everything except the turning bits with both hands. Wear your glasses so that you can actually see which bits are moving.
- Put the hat down on a non-slip surface like your lawn if you don’t have a work bench.
- It may take longer than you think to drill through.
- Once you are through, the drill lurches down so brace yourself, you don’t want to damage the surface underneath or the bit, which is why I thought doing it on the lawn would work. I am told that you can also wrap tape around somewhere in the middle of the bit to prevent this.

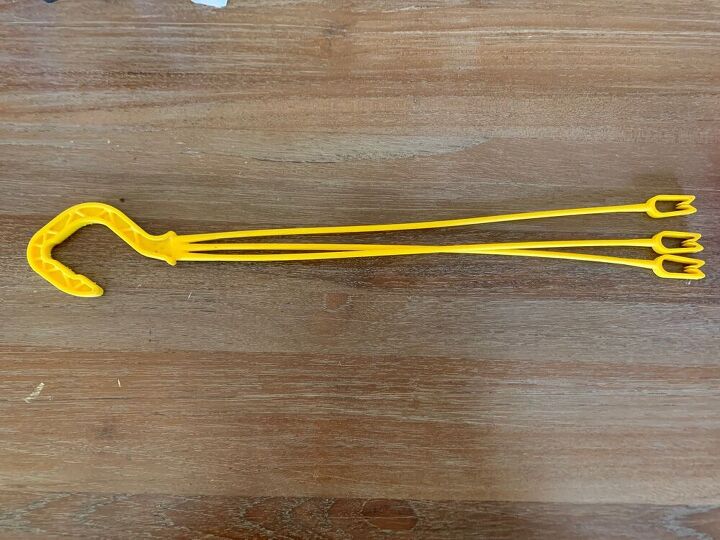
Prepare to hang them
I used plastic hangers with clips that you can get from a garden centre because I liked the bright colours and they very easy to use and reposition. You could also drill holes in the rim and hang the hats with rope. Just do all the drilling before you plant the plants. I added my clips only after planting because otherwise they are in the way whilst adding things to the planters.
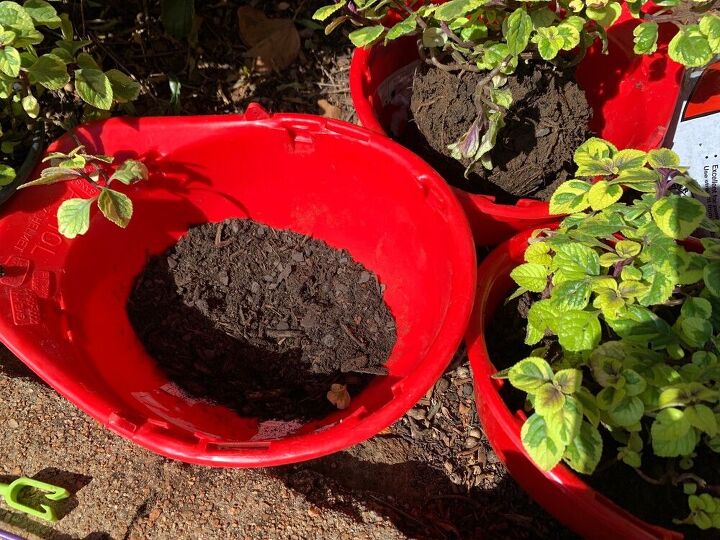
Plant
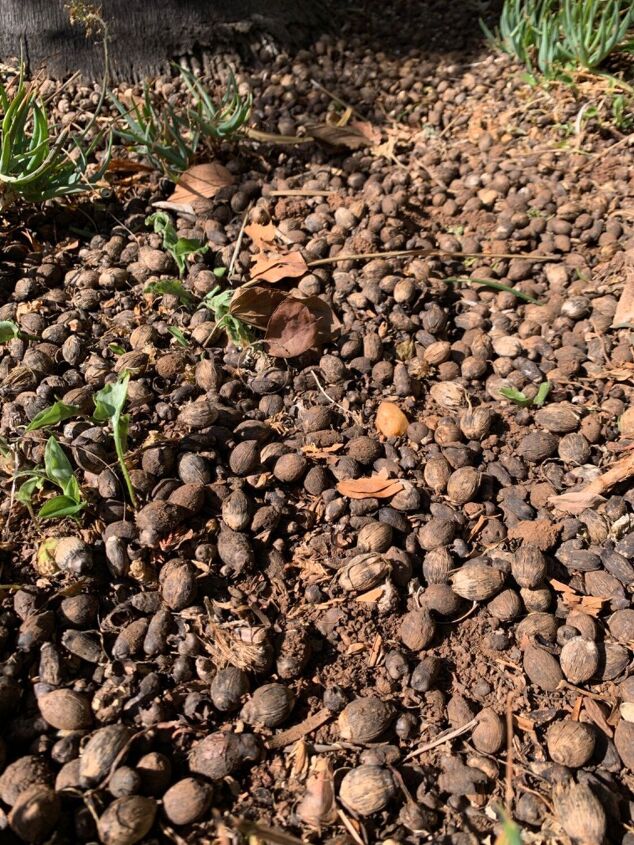
I added as much potting soil to my gently unpotted Plectranthus plants as I could. I started with some soil at the bottom, then the plant, then more soil and then added a layer of palm pip/husks that are accumulating in the garden. And water to test my beautiful holes.
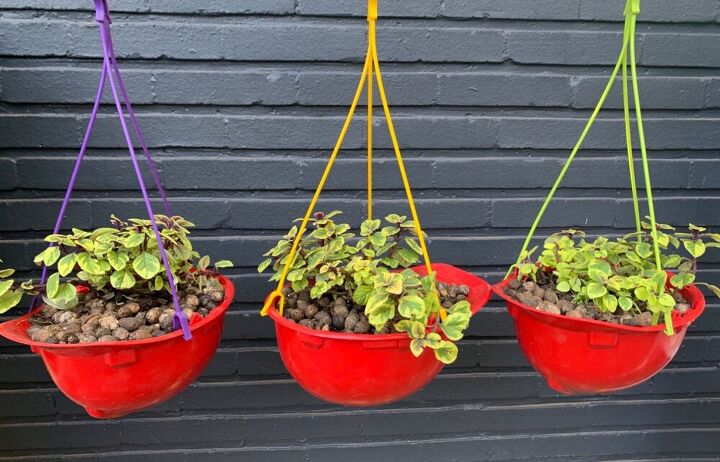
Hang
The red hats and green plants really pop against charcoal background. Nothing old-fashioned about these!
If you live in a hot climate and the dark wall is sun facing it may irritate the plants because it retains too much heat and they will grow away from it. On the other hand, the dark colour may work to your advantage if you need to heat things up.

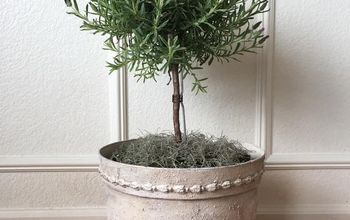
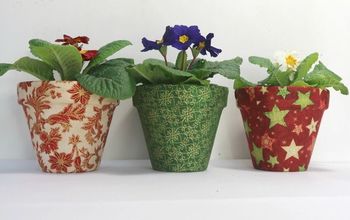
Or you could go for a more traditional look.


Comments
Join the conversation
-
I have my dad’s orange hard hat from when he worked many years ago and went into various steel plants in Ohio and Pennsylvania. I plan on doing this. Can’t wait! ❤️ This idea. Thanks for sharing!!
-
Just loved this idea!! I’ve used salad bowls, but never a hard hat Kudos to you!!!


Frequently asked questions
Have a question about this project?