


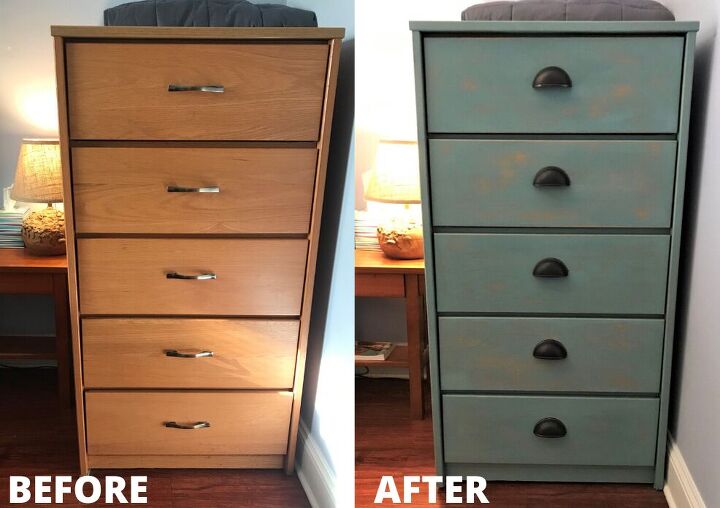
DIY Beachy Weathered Painted Dresser Makeover
I gave my boring faux wood dresser a "by the sea" makeover for a weathered beach vibe. Here's how I did it!
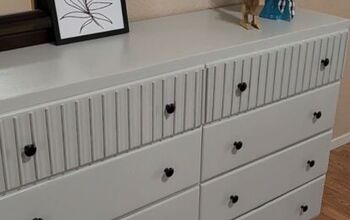
I've had this dresser for 10 years and never liked how the wood didn't match any of the other wood finishes in our bedroom.
But I just couldn't decide what to do with it! I figured painting it was the easiest thing but I didn't want to paint it white and nothing else seemed to make sense.
On a recent trip to the beach I saw some beach-weathered furniture and figured "why not"? The worst that can happen is that I don't like it and I paint over it.
It turns out that I LOVE the new look of the dresser and feel like it finally fits in.
Here's how to get the same look for yourself.
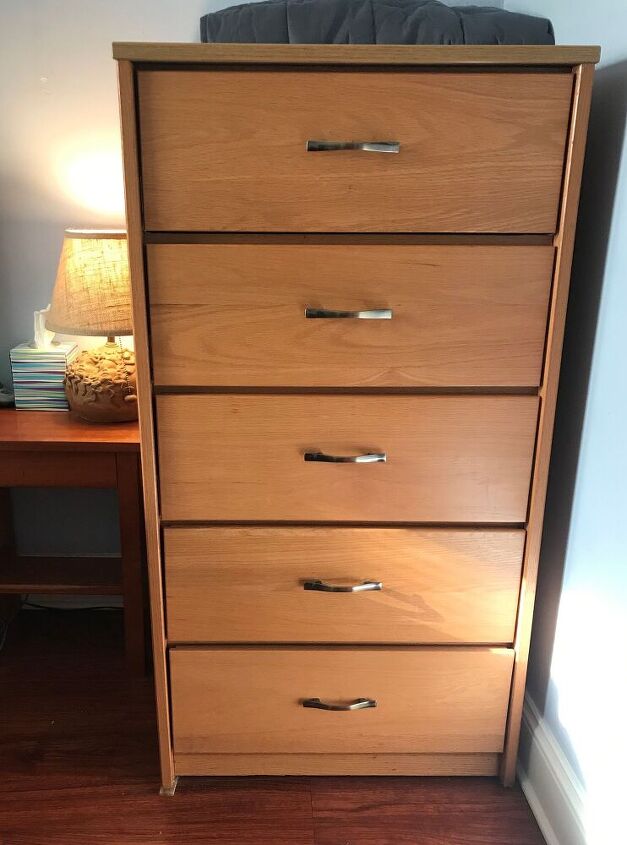
Here is the old dresser again. First I had to remove the old pulls and use a dolly to bring it out to the carport.
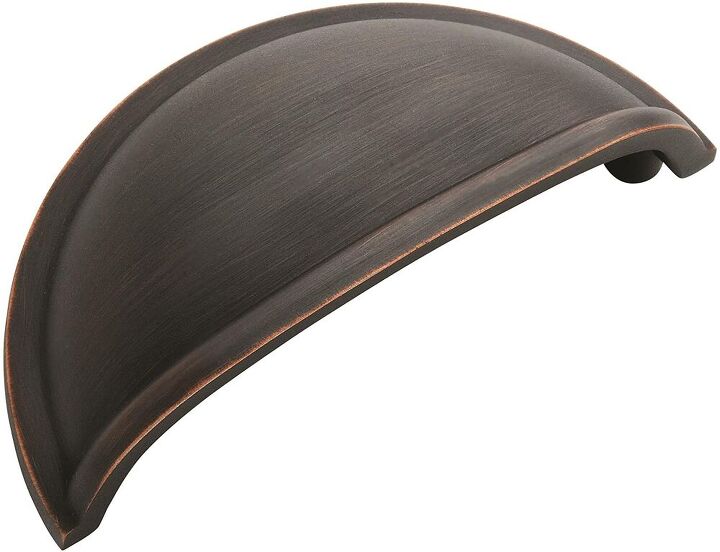
I looked at a TON of different pulls that would have worked for my weathered beach vibe.
I settled on these rubbed bronze pulls because they were cheap (less than $2 each) and matched those on my husband's dresser.
I got 5 on Amazon for less than $10.
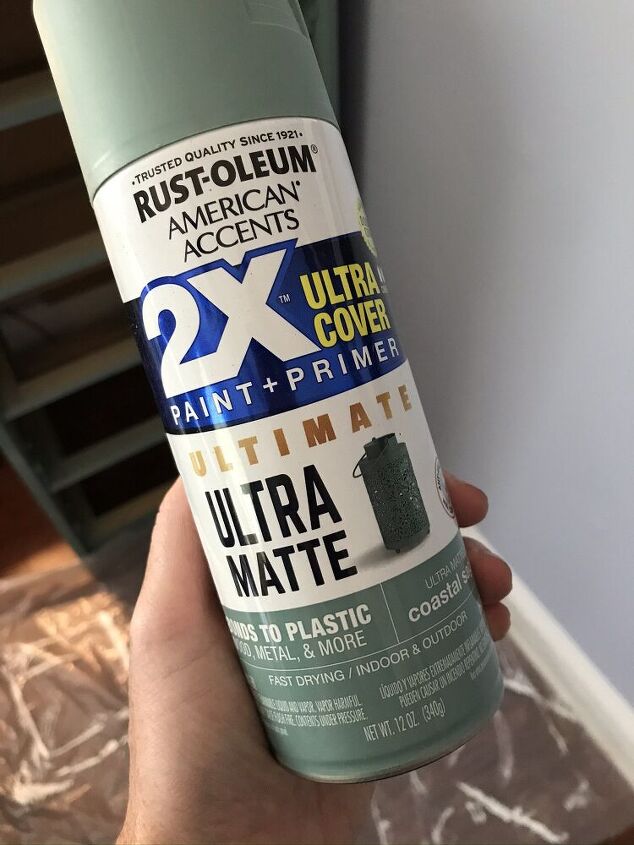
To get that weathered look you definitely don't want to use a gloss or satin finish.
I recommend trying to find paint that is ultra matte or even chalk paint.
I used two cans of this Ultra matte Coastal Sage spray paint.
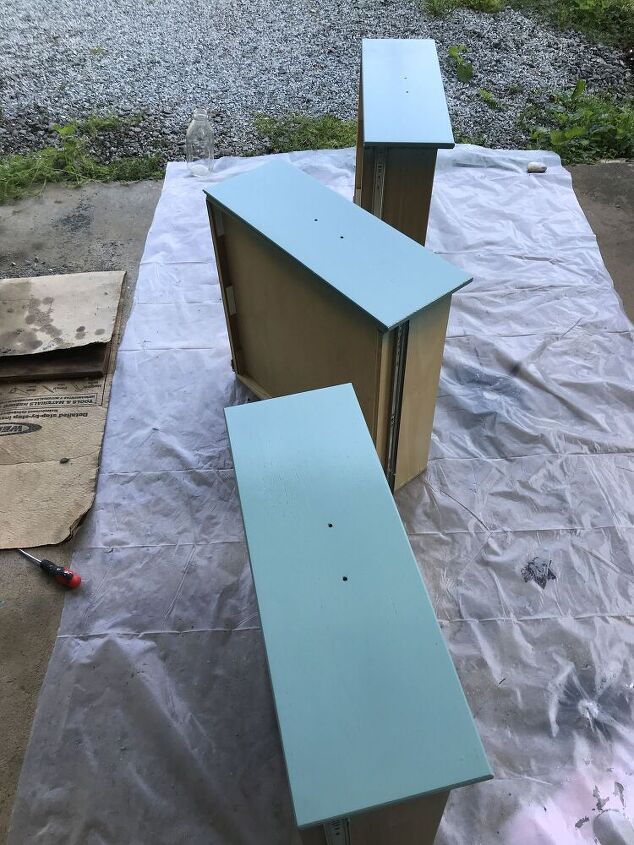
I first painted the dresser case with the drawers removed.
Then I painted just the front of the drawers.
I put on too much paint for my first go at this. I think a light coat of paint is better - just barely covering the wood. You are going to sand much of it off anyway so light coverage with save you time later.
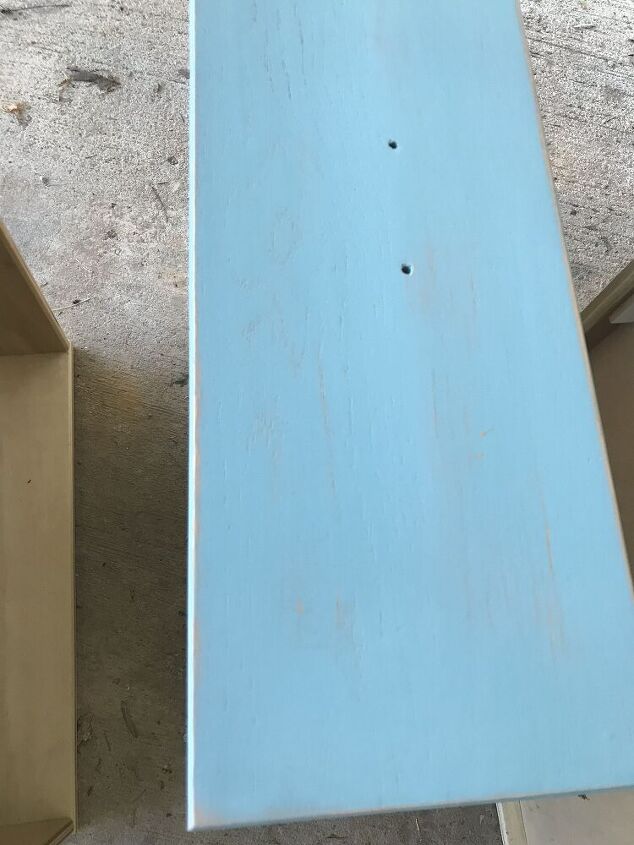
Next you start sanding and wiping with a cloth as you go.
I used a fine grit sanding sponge and I think it worked perfectly. It is important to wipe with a damp cloth as you go to get a good idea of how much paint you have actually taken off.
How much you take off depends on how weathered of a look you are going for. I ended up taking off more than I initially thought I would to get the weathered look I wanted.
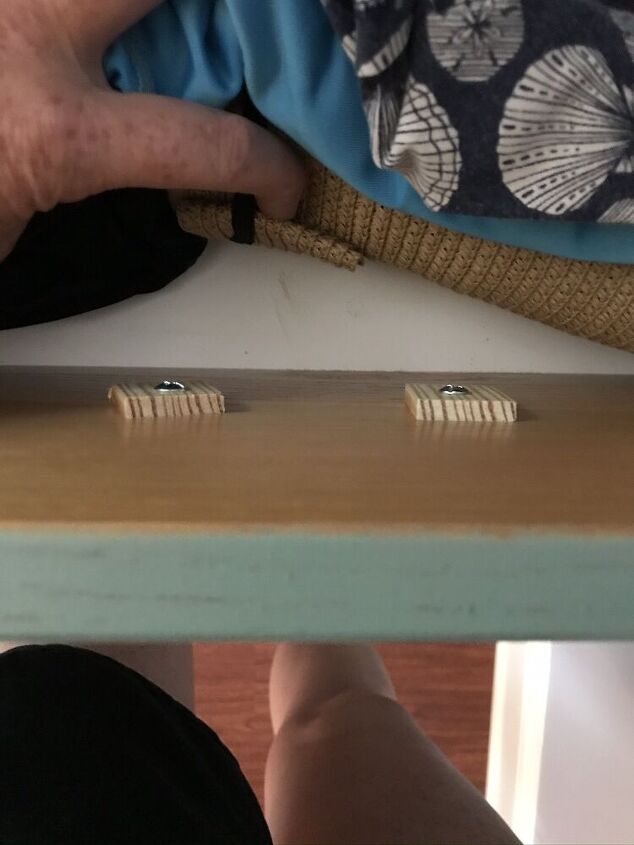
After I sanded I went to attach my new pulls and realized the bolts were too long for the drawers.
Luckily my husband is clever and has power tools. He fashioned these wooden washers to make the pulls fit. Hopefully you won't have to do the same for your project.
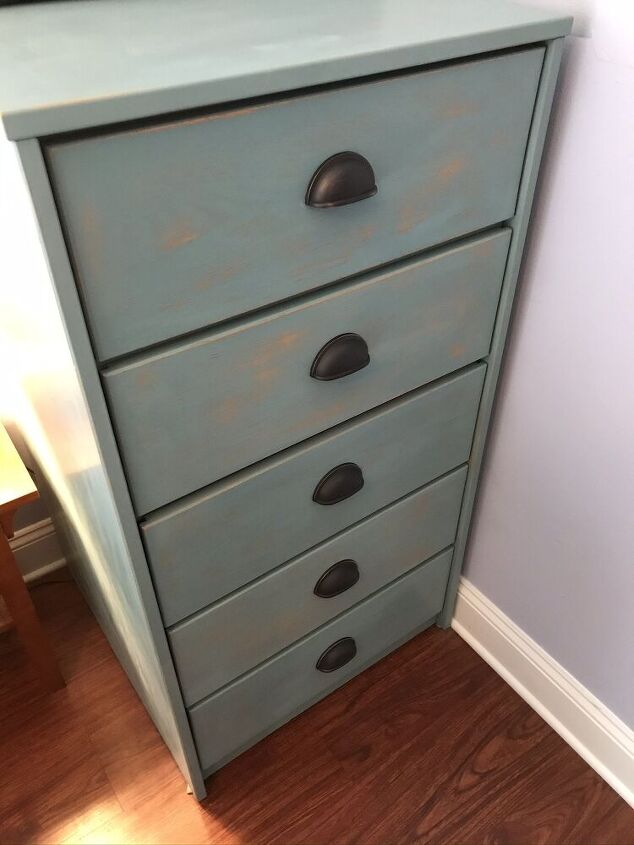
As I said I was super happy with how the dresser turned out. It has actual character now. My husband says he feels like he is on a beach vacation.
Any questions about how to get this weather look? Please leave a comment below and I will answer!
Resources for this project:


Comments
Join the conversation
-
Great job, I really love. I do have a question: What kind of wood of is the dresser made of.
-
Like how your chest of drawers ( it’s not a dresser) turned out. It can be tricky to make inexpensive mdf furniture look good with a revamp, without ruining the finish.


Frequently asked questions
Have a question about this project?
Would it need to be sanded if a glossy feel to dresser (25 years old)? Also did you seal it with anything?
Would you consider this paint a true sage, or more blue green? :)