


Learn an Easy DIY Faux Tile Technique That Looks Real!

I simply love the look of Moroccan tile, but I don’t love the price tag associated with it. I love being creative, so I figured out a way to get the fish scale Moroccan tile effect without the cost! Using some basic materials and a few interesting techniques, I created a stunning fish scale tray in just a few days. Follow my step-by-step tutorial below to learn how to create a DIY faux tile effect on anything your heart desires!
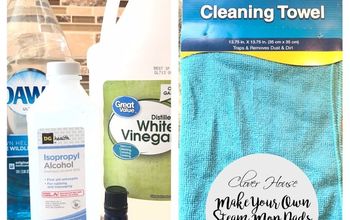
Tools and Materials:
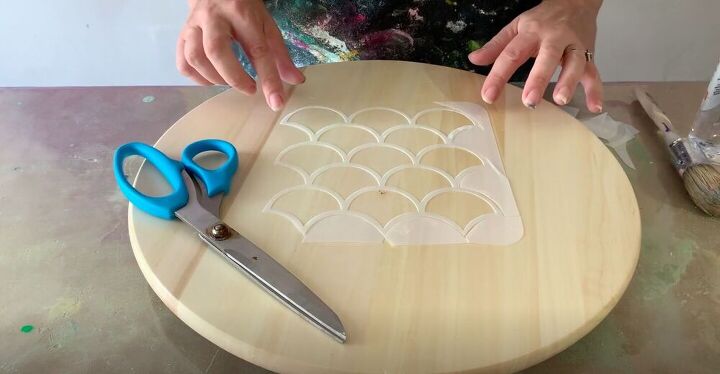
- Fish scale stencil (I cut along the edge of the stencil to make it easier to use it for a repeating pattern)
- Lazy Susan
- Sandpaper
- Dixie Belle chalk mineral paint
- Paint brush
- Tile adhesive
- Plastic knife
- Cake scraper
- Resin
- Painter’s tape
- Blowtorch
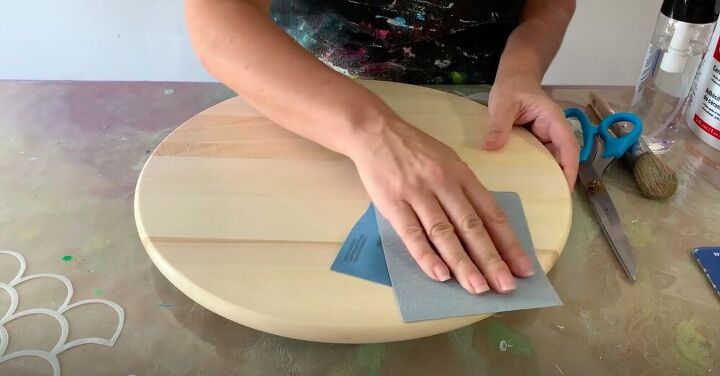
In order for my paint to stick a bit better, I gave a light sanding to the lazy Susan. It doesn’t need to be super even, just enough to get rid of any finishing on the wood itself.
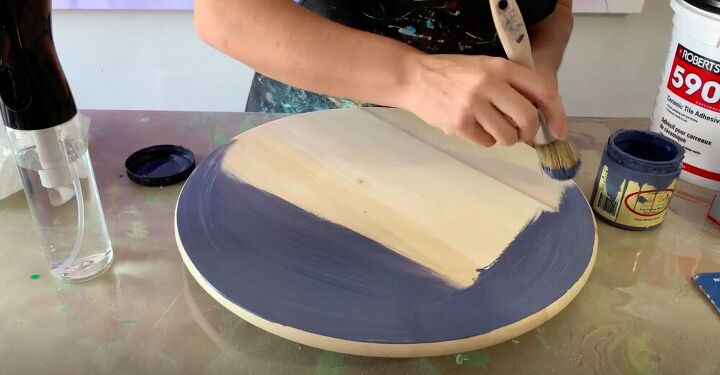
I sprayed a bit of water on my brush and roughly painted the lazy Susan. It doesn’t need to be a completely even coat, it just needs to roughly cover the entire surface of the wood. This color will end up becoming the grout of our faux tiles later.
In the end I actually did give it two coats because I realized that I wanted to paint the edges of the lazy Susan as well.
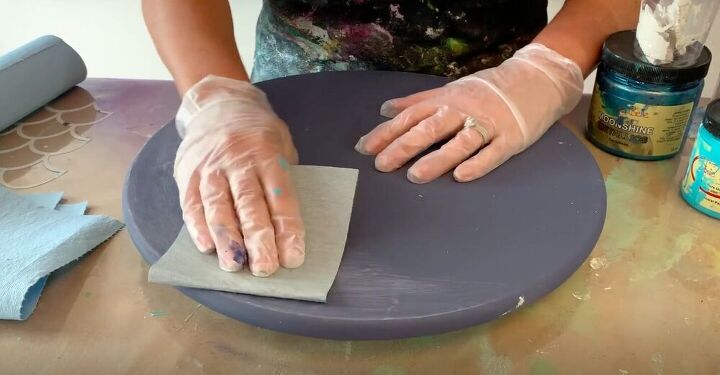
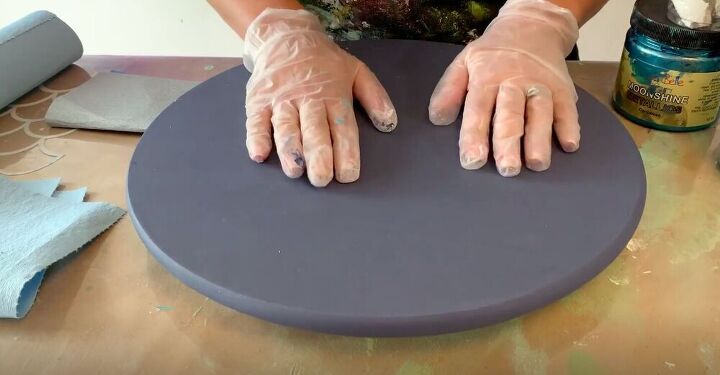
I gave the whole piece a light sanding to gently rough it up. This also gives it a bit of a dull finish, which will imitate grout.
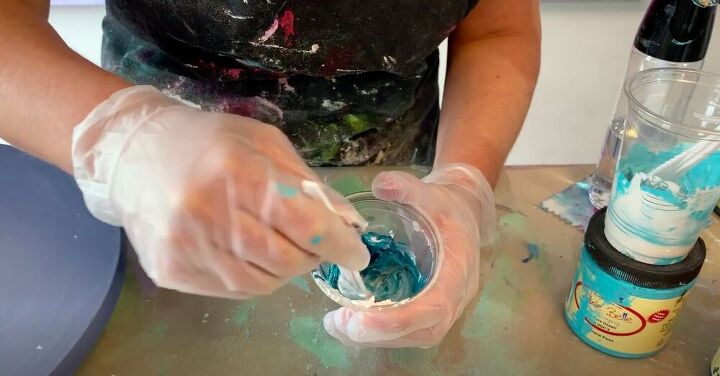
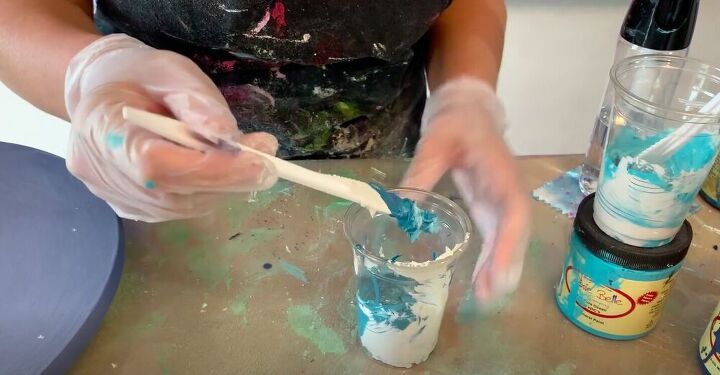
Before I could get started creating my faux tiles, I needed to color the tile adhesive I’d be using. You really only need a minimal amount of paint to color the adhesive as too much will prevent it from adhering properly to the wood. I also made sure to leave it with a bit of white peeking through, it doesn’t need to be completely mixed. This will add to the overall effect later.
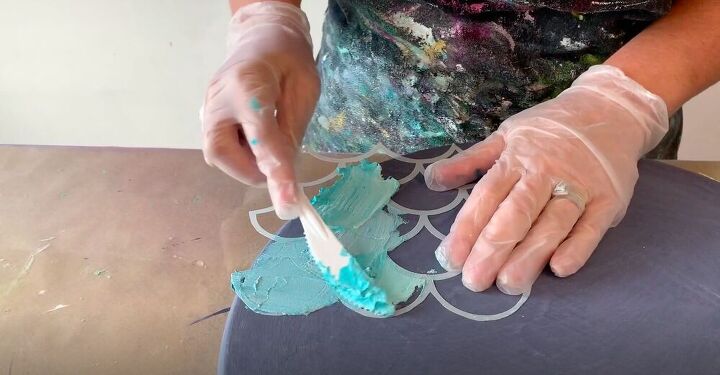
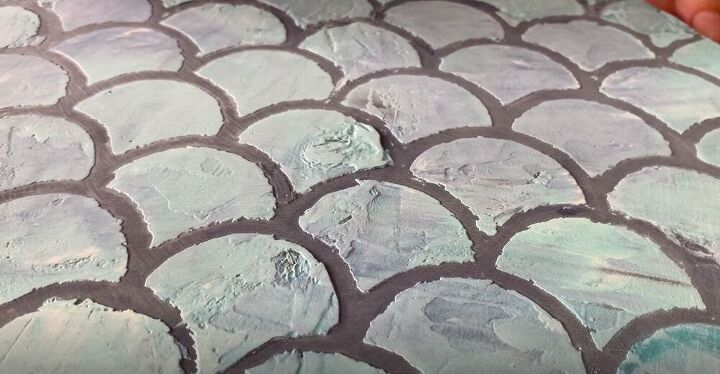
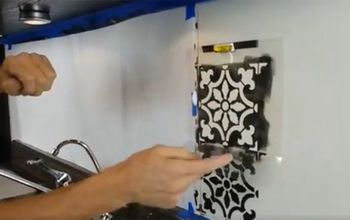
When working with a stencil and tile adhesive, you need to push down rather firmly. I used plastic knives to spread various colors of adhesive. Don’t worry about going over the edge of the stencil, as we’ll be repeating this pattern over the entire surface.
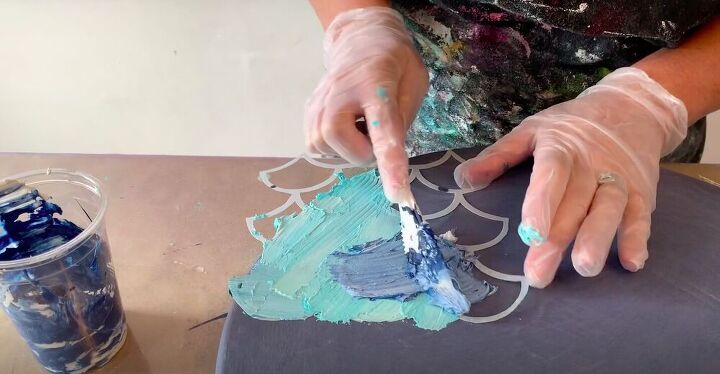

Then I used a hard piece of plastic with a straight edge to remove any excess. I use this for resin as well, but you can also find it where cake decoration supplies are sold.
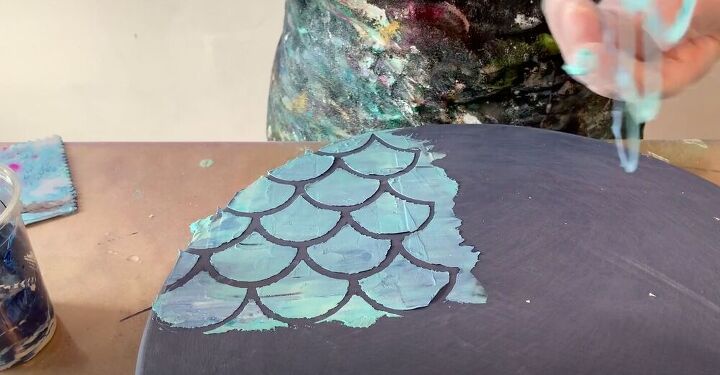
I removed the stencil and checked to make sure that nothing got underneath the plastic.
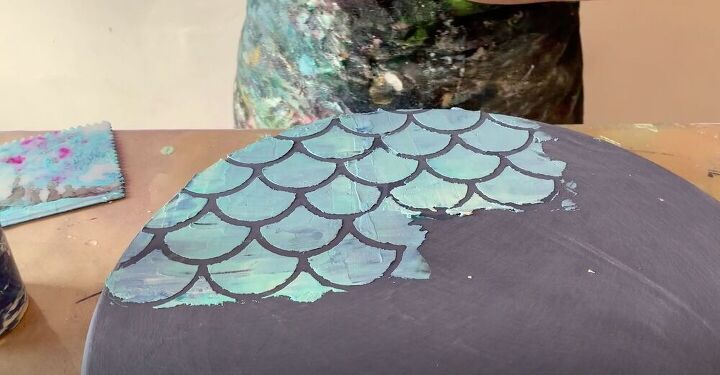
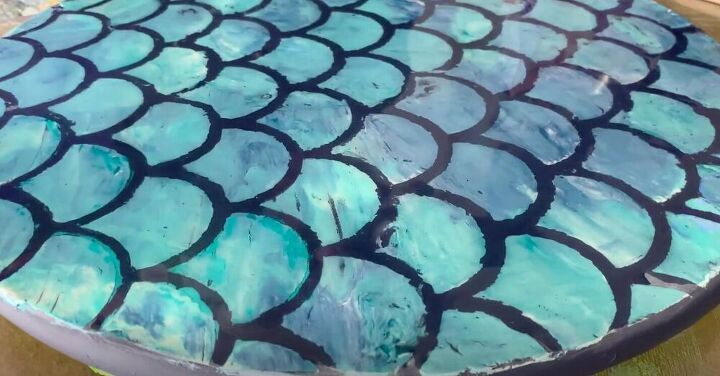
Then I repeated the process again over the entire surface of the lazy Susan and left it to dry for at least 24 hours.
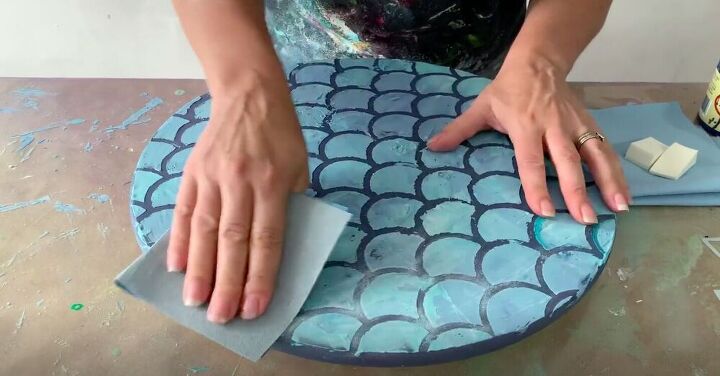
I gave everything a rough sanding to add to the handmade tile effect I was going for. Once I was happy with it, I cleaned it off and vacuumed up any dust particles.
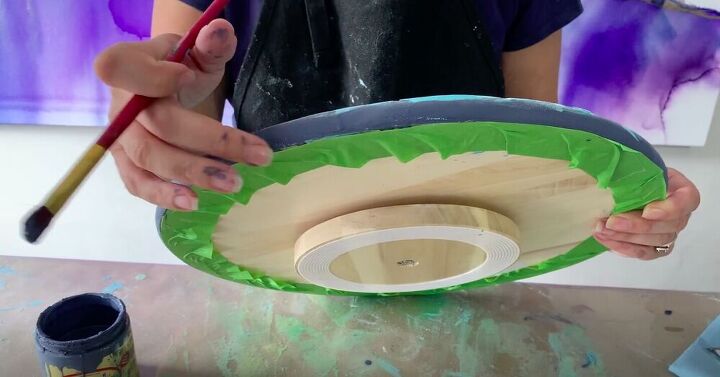
While I was adding the tile adhesive, a bit got on the edge of the lazy Susan. I went back and added a bit of paint along the edge to give me a nice, clean edge. I also took this opportunity to tape off the bottom as I didn’t want any resin dripping down there in the next step.

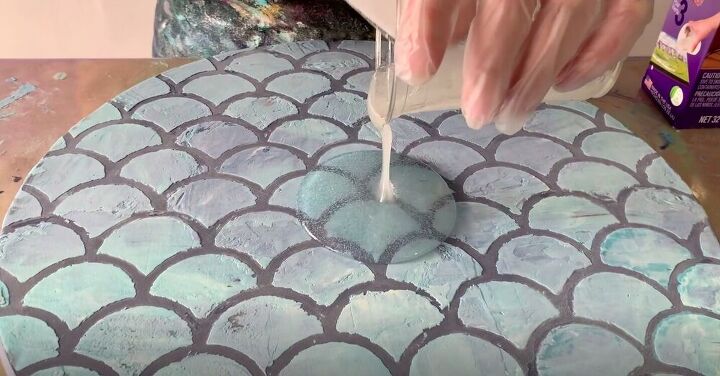
I mixed my resin according to the instructions and then poured it in the middle of the lazy Susan.
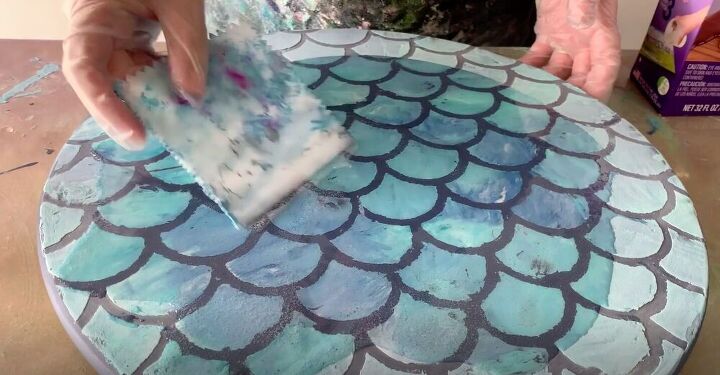
Then I used the plastic spreader I had used to smooth out the tile adhesive to spread the resin out to the edges.
Tip:
Make sure that you are working on a level surface when working with resin, as resin is self-leveling. If it’s not completely level, you’ll find that a good amount of your resin will drip off the side of your project.
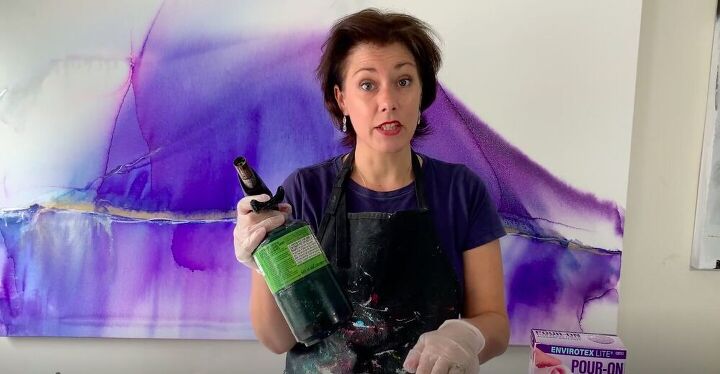
I went over the entire piece with a blowtorch to get rid of any bubbles in the resin. You can also use a heat gun for this part if you don’t have a blowtorch. Don’t use a hairdryer as they don’t get quite hot enough and they blow too much air.
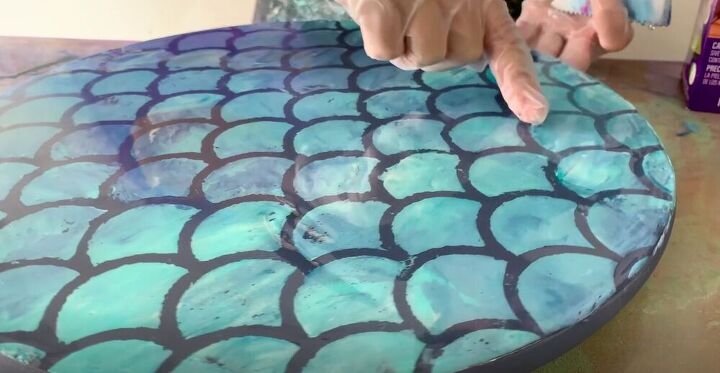
I checked to make sure that the resin had made it to the very edge of the lazy Susan and added more where needed, smoothing it around with my fingers. If you find more bubbles, just use a blowtorch or heat gun to remove them. Then I left it to cure.
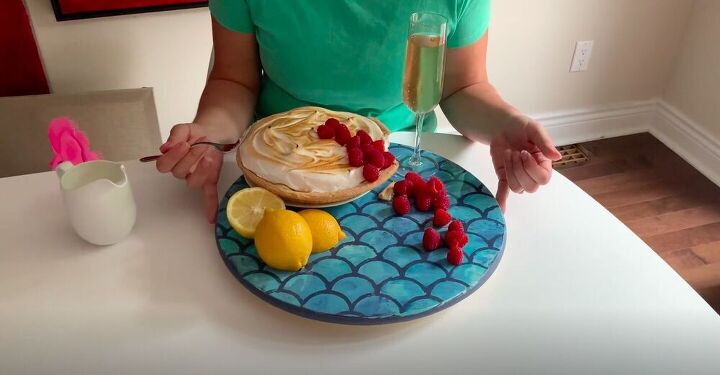
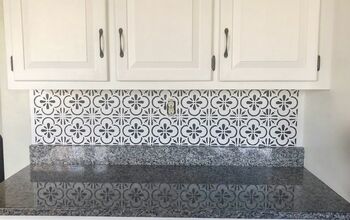
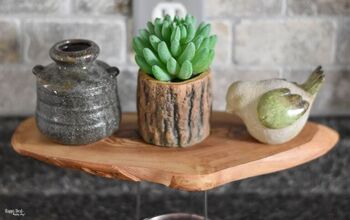
How beautiful did my DIY faux tiled tray turn out! You’d never know I didn’t tile this with real moroccan tiles! How would you use this technique? Let me know in the comments below!
Resources for this project:
See all materials


Comments
Join the conversation
-
Beautiful!
-
This is just gorgeous! Thanks for sharing!!


Frequently asked questions
Have a question about this project?
Love the project, but I would like deeper colors. Could mica powder be used in the adhesive or coloring added to the resin?
Is the resin food safe?
This lazy susan is just gorgeous, but why tile adhesive rather than joint compound? Personal preference?