


How To Write In Penny Tile

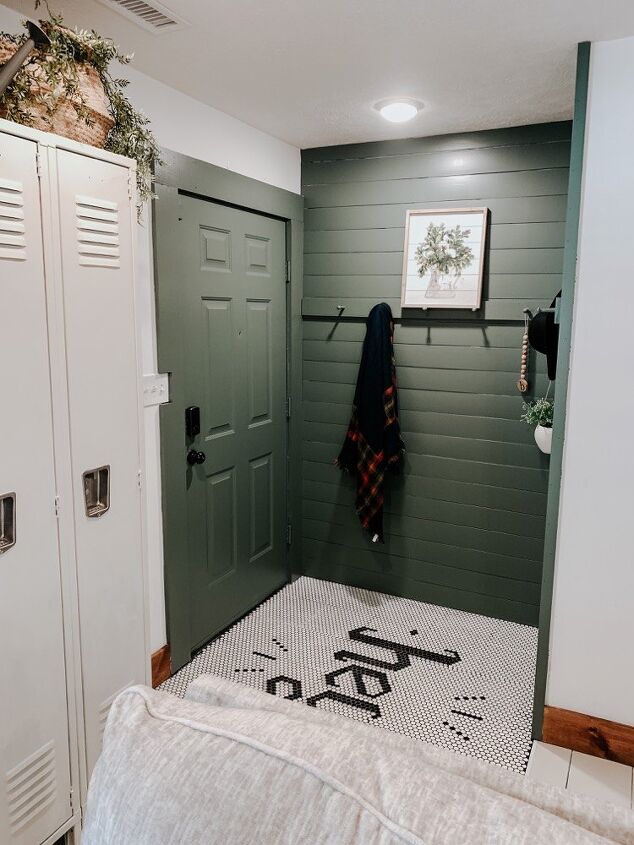
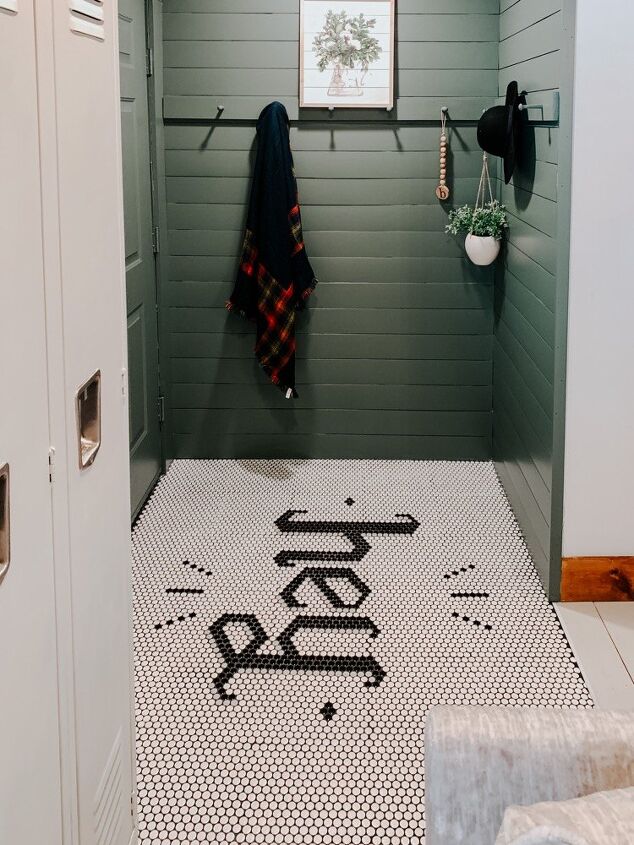
I wanted to create a unique and memorable entryway, so I wrote "HEY" in penny tile. Let me show you how to recreate this look in your own home!
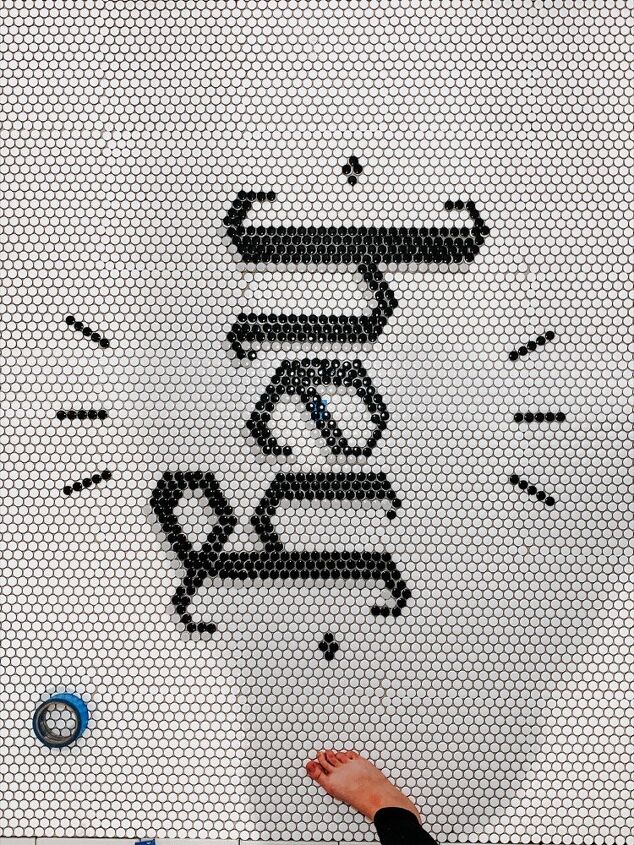
The most important step is to drift your penny tile and experiment with your artwork by placing the contrasting tiles right on top of the base color tiles. The individual penny's pull right off the mesh backing, making them easy to work with. For this floor, I wanted to write the word "HEY". I tried several variations in different fonts, and ultimately settled on this thick script-like font with the star-burst accents.
You will want to mark each tile that will need to be removed with a permanent marker. Do not use ink that can be easily wiped off (trust me). Once all the tiles are marked, pull those tiles off the mesh backing and discard. At this point your mesh will have big blank spots, don't worry, that's what you want.
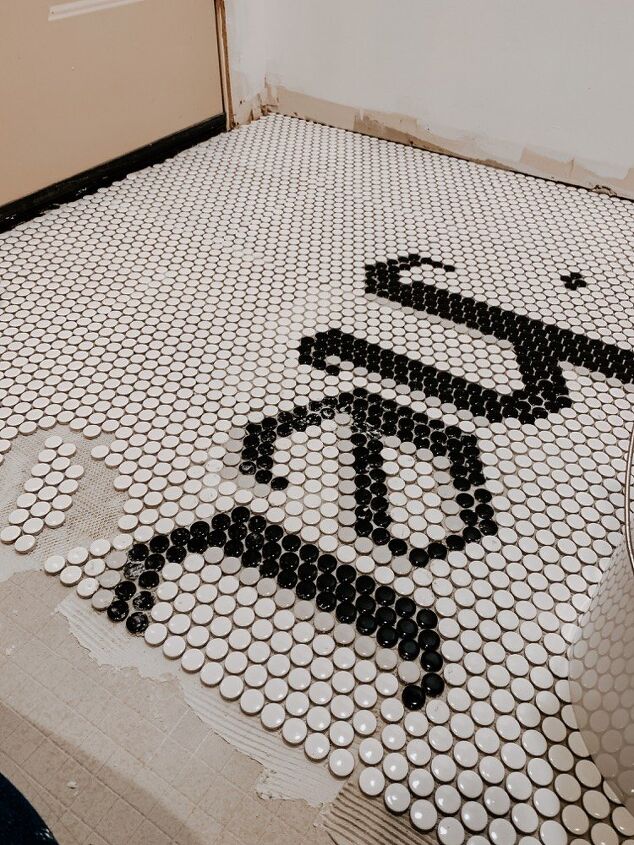
Using mortar, lay each sheet of penny tile individually in the correct order, carefully replacing the missing tiles with your contrasting tiles as you go. It's important to do this when the mortar is wet, however, if the mortar dries too much, you can add a little extra mortar to the back of the tiles with your finger and press them down.

You will likely have to cut tiles around the edges of your floors using tile nippers or a wet saw. Keep in mind that against walls, baseboards will hide small gaps like the ones shown, however, if the edge of your floor isn't against a wall, you will want to add a tile transition to cover the gap between the tiles and the adjacent floor. Warning: This part is rather tricky, so just be patient. If you mess up, pop the bad tile off the mesh and replace it with one of the tiles you discarded earlier.

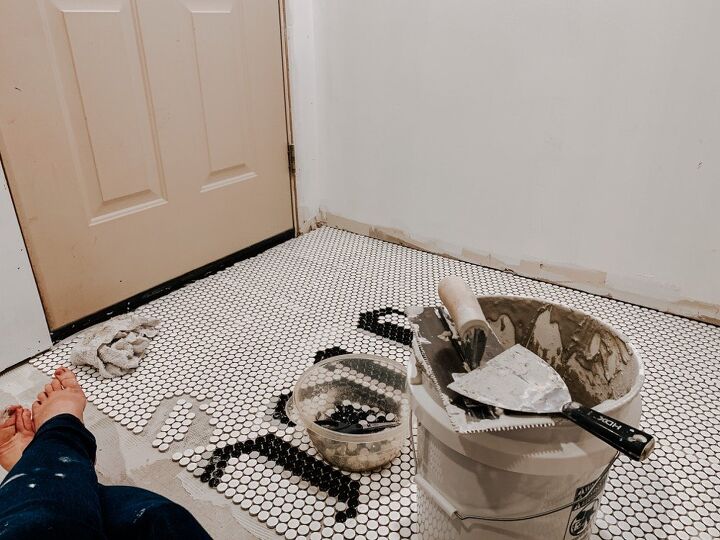
You will want to fill in the spaces between your penny tiles with grout. Simply mix your grout, scoop it onto the floor, and spread it around with your trowel. Grout usually takes 15-20 minutes to cure, then you can wipe the excess grout off using sponges and clean water. Pro Tip: A grout de-hazer makes getting the last little big of grout cleaned-up much easier! Buy a bottle, you'll thank me later.
After the grout is cured, you can seal the floor using a grout and tile impregnator. This ensures your grout stays newer longer and helps to waterproof all of your hard work.
My tile floor was installed adjacent to my wood floors (as pictured), so we used a metal tile transition to fill the gap between both floors. We chose to use liquid nails, however, mortar and grout also work.
Resources for this project:
See all materials


Comments
Join the conversation
-
Monica, not to beat a dead horse, but there is a a there, not an e!
-
an "a", not a a. Sorry. Grammer policed myself.


Frequently asked questions
Have a question about this project?