


Raffia Mirror DIY | Amazing Boho Decor
Hey guys! Today I wanna show you how to make a raffia mirror. If you like the bohemian or coastal decor, then this DIY is definitely for you! It’s a very easy project and it adds an organic feel to your home. So, let’s get to it!
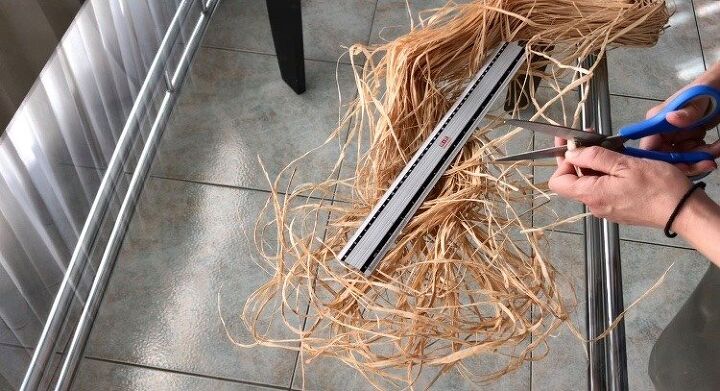
I started by unfolding the raffia cord and then I took one cord and with the help of a ruler I cut off the cord at 10″. I used this cord as a guide to cut all the rest I was going to need. And I’m going to need a LOT!
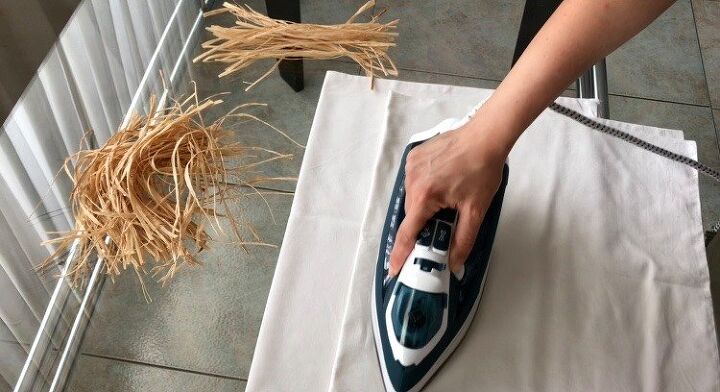
Next, I wanted to straighten them because as you can see they are bent…so, I laid down a pillowcase on my table but you can use a towel if you want and then I put a bunch of the raffia cords on top and then I covered them with another pillowcase and with the help of an iron, I ironed them and put them aside.
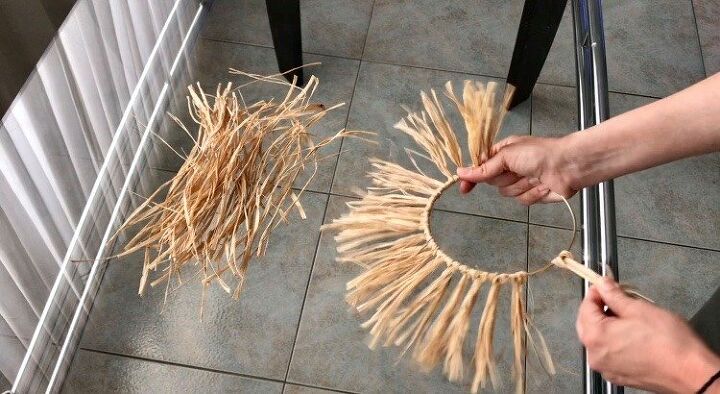
Then, I took three to five cords, that is depending on how thick the cords are, and then I folded them in half to create a loop and then I put the loop under the metal ring and then passed the cords through the loop and pulled tight to secure them.
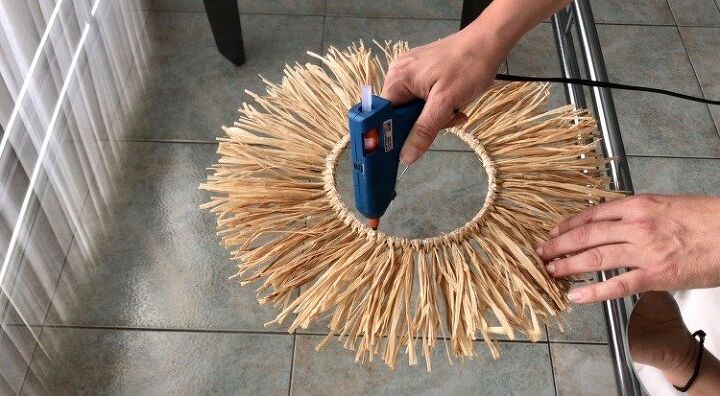
After I attached all the raffia I needed, I then took my trusted glue gun and poured hot glue all around to the back, and then I placed my mirror on top and pushed it down to help it stick.
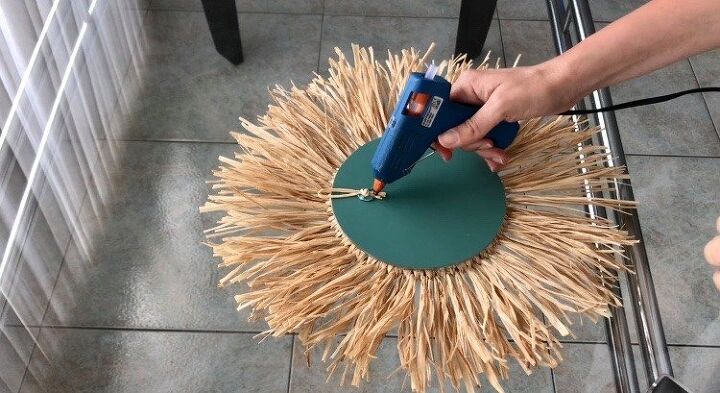
When it was all nice and secure I took a piece of raffia, folded it in half to create a loop, and then made a knot. I placed it on top of the back of the mirror and hot glued it in place.
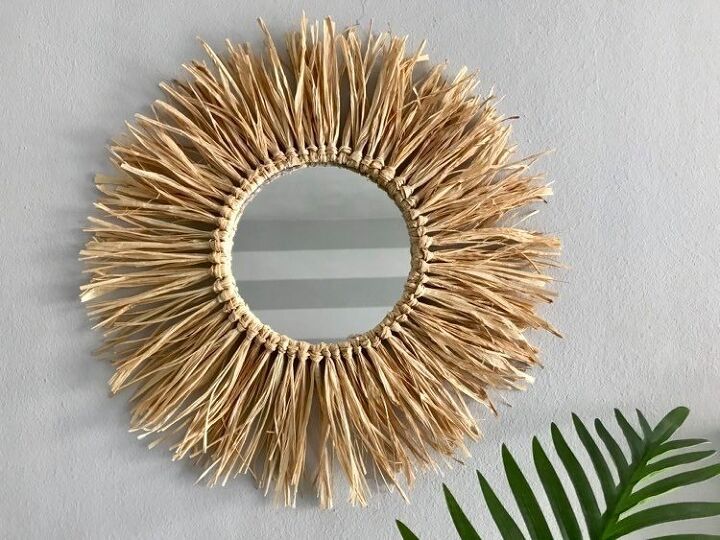
Guys, I’m thrilled about how it turned out and I’m absolutely in love with this DIY and the best part is that it was so easy to make it! Also, I hope I inspired you and helped you understand how to make this. If you want more datails visit my blog or my Youtube channel. Enjoy!
Resources for this project:
See all materials


Comments
Join the conversation
-
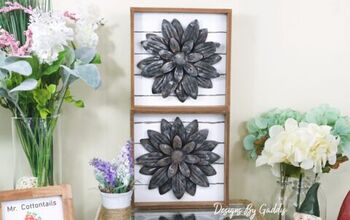
Love it! Great start for an Autumn wreath, too. Or maybe a black/brown middle with a a little spray paint on raffia to make a sunflower. Just look what you started, Evi!!
-
Love it- Love the sunflower idea from Jan, too!


Frequently asked questions
Have a question about this project?