


Floating Mantle-Style Shelf

I've been wanting to give my own floating shelves a try for some time now, and our basement upgrade presented the perfect opportunity. The goal was a nice, clean look for a minimal price. So, with half a piece of plywood and some leftover 2x4s, I created this beast. It looks a bit more like a mantle than a shelf - hence the name of this post. It was super easy and turned out great for a first try. In other words, don't be afraid to give this a shot yourself (in any size!).
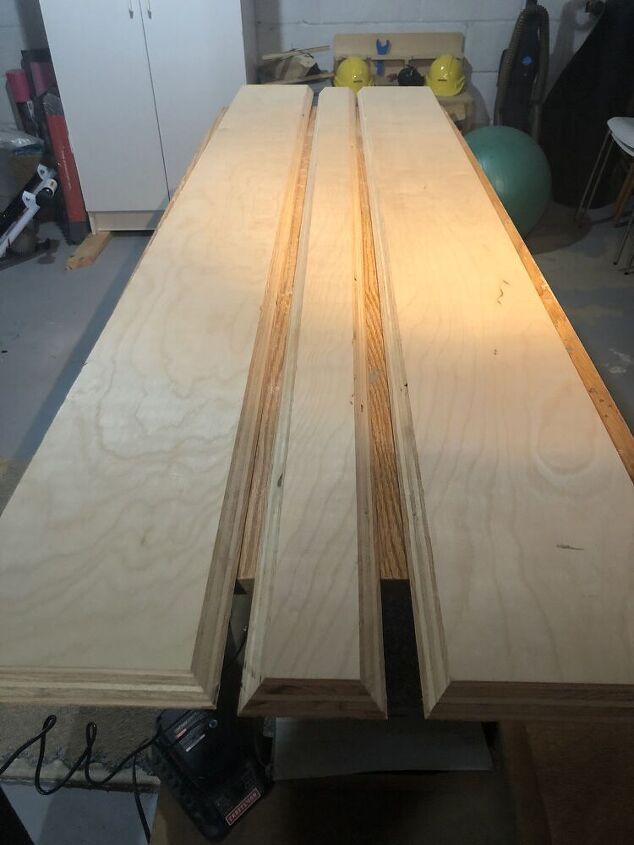
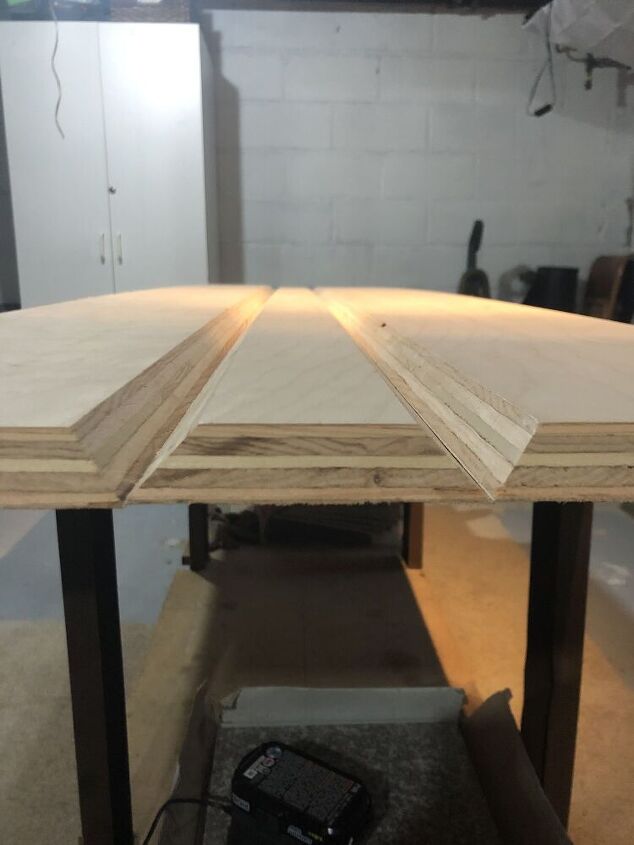
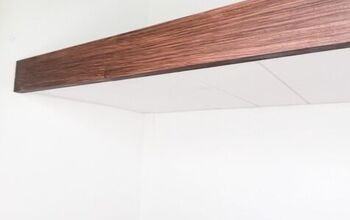
Step one is to rip your piece of plywood into three strips with the blade set at a 45-degree angle. Strip one - 8" wide at the outside edge of the 45-degree angle. Strip two - 4" wide from outside edge to outside edge. Strip three - 8" wide from outside edge of the cut to flat side. To create a waterfall effect with the grain around the front of the shelf, I was careful to match up the outside edges and not remove any extra material.
Next, cut each board to length. In my case, 74" long.
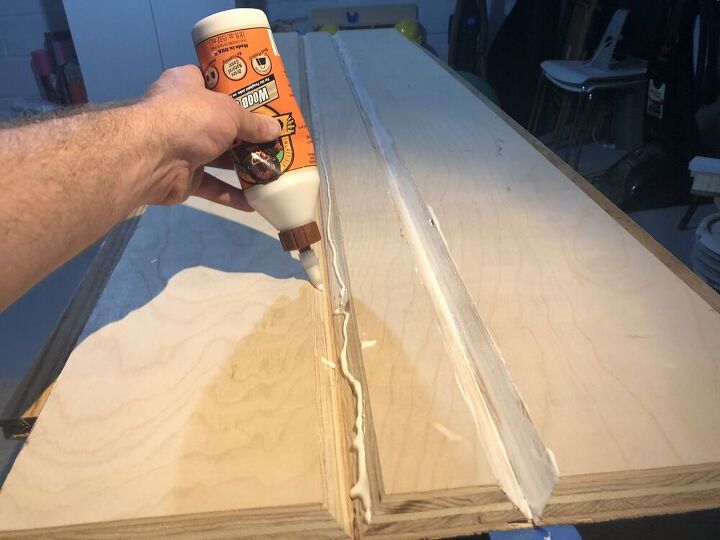
Apply painters tape to what will be the outside or visible part of the shelf. You'll get a better look at this in the next photo. Do this by lining up the shelf edge to edge. I put two long strips of tape along the cracks/joints and then added pieces perpendicular or across those pieces, from edge to edge, about every 6 to 8". Get some help to carefully flip the boards over (while they remain taped together), and then apply glue in the grooves from end to end. I used my finger to spread the glue evenly on both surfaces in each joint.

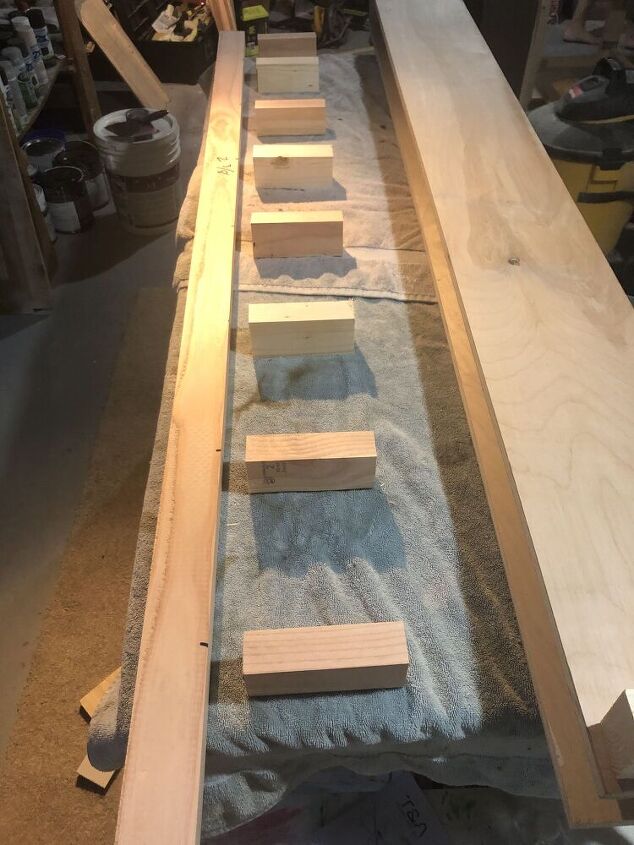
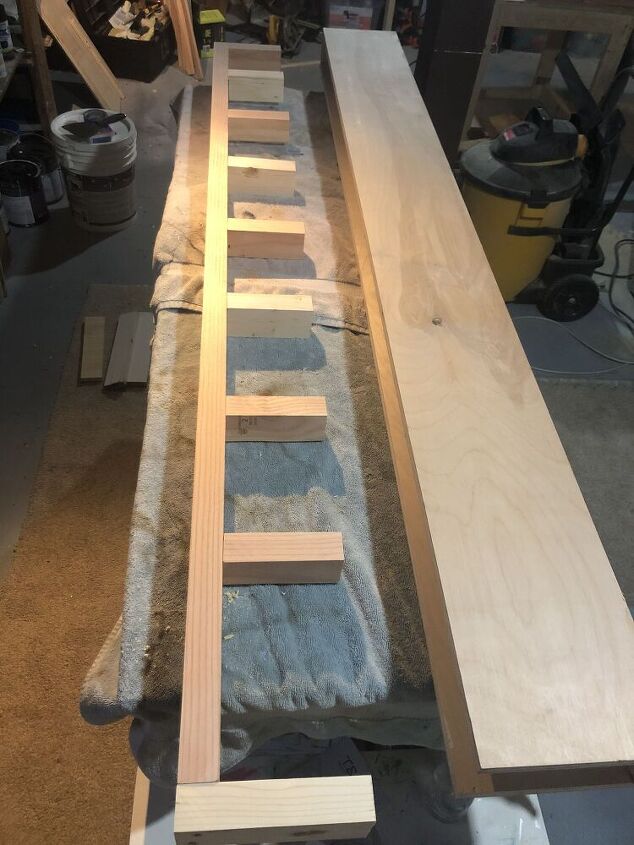
Then, fold the boards together. Because I used 3/4" plywood, and the front of my shelf was 4" tall, I also cut a few 2 1/2" spacers to fold the shelf over onto. This is the space between the top and bottom of the shelf.
This is a better look at how the shelf was taped. You can also see the spacer sticking out of the back of the shelf.
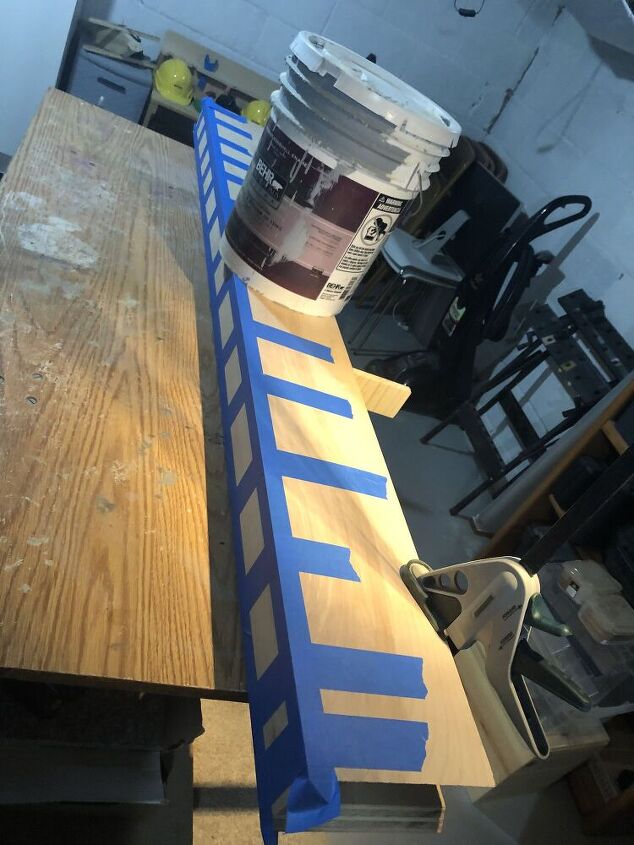
Once folder over, the tape will hold the board together at the joints. I put a five-gallon paint bucket on top of the shelf to apply some pressure to those joints. I also used two bar clamps to clamp together the back of the shelf. I was careful to put the clamps right on top of the spacers to ensure I didn't squeeze the back side too much.
While the shelf was drying, I began working on the bracket that will hold the shelf up on the wall. I used extra 2x4s I had sitting around. I have seen other builds where people just use more of the 3/4" plywood sheet so the whole thing only requires one sheet of wood.
To build my bracket, I ripped the 2x4s down to 2 1/2". The back of the bracket was 73" long. Each piece sticking out forward was 5 1/2" long.
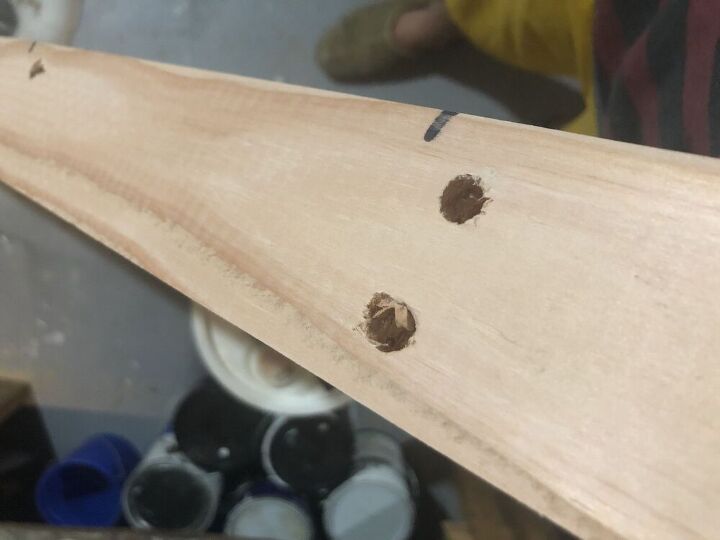
I predrilled holes and the used a larger bit to countersink the screws which I drove in from the back side of the bracket into the ends of each forward-facing piece. I used 3 1/2" construction screws, because I figured the longer the screw, the stronger the bracket.
Here is a look at the finished bracket that will slide into the back of the shelf.
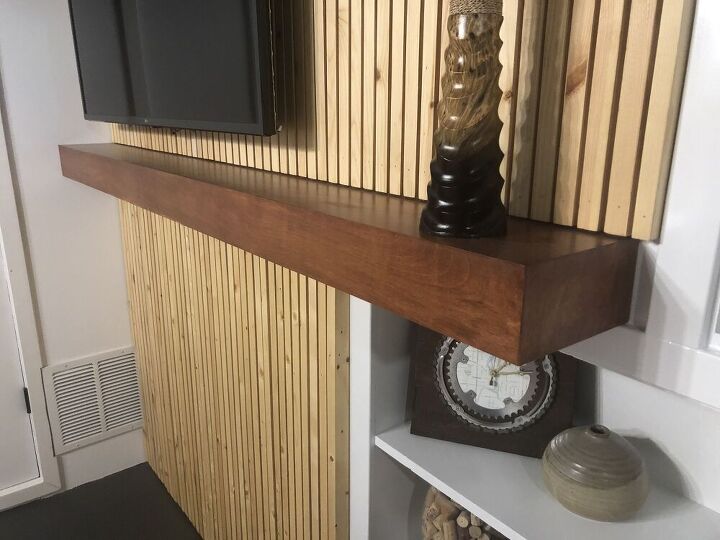
Not pictured, you must also now cut and glue the sides of the shelf. In my case, I only needed one side since the other side was going to be tight up against the wall. The side piece on this shelf was cut at 45-degree angles on three sides. Top to bottom, it was 4" from outside edge of the 45-degree cut to outside edge of the 45-degree cut. Front to back, it was 8" from outside edge of the 45-degree cut to flat edge of the back side.
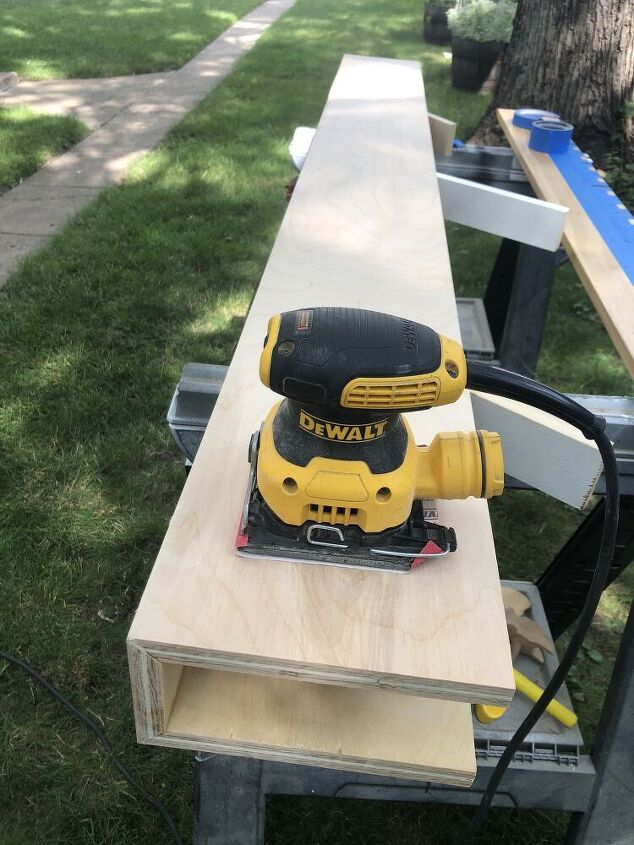
Now, the fun part!  Remove the tape and sand the shelf. Before sanding, I put a bit of wood putty into the seams where it was needed. I continued to place spacers into the shelf while sanding just to give it some extra support. Also, since it's plywood, remember not to go overboard since there is only so much veneer on the outside of the plywood.
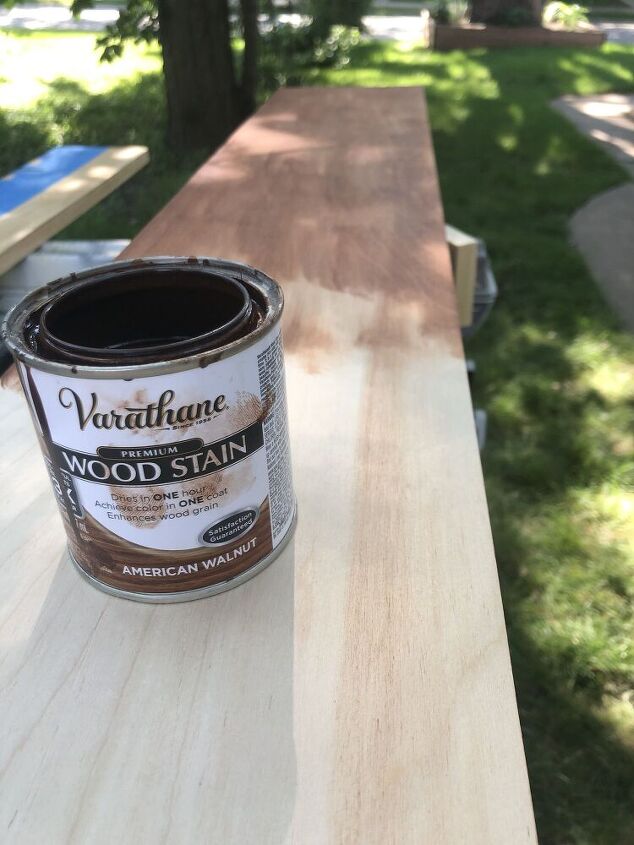
Next, stain and polyurethane.

Screw your bracket to the wall, slide on your shelf and there you have it. Here is a better look at that end piece I didn't show earlier.
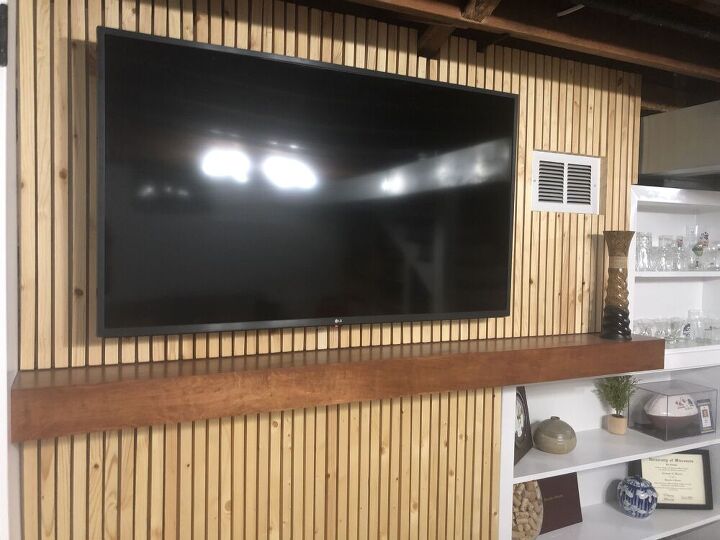
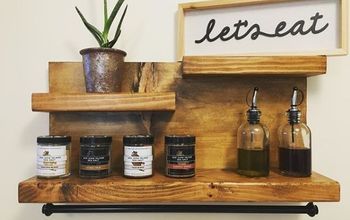
Again, this one had more of a mantle look, and we loved it.
Follow me on Instagram at @woodyworking for more woodworking DIY or home improvement projects. Happy building!
Comments
Join the conversation
-
 Absolutely love it. Will definitely be trying to do my own. Thank you so much for the inspiration.
Happy Holidays
Tanya
-
Love it !!! Beautiful job


Frequently asked questions
Have a question about this project?