


Add Color to Your Laundry Room for a Quick and Easy Makeover

My laundry room is functional but not very pretty so I've decided to make a few changes and give it a bit of an updated look. The first thing to tackle is the cabinets because I knew they would make a big change that I could enjoy while I'm working on the rest of the room.
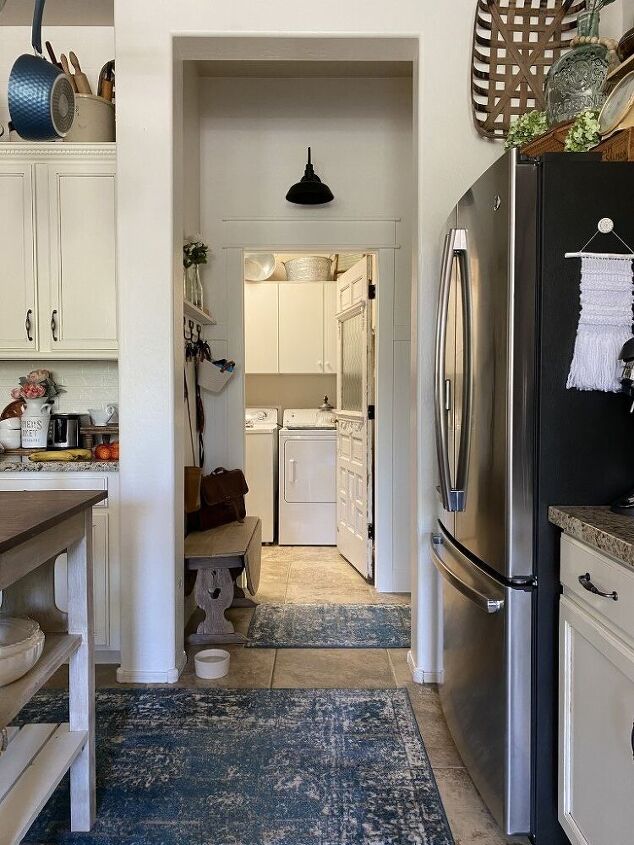
When we bought the house 3 years ago it came with a washer/dryer (which makes it hard to justify buying a new set) and it had cabinets above the w/d which is great for hiding ugly storage. My only issue with the cabinets is that I thought they were ugly too. Flat doors made from melamine with round white knobs. What you can't see are all the swirly scratch marks where some previous owner or renter scrubbed them with a wire brush! YUCK!
I considered removing the cabinets and putting in open shelving, but I decided I like hiding my ugly storage and the better option would be to paint the ugly cabinets.
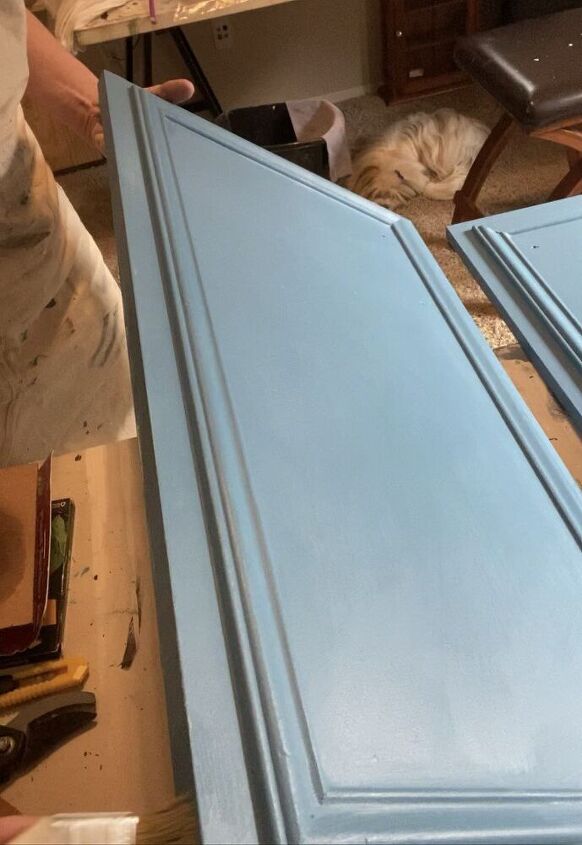
Once I made the decision to paint the cabinets I knew I needed to dress them up a bit because they are just too flat and boring.
So I decided to add some molding on the front of them and I'll tell you how I did that.
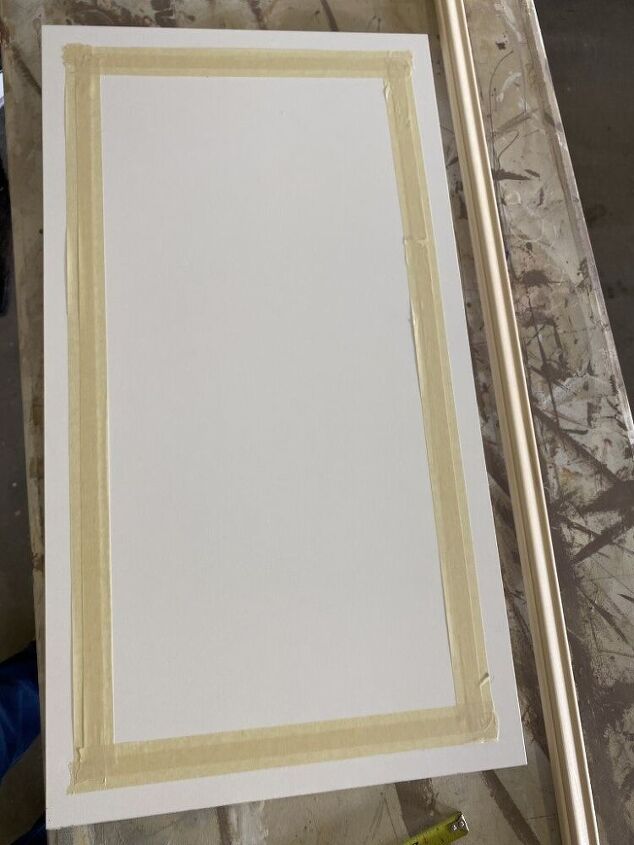
The first thing I did was make a template on one of the doors so that I could decide where exactly to place the molding. This made it easy to measure how many linear feet of molding I would need. Then I ran to Lowe's to find just the perfect wood for this project. I chose a trim that is only about 1 1/2" wide because I didn't want it to look too bulky on the door fronts.

The trim can either be cut straight and butted together or cut at a 45 degree angle. I chose the angle cut because it works better with this particular molding.
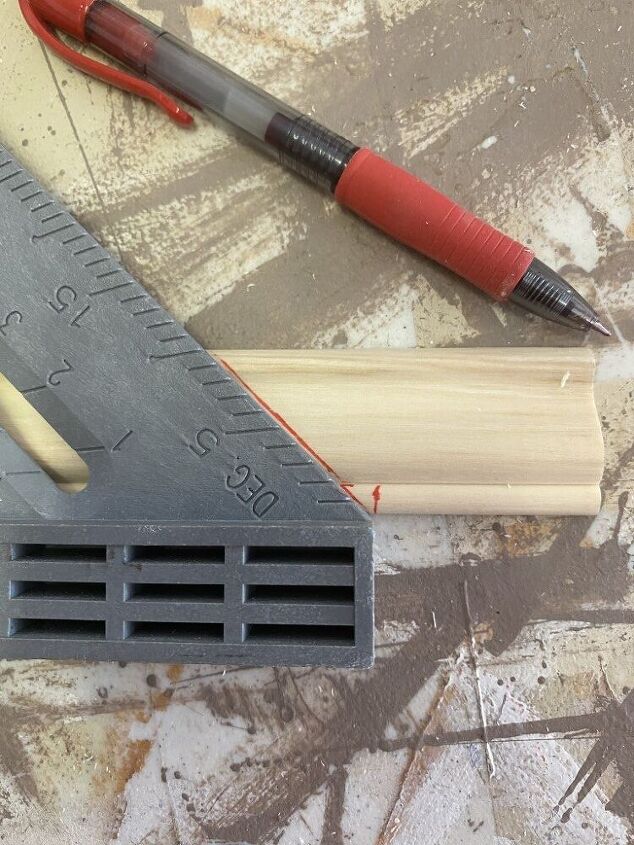
I measured the tape template to determine what lengths I needed to cut the molding. I then cut all the pieces at once. I have 4 doors so I need 8 pieces at 14 inches and 8 pieces at 27 inches. Then using my square measuring tool (which is just weird because it's actually a triangle) anyhoo, I then made the marks where my angled cuts would be.
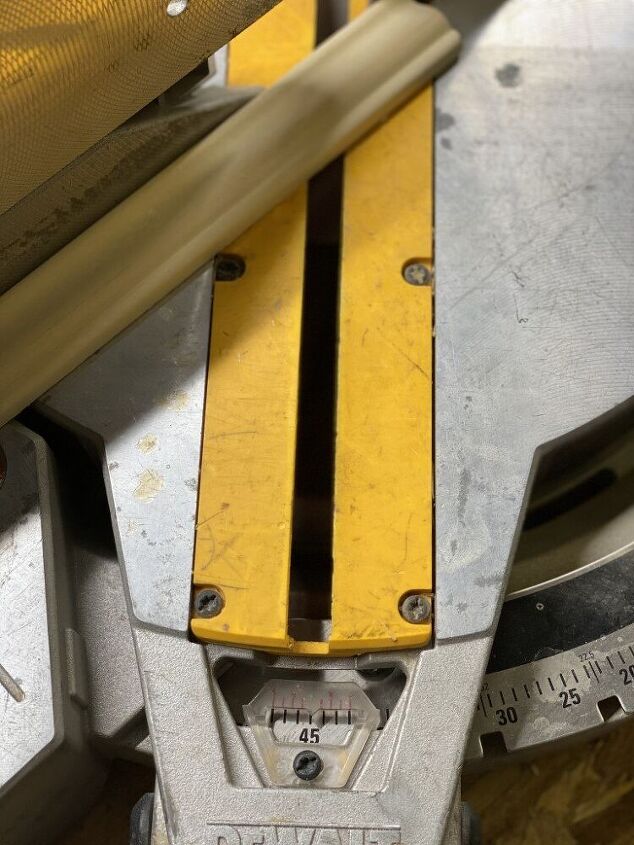
I'm so glad I have a miter saw that takes all the guess work out of this for me. Simply set it to 45 degrees and you're good to go. I did have to make sure i knew which side to set it on...I went back and forth from side to side. These were super easy to make thanks to my Dewalt Miter Saw!

Because the wood I'm using is a bit soft (and I need a finer tooth blade for my saw) my cuts ended up a bit ragged.
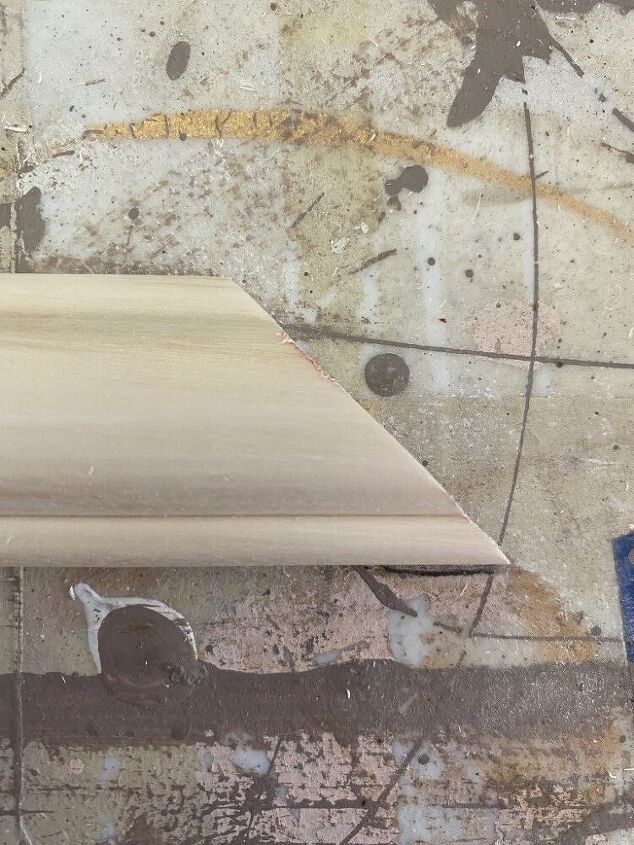
Nothing a little sandpaper can't handle. If you have this same issue be sure to take care not to sand so much that you change the angle of the cut.
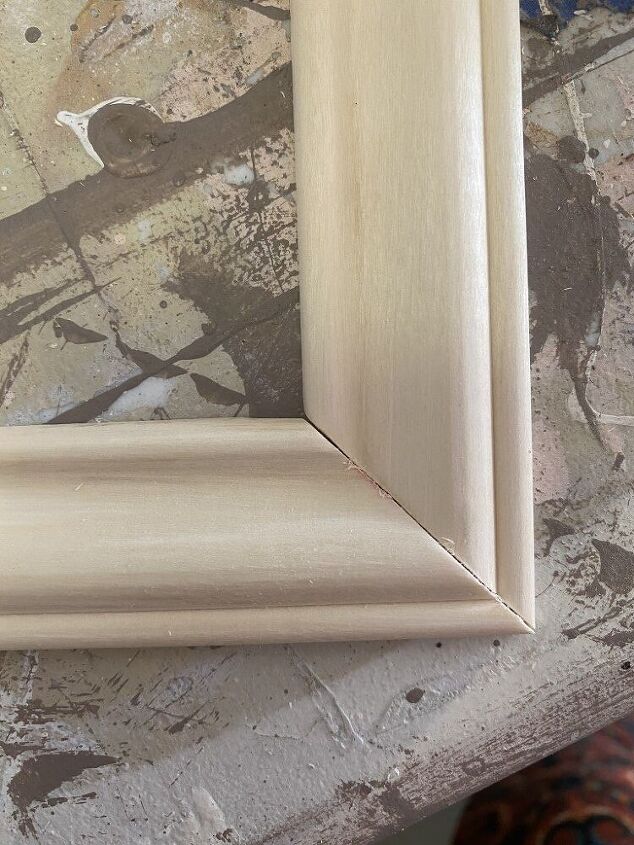
And BAM! Just like that I had perfect 45 degree angle corners. Easy peasy!
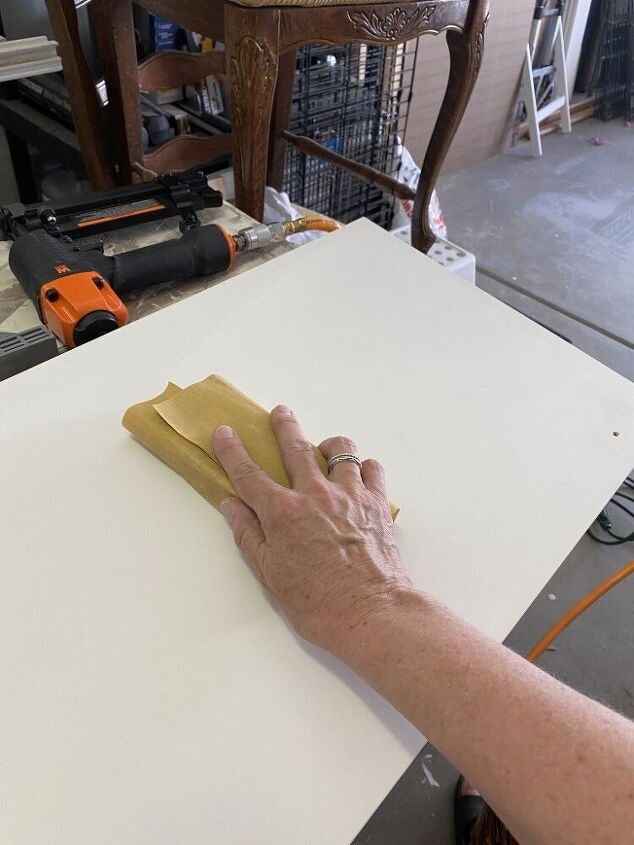
I decided I should just give these door fronts a bit of a scuff with some 220 grit sandpaper. I'm using Amy Howard at Home chalk paint for these doors which doesn't require sanding...but when working with Melamine, I think it's best to give it a bit of scuff so that it has some grip for the paint to adhere to.
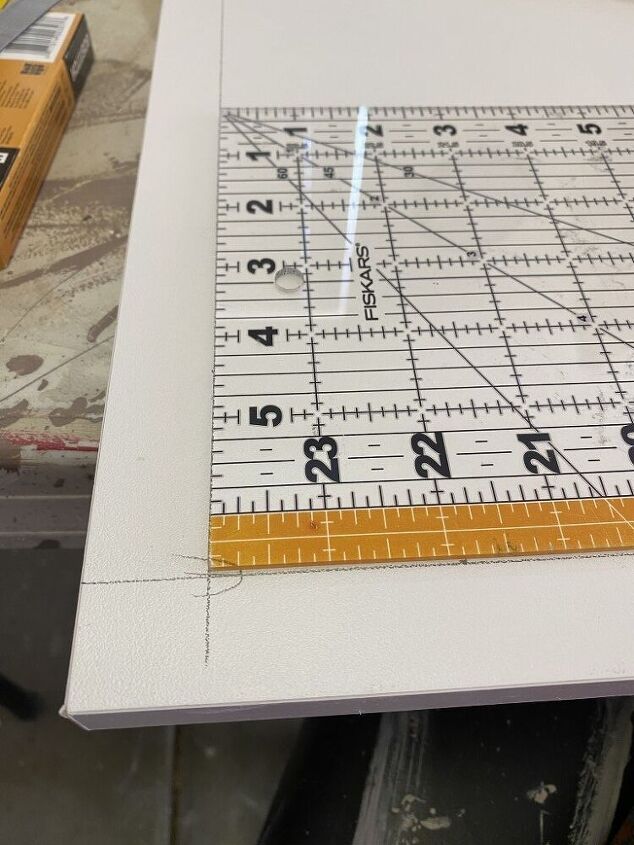
I'm a very visual person so it was necessary for me to have lines drawn on the doors where the edge of the molding would go. This really helped me to get the placement perfect on each door.
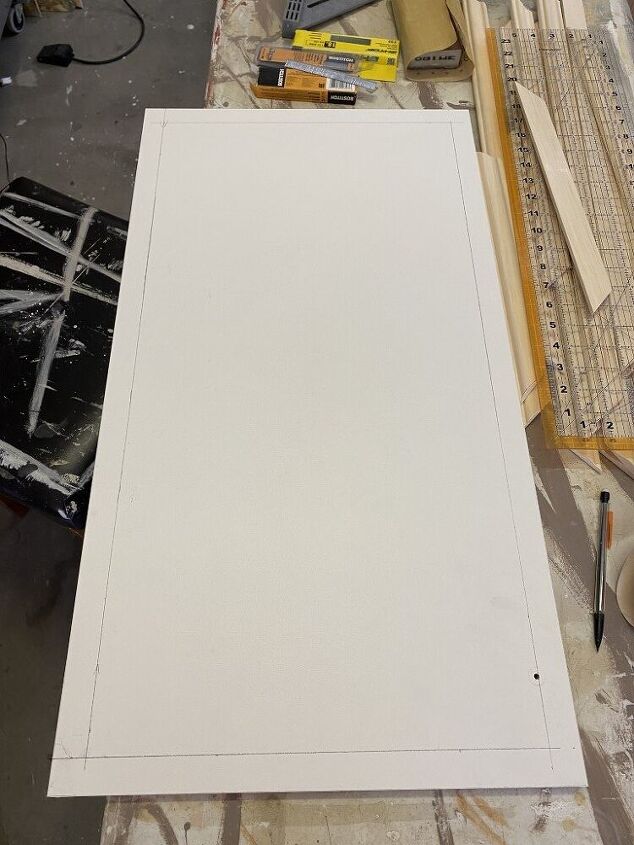
Here you can see my pencil lines.
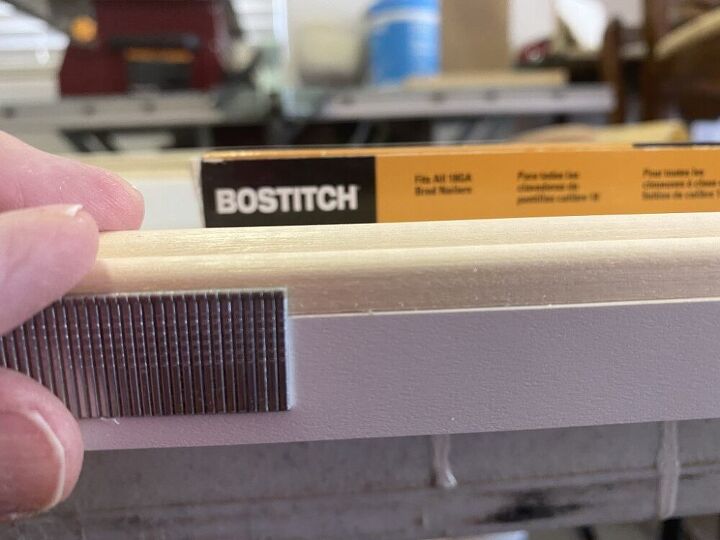
I used my WEN finish nailer to attach the molding to the door fronts. I always double check to make sure I have the proper length nails that won't go all the way through my project.
These Bostitch 5/8 inch brads worked perfect for my cabinet doors.
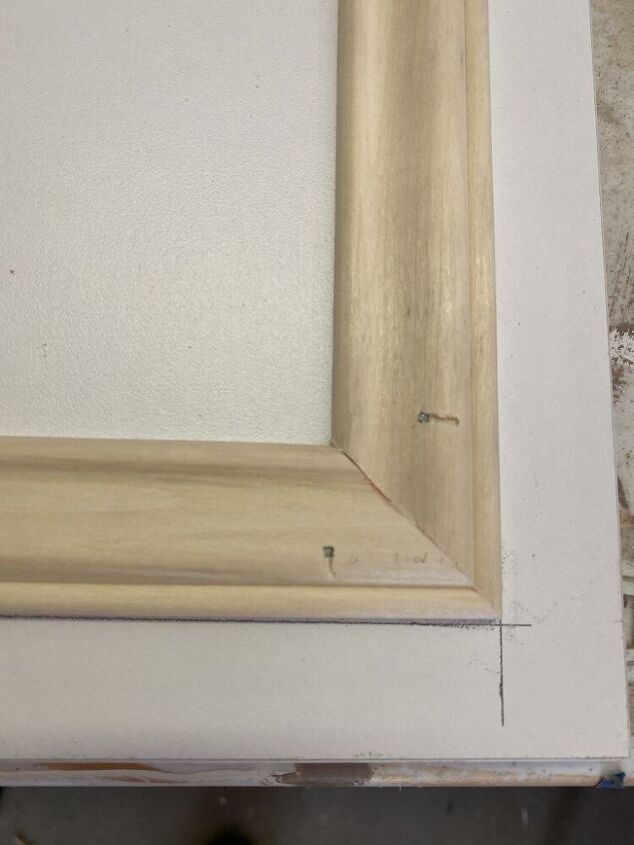
Perfect! I'll take care of the holes with wood putty before I paint. But at least the corner is perfect.
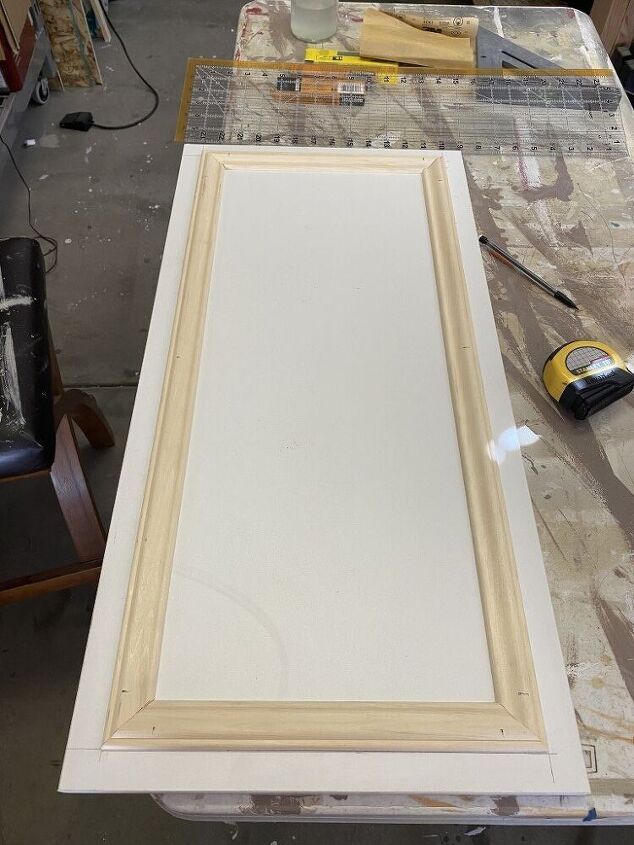
One door down, 3 to go. I can already see what a huge difference this molding is going to make for my Laundry Room Makeover!
Ahem...the FRONT of the doors. This video shows how I taped off the back of the doors. Super easy to do and made painting so much easier.
That's right...for this project I chose NOT to paint the back of the cabinet doors 1) It saves a bunch of time in the painting process and B) It doesn't matter, nobody cares what the inside of the door looks like. Ok, maybe I'm the only one that doesn't care...but my cabinet doors, my makeover, my rules. :)
I used Amy Howard at Home paint for these doors and I am so glad I did. This paint is fabulous, it covers beautifully, it doesn't require a lot of prep and to top it all off when it dries it smells wonderful. Must be the essential oils in it.
I used Amy Howard's One Step Paint in Chavant Blue for my doors and this blue is so pretty! It's just the perfect color for my home. Not too bright or bold and not too dark.

Another plus for the Amy Howard at Home One Step Paint is that, even though it's a chalk based paint, it doesn't require a sealer such as wax. It has a beautiful matte finish all on its own.
I chose to wax these doors with AHAH Mind Your Own Beeswax for the simple fact that being located in the laundry room right above the washer/dryer I wanted to make sure they had all the protection from heat and humidity that they could get.
This wax goes on beautifully with a brush and after about 30 minutes easily buffs to a beautiful sheen!
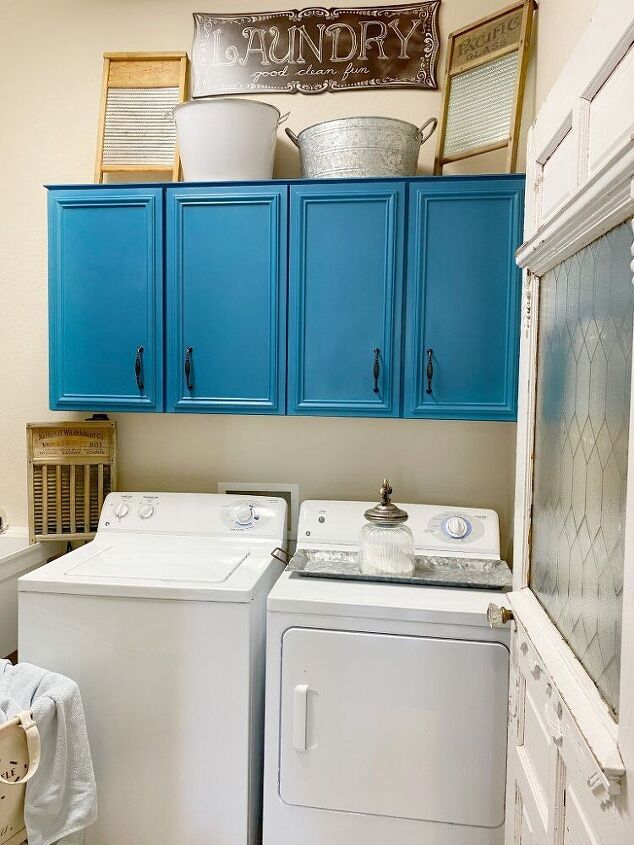
I purchased new hardware from Cosmas-Hardware.com It's the same that I have in my kitchen and I love how it dresses up these doors. This entire room will be getting a makeover but getting these cabinets painted is a great start and gives me something to admire while I work on the rest of the room.
I'll be back with the next phase soon.
Hop over to my blog at www.somethingpaintedwhite.com for the full article and links to all the products I used.
Thanks so much for being here and Happy Painting!!!
Cindy
Resources for this project:
See all materials


Comments
Join the conversation
-
Love the color!!!
-
I always say measure 3 times cut twice , it is better to be a little long the first time than a little short great job with the color . I would carry some of that color to other parts of the room . maybe a stencil on your tin up above , I say make a laundry happy becuse it takes away from the work needed there


Frequently asked questions
Have a question about this project?