


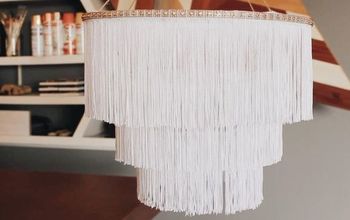
Macrame Fringe DIY Step by Step
3 Materials
$5
2 Hours
Easy
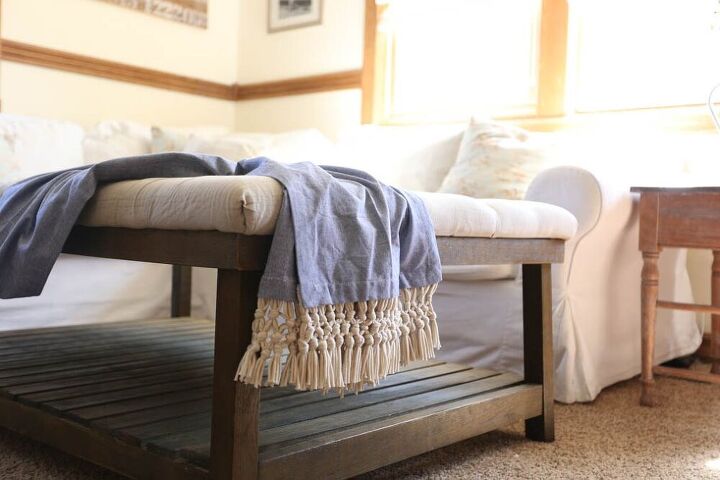
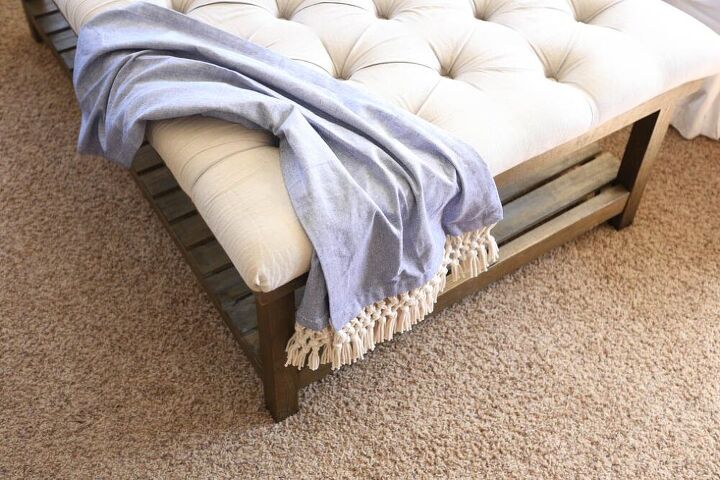
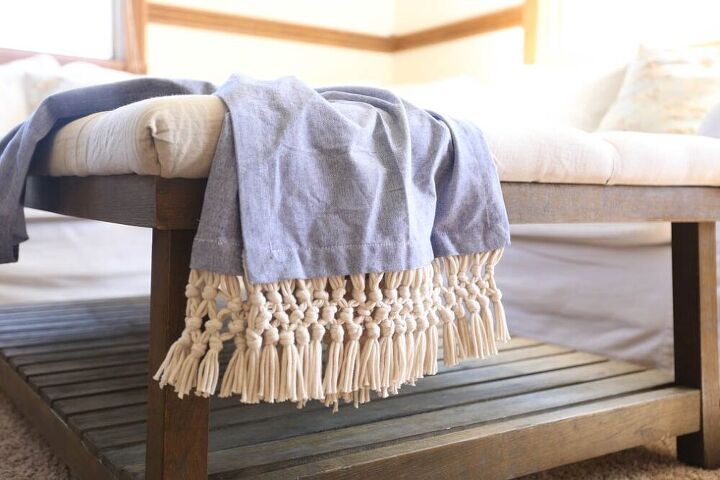
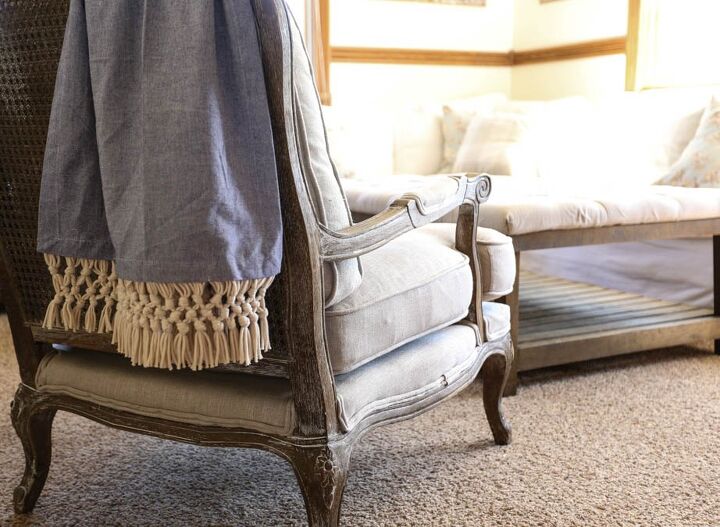
DIY macrame fringe can be added to pillows, throws, blankets, or table runners. Add it anywhere that you would like a little something extra. This really is so simple to make, with a little time, you can make something plain into something special!
Are You a Fan of Macrame?
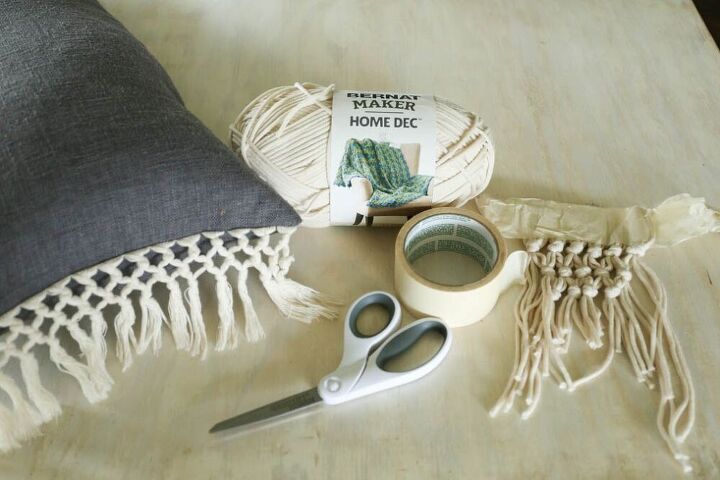
Gather Your Materials
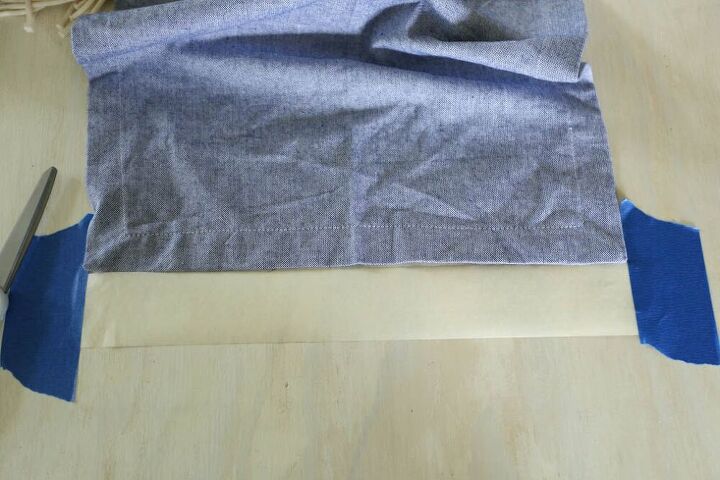
Lay It Out
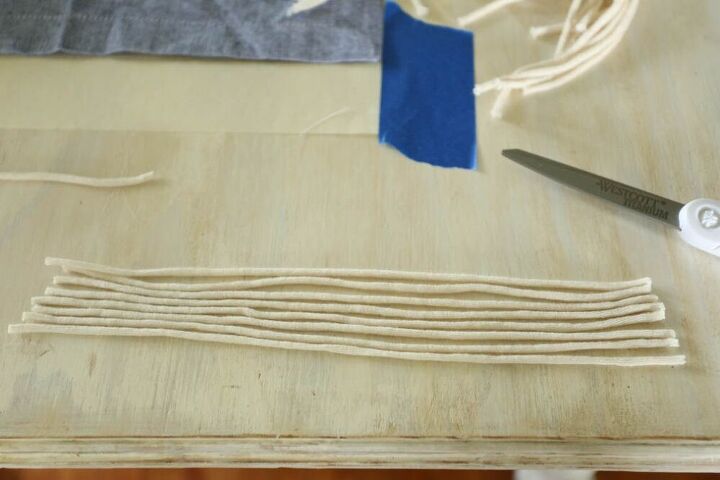
Count and Cut
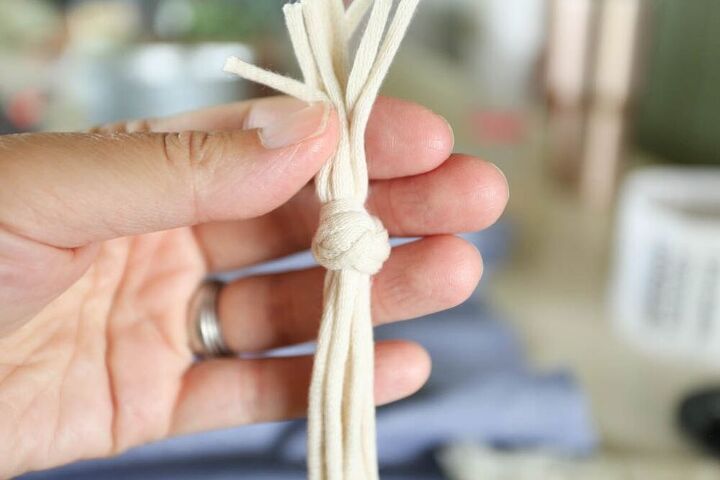
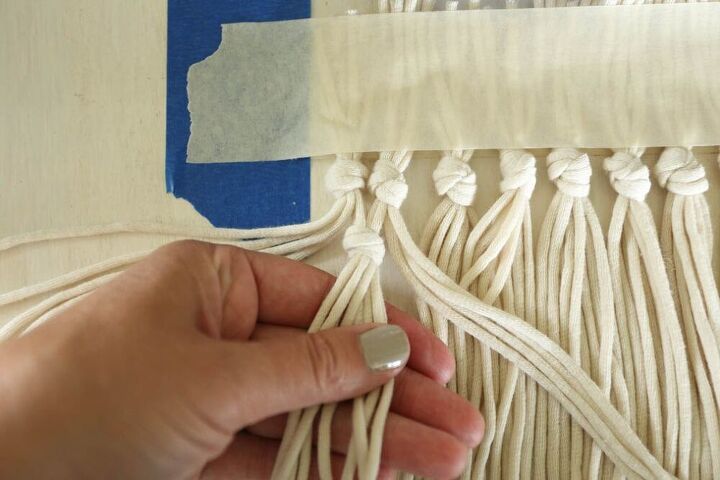
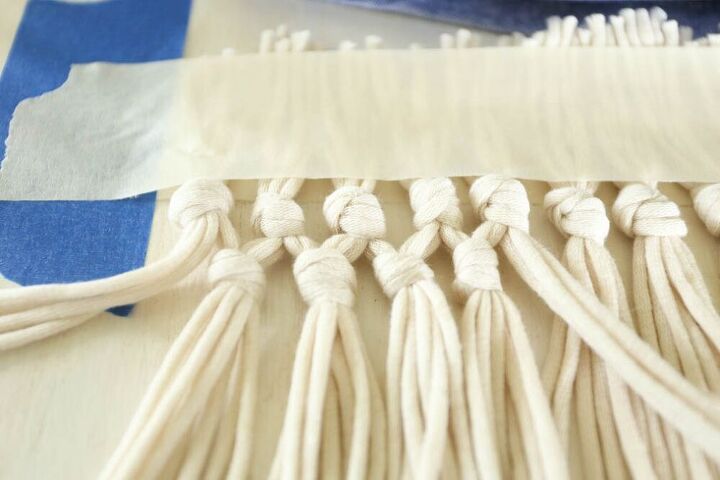
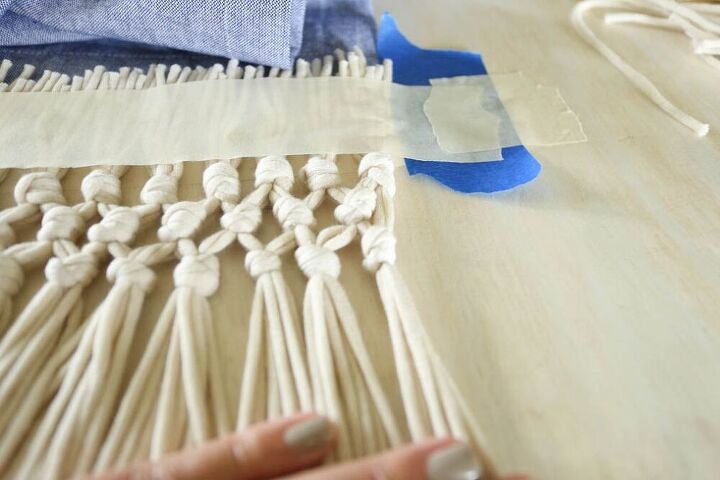
Knot Each Group
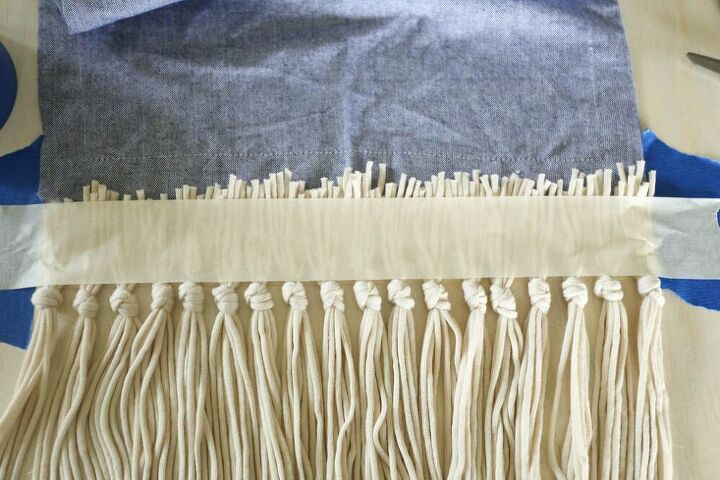
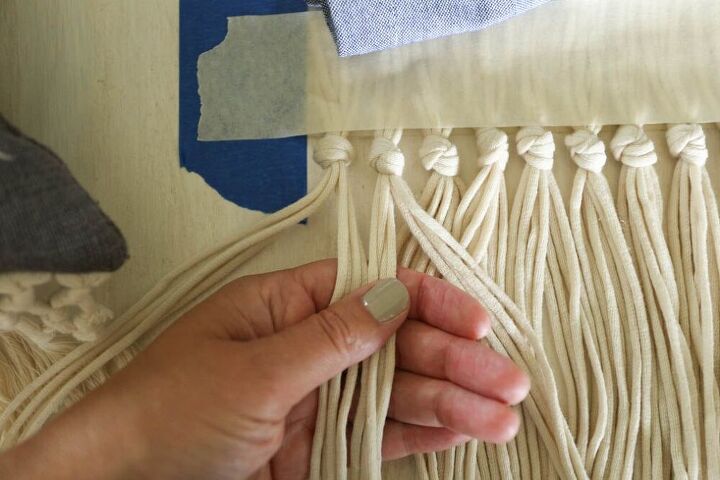
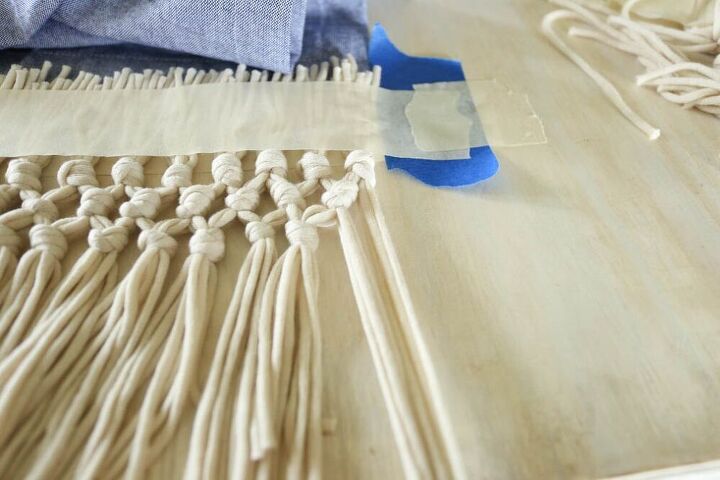
Start Knotting
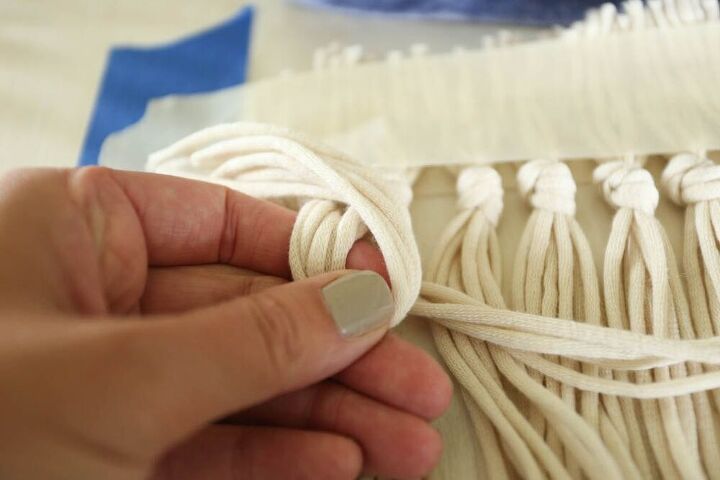
Next, take your four leftover from the second group and knot those four to four from the next group to the right. Knot those together, and keep going until the end of that first row. Just leave the last four strands hanging free.
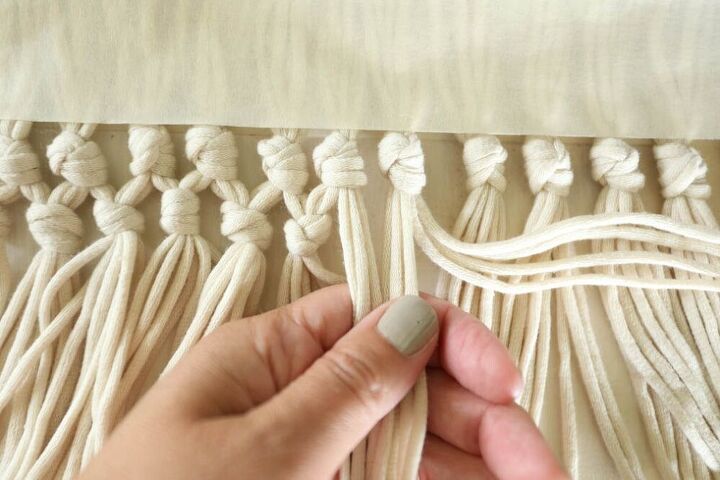
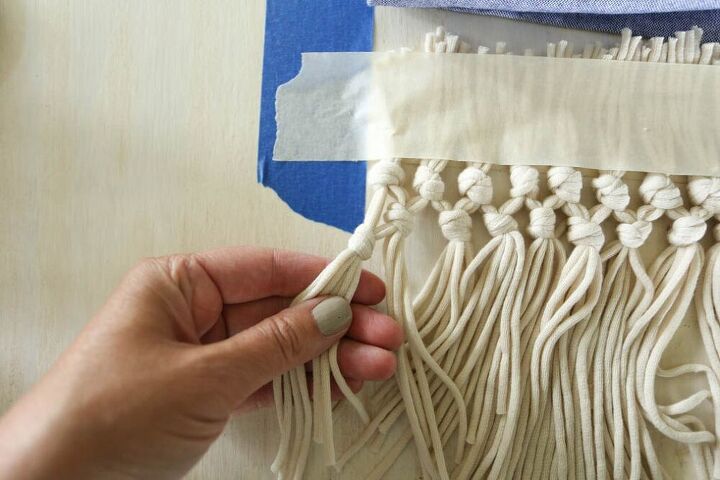
On the next row, take those four strands that are hanging free and knot those together with four strands from the next knot to the right. Continue going to the end of the second row. Knot those last strands to the four left from the previous row.
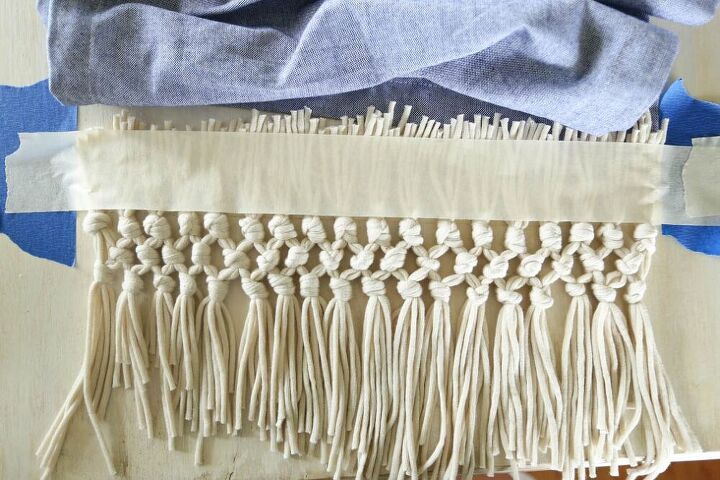
Cut Evenly
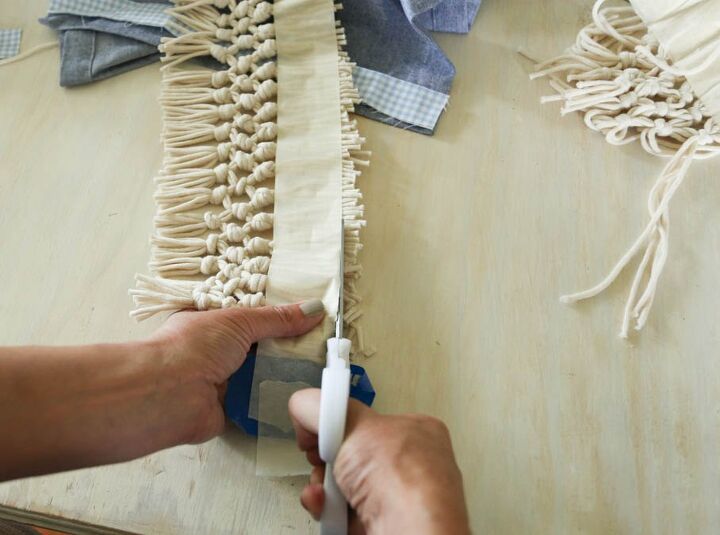
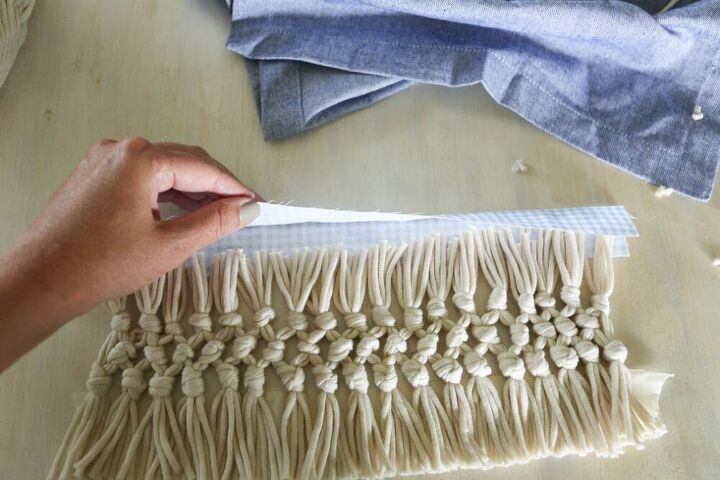
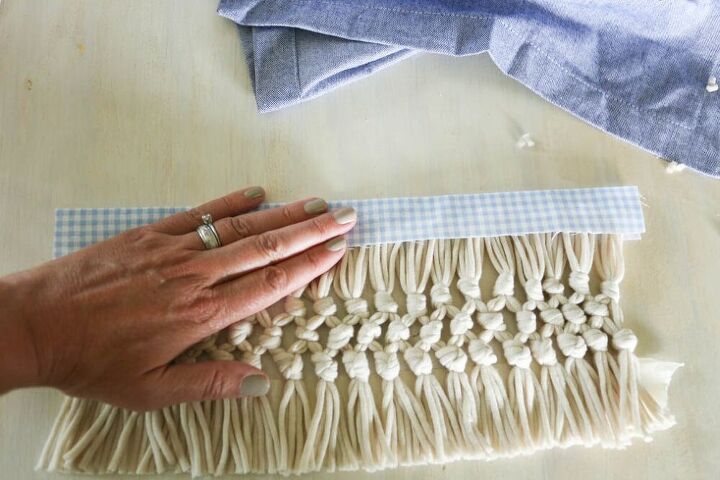
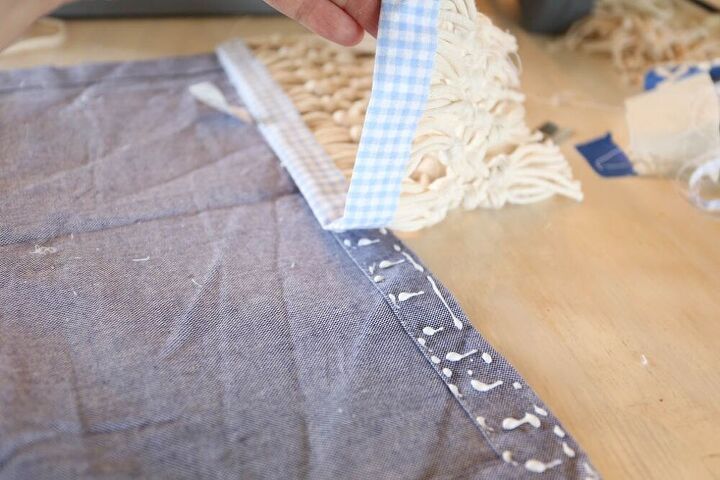
Attach to Binding
That's It!!
Love DIY Home Decor? Check out my blog The Everyday Farmhouse for more inspiration!
Resources for this project:


Any price and availability information displayed on [relevant Amazon Site(s), as applicable] at the time of purchase will apply to the purchase of this product.
Hometalk may collect a small share of sales from the links on this page.More info

Want more details about this and other DIY projects? Check out my blog post!
Comments
Join the conversation
2 of 21 comments
-
Really good directions!
-
Spectacular! Can't wait to give it a try!


Frequently asked questions
Have a question about this project?