


How To Repurpose an Old Family Heirloom

Have you ever been handed down something that you weren’t sure how to use or how to display in your home? Or maybe you love it, but it just doesn’t match the decor and/or style you have going on currently. Well, I am here to give you a few tips and tricks on how to repurpose an old family heirloom and how to give it new life again. Plus, I will show you just how you can make it work for you and your home. Keep on reading to see how I transformed a special piece that was handed down to me!
https://morningsonmacedonia.com/how-to-repurpose-an-old-family-heirloom/
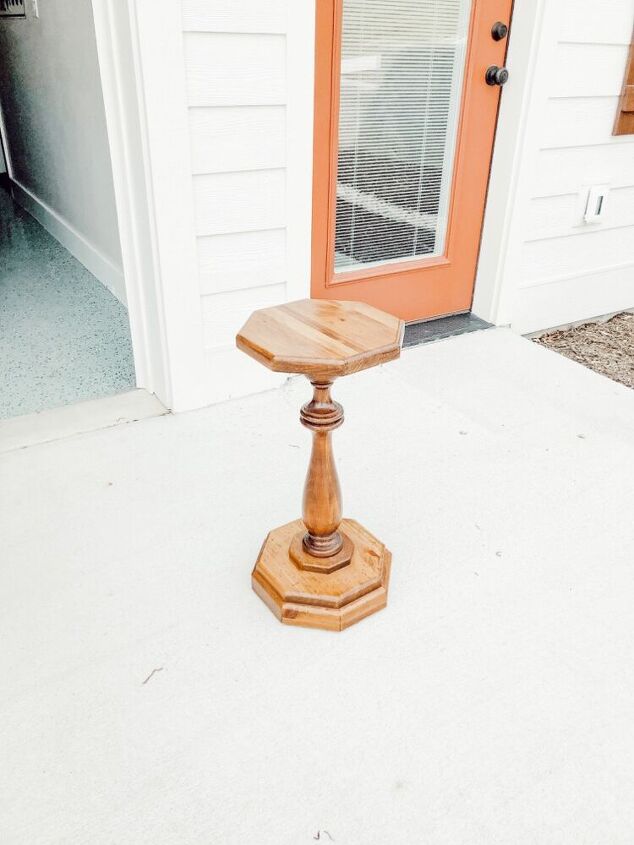
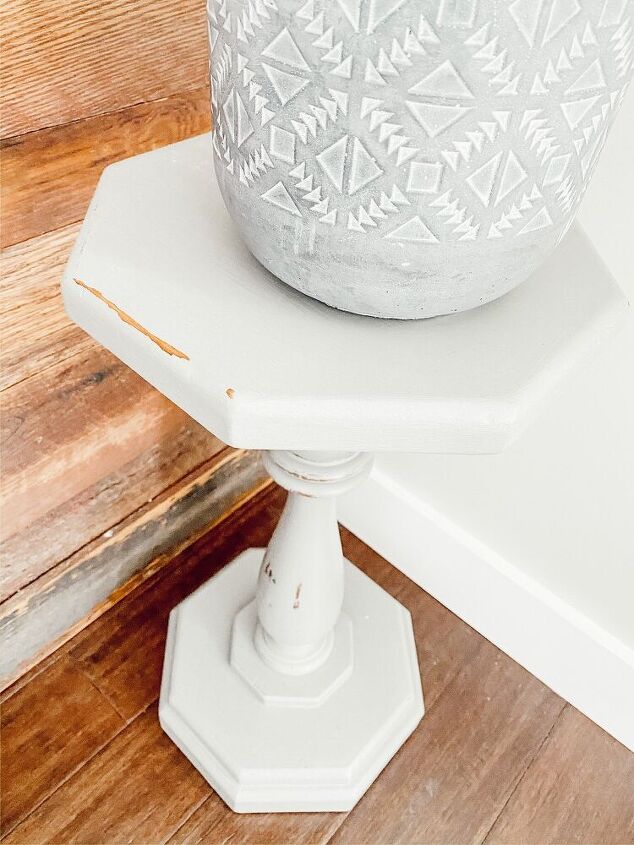
So I choose to repurpose this beautiful piece pictured above. It’s like a little stool/end table that my great great uncle built! He was a furniture maker for Ethan Allen many years ago so a lot of us in the family have some ole pieces like this that he made. Obviously for sentimental reasons, I did not want to get rid of it. But it did not match my decor style at all. So I decided to freshen it up with some chalk paint and make it work!

After you’ve chosen what piece you want to repurpose, the first step would be to sand it down. This helps get rid of any roughness and will help the chalk paint adhere better to the piece.
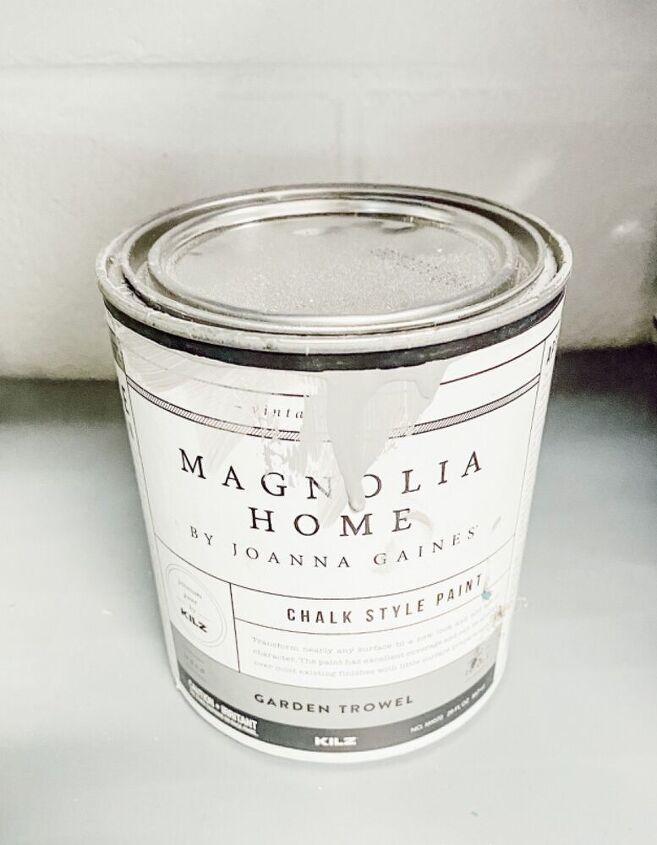
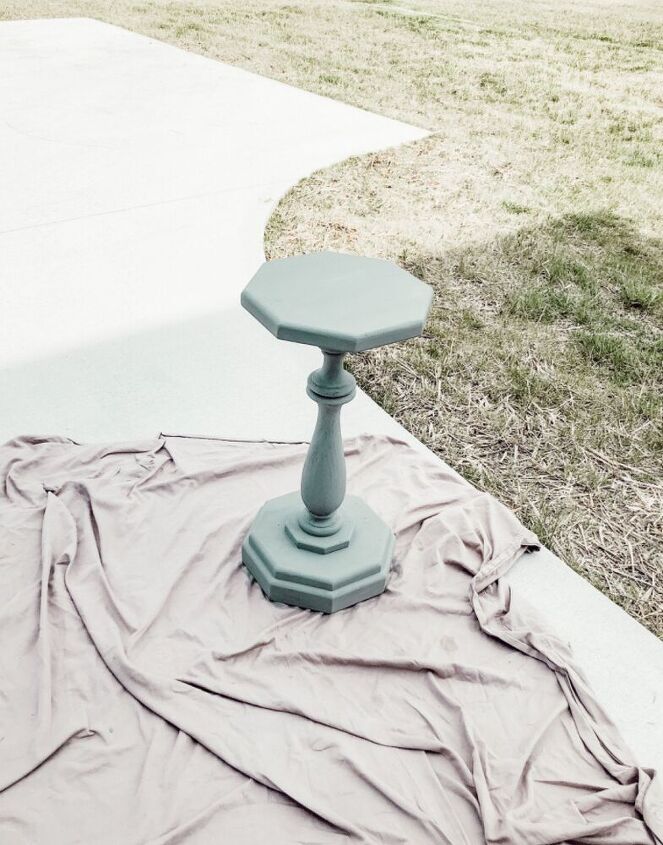
I wanted to go for a more neutral look for this piece so I didn’t want a bold color or anything like that. I chose to use Garden Trowel from Magnolia Home and it’s like a nice gray color. The perfect neutral in my opinion! It took me about two coats total to finish it. It has great coverage and was really easy to paint on.
After you’ve painted it, now just let it dry completely! I let mine dry overnight before I did anything else to it.
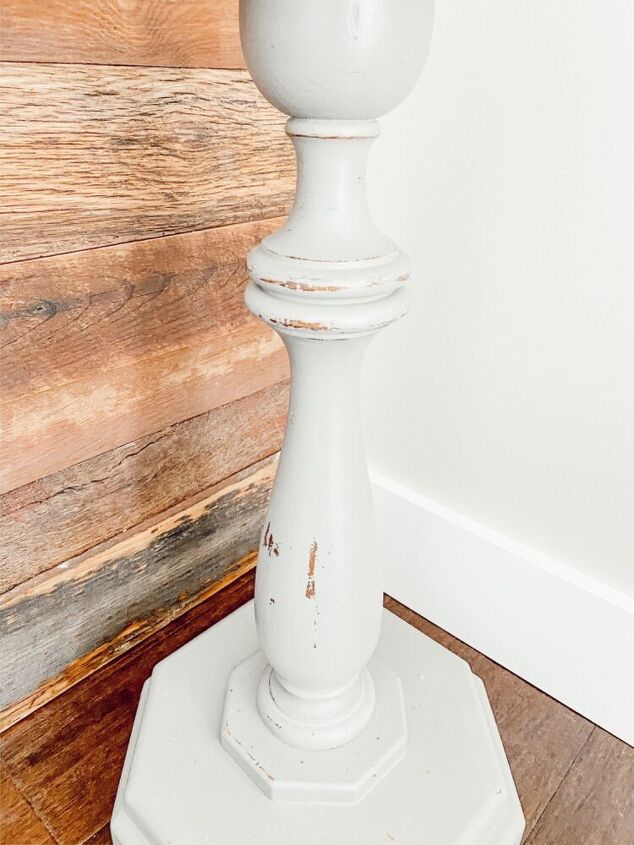
This step is totally optional, but I love the way distressed furniture looks. So I decided to use a little bit of sandpaper and Distress it a little bit after it was completely done drying. I love how the original wood shows through from distressing it. It definitely showcases the fact that it’s an old heirloom piece that way!
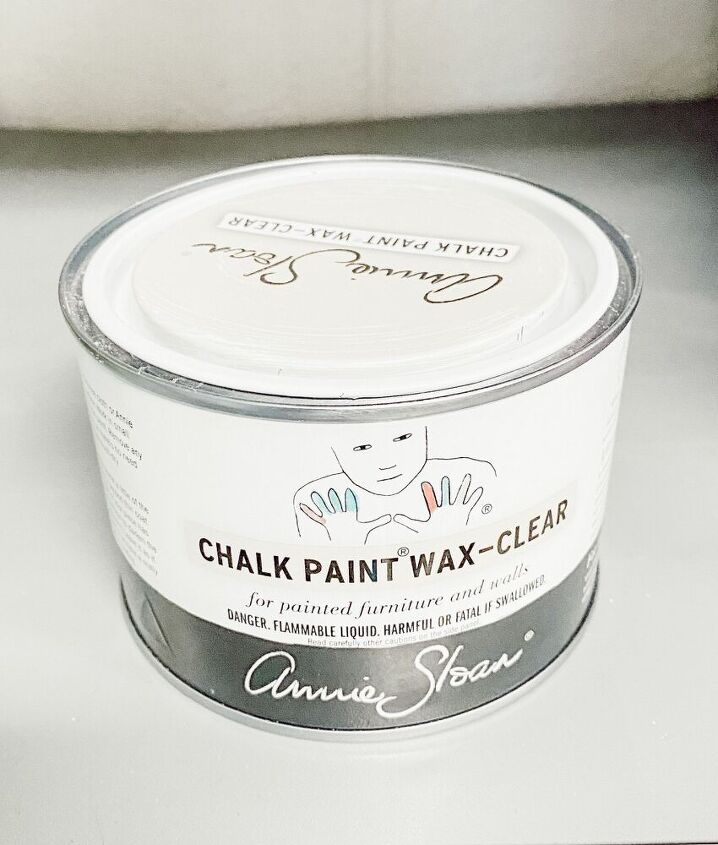
I used the above clear wax to wax the piece once I was done painting and distressing it. I rubbed it on using a damp rag and then I buffed the extra off using a dry rag. You definitely don’t need much of the wax. If you are using the piece for something that will get a lot of wear and tear, you may want to add two coats. But since I was just going to use this for a plant stand, I just used one coat.
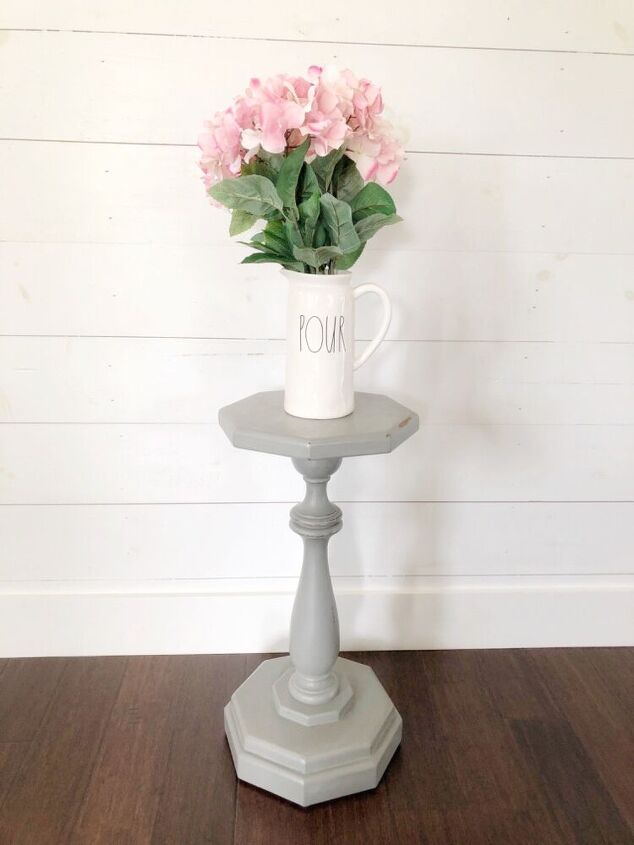
After you’ve added the wax to protect the piece, you are all done and can style away! I love how this piece turned out and I am so happy I can still display this special heirloom piece in my home and have it match my style too!
Comments
Join the conversation
-
Very nice. Needs a little more of the paint scuffed off to look "live with and loved" look.
-
It turned out beautiful. I have many old wood pieces and I have been a little worried about painting them. I guess I need to let that go and just paint. Thanks.


Frequently asked questions
Have a question about this project?
What color is the paint you used? In some pictures it looks slightly turquoise, then white, then gray.
Do you have to wax it every year or anything?