


Upcycled Ribbed Wood Plant Cover (Using a Gelato Cup!)
I eat a lot of gelato, and my favorite brand comes in a very nice, substantial, plastic cup that pains me to get rid of. Do you ever feel that way? I've been on a DIY roll these days, so I've been coming up with creative ways to upcycle them!
Here's my latest creation:
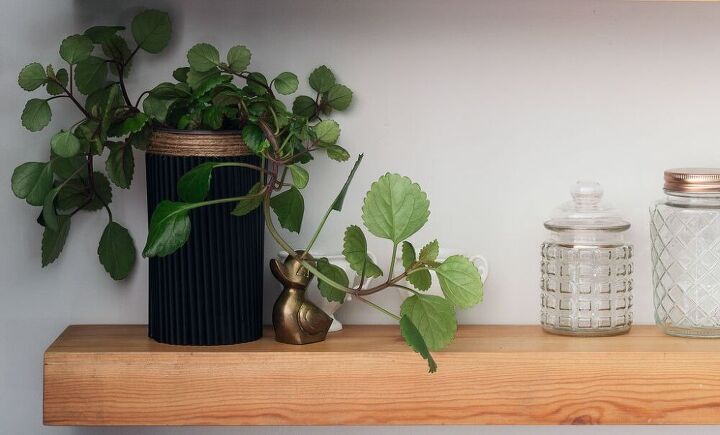
In this post, I’m going to teach you how to make a ribbed wood plant cover using an upcycled gelato cup and some basic wood dowels.
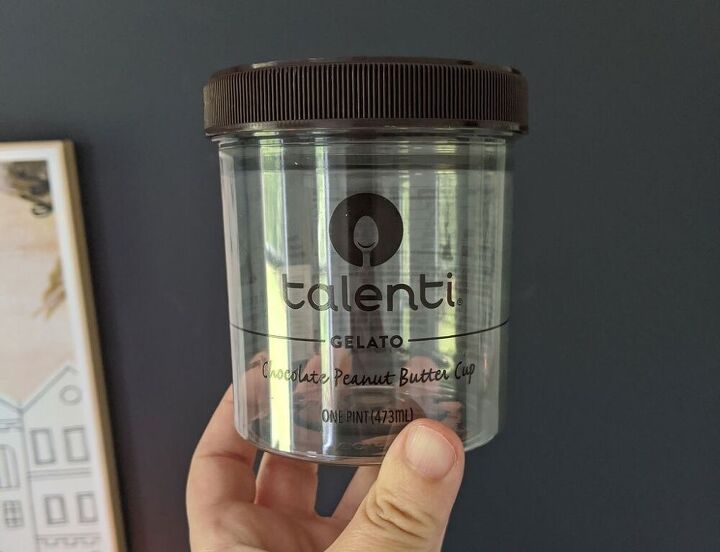
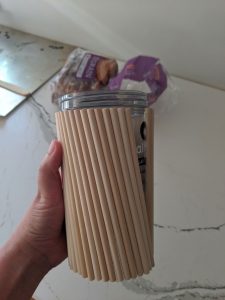
You’ll need a round plastic container like my gelato example (other foods use these containers as well). Keep in mind, the container also needs to have straight sides. Otherwise, this project won’t work.
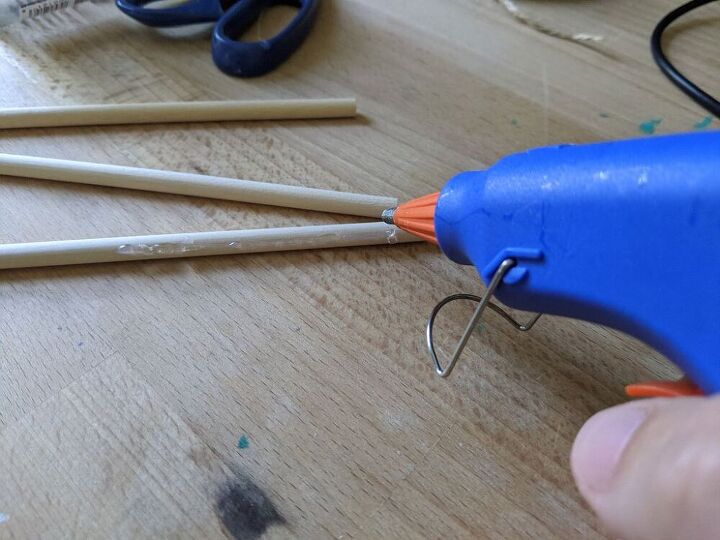
By either applying glue to the dowels or directly to the container itself, attach the dowels. Butt the flat top of the dowel to the underside of the screw top lip.
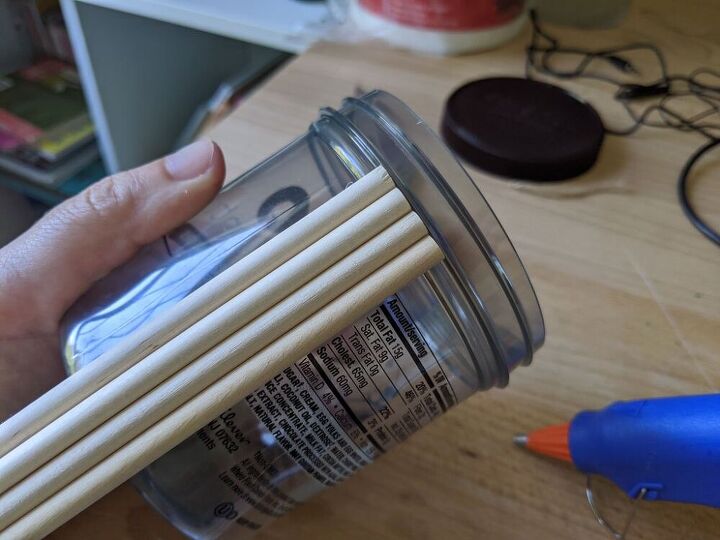
Line the dowels up perfectly parallel to one another. Otherwise, the dowels begin spiraling outward like on my first attempt:
If this does happen, locate where the alignment started to go off — on mine, it was a glob of glue that pushed its way out from between two dowels and skewed them. Then pull off all the dowels from that point forward and reapply with correct alignment.
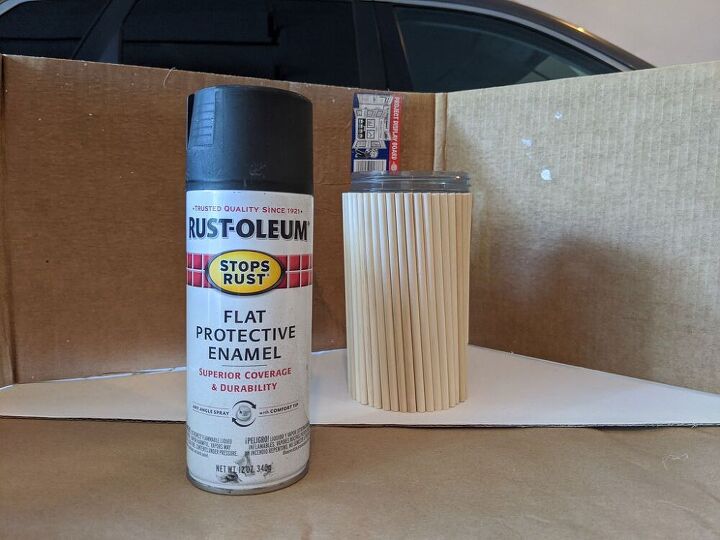
Once all of your dowels are attached, spray paint the entire thing inside and out. I used two thin layers.
It goes without saying that you should choose whatever color you like. I’m a sucker for black but this plant cover would also be beautiful in brights, jewel tones or pastels.
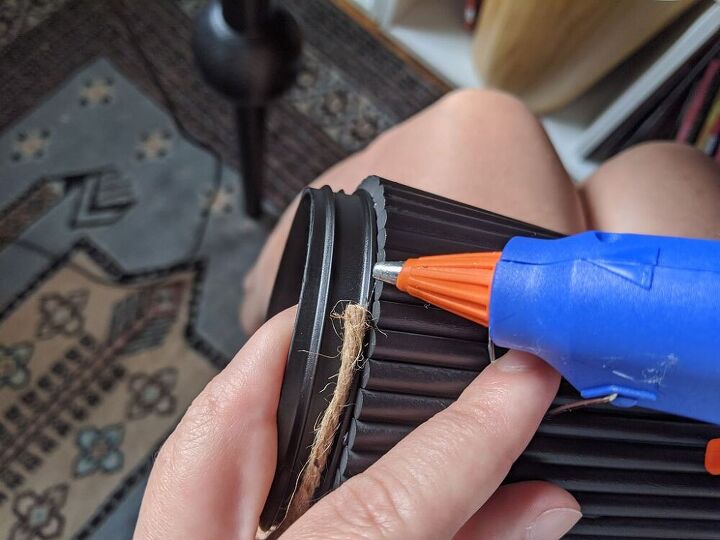
To cover the grooves where the cap screws on, wrap the jute twine around the top. Start off by squirting a dot of hot glue at the bottom ridge of the area you’re covering, and secure the beginning of your twine to the container.
Wrap the twine around the container tightly, using as little glue as possible to minimize potential mess.
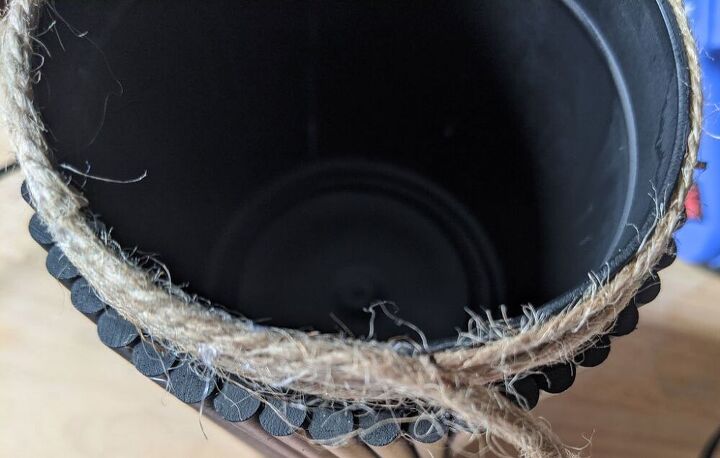
The exception is the very top edge of the container. You’ll want to conceal the entire edge and the only way to secure the twine well is to apply glue almost the entire way around.
Just go slow, use as little as possible, and only do a tiny bit at a time.
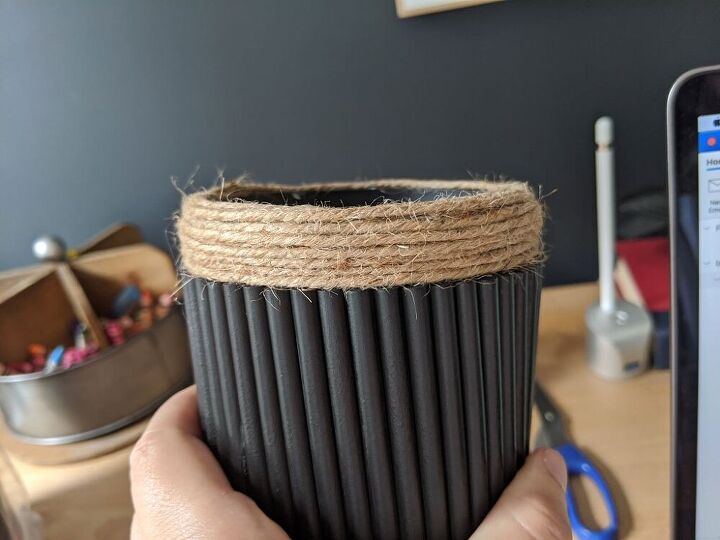
Continue wrapping the twine for several layers to build up the thickness of the jute rim. Bring the depth out to the edge of the dowel so that everything is integrated onto a level plane.
My rim only took three layers but it could vary a bit depending upon how chunky your twine is.
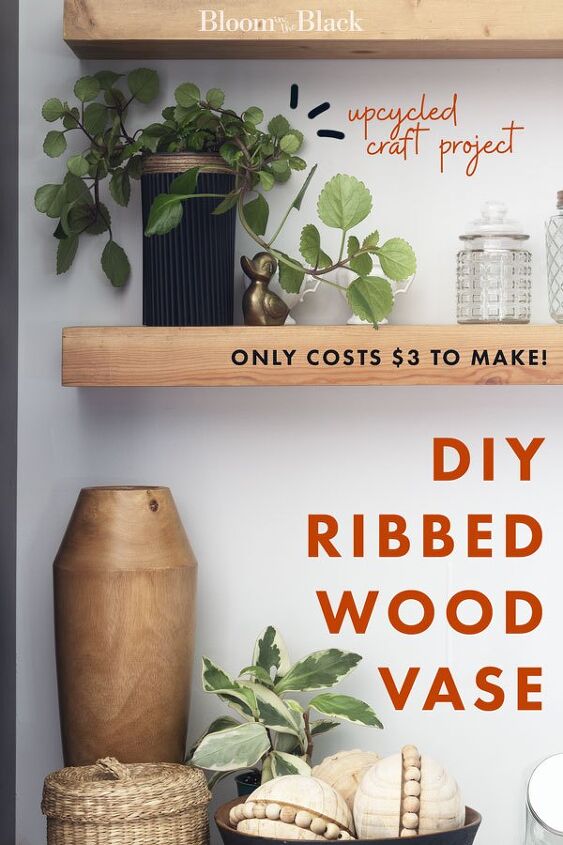
How beautiful is this? My husband was shocked when I explained how I made it. It now sits proudly on a shelf in our kitchen -- where this whole project started :)
I might need to add this to my easy kitchen DIYs post!
Resources for this project:
See all materials


Comments
Join the conversation
-
So clever! BTW…that Talenti brand is my favorite treat also.
You did a good job on explaining the process and giving tips to a perfect outcome. Kudos. 👏
-
Oh am I inspired! I'm a plant parent and will use this tip to dress up basic containers for my beauties. Thank you for sharing.


Frequently asked questions
Have a question about this project?
Did you actually use the Talenti jar for the example? Mine seem to be shorter and they are even, top to bottom.
How long were your dowels?
Beautiful! But you said the cost was $3. Where did you purchase the dowels? The link on Amazon was $8 and up.