


How to Build a DIY Flower Planter Box

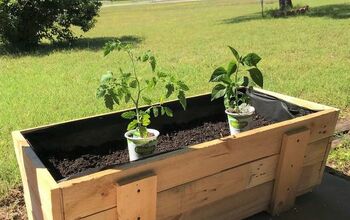
If you’re limited on space or don’t want to dig up your yard to put in plants, planter boxes could be a good option. You could use the planter to grow flowers to beautify your backyard or you can use it to grow herbs. I had a few extra plywood boards from my previous project so I decided to build a small DIY flower planter box for our backyard. I’ve created a simple tutorial on how to build this planter container. See my website for more details and illustrations, TheDIYPlan.
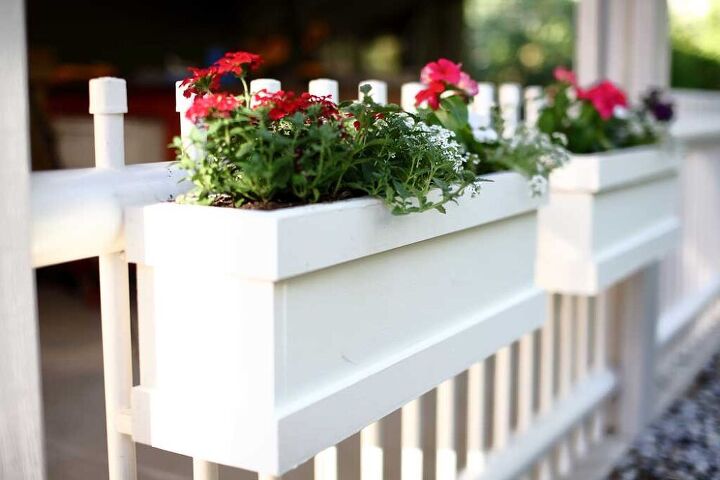
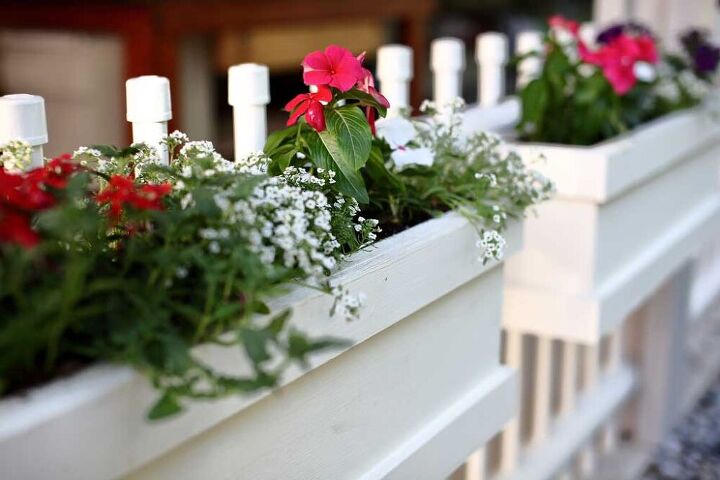
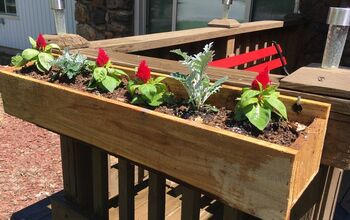
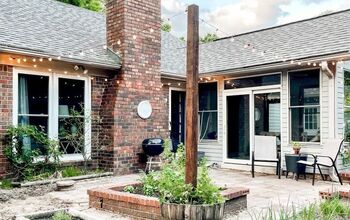
Last year I built a fence for my patio using PVC sprinkler pipes. So I thought it would be nice to have small planter boxes hanging from the PVC fence with flowers, to make the patio look nicer.
The PVC fence is held by 2×6 boards that are attached to the post of the patio cover. If you’re interested in learning how I built this fence, you could click here. The fence is very strong and could easily support a few small planter boxes.
If the flowers do not survive thru this winter, I want to plant strawberry plants in these containers next year. At least something to snack on while working on DIY projects.
If anyone has a suggestion of small plants that would grow well in these planter boxes, please leave a comment below.
Tools for this project
- Tape Measure
- Kreg Jig
- Drill
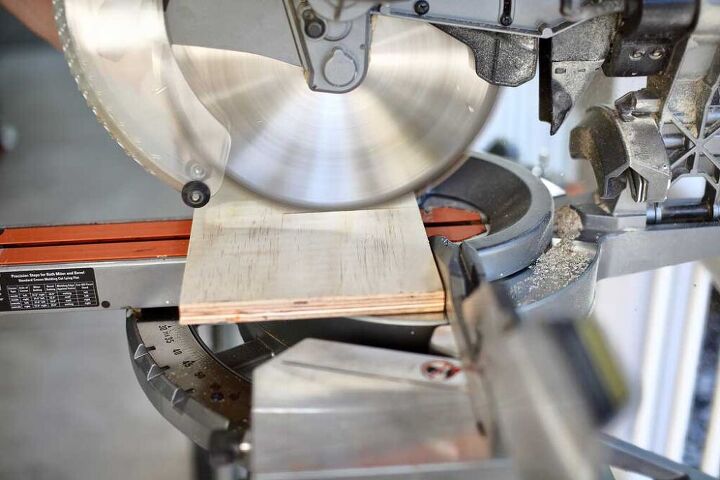
- Miter Saw
- Table Saw
- Nail Gun
To make this flower planter box, you really don’t need to have a lot of wood. I made this box using scrap plywood that I had leftover from previous projects.
The instructions below are for one planter box. If you choose to make a few of these, then you’ll need to do the math for additional material.
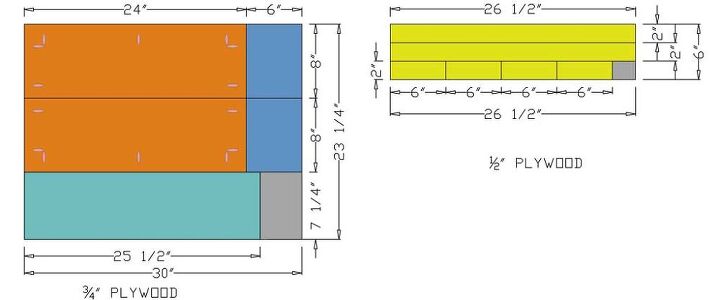
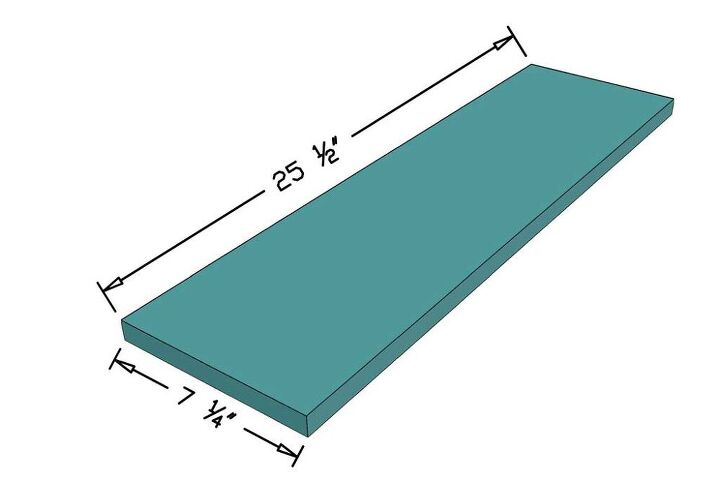
First, take 3/4″ plywood and cut a bottom piece to 25 1/2″ x 7 1/4″ using a table saw or a skill saw.
Again, using 3/4″ plywood, cut two side pieces to 8″ x 6″. These measurements could be changed if you’re looking to build a different size box
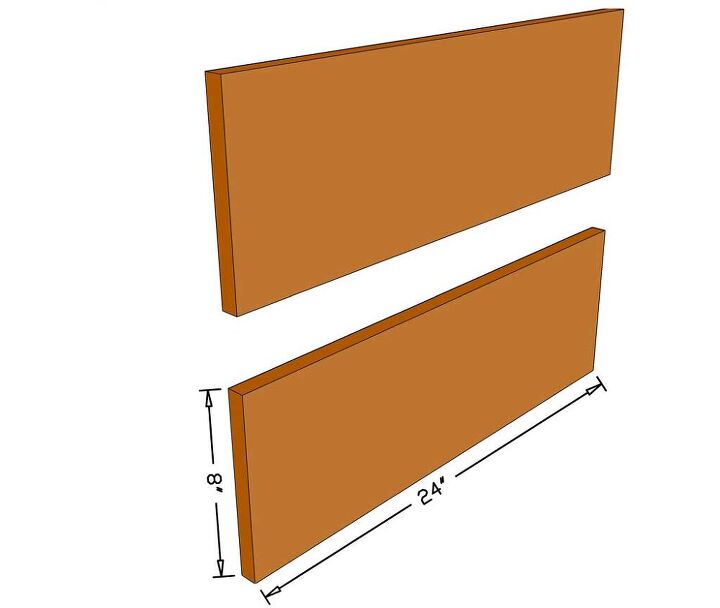
The front and back pieces also need to be cut using 3/4″ plywood. Both of the pieces need to be 24″ x 8″.

ow take the front and the back pieces and drill pocket holes using a Kreg Jig. The Kreg Jig needs to be adjusted and set for 3/4″ plywood thickness. Both of these boards need to have pocket holes to attach to the bottom and side pieces as shown in the pictures.
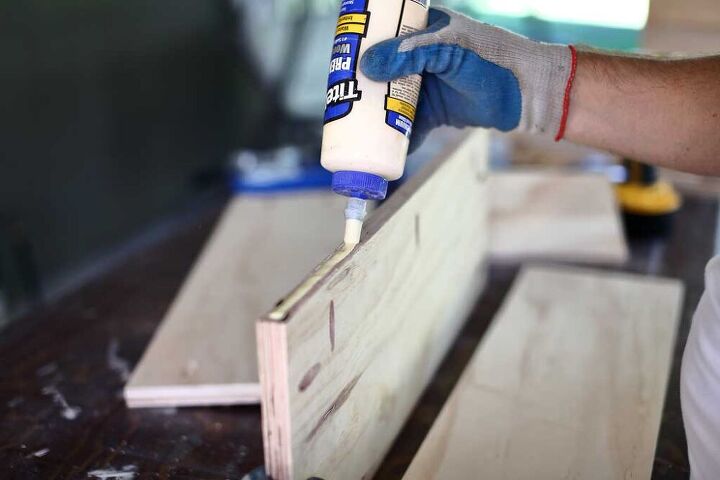
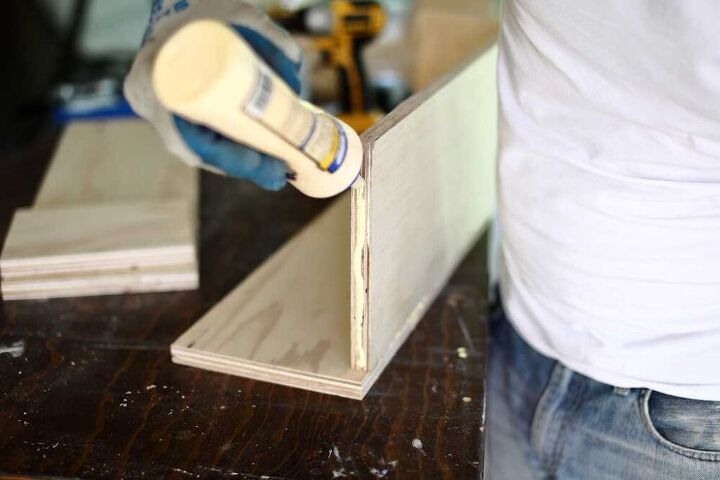
Take the bottom piece and place it flat on your workbench. Then take the 24′ x 8″ front piece and apply wood glue at the bottom where both pieces join together. Align the front piece in the center of the bottom piece and attach it using 1 1/4″ pocket holes screw. You should have 3/4″ space on the left and right side of the front piece. Make sure the pocket holes are on the inside of the box.
Apply wood glue at the seams of the side pieces and attach them to the front piece. Use 1 1/4″ pocket holes for joining the boards together.
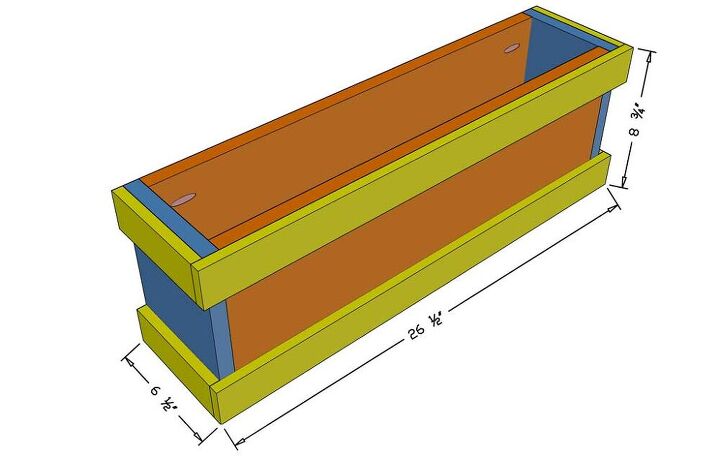
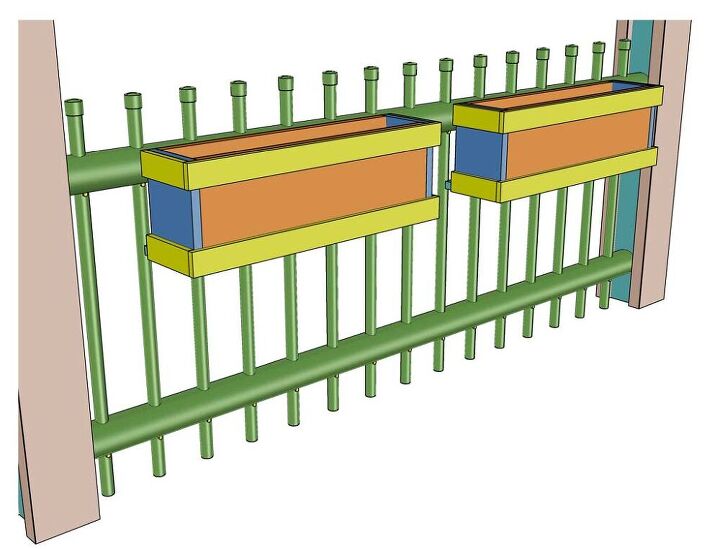
Now take the back piece and attach it to the box. Again, using wood glue and 1/4″ pocket holes. Since this planter box is designed for a PVC fence, you will have an 1 1/4″ lip on the backside of the box. This lip is specifically made to sit on the screws that will be attached to the PVC fence pickets. If you’re not installing this planter box on a PVC fence then this lip is not necessary.

Take 1/2″ plywood and cut two pieces to 2″ x 26 1/2″ and four pieces to 2″ x 6″. Then using wood glue and nail gun attach the 6″ long pieces on the sides of the planter box. One piece will be attached flushed to the top of the box and one piece flushed to the bottom on each side. Then attach both 26 1/2″ pieces on the front of the planter as shown in the picture.

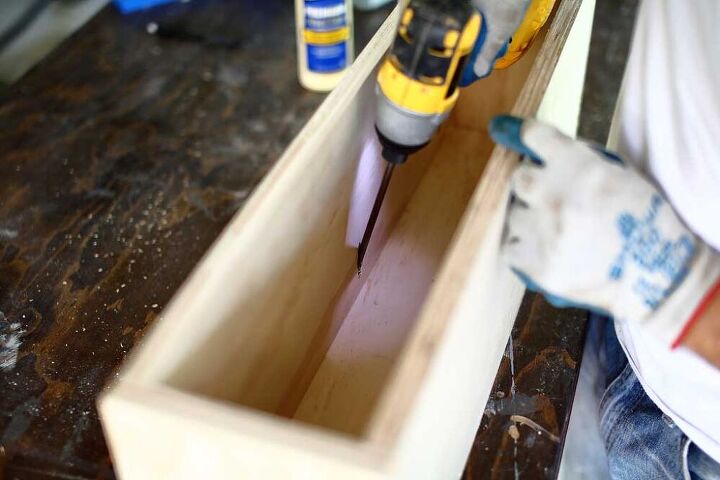
Using a 1/4″ drill bit, drill holes randomly thru the bottom plywood of the box. These holes are used for draining water from the soil that’s in the planter container.
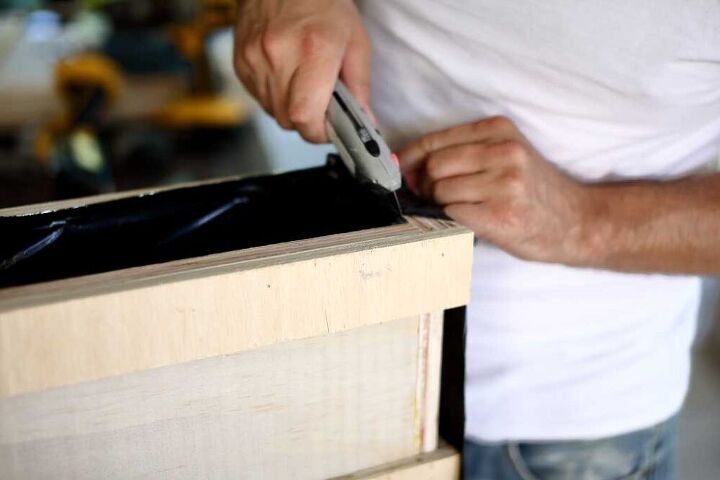
For lining the inside of the box you could take a large plastic bag that is typically used for garbage and cut it open into one large sheet. Then insert the liner into the planter box and staple it to the plywood. Flip over the planter and poke a nail thru the holes you drilled. Make sure to penetrate the plastic liner for the water to drain out through the holes.
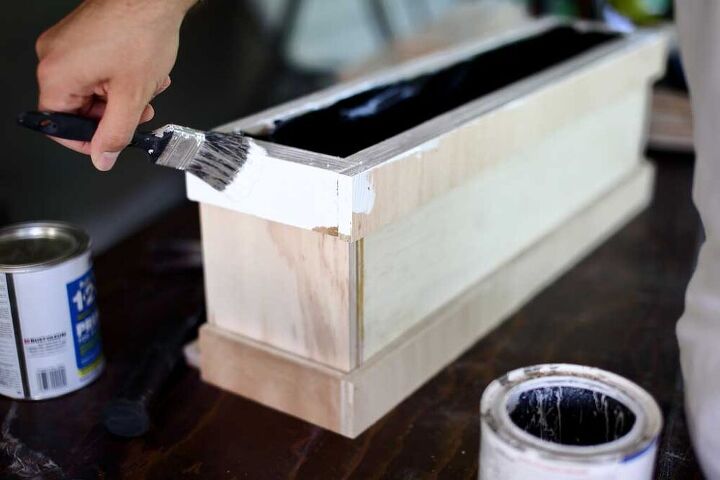
Using a brush, first apply a coat of primer on all sides of the planter. This will seal the wood and prevent it from rotting. Then paint the planter box with exterior paint. You could apply several coats of paint to protect the wood from moisture.
If you are not attaching this planter box to the fence than you could skip this step. As I mentioned in the previous step that this planter box is designed for PVC fence that I’ve built last year for my patio. Previously I had a wooden fence that rotted because of the moister from the rain and sprinklers. So instead, I designed a fence from PVC sprinkler pipes that will not rot.
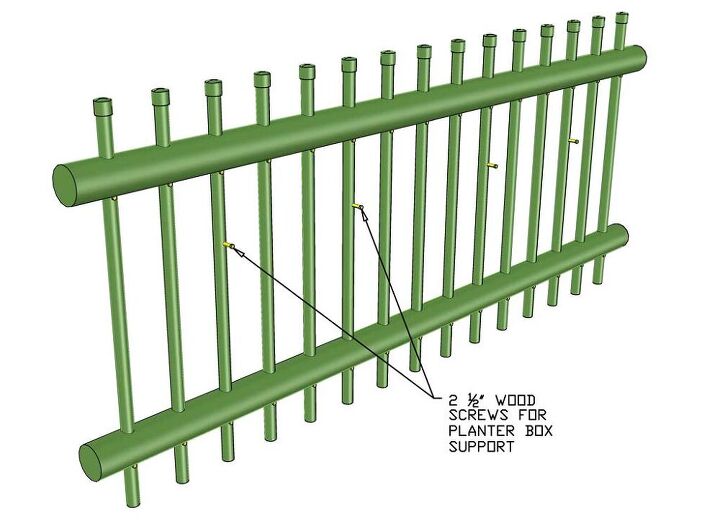
The planter box will be attached to the pickets of the fence. First, measure 7” from the bottom of the top rail and mark it on the picket. This will be the bottom of the planter box. Determine if the planter box will be attached in the center or on the edges of the PVC fence. Screw-in a 2 ½” woodscrew into the picket, but make sure it does not go thru on the other side. The back lip of the planter box will be sitting on this screw and will prevent the box from sliding down. You will need to have at least two screws to hold the box.
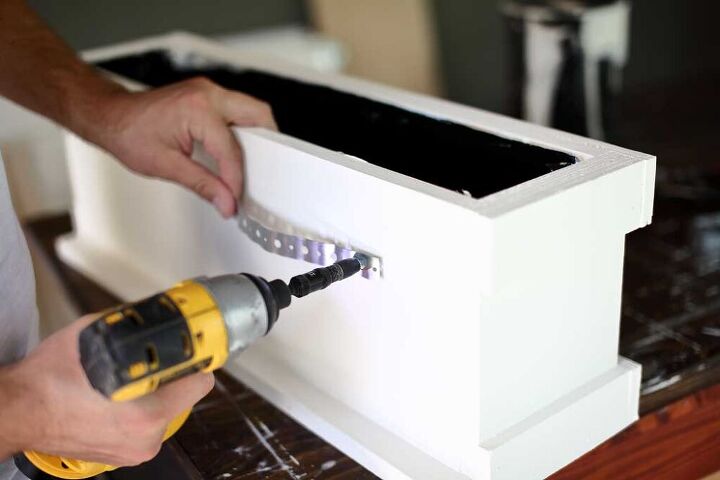
On the backside of the planter box, attach a metal plumber to the plywood. Then wrap around the picket and attach it again to the plywood. Strap the planter to the picket at least at two locations.
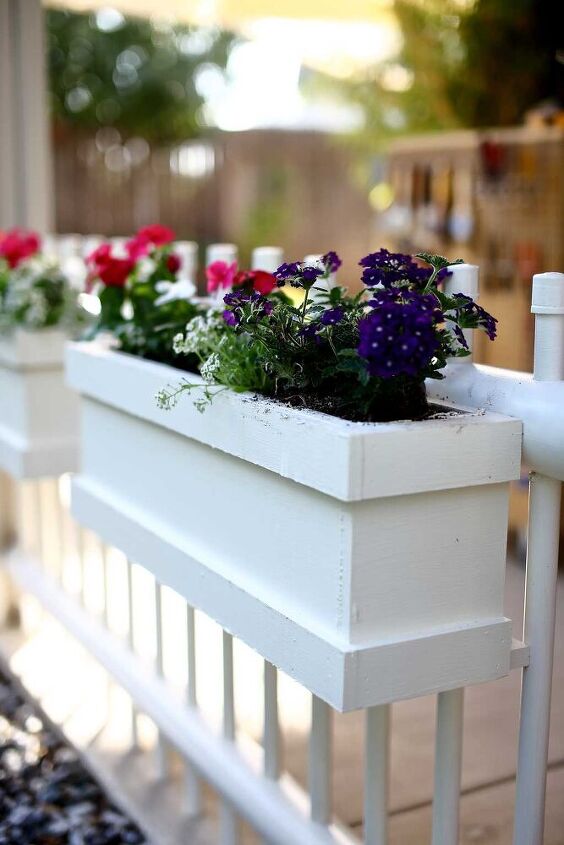
Fill in the box with dirt and plant the flowers. You’re done with a DIY flower planter box.
Resources for this project:
See all materials


Comments
Join the conversation
-
Like the finished product. However the key to any project is having the right tools to complete it. Sadly I do not so this planter box becomes a nice wish list project for me.
-
Any started small plants are nice. I’d suggest a mix of marigolds, alyssuum, and kitchen herbs. Strawberries would be nice as well.


Frequently asked questions
Have a question about this project?
Curious, how heavy is the finished planter box, empty and then filled w. soil. I like the look but feel it (they) would be too heavy for the side of a deck railing.