


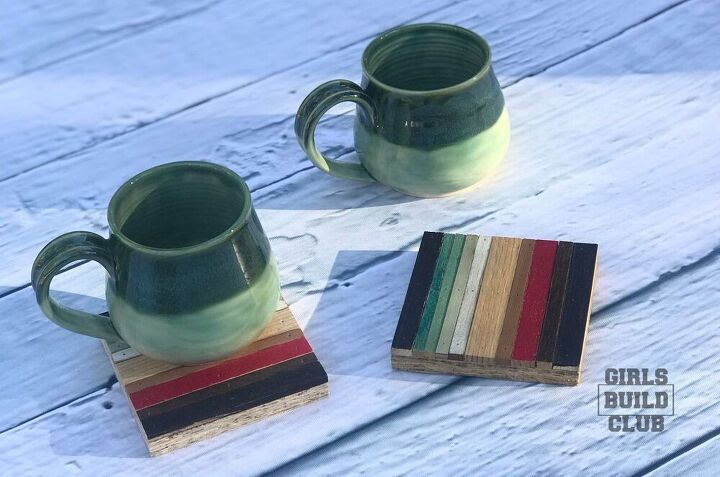
Mini Wood Mosaic Coaster
I had a bunch of scrap wood from past projects lying around, so I put them to use with these mini mosaic coasters! Just gather up a bunch of scrap wood for this easy project.
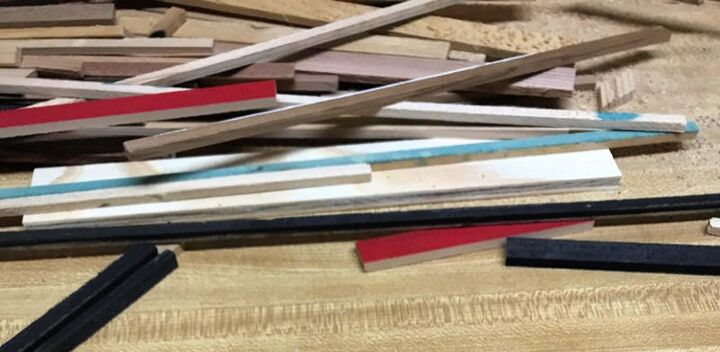
My scrap wood stips were already painted. You can leave yours natural, or paint them to match your decor or occasion.
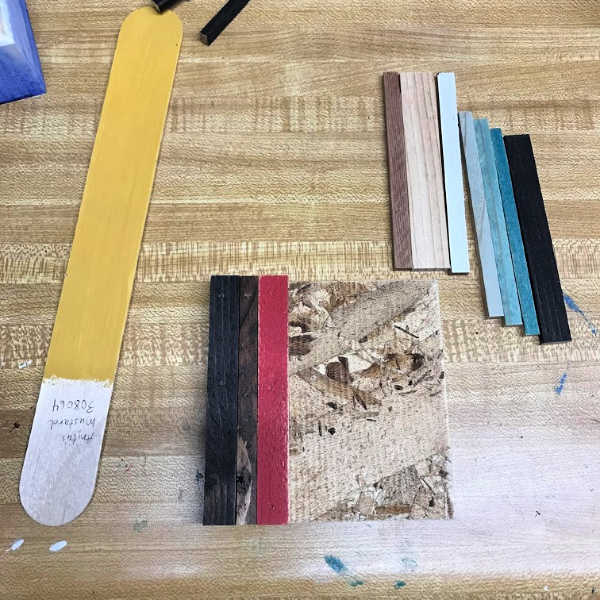
I used my table saw to cut a piece of 4" x 4" plywood for the backer board of my coaster.
Then I trimmed all the scrap wood to fit the board. In retrospect, I could have done all the trimming after the thing was assembled.
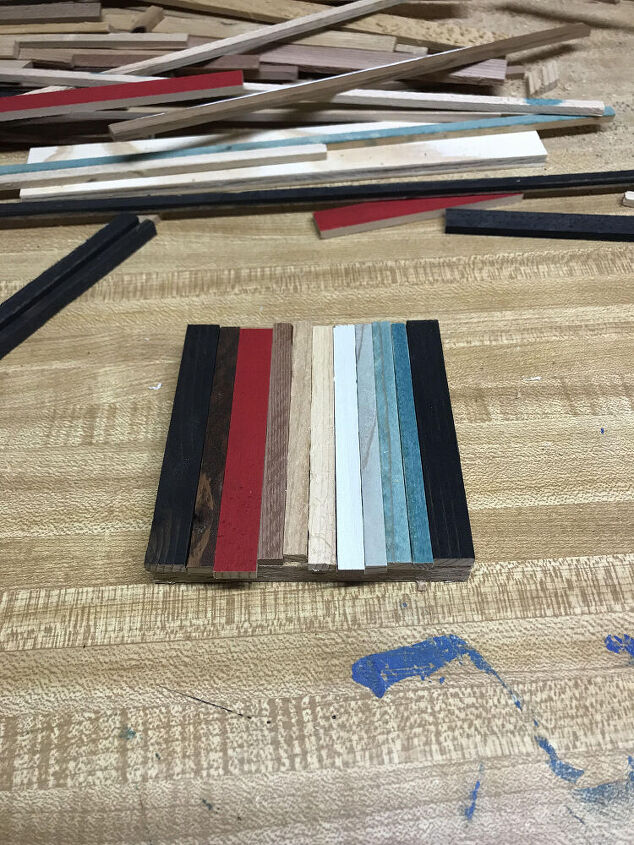
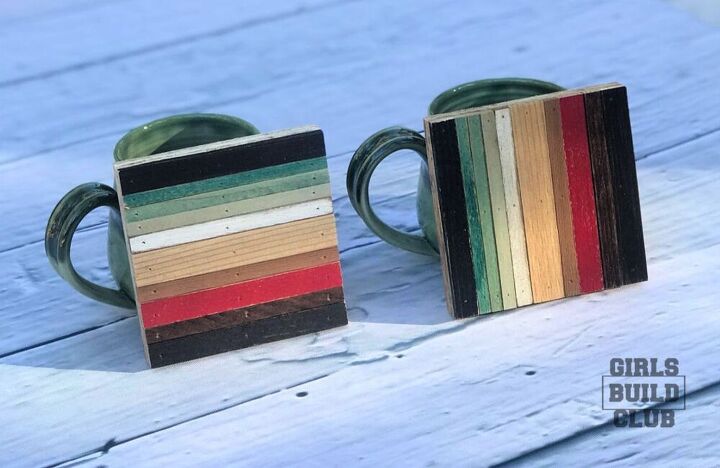
Move around the pieces of scrap wood until you get a color arrangement that pleases you.
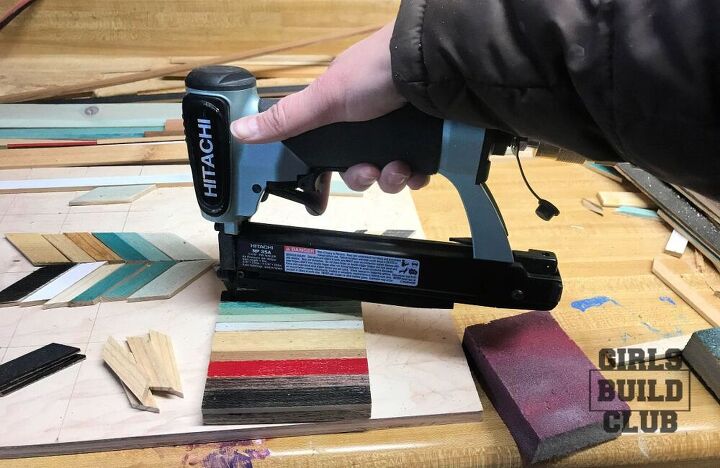
If you don't have a nail gun, it's okay! The wood glue is the most important part anyway.
So at least glue the pieces down onto the plywood.
If you want a pneumatic nailer, this one is called a pin nailer because it shoots very tiny 23 gauge nails that are basically pins. I love it and use it anytime I make a mosaic.
You can clear coat your coasters, but you'll need to use something that holds up well to moisture, like Helmsman Spar Urethane.
Or perhaps try some thick counter top epoxy to give it a thick glossy finish.
I also send out new projects about once a month via email.
If you want to join the club, sign up here!
Thanks for stopping by!
~ Liesell @GirlsBuildClub
Resources for this project:
See all materials


Comments
Join the conversation
-
These are very pretty. Great job!!
-
I’m going to try this with the faux Kenya blocks at DT. Thank you for your inspiration


Frequently asked questions
Have a question about this project?
Why are the wood strips much wider in the assembly process but very thin in the final product?
What about the thicknesses of the pieces being different? How did you have so many that were all the same?
Did you place anything on the bottom of the plywood so as to not scratch the table?