


Hairpin Leg Desk From an Old Shutter
As we continue to wade through the uncharted waters of "school at home," you may have found yourself in need of a new desk. Using this quick DIY desk tutorial you'll be set up for success in no time.
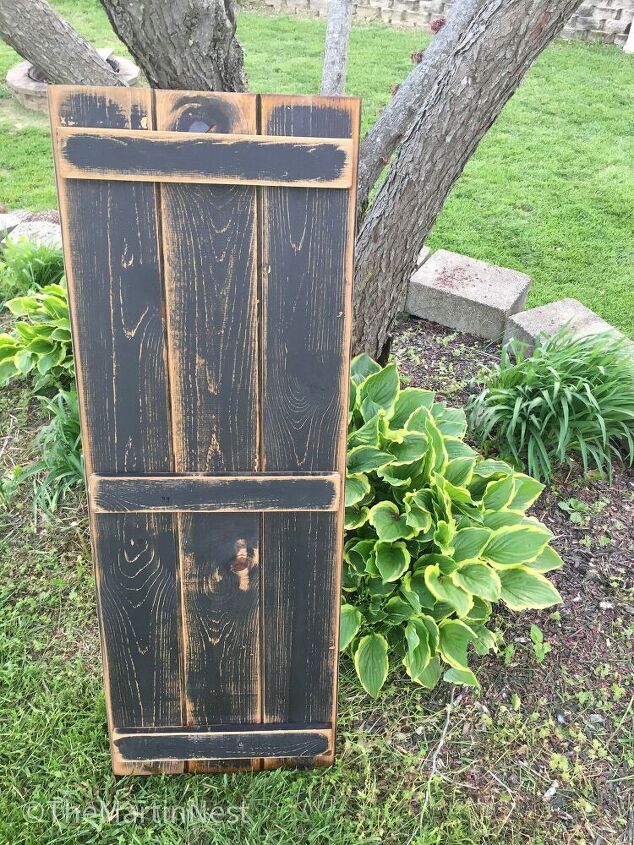
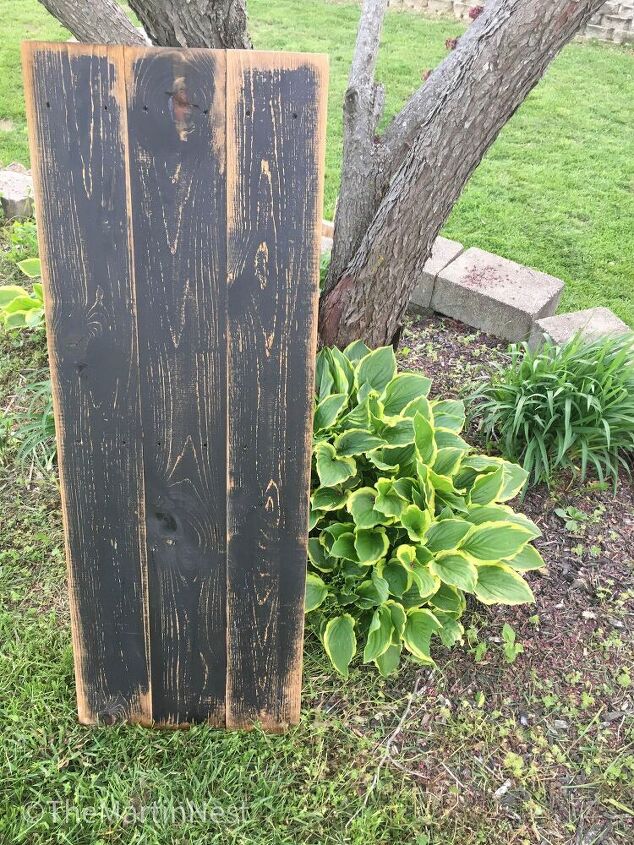
I had been gifted a few old shutters that my parents had removed from their house. They were still in great condition, and the perfect size for a small desk top.
If you don't have any old shutters lying around, this would be simple to assemble with some basic boards or a cut of 3/4" plywood.
I chose to re-paint the shutter so I gave it a good cleaning with a pre-paint TSP cleanser. This ensures that any paint will bond well.
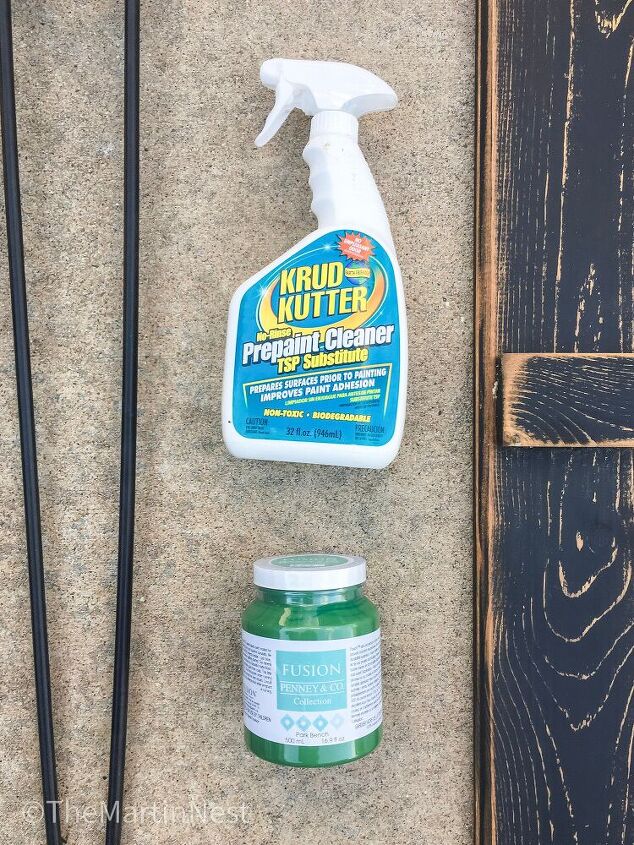
I used a fun shade of green Fusion Mineral paint to paint the shutter. This particular paint is great because it requires minimal prep work, covers really well with 1-2 coats, and once it's cured doesn't require any sort of topcoat.
Once the surface was painted, I simply attached a set of hairpin legs to the four corners of the underside of the shutter.
I used this particular set of hairpin legs. It came with the screws to attach it as well.
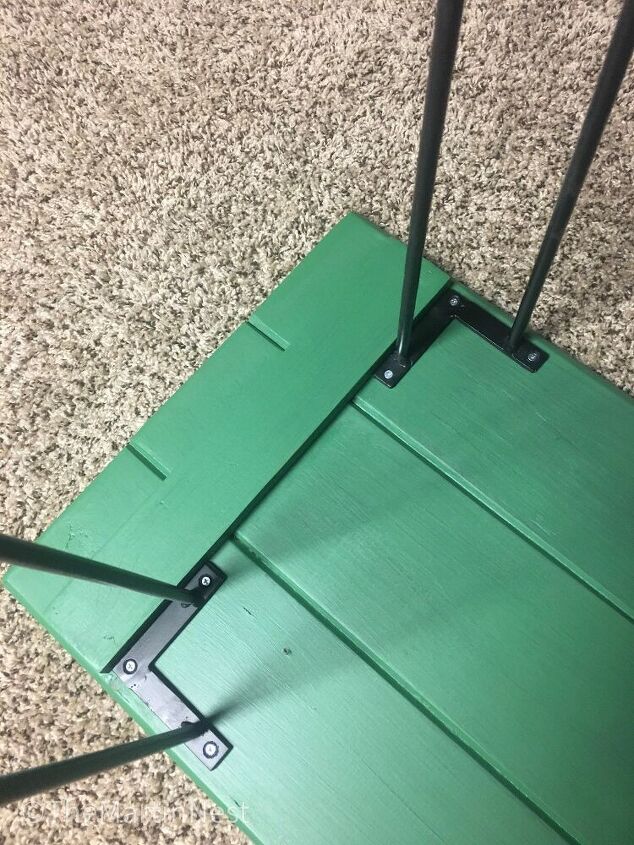
Once the surface was painted, I simply attached a set of hairpin legs to the four corners of the underside of the shutter.
I used this particular set of hairpin legs. It came with the screws to attach it as well.
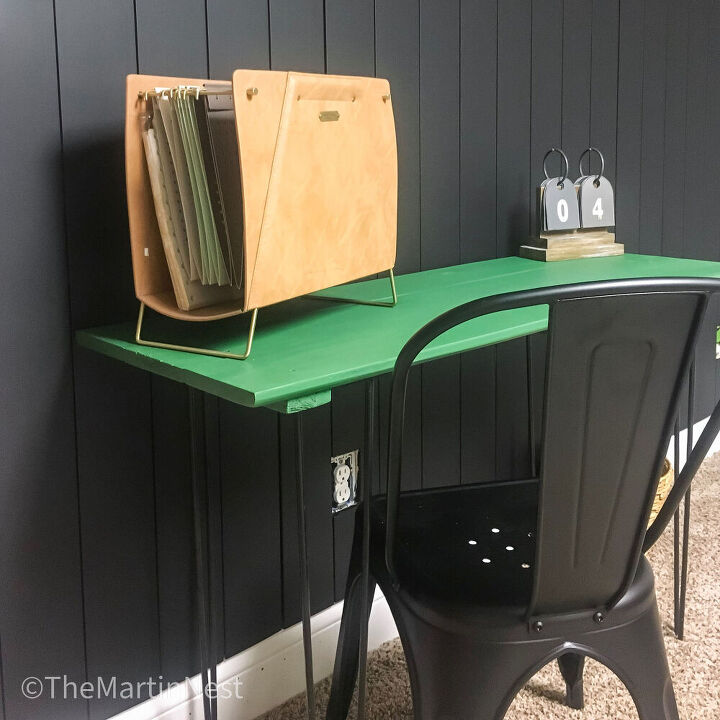
Add a chair and the necessary accessories and you're all set up!
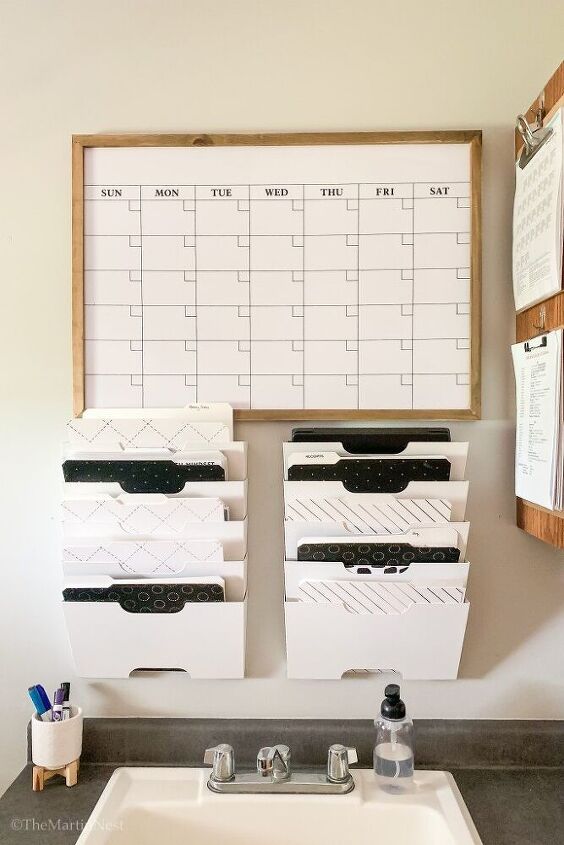
Be sure to check out how I set up our family command center too through the blog link below.
Resources for this project:
See all materials


Comments
Join the conversation
-
Perfect desk and color! It is amazing the things that can be made from an imagination!! I love it.....

-
That desk is perfect for any age student!! I just love it! you you for sharing. I think you've inspired a lot of parents!


Frequently asked questions
Have a question about this project?
No need for a desk, yours is " simply inspirational", however. What I'd like to know is, where did you get that awesome file hanger?? I'd love to have one.