


DIY Portable String Light Posts
Do you love those fun string lights hanging over a patio or garden area? I do too and I’ve wanted some for so long but we don’t have anything to attach them to. Also, I didn’t want to have a bunch of poles PERMANENTLY blocking my view of the Ponds. What to do, What to do?
Here’s how we built our portable light posts and what we learned along the way. Yes, we made some mistakes but all is well that ends well. Follow along and I’ll share all the dirty details.
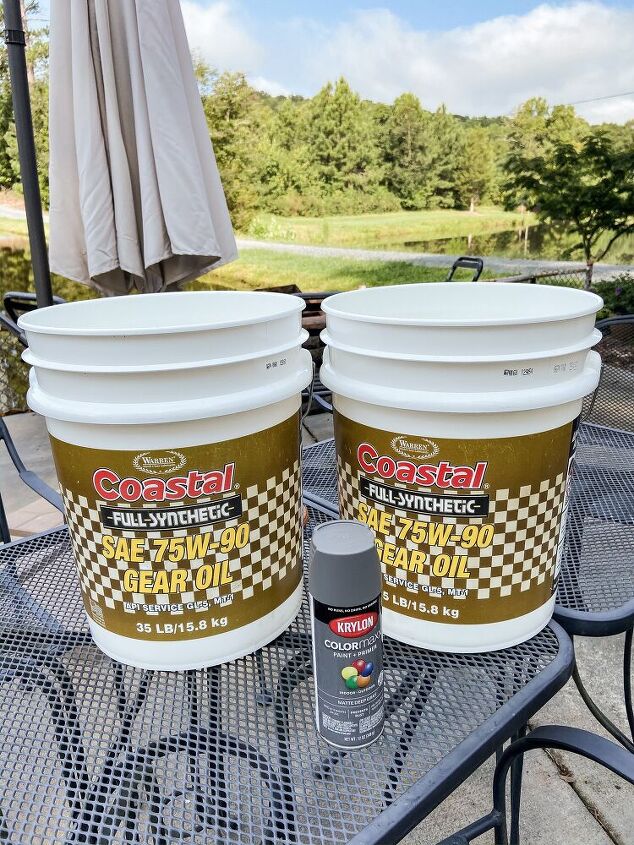
We first found some 5 gallon buckets to use as bases for the portable posts to sit in. We got lucky and found these in a trash pile.
Next, I painted the buckets with a gray spray paint in order to conceal the beautiful graphics. You can’t complain about the graphics when they are free buckets, but since these buckets will be used around our concrete patio area, I wanted the color to blend with the area. If you love trash to treasure projects, you may enjoy this one here.
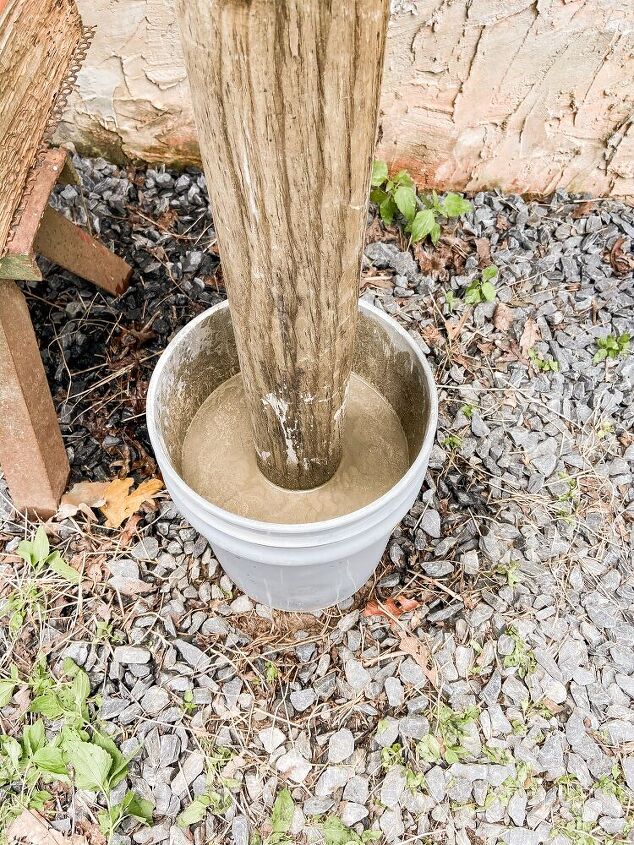
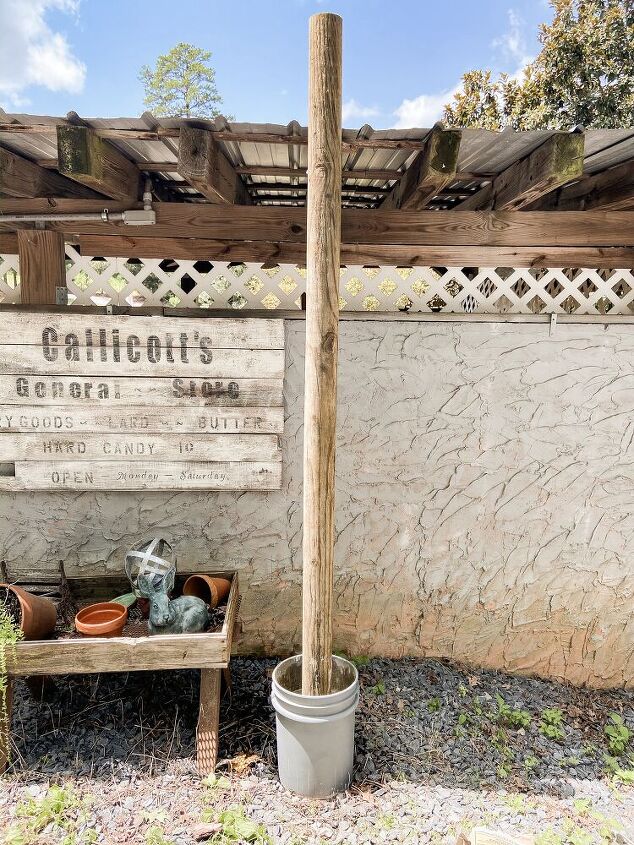
For this project we choose to use 8 foot round posts because they were lighter weight and less expensive than a 4×4 post. We used a 50 lb. bag of Quikrete concrete mix for each bucket.
Once you have the poles in the concrete, it’s important to make sure they are level and braced to allow the concrete to set up. We choose to place the posts along the back side of our outdoor kitchen and use nails attached to the beams to hold the posts in place.
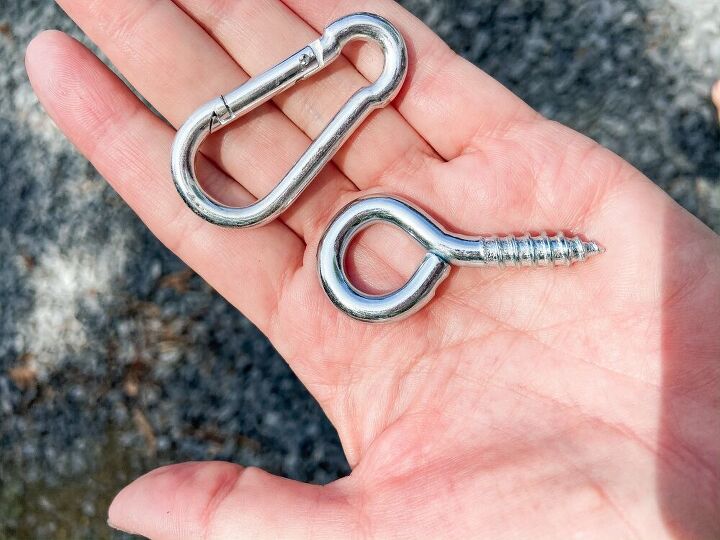
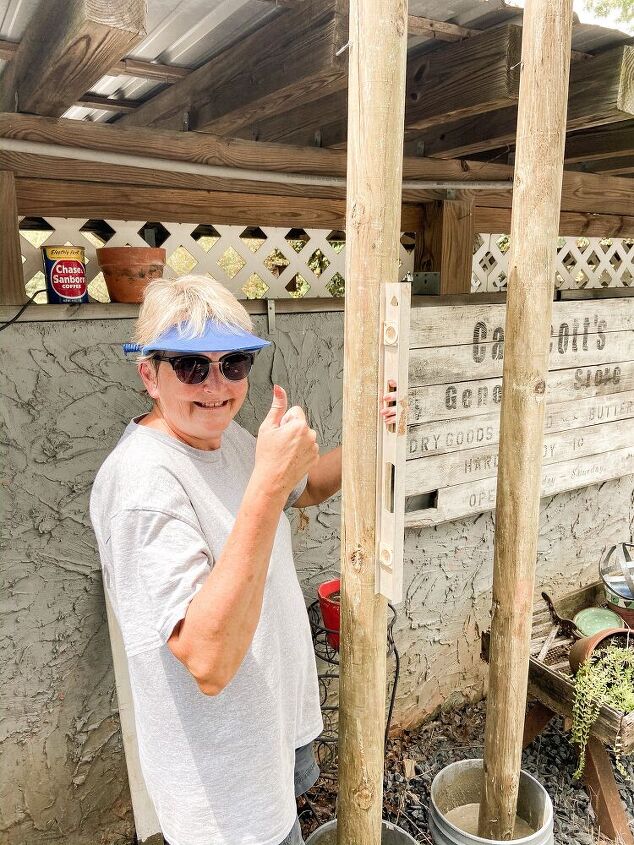
After a few days, the posts were securely set in the concrete and it was time to attach the hardware. For this step we used heavy duty Eye Screw Hooks and snap hooks to attach the string lights to the post.Begin by using a cordless drill and drilling a pilot hole near the top of the post, approx. 1 inch from the top. Now attach an eye screw hook into each pilot hole.Then you can attach one of the snap hooks to each eye screw and these will be used to attach the string lights.
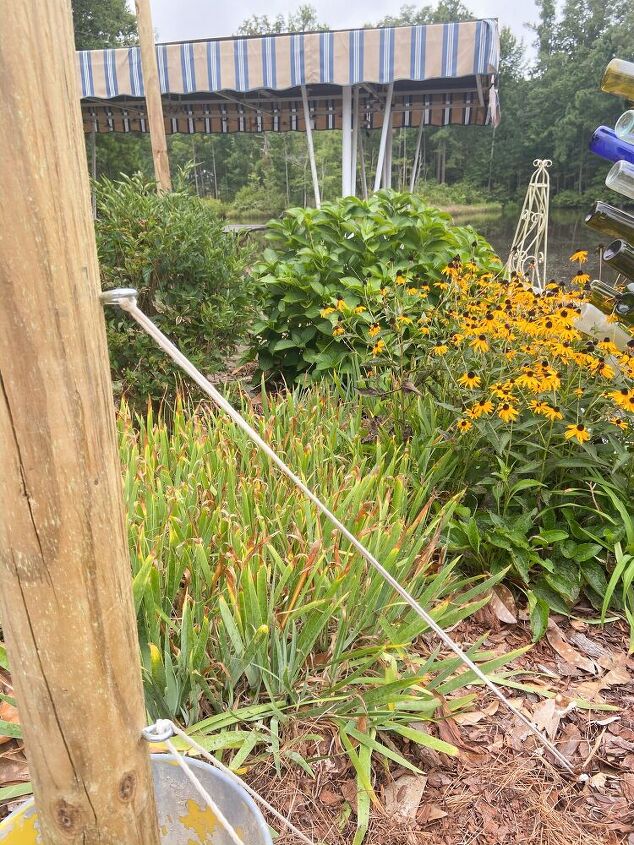
Everything had been going as planned until this step. Here are some lessons that we learned during this process. First, the portable post must be placed on a solid and level surface because soft ground or any sloop will result in the pole tipping once any weight or pressure is put on the post. In addition, you may need to add some anchors to the posts to prevent this from happening. We added an additional Eye Screw Hook to the post and used a metal stake and nylon cord to anchor any of the poles that didn’t feel stable. Note: Although all the posts didn’t need the anchors, as a precaution we anchored them all anyway. The weight of your lights and distance between each pole will be a factor in determining whether anchors are needed.We had one post that carried the most weight due the distance between the posts and as added security, we anchored it twice. Better safe than sorry is our motto.
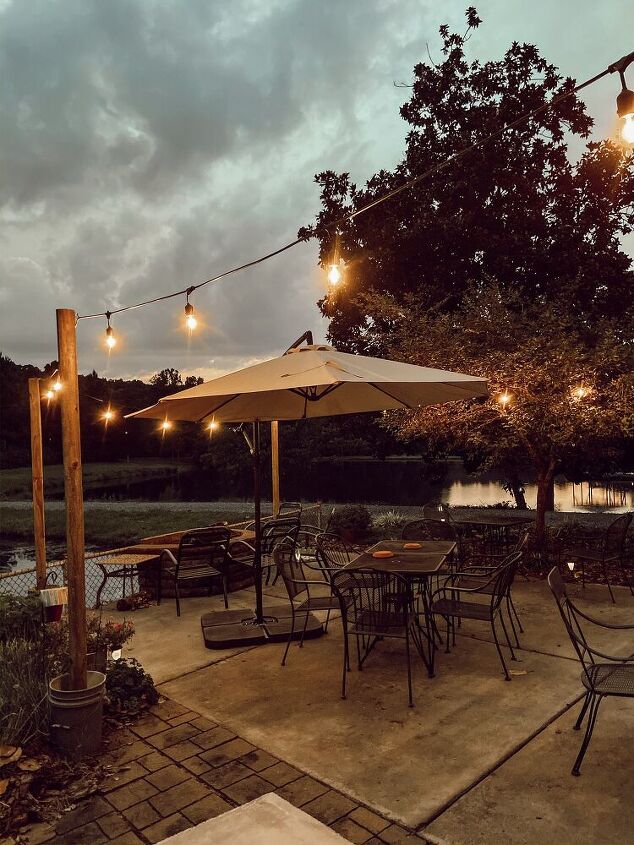
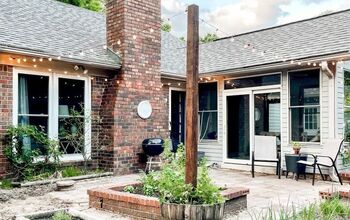
Finally, use the snap hooks at the top of the poles to attach your string lights. We had a large area to cover and used two sets of lights. We also invested in a dimmer for more subdued lighting.
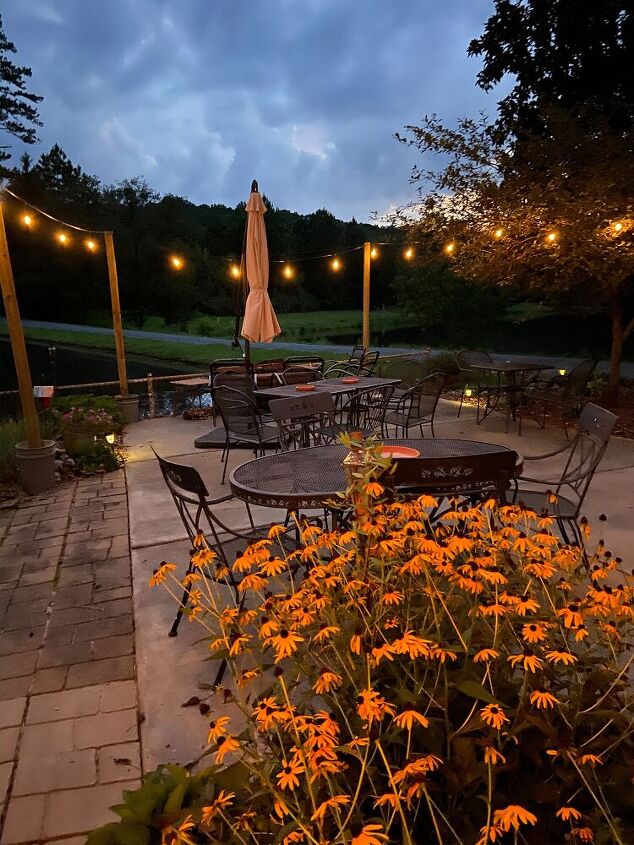
When attaching the String Lights, it’s important that they are pulled tight so they don’t sag. We found that the time and energy to set up of the posts and string lights was a little more involved than we had hoped it would be. Therefore, moving them around to other locations on the property will not be as easy as we had originally planned. Although the portable string light poles are not as portable as we had originally anticipated, we are loving the new look for our patio area.

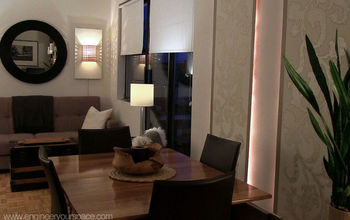
This view of the outdoor entertaining area and kitchen makes all the hard work so worth it. If you’d like to see more before and afters of the outdoor kitchen, link here.
Resources for this project:
See all materials


Comments
Join the conversation
-
Found three matching planters (reg $100) in open box section of on line shopping about 3’ tall. Really pretty. Poured in concrete and set pole. In back drilled couple of holes above concrete filled with dirt and planted flowers. The poles disappeared because the flowers steal the show. I used landscape timbers which at HD were only $3.00 hardware $5.00 and three bags red bags of quickcrete. Planters $75 (needed 3). Soil on hand Lights Amazon $30 and extension cord from light fixture to lights hidden next to deck had on hand. So nice for night time swimming
-
Thinking I just might run a string of Christmas lights for holidays. Stood up to tornado winds already. I saw no need to anchor to ground as height of pots and weight of concrete and dirt gives a pretty good center of gravity and next to fence


Frequently asked questions
Have a question about this project?
Did you drill holes for drainage?
Could you make it heavier by inserting the pole, then adding rocks for weight, and THEN add the cement? Or add decorative rock on top of the cement for weight? I really like this idea but I have pavers and turf, so there’s not much to anchor to…
Love the final look of your project and its relative ease to complete. I have a 2nd floor deck and often feel like the whole neighborhood can see my comings & goings. I wonder if your project could work with sheer curtains for more privacy????