


DIY Thrifted Bird Bath
I know for a lot of people, the easiest way to get a bird bath for their outdoor space is to order online or grab one from a local garden centre/home improvement store. But have you actually paid attention to the prices? I couldn't believe how expensive some of the bird baths I was looking at were! Seriously, the few I had my eye on started at $69.99, and that just wasn't going to work for my budget. So, I did what I usually do in this type of situation and I turned to Pinterest for inspiration.
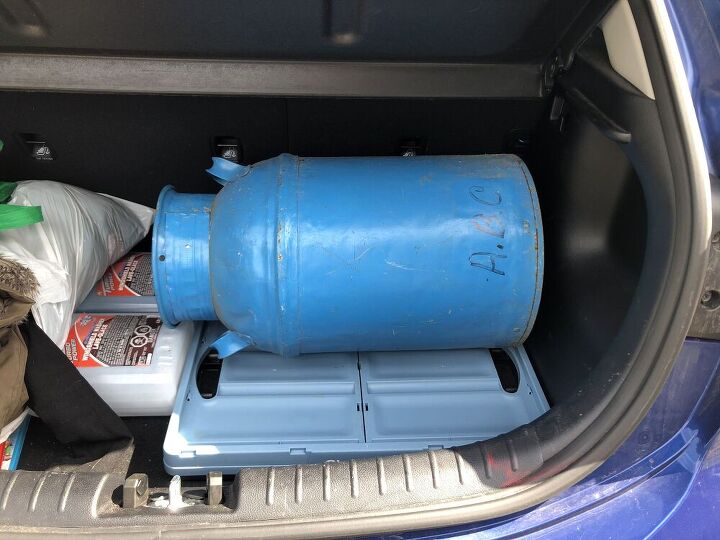
After a bit of searching, I was able to find inexpensive items to use on Marketplace (my new obsession, lol). I also had a bunch of other materials left over from previous projects (or projects that never materialized), which helped me stay under budget.
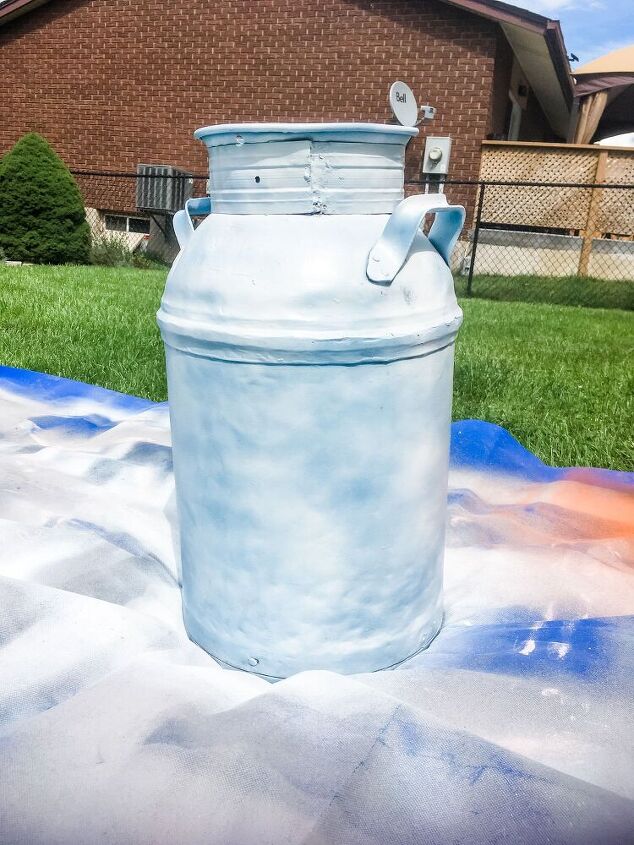
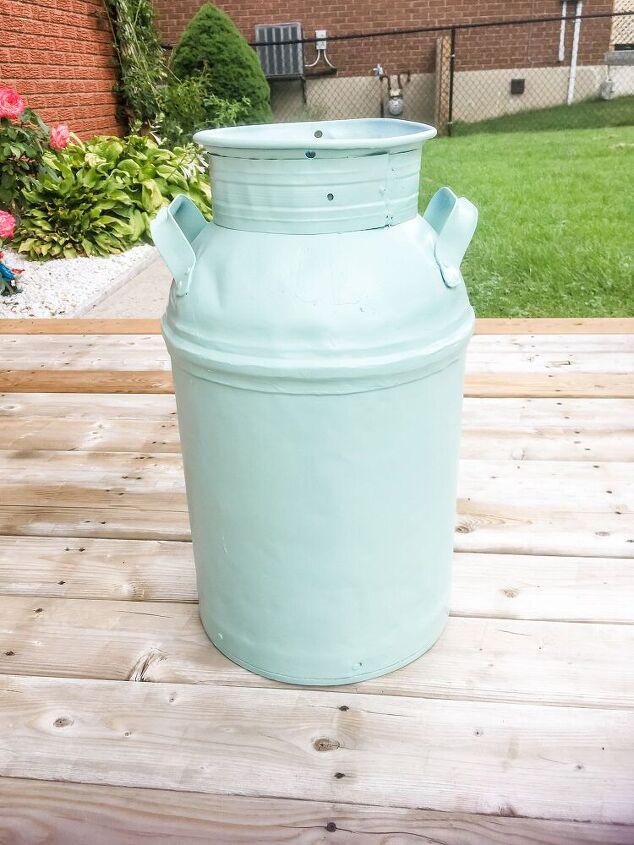
The first thing I did was wipe down the secondhand bowl and milk can with a damp cloth, and then I dried them off. Next, I primed the milk can and spray painted it with Krylon ColorMaster in Catalina Mist.
Even though the Krylon spray paint was a paint + primer combo, I decided to give the milk can a straight primer base coat because it was so large, and the colour I wanted to paint it was quite light compared to the original shade of blue I was working with. I only had one can of Catalina Mist, so I didn't want to risk not getting the right amount of coverage, and I wanted to avoid purchasing a second can of spray paint.
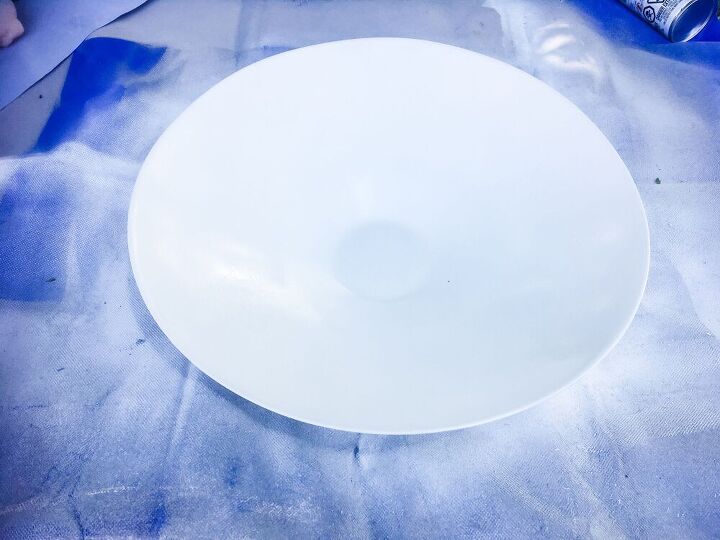
I did the same to the glass plate. However, instead of using a separate primer, I used a 2-in-1 white gloss spray paint, also by Krylon.
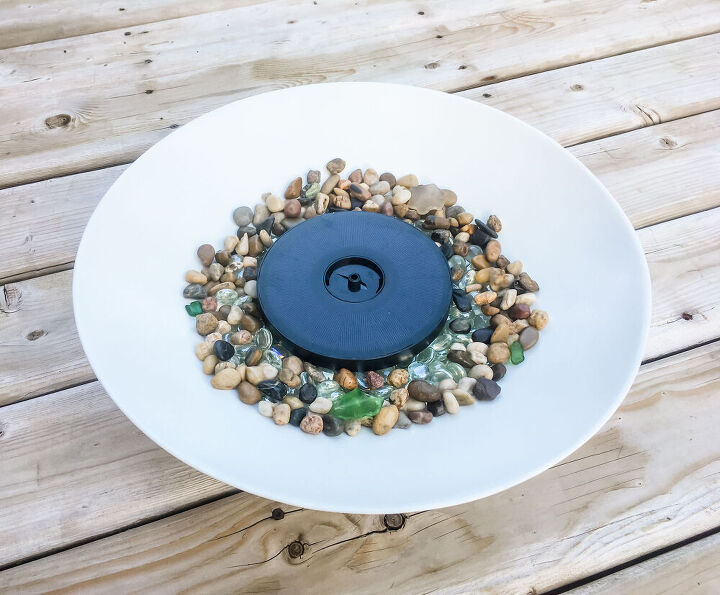
I allowed everything to dry for a full 48 hours before moving on to the next step. Once I was satisfied that each piece had been given enough time to cure, I filled the bottom of my freshly painted bowl with a mixture of flat glass beads, decorative rocks, and sea glass.
Next, I put together my solar-powered fountain, placed it on top, and added just enough water to cover the rock + glass mixture.
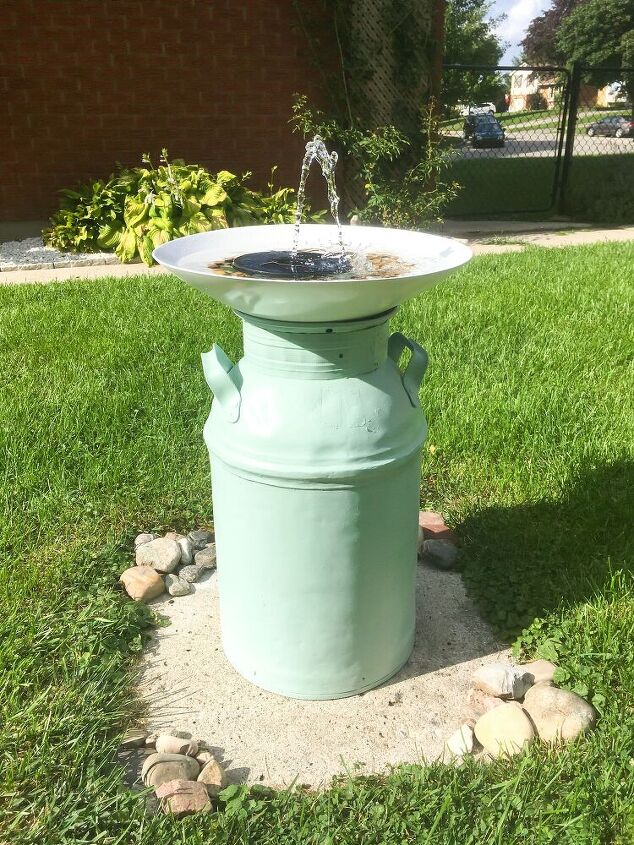
I placed the milk can in my backyard over an old laundry umbrella slab and set the bowl on top of it. The milk can is quite heavy, so I'm not worried about it falling over, and the rocks + glass beads in the bowl add enough weight to keep it in place.
I'm thrilled with how this bird bath turned out. And I'm happy to report that it's already had a bunch of visitors over the last week, so the birds are happy with it, too!
Also, because I didn't glue the bowl to the milk can base, it's very easy to clean once the water starts to look a bit murky. All I have to do is pour the rock + bead mixture into a strainer, rinse it, add it back to the bowl (after giving it a quick clean, too), and top everything off with a fresh batch of water.
Resources for this project:
See all materials


Comments
Join the conversation
-
love this !!
-
I have an old milk can just begging to be used. Thanks for the inspiration!!!


Frequently asked questions
Have a question about this project?
Where did you get solar water pump and how much did it cost?
Those of you that have made this fountain do you think it could set on the porch as a soothing water feature?
The pebbles are cute but how do you keep it clean? The birds poop in mine every day, several times a day. You should change the water at least every other day and then the poop is mixed in among the pebbles. You would have to dump the pebbles out and wash them as the poop settles on the bottom. I did find a bottle on Amazon for algae growth that is added a few drops every cleaning that is non toxic.