


How to Make Pressed Flower Prints
Pressed flower prints are a great way of preserving summer in your home and are very quick and easy to make. In the original blog post, I've included links to some great pressed and dried flower sources if you don’t want to press flowers yourself. If you’ve read my post ‘How to make pressed flower lanterns’, you’ll already know how much I love using pressed flowers to make beautiful decorations for my home and garden. Pressed flower wall art is even easier to make and just as beautiful.
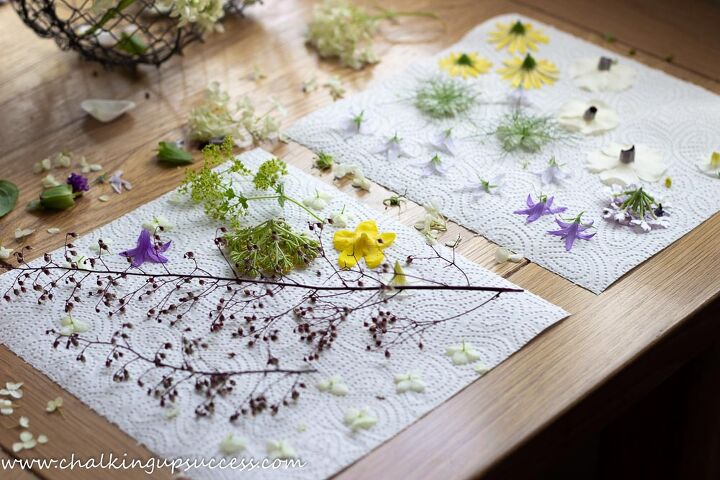
You can easily press flowers for this project by placing them between pieces of blotting paper and weighing them down with heavy books. This process takes around two to three weeks depending upon the thickness of the flowers.
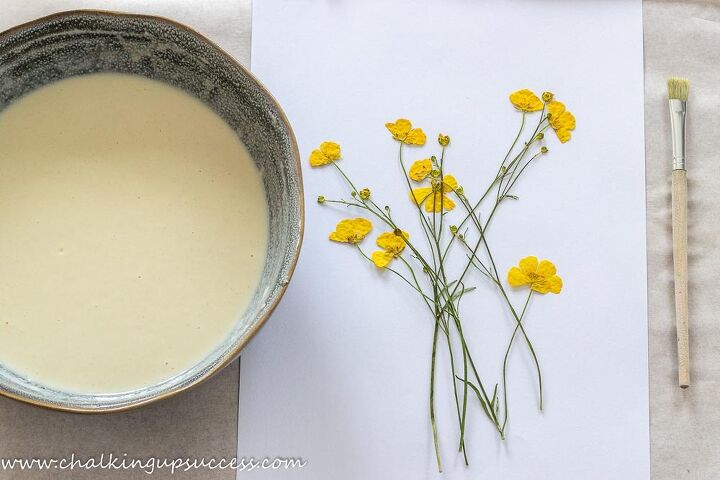
Add the flour, water and salt to a bowl and whisk together until there are no lumps and the mixture is completely smooth.
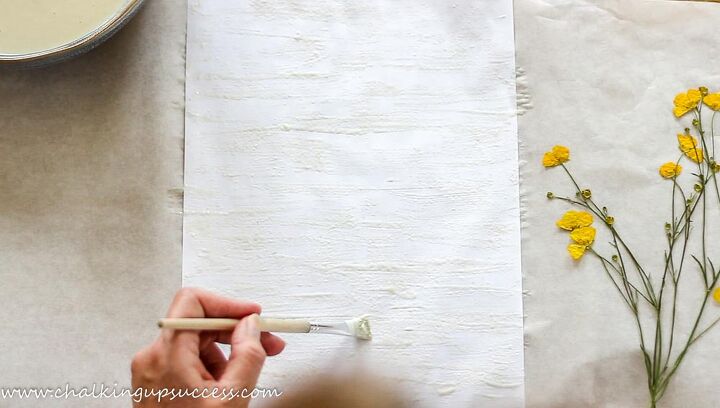
Take a piece of printer paper and using a small but stiff paintbrush, brush the flour mixture all over until it is completely covered. It will wrinkle up but that’s OK.
Add a layer of tissue paper over the top of the printer paper and gently smooth down.
Keep adding layers of glue and tissue paper until the paper is as thick as you need. I made three layers with the tissue paper.
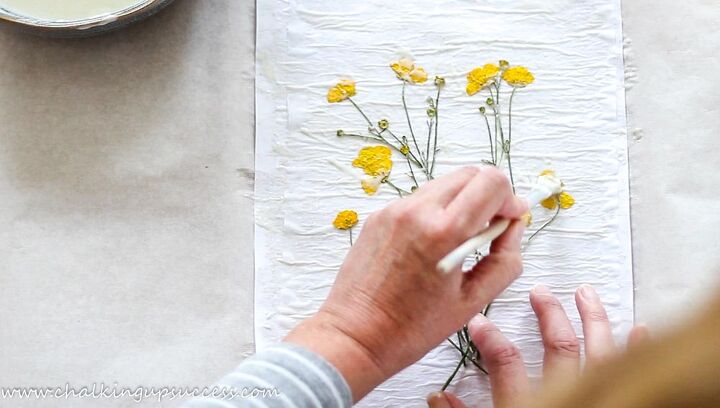
Using the paintbrush, gently paste a layer of the glue over the top of the flowers being careful not to break them.
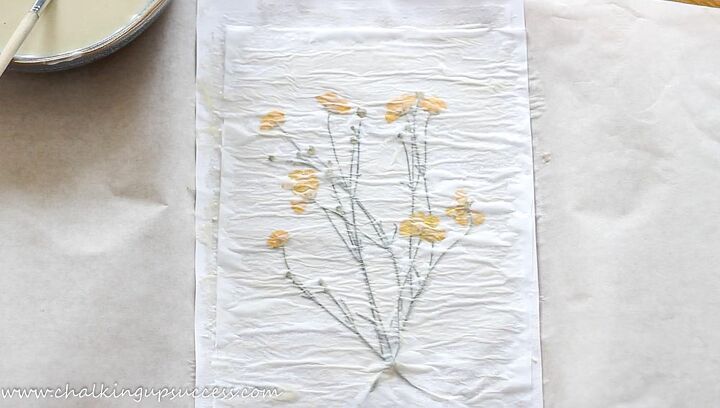
Continue adding glue and tissue paper for another two layers or more if you don’t want the colour of the flowers to be seen once it’s dry.
Bear in mind, that even though you can see the flowers quite clearly after adding three layers of tissue paper, once the paper and glue dries, the paper will become more opaque.
Once the pressed flower print is dry, use the scissors to cut the print to the size of the photo frame (if you have an overlap).
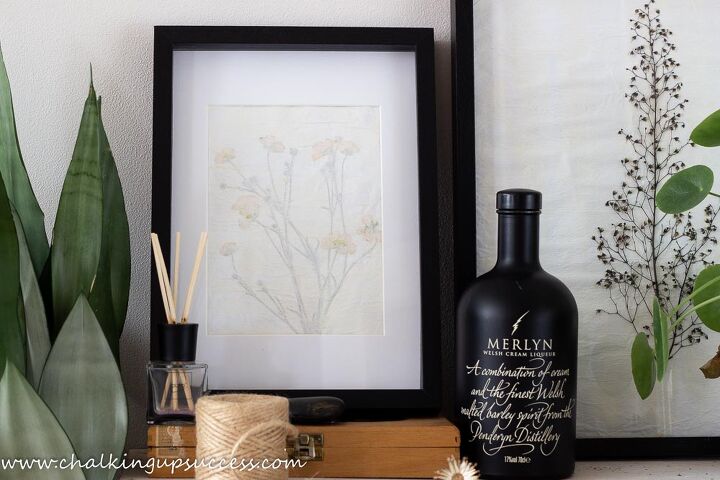
Insert your pressed flower print to the back of the photo frame. Add the paper print which came with the photo frame to pack out the frame a little. This will help to stop the print from moving around.
Your beautiful pressed flower print is ready to be hung or placed on a shelf in your home.
Doesn’t it look beautiful?

Comments
Join the conversation
-
I've never used a paper mache mixture but I'm definitely giving this a try.


Frequently asked questions
Have a question about this project?
Do you think you could add a drop or two of paint or some other dye to change the background color?