


3D Fall Sign

I love the look of 3D signs, but the price is WAY more than I want to pay. I decided to try my hand at making a fall version.
Making my own sign also gave me the opportunity to personalize the sign. This 3D sign tutorial can be altered to make any seasonal sign.
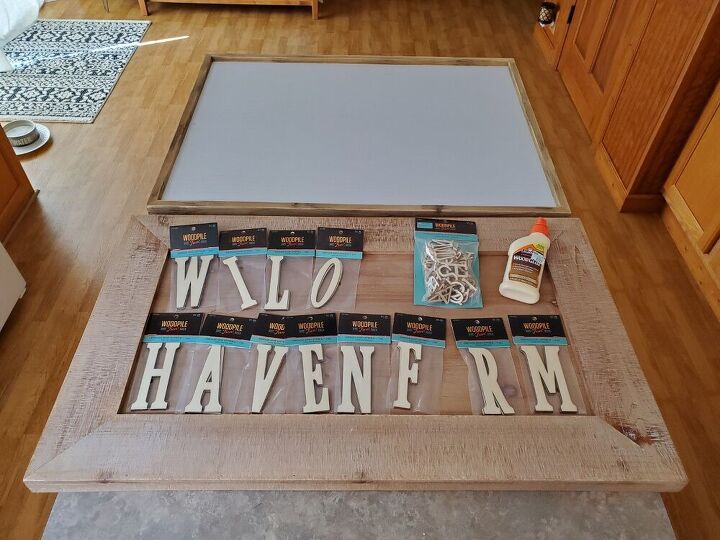
I started with a trip to Hobby Lobby to see what they had on hand for sign making. Here is what I used for this specific sign.
TIP: Go to the store with a design idea or two in mind.
- Wooden sign board of your choice
*I chose the light washed wood sign 29.13" x 1.18" x 17.32" from Hobby Lobby for this project. But, as you can see I couldn't make up my mind at the store so I bought 2.
OR you could make your own sign boards using the DIY instructions I used in my LAUNDRY SIGN DIY PROJECT.
- 4" Vintage style letters (the size of your letters will depend on the size of your sign board)
- 1" Typewriter style letters
- Wood Glue
- 2 small paint brushes (1 for paint; 1 for glue)
- Black craft paint (use a color you desire)
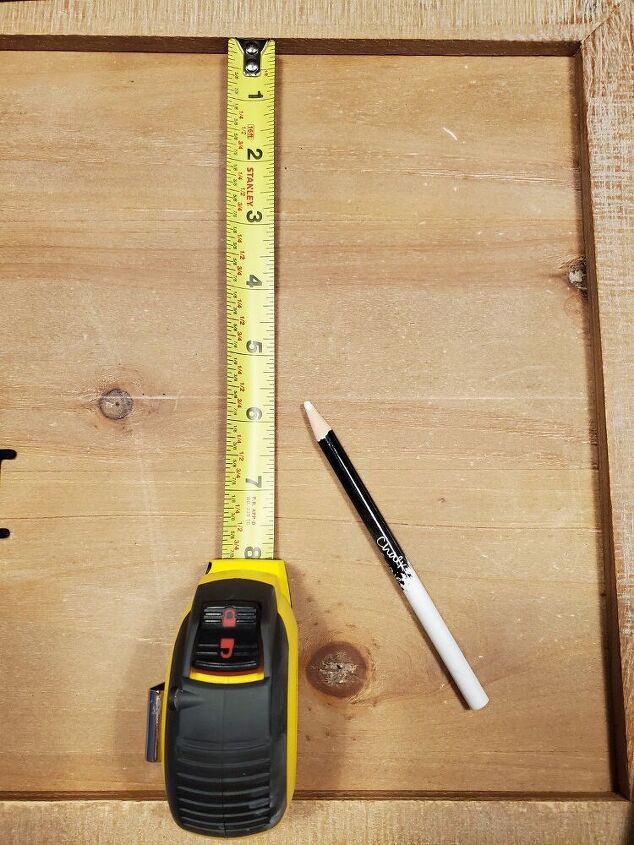
- Tape measure
- Straight edge (I used a wood piece..read through instructions to see why)
- Pencil
- A few Toothpicks (I know...weird! Trust me they will come in handy)
- Wax Paper
- Saran wrap
Decide what you want your sign to say. I like the "Pumpkin Patch/Farm" signs but wanted to personalize mine. I chose to use the name of my late grandparents farm, Willow Haven. You could also use your families name or simply use "pumpkin patch".
TIP: If you do a quick search on Etsy you'll see lots of seasonal signs and it may help you decide what exactly you want to use on your sign.
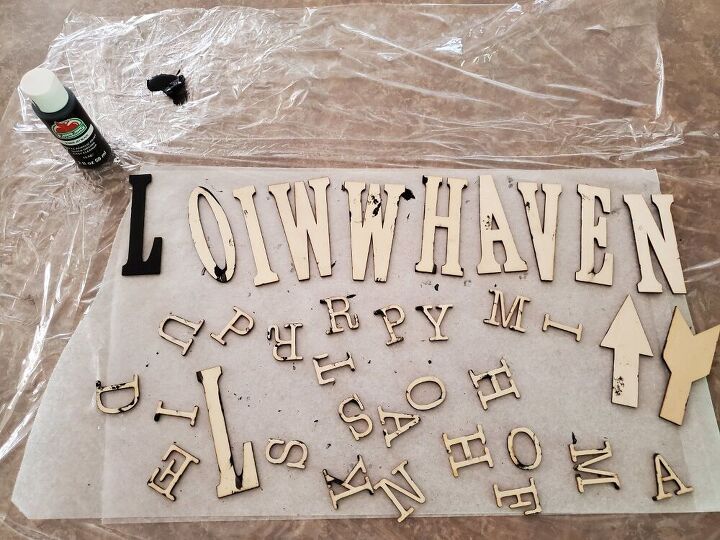
Lay out wax paper to set your freshly painted letters on. Once dry they will peel right off the wax paper. (I also added saran wrap under my wax paper to make sure their wasn't any bleed through.
Paint the front and sides with 2 coats of craft paint.
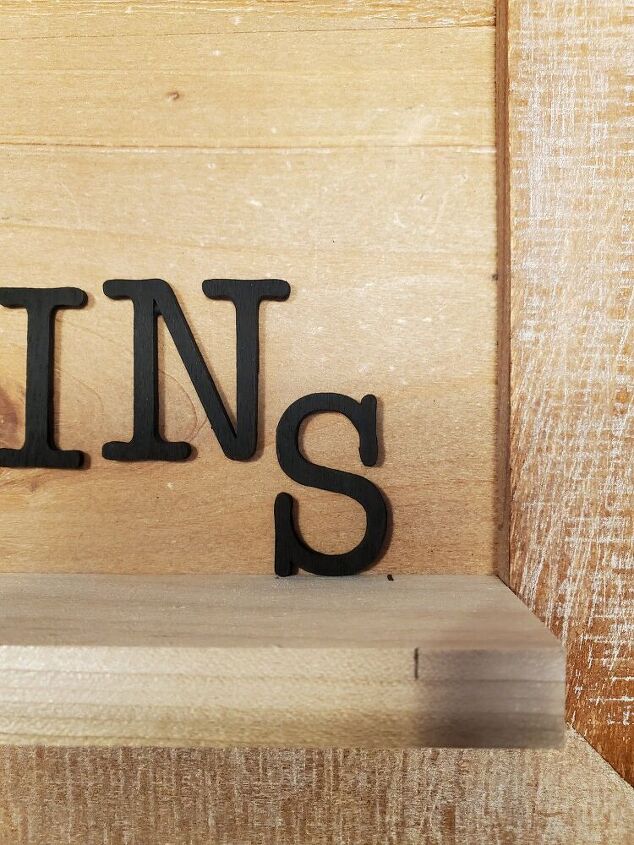
Once dry, you can use the toothpick to "chip" off any extra paint that may have built up in the nooks...like the M, N, A. This is especially helpful on the small 1" letters.
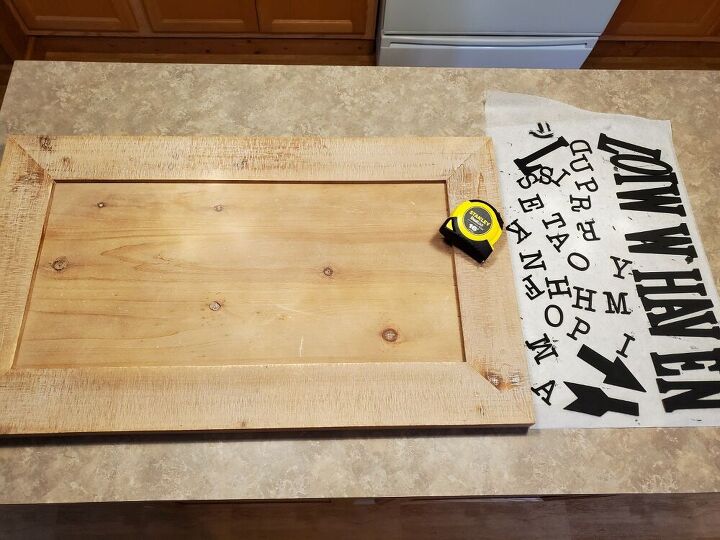
After your letters are painted, it's time to focus on layout.
I decided on 3 rows of letters.
Use your tape measure and lay out the large letters. Make sure to keep the letters the same space away from each edge.
For the first row, I kept a 1.5" space from the edges.
Once I liked how my letters were arranged I measured down from the top of the sign space to the bottom of the letter. In my case, it is 5 5/8" down.
I used a chalk pencil and my straight edge to draw a light line I could use as a guide.
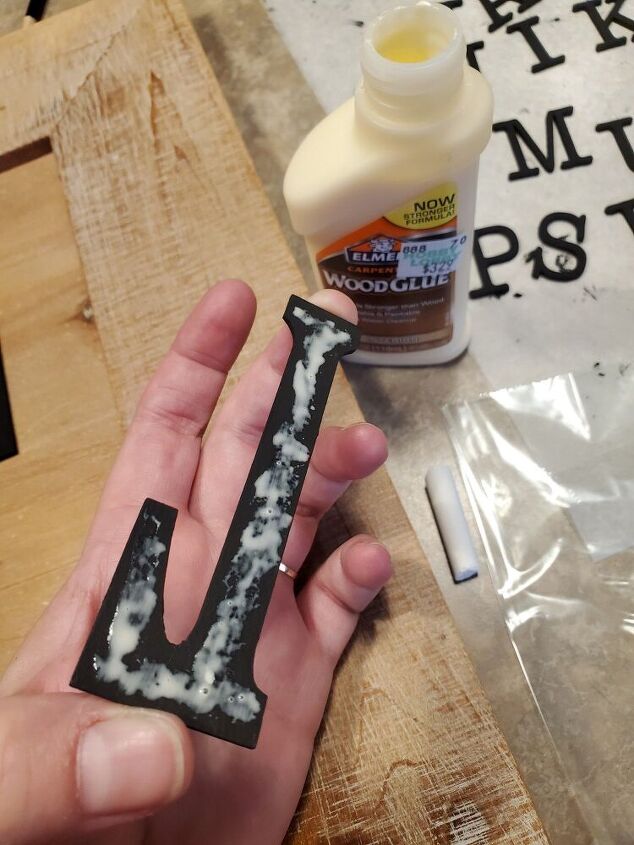
Next, I brushed wood glue to the back of the letters, one at a time. Remember a little glue goes a long ways. If you add too much you'll have a mess to try and clean up.
When gluing down your letters use the end of a toothpick to remove any extra glue that may squeeze out when the letter is pressed down. Wipe on a paper towel and repeat to remove all extra glue.
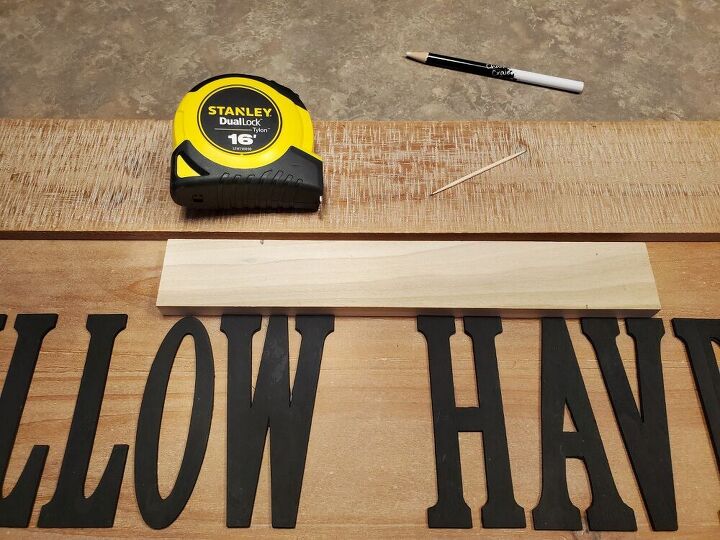
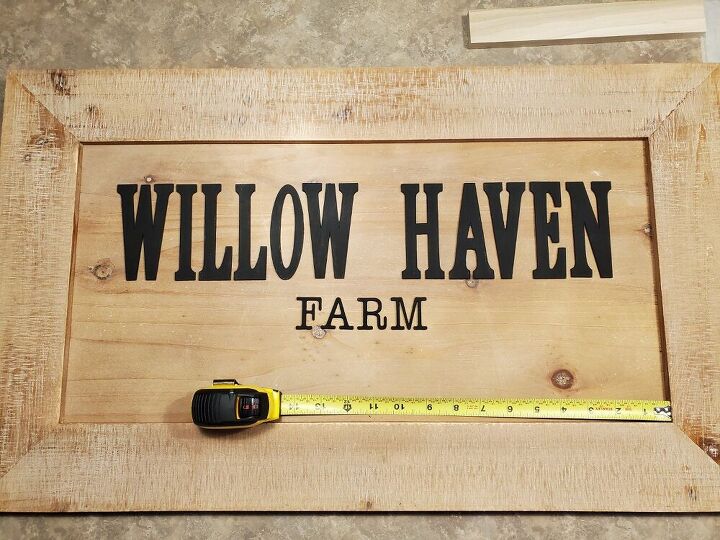
Once I got a few letters glued and everything was straight, I used a straight edge piece of wood to make sure my letters were uniform at the top as well as the bottom.
I also used a 1 3/4" space between my words.
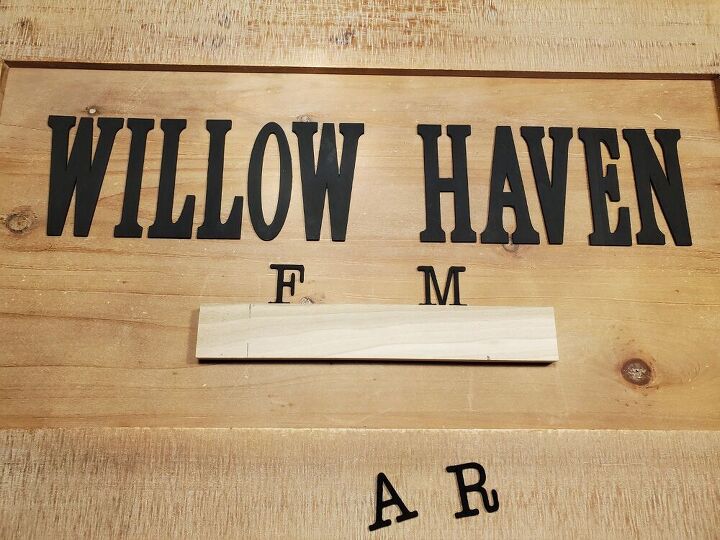
The second row is only the word, FARM. I placed the F, 8.5" away from the edge of my sign space and the M 8.5" away on the other edge. I also used the width of my wood straight edge to find the distance down from my big letters (Willow Haven) and the top of the word FARM.
For the 3rd row, I worked backwards. I started with the last letter and made sure it was a 1/2" away from the edge of the sign area and used the thickness of my straight wood edge to create the space between the last row of letters and the bottom of the sign space.
As you can see in the photo, I also used the wood to make measurements on and that made it easy for me to see where my letters needed to be. After gluing the last letter down, I moved my wood straight edge down to the beginning of the row of letters. I used the same method as I did for the last letter, keeping it a 1/2" away from the edge.
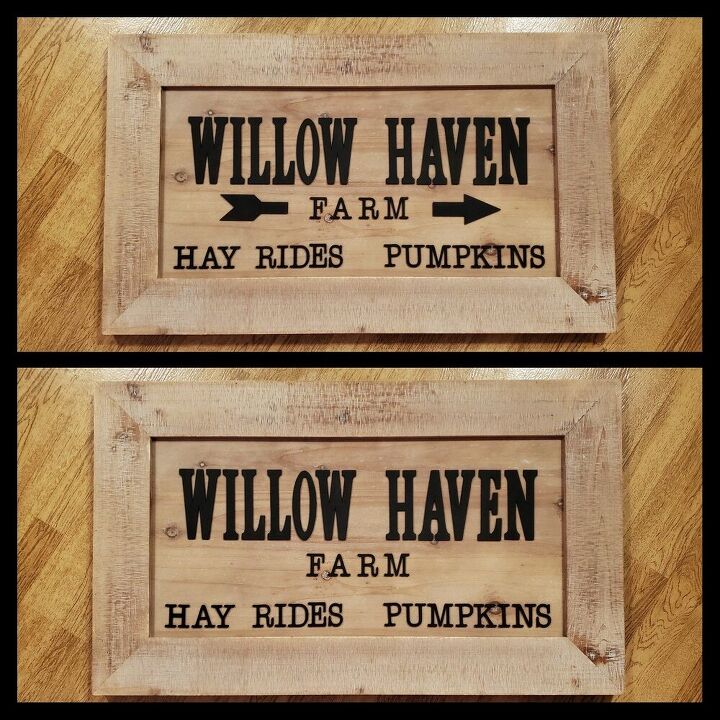
I decided to add an arrow to my sign but wanted to show it without as well.
I thought it added a nice detail to the sign. On my sign I kept the arrows 3 3/8" away from the edge of the sign space.
NOTE ON SPACING OF LETTERS:
I laid out all the words on my sign before starting this project. I took some rough measurements of where I liked things. This allowed me to go off that list later when gluing them down. I double checked and adjusted measurements as needed. Don't rush...take your time.
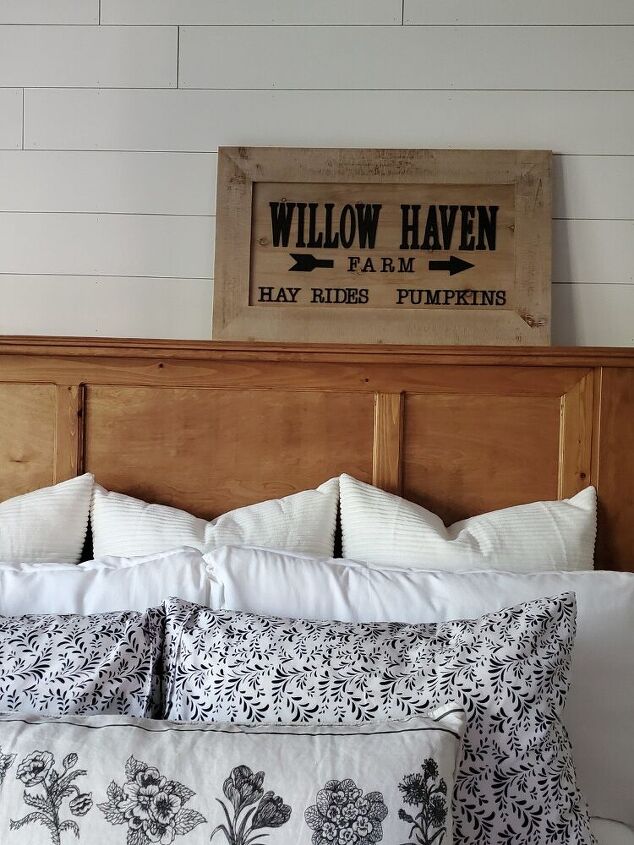
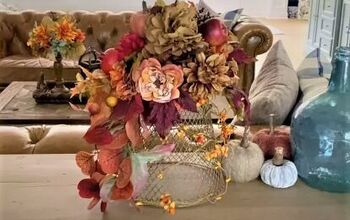
When you're finished, you'll have a beautiful 3D Fall sign that cost you just a fraction of the cost as those sold online.
Resources for this project:
See all materials


Comments
Join the conversation
-
That is awesome!!!!
-
Love your ideas! I have a pair of doors removed from a wardrobe my in-laws owned, and I've been trying to think of some way to use them. This definitely gives me some ideas... thanks!


Frequently asked questions
Have a question about this project?