


DIY Fabric Bowls for Fall

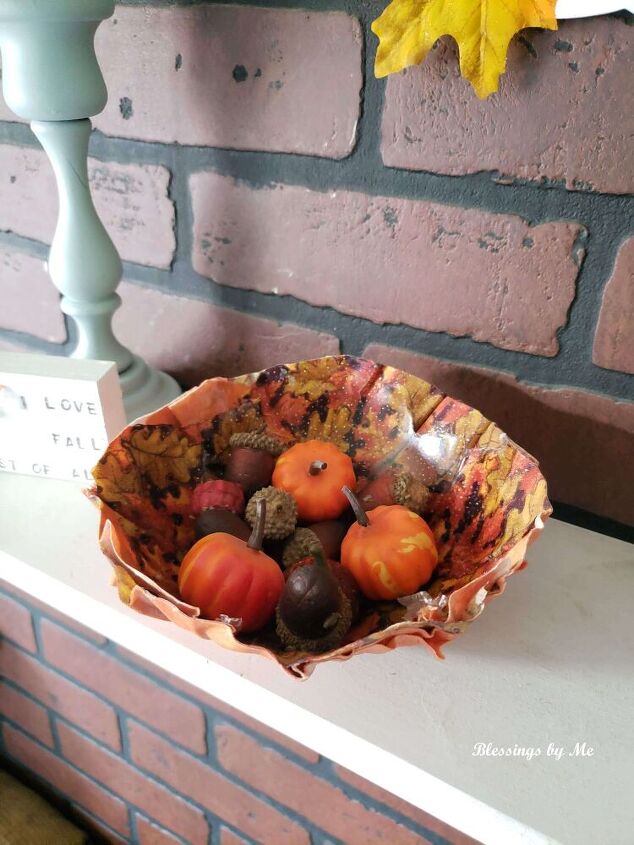
I just love the look of fabric bowls. They look like they would be so soft when you touch them, but they're actually hard to the touch and can function as an actual decorative bowl.
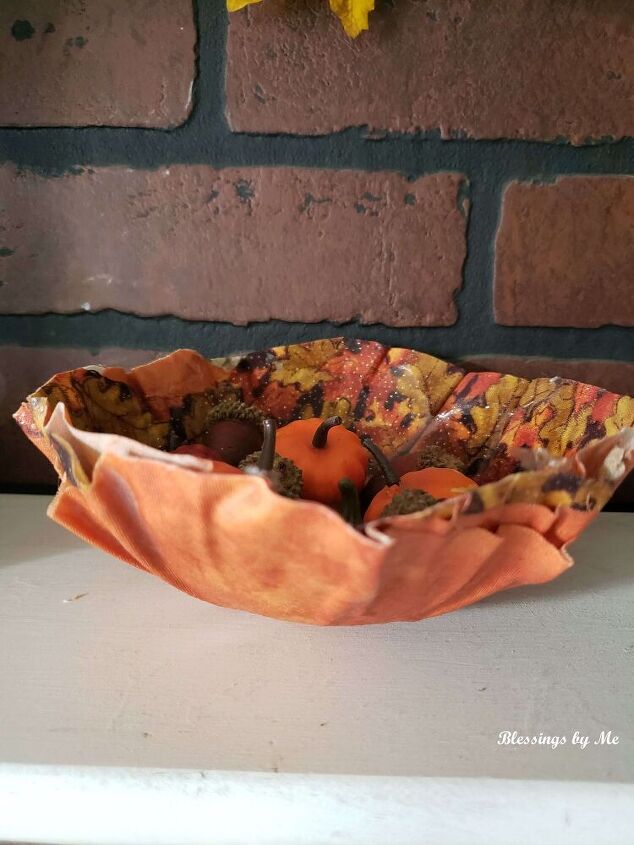
This is very similar to paper mache bowls, however, it's using fabric scraps instead. Fabric bowls have such a unique texture and look so pretty sitting on a shelf or dresser. They're perfect for holding anything not food-related such as jewelry, paper clips, or small bowl fillers.
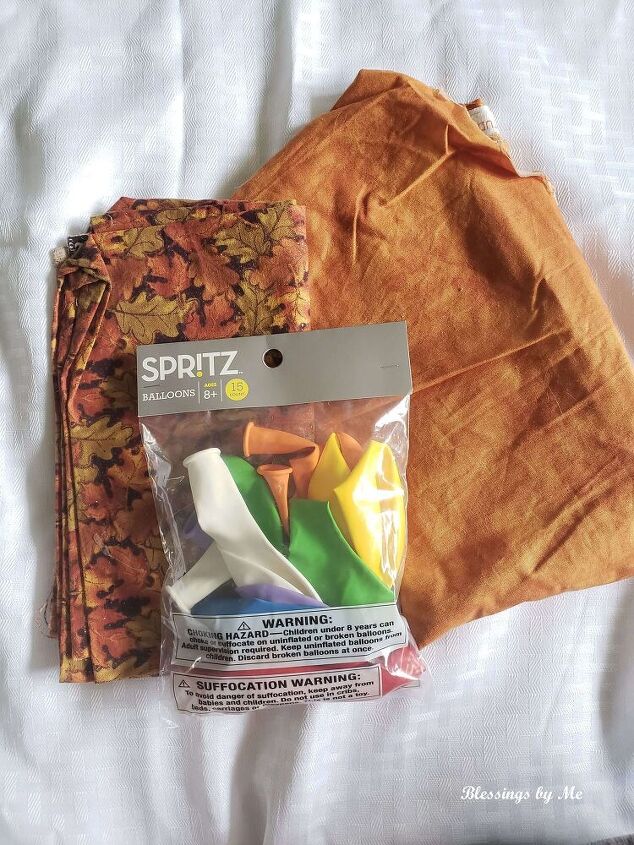
To make fabric bowls, you will need fabric scraps, balloons, Mod Podge, a sponge brush, and scissors. A plastic or paper cup is optional, but it helps hold up your balloon and keep it from rolling around.
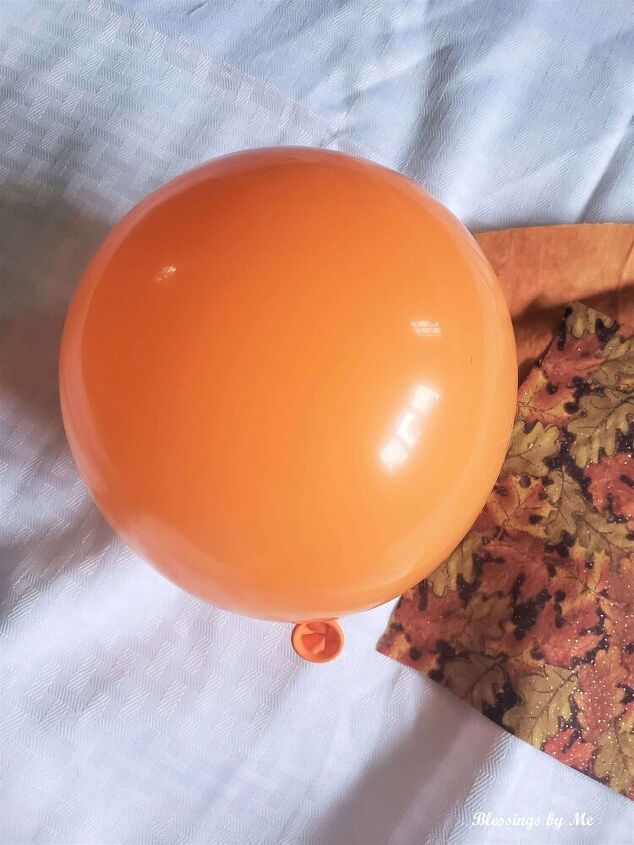
The first thing you do is blow up the balloons. You'll need one balloon per bowl. Don't blow them up too big unless you want big fabric bowls.
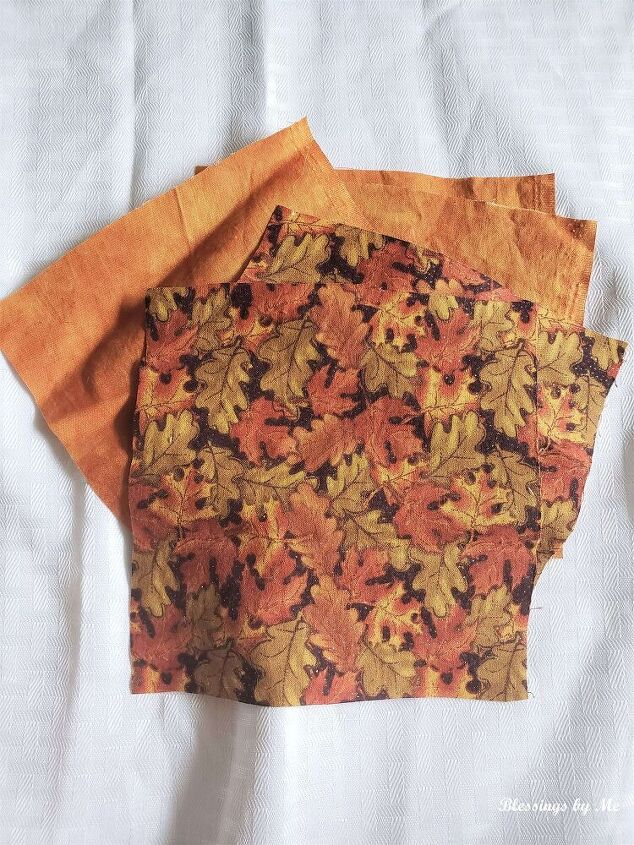
The next thing you need to do is cut your fabric into squares. The exact dimensions are not important, but somewhere between 3 and 7 inches is good. The size of the fabric depends on what size fabric bowl you want.
Place your balloon inside a paper or plastic cup so it's easier to work with and so it doesn't roll around.
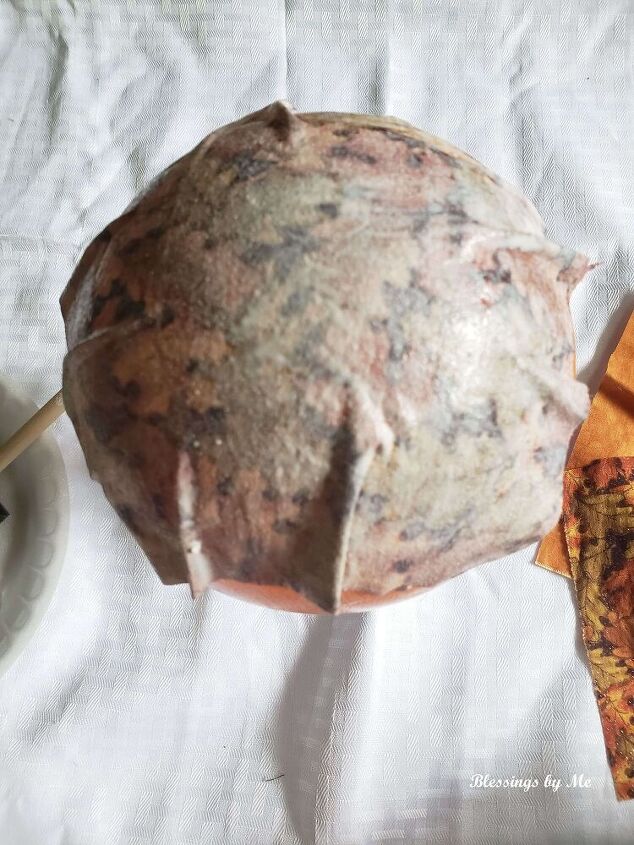
Add a generous layer of Mod Podge to the top of the balloon with a sponge brush. Place a layer of fabric over the Mod Podge. Make sure the good side of the fabric is facing down for this section. This will be the inside of the bowl - the part you'll see.
Add another generous layer of Mod Podge over the fabric, then place another piece of fabric on top. I put my next fabric layer opposite of the first piece.
Keep adding Mod Podge and fabric layers until you get a thickness you like. Two of my fabric pieces were thick and the rest were thin so I did 5 layers total. End with a layer of Mod Podge.
The number of layers you choose will determine the thickness of the fabric bowls. I would recommend at least 4 layers, but you can go all the way up to as many as you want. Also, keep in mind the thickness of your fabric when choosing how many layers to do.
Set your fabric bowls aside to dry and harden. Drying time will depend on how many layers you have. I let mine sit overnight so it would have plenty of time to completely harden.
You'll know when it's completely dry because it will feel dry all over and not wet or sticky. Also, when you tap on it, it should sound hard and solid.
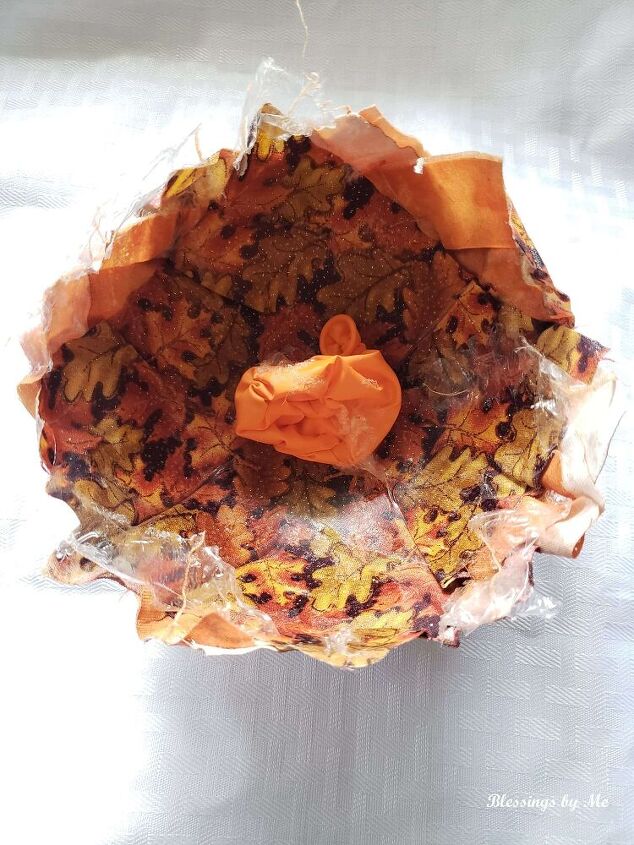
Once the fabric bowls have completely dried, use your scissors to pop the balloon. Then remove the bowl from the fabric.
Cut the edges with the scissors to give the bowl more of a round shape. Keep trimming until it's somewhat even around the bowl.
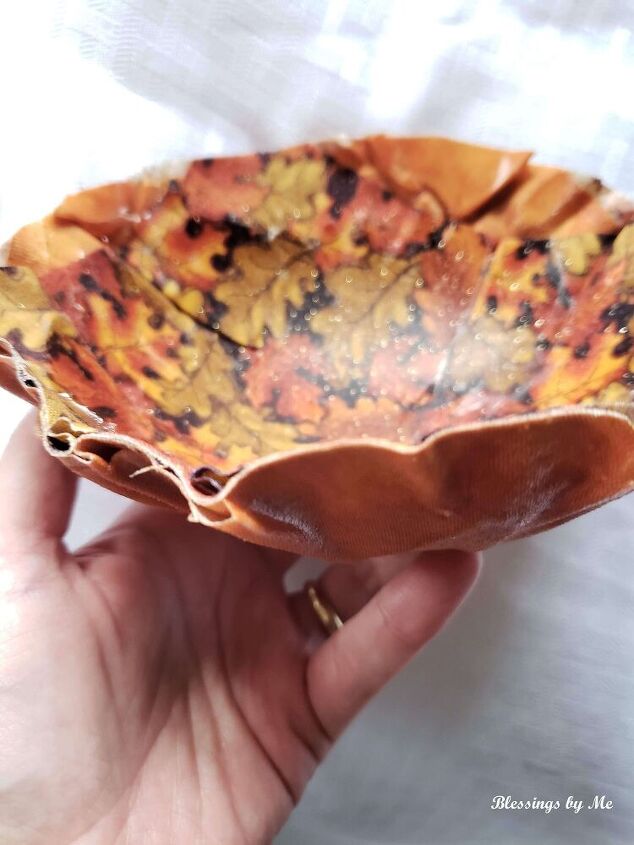
Here's a look at the fabric bowl from the side. You can see the layers better here.
That's all there is to making fabric bowls! They are easy to make, just a little time-consuming because of drying time. But they become addictive and you'll want to make a bunch of them!


Comments
Join the conversation
-
These are really cute!
-
These are so cool, endless possibilities 🤔


Frequently asked questions
Have a question about this project?
ARE THEY WATERPROOF IN CASE THEY GET WET?