


Minimalist Scandinavian Wood Slat Headboard With Floating Nightstands

Wood slat walls are all the rage right now. I absolutely love the ambiance it adds to rooms, so I created my own take on it to add something beautiful to our bedroom.
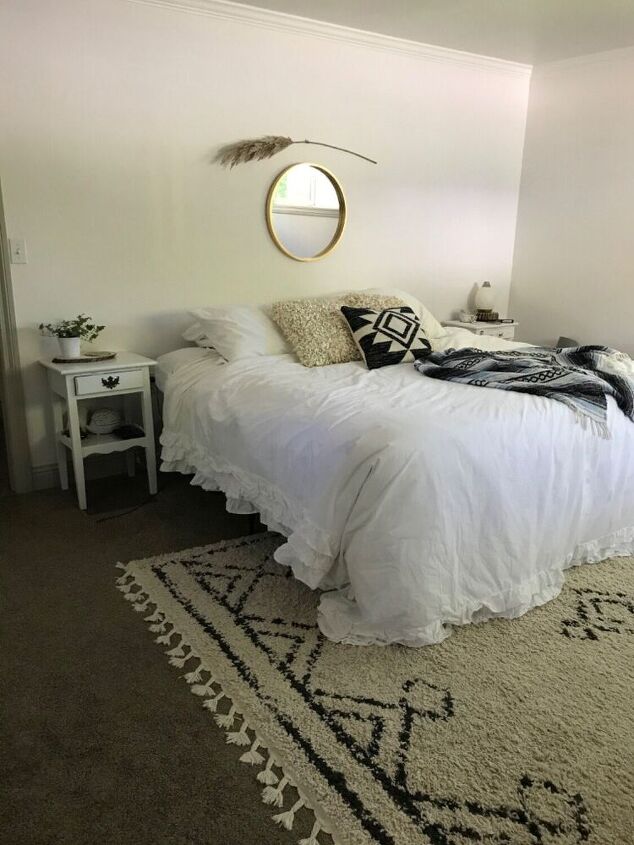
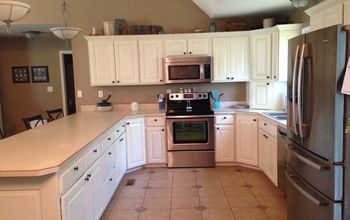
Before
For this project, we decided to use some 1x3x8 boards. Generally wood slay walls are made with 1x2s, but while at the store we saw these boards and fell in love with the dark knots in them.
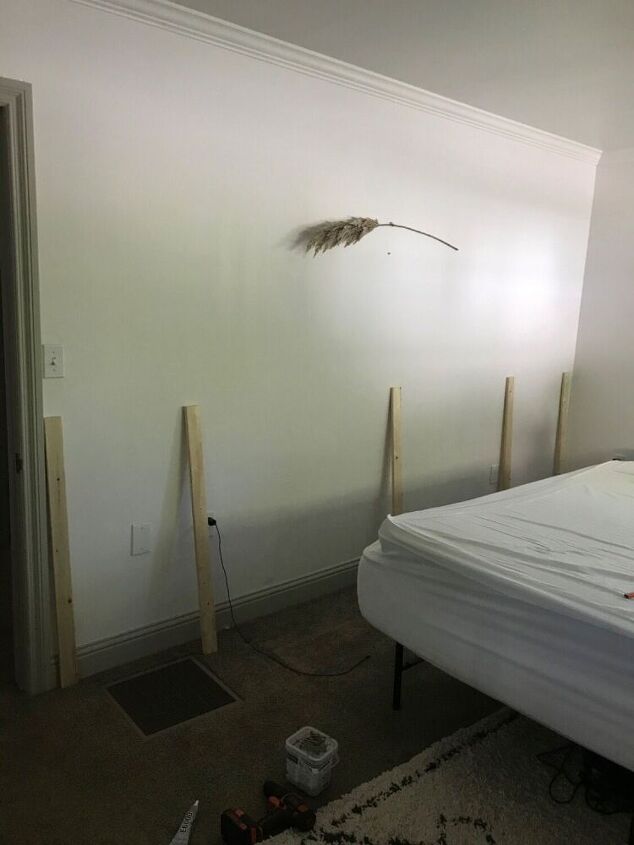
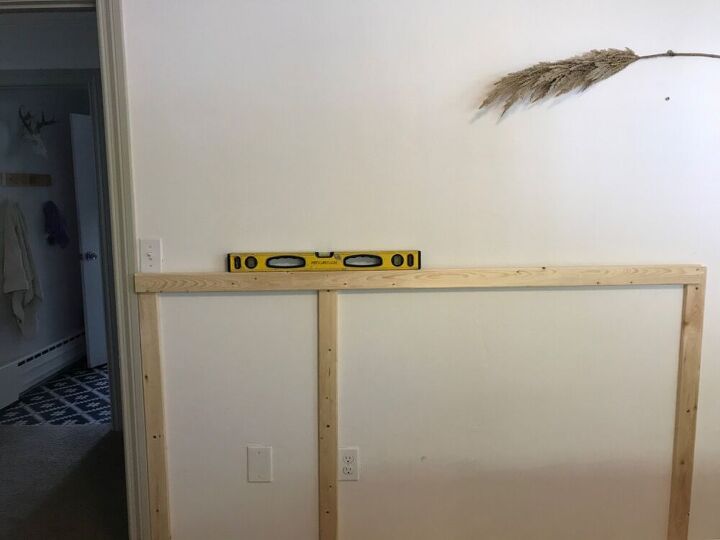
First we cut five boards to 3 1/2’ tall.
These will be the boards we use to attach the wood slats to so be sure you screw then into studs.
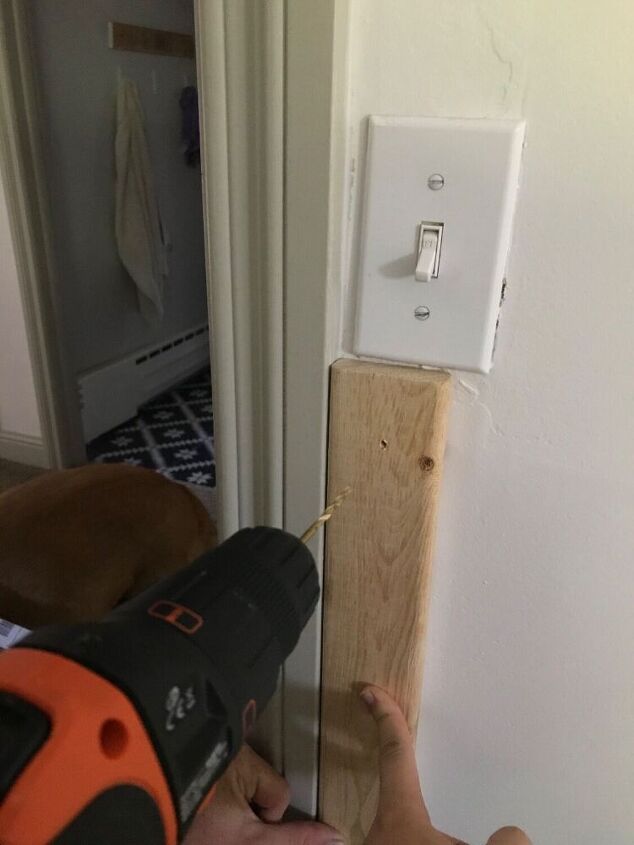
Drill pilot holes
Once the boards were cut, Nate drilled 3 pilot holes into each board. This step makes it much easier to screw the board to the wall.
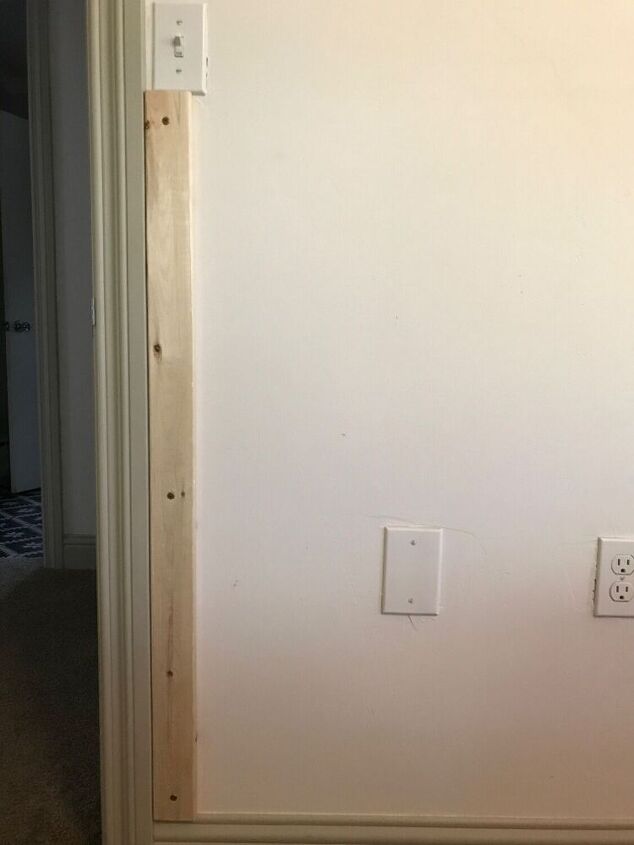
Attach the boards to the wall
We then used 2” wood screws into the studs.

We’re not planning on doing slats directly behind the bed because we have two outlets on either side of the bed that we use and don’t want covered. (I realize we could have built around the outlets, but they’re mostly hidden by the bed so it would have been more work than it’s worth to us.)
So, by adding a board on the outside edge of both outlets, we can continue the boards down the sides of the bed without worrying about covering the outlets.
To start the horizontal boards, we decided to use wood glue and brad nails to hang each board. So, we put the first board up, checked that it was level and then used 2 brad nails into each board that was screwed into the wall.
(you’ll notice our boards don’t go all the way across the wall. Our wall is about 13’ long and the easiest and cheapest way for us to pick up the wood was to buy it in 8’ increments and then just join both sides in the center of the wall. If you can buy boards that go all the way across your wall that will simplify the process for you!)
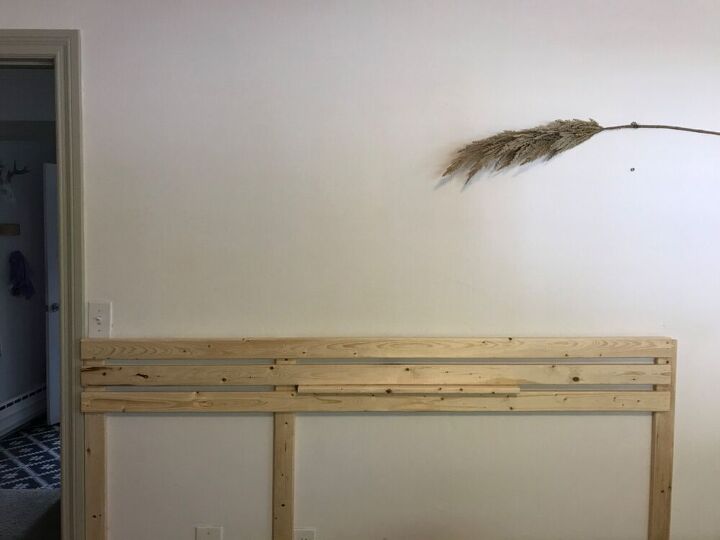
To continue down the wall, we then held up the next board with a piece of scrap wood in between each board so that we had even spaces between each board.
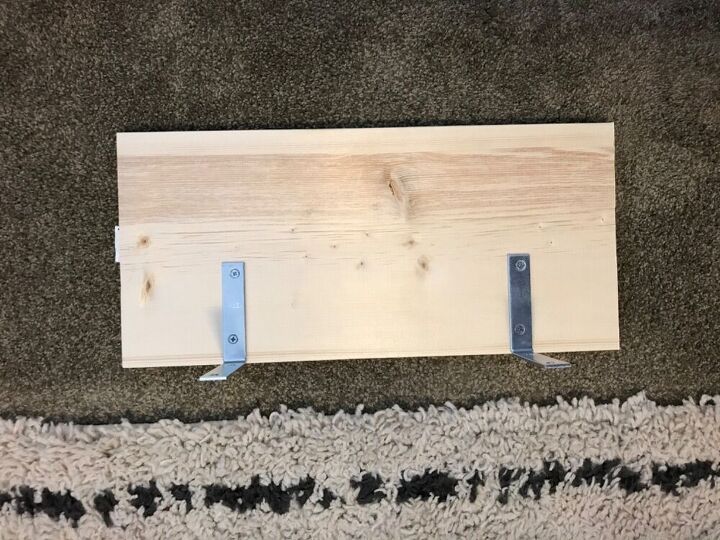
Floating nightstands
We are replacing our old nightstands by hanging a piece of 1x10 board using L brackets and then as an added measure I decided to add dome e6000 glue to the back of the board that will be up against the wall.
if you’re not screwing into studs, you’ll need to use wall anchors to secure the shelf.
We cut our board to 19”.
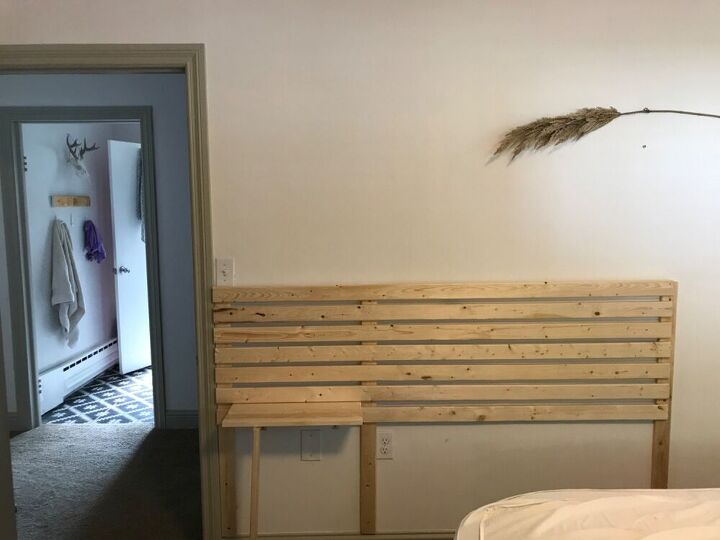
After the shelf was hung, we continued down the wall with the rest of our boards.
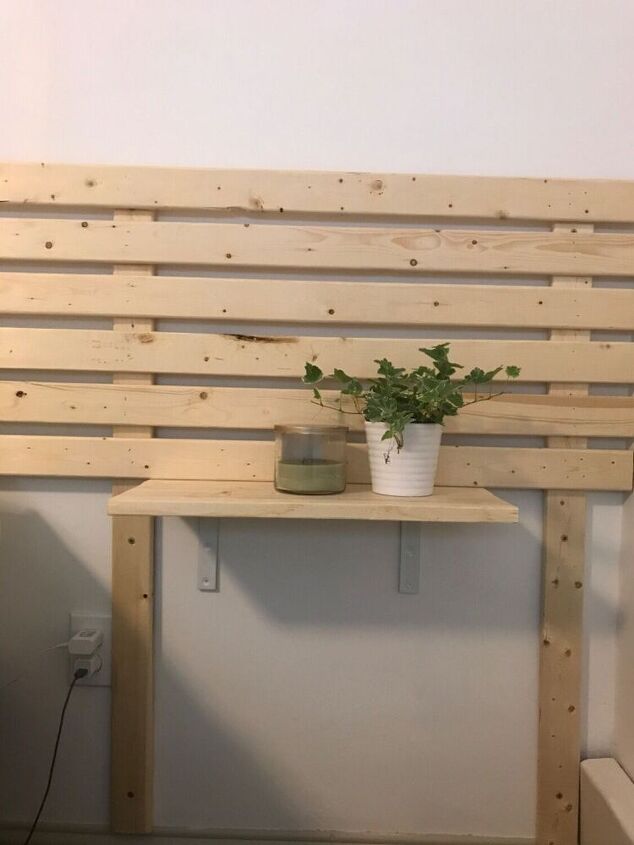
I painted the brackets holding the shelf the same color as the wall to help keep the illusion that the shelves were floating.
Continue your slats down the rest of the wall. And repeat all steps on the other side of your wall if, like us, you are meeting your boards in the center of the wall.
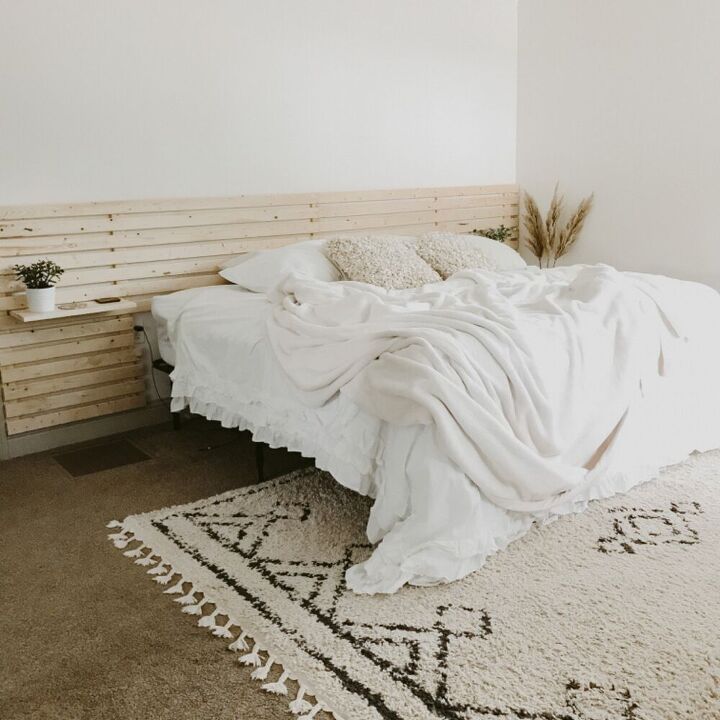
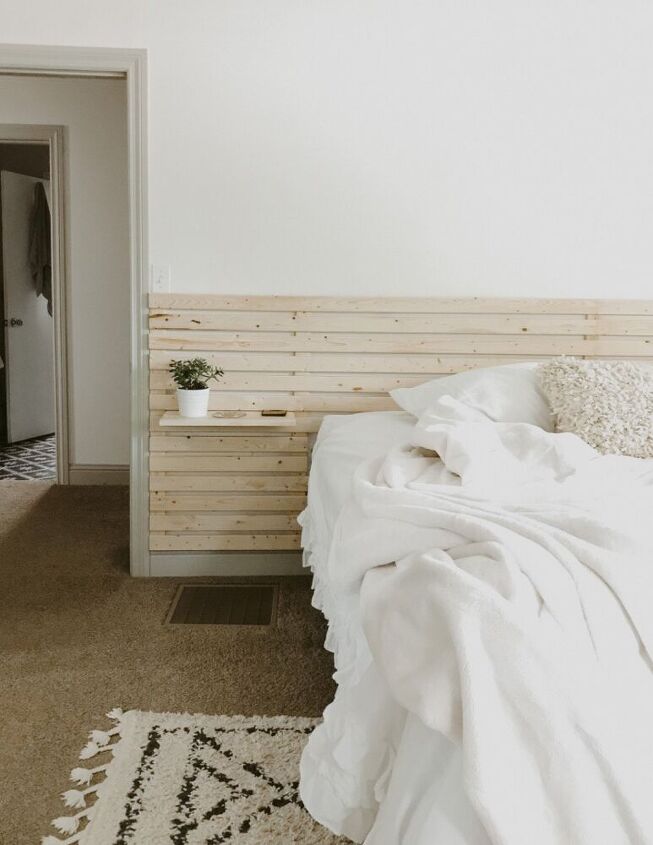
After
Ta da! This project was incredibly easy and inexpensive. We love the warmth and texture it brings into our room!
Resources for this project:
See all materials


Comments
Join the conversation
-
I wonder if you could build the headboard and then install it. You could then install the shelves. This would make it removable when you need to paint the wall.
-
Love this, especially with the floating shelf.


Frequently asked questions
Have a question about this project?
What if you have windows with a background for a headboard?
Love the whole idea. You're handy dandy. It turned out great!
Love this.