


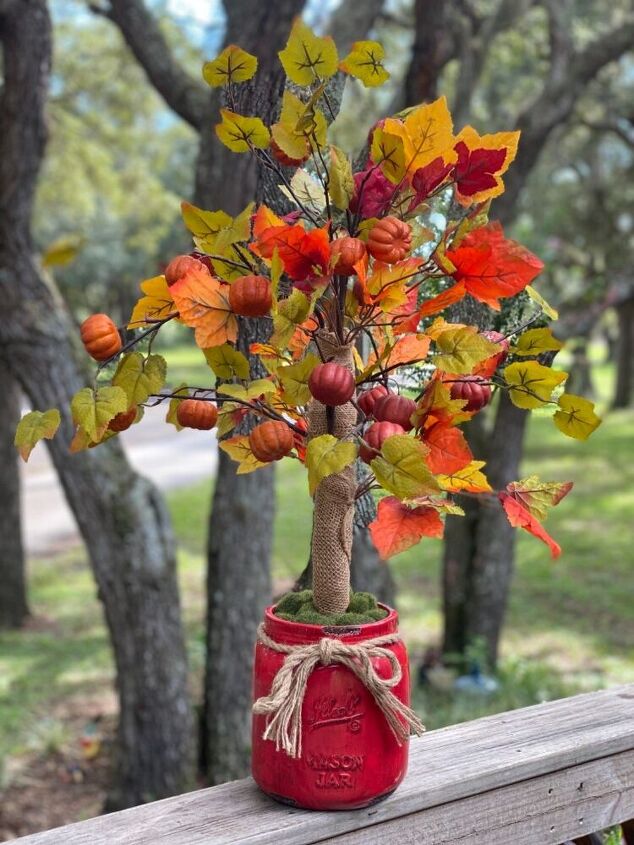
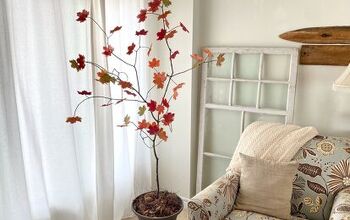
Fall Tree and Autumn Leaves

I’ve made a Fall Tree with most of the supplies were bought at the Dollartree. Once you see it you will want to make one yourself. The endless options for the pot make it even more fun. Happy crafting from Dreamoakdecor.
First you will need to gather the supplies you will need to complete this project.
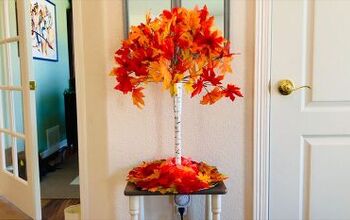
🍁9 or more Fall stems (mine are from Dollar Tree And I used 9)
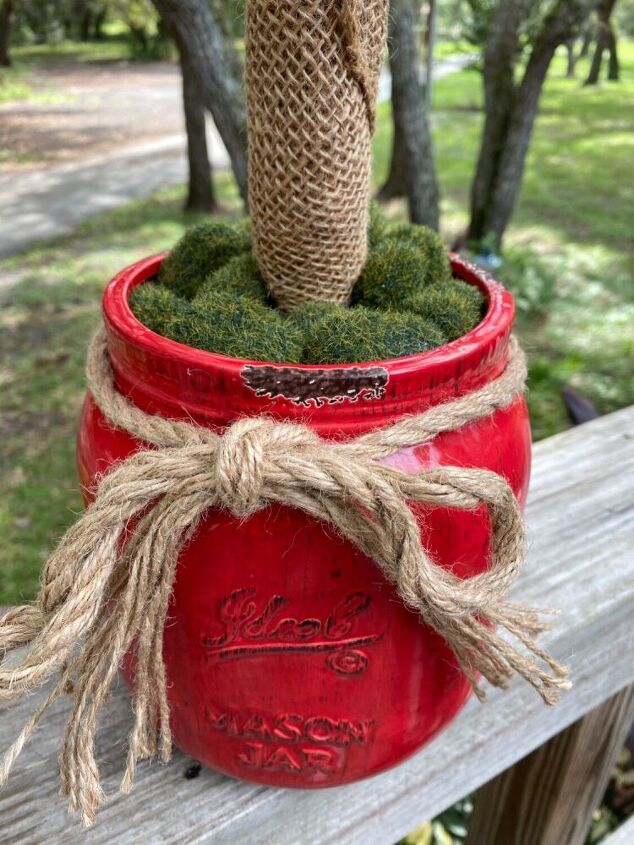
🍁1 pot/vase (mine is from Home Goods) Make sure a plunger can fit in opening. Not to big of one either.
🍁Moss can be found at Dollartree or craft store (I used moss rocks from Dollar Tree)
🍁hot glue gun
🍁 plunger mine from Dollar tree (Use the plunger as a reference to height and width of pot/vase
🍁 optional twine
🍁paper (copy paper, newspaper, tissue paper ( I used) shredded filler will work)
🍁burlap ribbon
🍁 optional twine
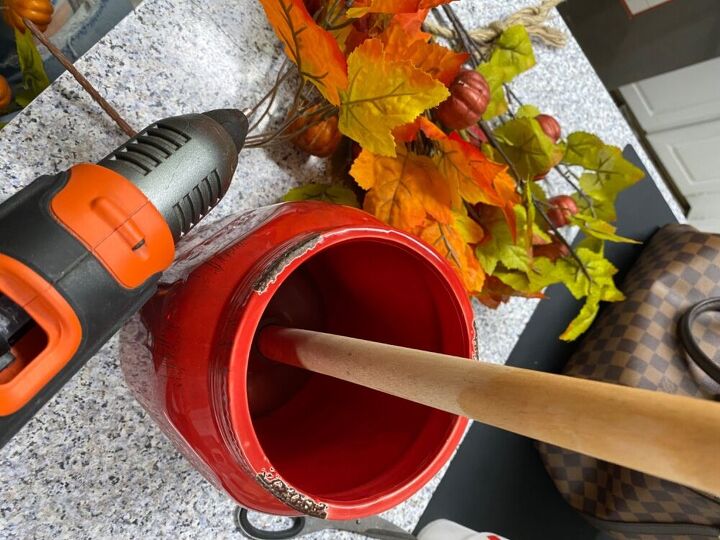
First step you will need to take your pot/vase and place plunger directly into Center to get a firm suction. (Not able to move around freely) You will need it to be firmly placed into the pot or vase with not a lot of give on the sides. If you do this you will need less filler. In my case tissue paper. I will explain below. Also, have your hot glue gun ready. Make sure to have extra glue sticks ready. I am using my cordless black and decker hot glue gun for reference. Since I am using the large glue sticks you will only need one full length for this project.
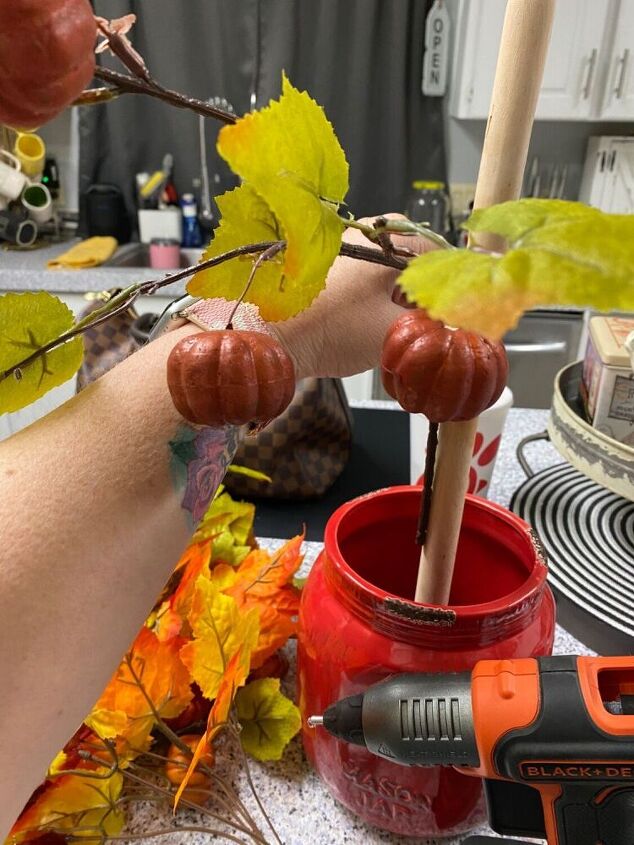
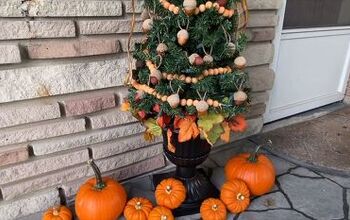
Now you will start on the base of the tree. In this case it is the plunger. I went up about 4-5” from the mouth of the base. I took each stem/bushel that I purchased at my local Dollartree. They have so many options. So pick what suits your desired look. I liked the pumpkin addition to mine. You will fold the stem below the foliage. Now take your glue gun and glue the non foliage end of the folded section And place on the plunger base. Then turn a third of the way and place another piece and again. That covers the bottom row. Then you make a second row and go in between the bottom row and work your way up. Eyeing as you go is my best advise.
Just sharing some more information in a video. After you have completed the stems you will want to cover the base. I did not take a photo of that part. You will get to see it in other photos. I took the burlap shown in this video and wrapped it around the stems to make a tree trunk design. You could also use regular burlap ribbon to get the same look. I was going for a real type tree trunk texture and this is what I came up with.
I completed my tree stem placement and fluffed them out.
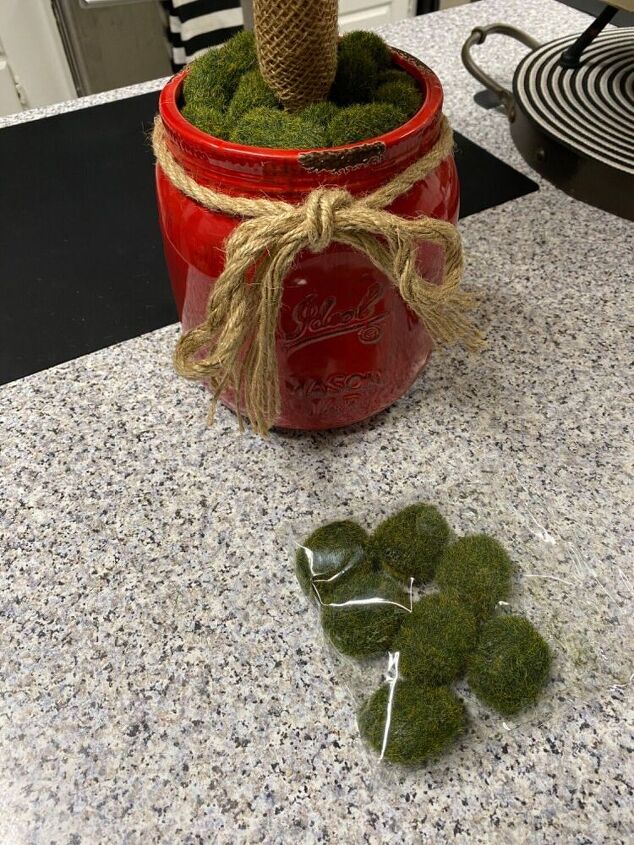
Now it’s time to work on the pot/vase. I used tissue paper and crumbled it to fill in the bottom almost to the top.
I then used green moss rocks that Dollartree carries. They did not have the shredded moss bags like I’ve found in the past. I purchased two bags to be on the safe side. I placed them to fit and cover the whole bottom. Because they set in perfectly and firmly I did not use hot glue.
Hope you enjoyed my tutorial. If you have any questions that I may not have explained above. Please feel free to ask.


Comments
Join the conversation
-
Well, well....such a great idea to use a plunger!
-
I have a plunger I had to use with a NEWLY purchased washer last year to keep the clothes under water! After a year of this “hand washing” we contacted the insurance co. They refunded our money 👏our new washer works great. Now I have a CLEAN plunger for your fall idea. Great idea.


Frequently asked questions
Have a question about this project?
From the pic that hometalk posted, I thought you were making a mini butterchurn! 🤔 maybe a little wood round instead of the moss, drill 1inch hole for plunger handle? Hmmm
Such a cute idea🍁🌾 Thanks so much for sharing it🍂🍁🌾🍁🍂
So awesome. Until I started reading I thought, how did she get a plunger in a Mason jar? Lol
Great idea for a small tree for a small space like mine. I have everything but the plunger already. Thanks for sharing! 🧡