


How to Make a Colorful Dream Spots Sign
Over the last few months, we’ve spent a lot of time at home, dreaming of favorite & faraway places and creating a DIY Outdoor Oasis to enjoy right where we are. This space sparked the idea for our colorful dream spots sign. You need a colorful pick-me-up too? Good! I’m going to show you how to add a colorful splash of art showing your favorite spots using vibrant paint, pallet wood and simple hardware.
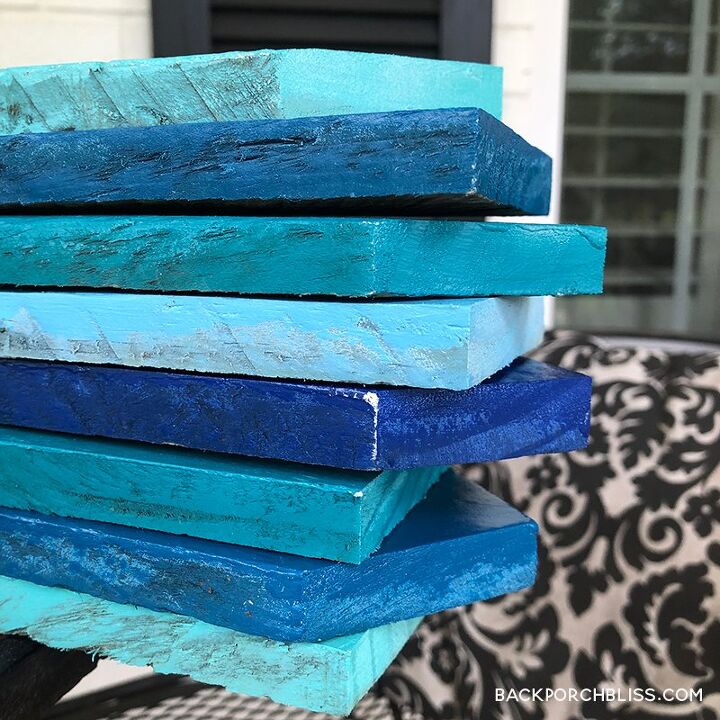
Cut your boards to the size you want them, and prime the sign faces (where you’ll later paint your locations). Our eight boards were cut at 26″ x 3.5″, then we cut arrow points on the end of each board. If you want the worn wood, texture and nails to show through, don’t sand before painting. We also left the sides and backs of the boards unprimed for the same reason.
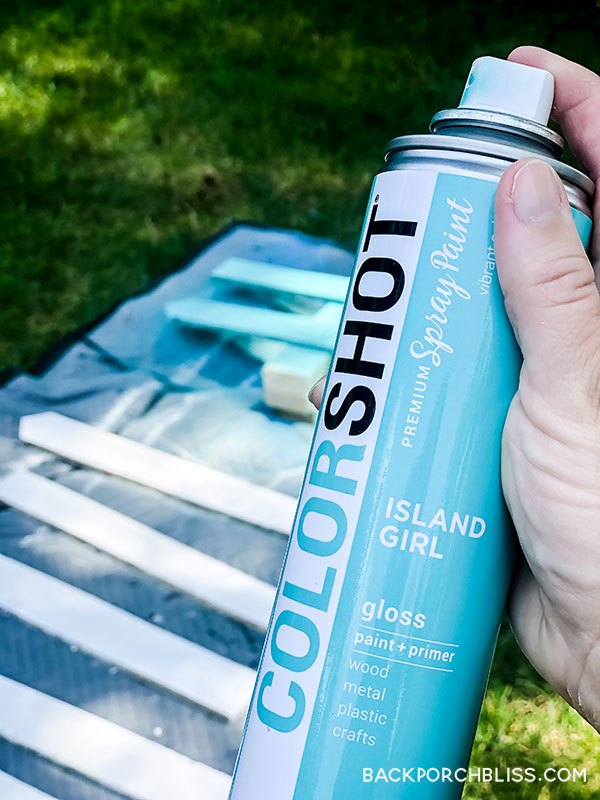
Once your primer dries, use spray paint in desired colors on all your sign faces. One coat was enough for us, but that can depend on desired color, coverage and brand.
Consider your space and preferences, and let creativity be your guide! Spray paint generally dries fast, so you won’t be waiting around long.
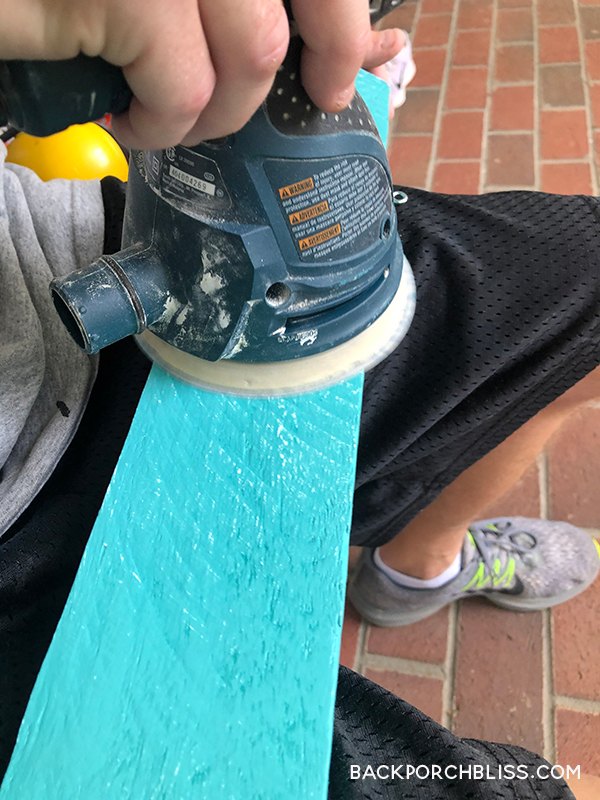
Next, we lightly sanded our boards so some of the white primer would show through and roughed up the boards a bit before painting the location names.
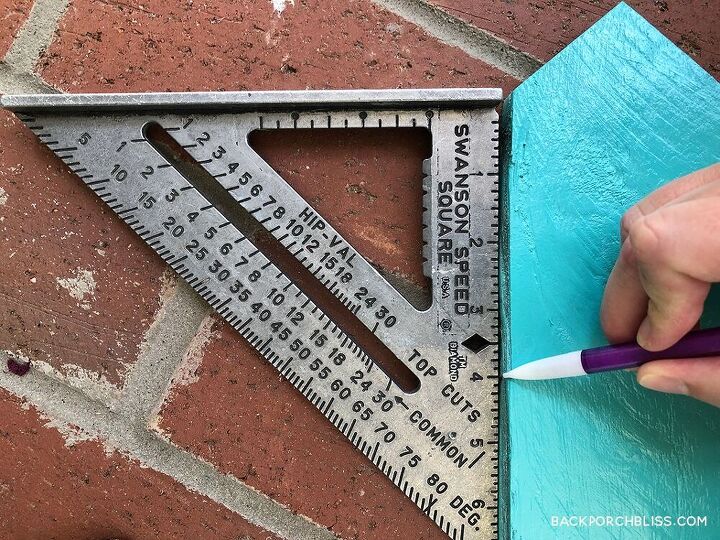
Measure and mark 4″ from each top and bottom corner. We chose not to measure from the arrow point, because we wanted the signs to stagger and not be perfectly aligned.
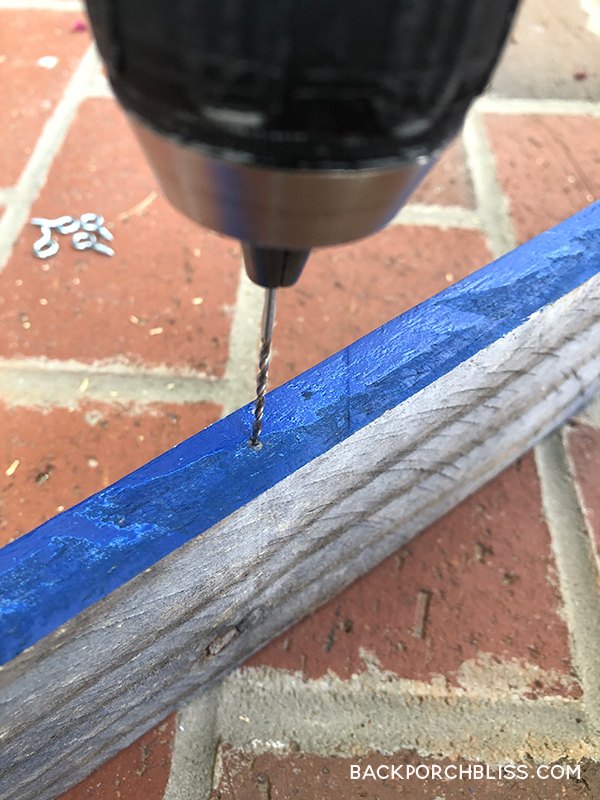
Drill a small hole in the center of your top and bottom boards where you’ve indicated 4″ from the corners. Do this on every board, with the exception of your bottom board. You’ll only need two holes in the top of your last board.
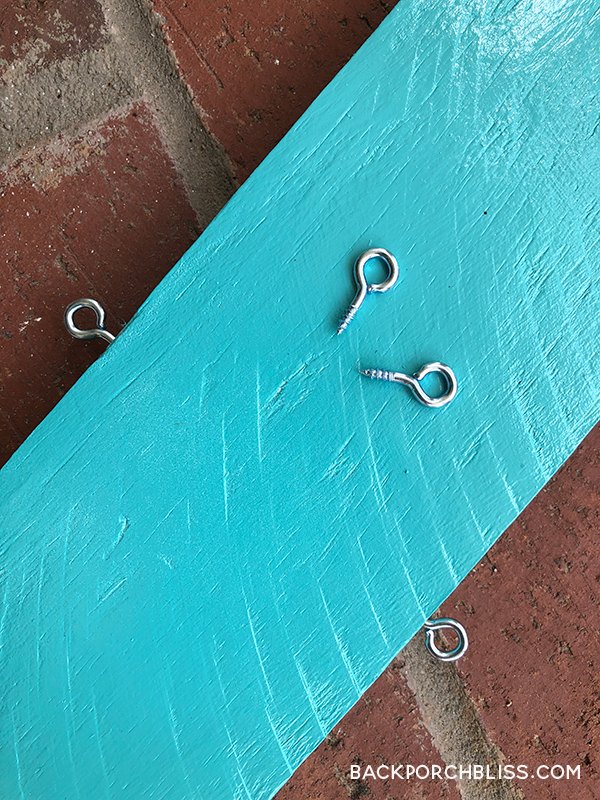
Screw in your eye screws to each hole as shown.
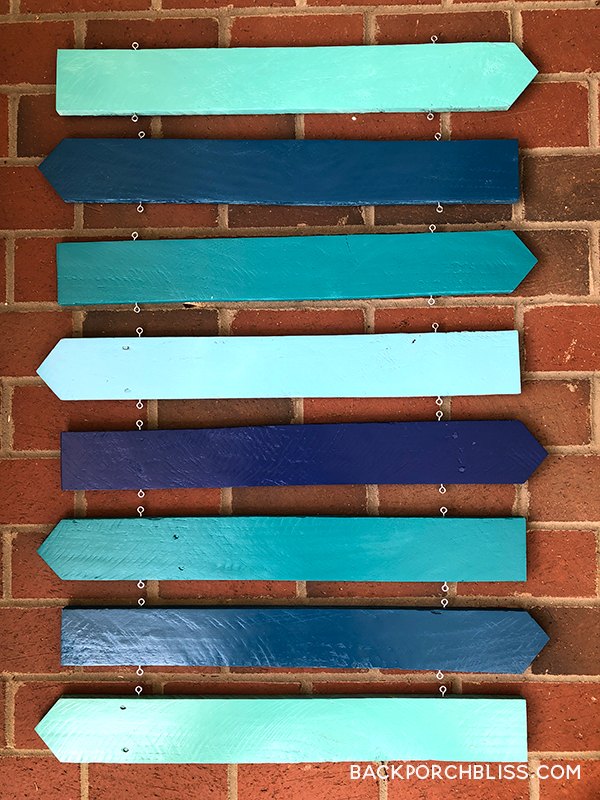
When you finish with your painting, drilling and eye screws, it should look like this.
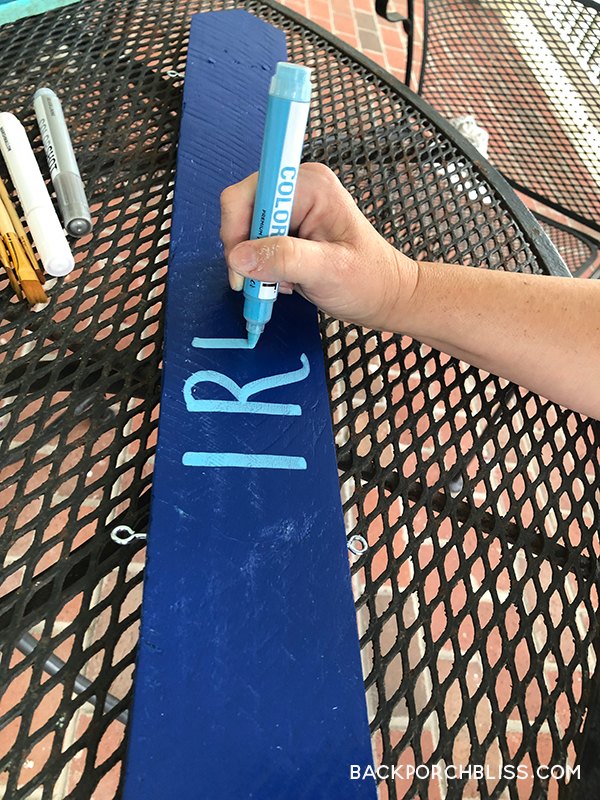
Next, you can start using your paint markers to label your signs. Make this fun for the whole family and brainstorm together. If you have kids, let them look up the destinations and find out how far they are from your home.
Make sure your spray paint color and paint marker color contrast for best results. I added a few simple symbols to a few of the boards just for fun.
Once everything is dry, you can spray a coat of matte clear sealer to finish.
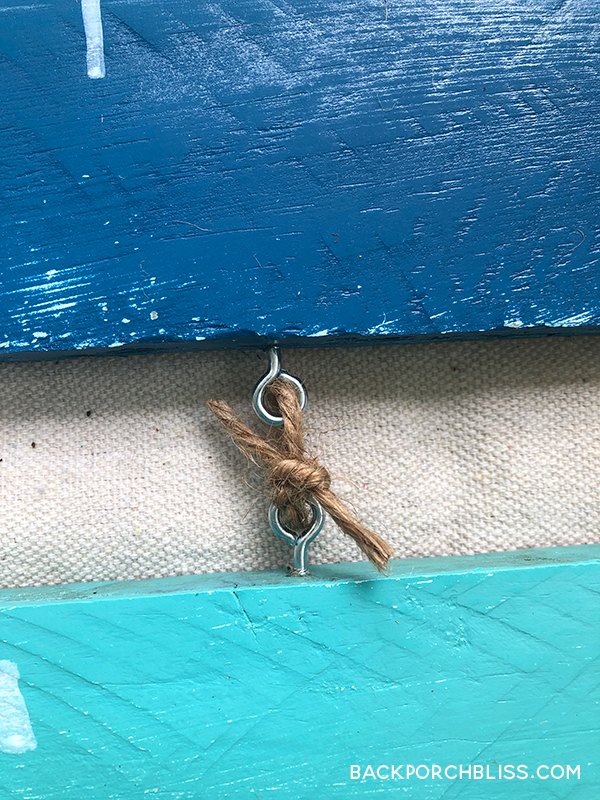
Use jute twine and triple knot between each of your signs as shown. You can add a dot of super glue to each knot for extra reinforcement.
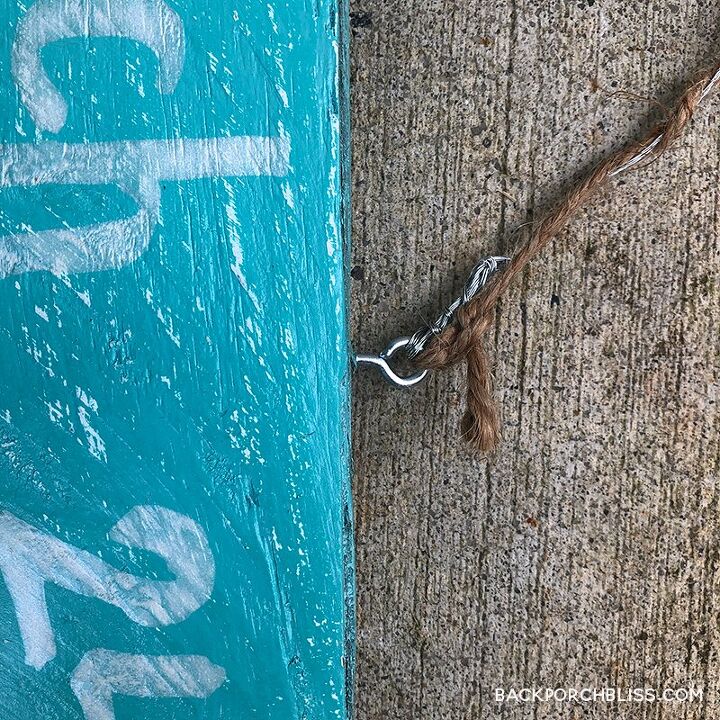
For the top sign, use picture hanging wire with your jute string before hanging. We used a concrete anchor and screwed into the mortar. Adapt this step depending on your sign location.
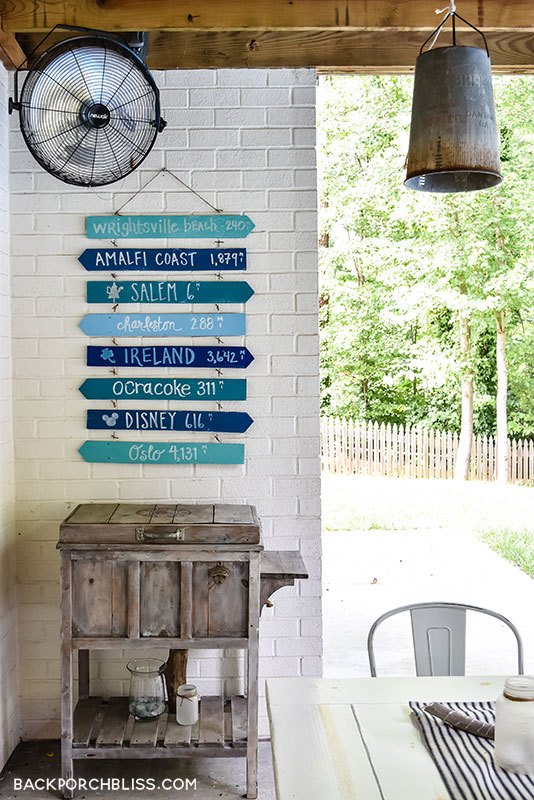
We hope you’re inspired to dream, get creative and make your custom sign!
Resources for this project:
See all materials


Comments
Join the conversation
-
Your top two signs are two of my favorite places on earth.
Grew up on Wrightsville Beach. My grandfather drove the streetcar there. Fond memories.☺️
-
Oh, I love hearing this Jan! I agree, it is such a special place. Thank you for sharing! :)


Frequently asked questions
Have a question about this project?