


How to Make Cute and Easy Halloween Decor From an Old Lantern
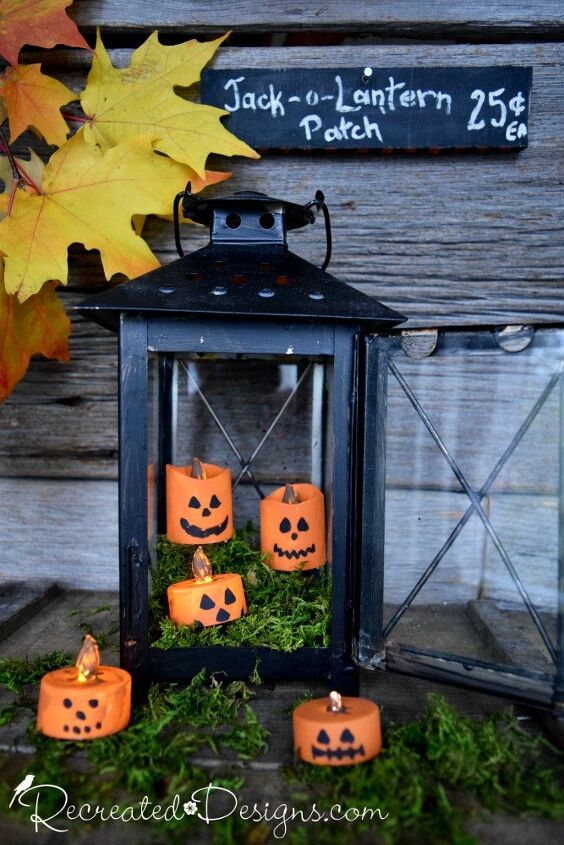
Grab an old IKEA lantern (or any lantern that opens) and you can make the cutest little pumpkin patch you have ever seen. It is so easy and can be left up all month long!
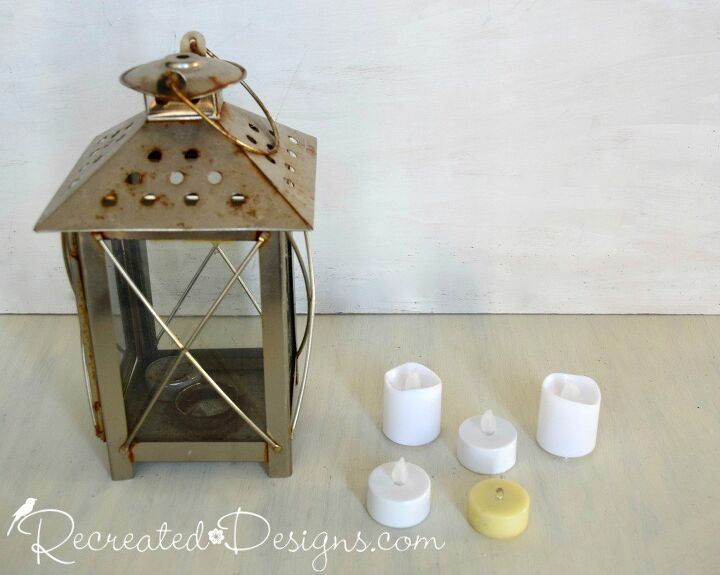
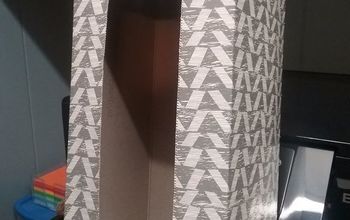
We have all seen these old IKEA lanterns as they were a staple there for years. They are pretty easy to find at thrift stores so finding one for this project shouldn't be too hard.
My sister gave me two of these a few years ago and they have been patiently waiting to upcycled since then. I finally had the perfect project for one of them and the only other things I needed where some little battery operated lights and a piece of scrap wood.
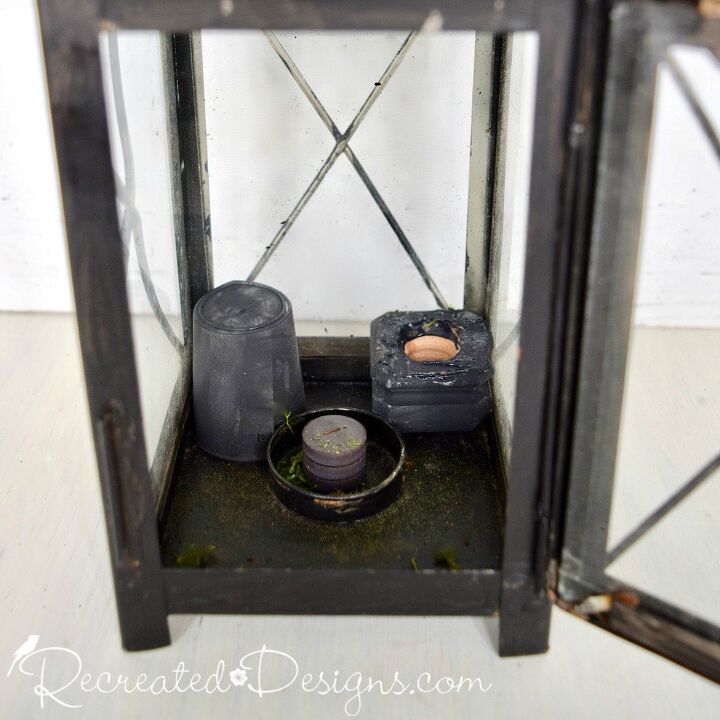
To make my Halloween Jack-o-Lantern patch, I started by painting the lantern. I gave it a quick wipe down to remove any loose rust, took out the glass panels and gave it two coats of Rustoleum Enamel in Black.
I also decided to add a few little rises to the base of the lantern so that when I put it together the Jack-o-Lanterns would sit at different heights. I used a little wooden cap and a small plastic cup and put them in place at the beginning so I could paint them with the same black paint.
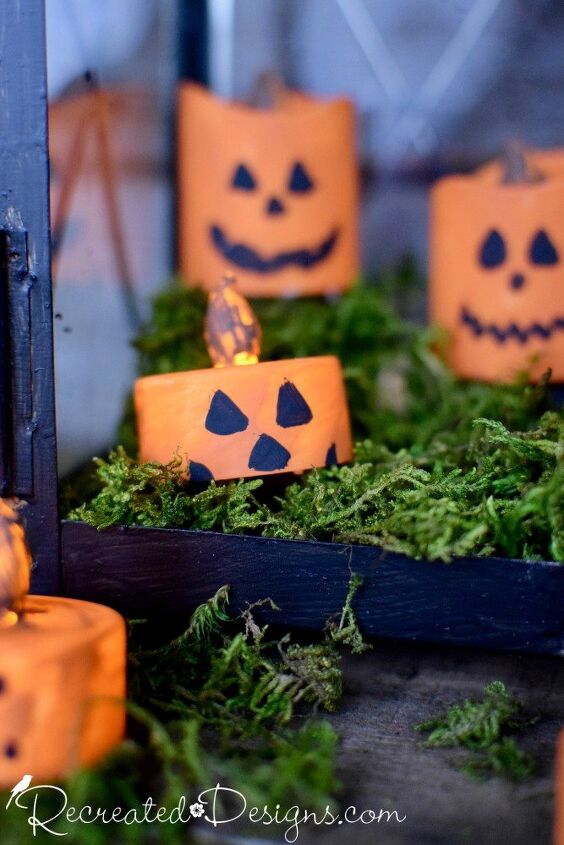
Making the little Jack-O-Lanterns couldn’t have been easier. Using a collection of different sized battery operated lights, I painted each one orange, the top brown, and added a little Jack-O-Lantern face with the black.
Once you turn them on, the paint thickness and brush strokes create texture and dimension that looks really cool with the light shining behind it.
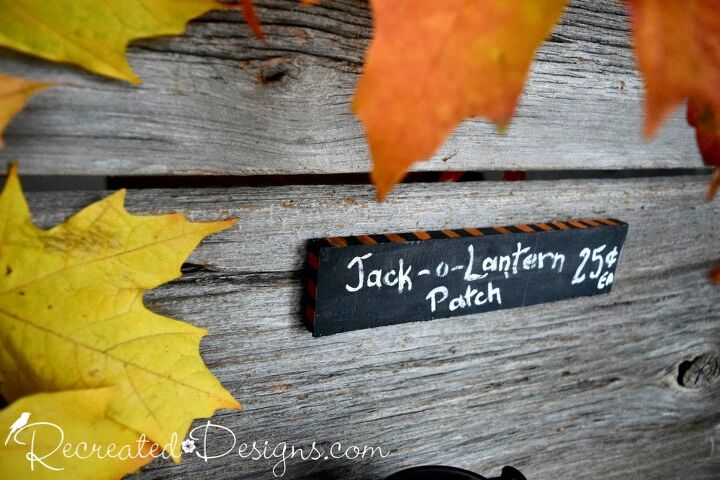
The Jack-O-Lantern patch wouldn’t be complete with out a little scrap wood sign. I started by painting the wood black then added a little orange stripe to the edges. It was finished off with some lettering to make the cutest little sign.
I am not a big fan of scary Halloween decorations so this cute Jack-O-Lantern patch is just right for me 🧡
Check out another fun Halloween project using an old frame to make a candy tray here...
For more upcycling projects, furniture makeovers and vintage decor, check out my new book here...
To see the original post on the Recreated Designs blog, click the link below...
Resources for this project:
See all materials


Comments
Join the conversation
-
So cute!
-
Finally! A truly cute decoration that won't scare my grandkids! Thanks for sharing the Jack-o-lantern Patch idea, ...I have a galvanized wash tub that would be wonderful for a Jack-o-lantern Patch.


Frequently asked questions
Have a question about this project?