


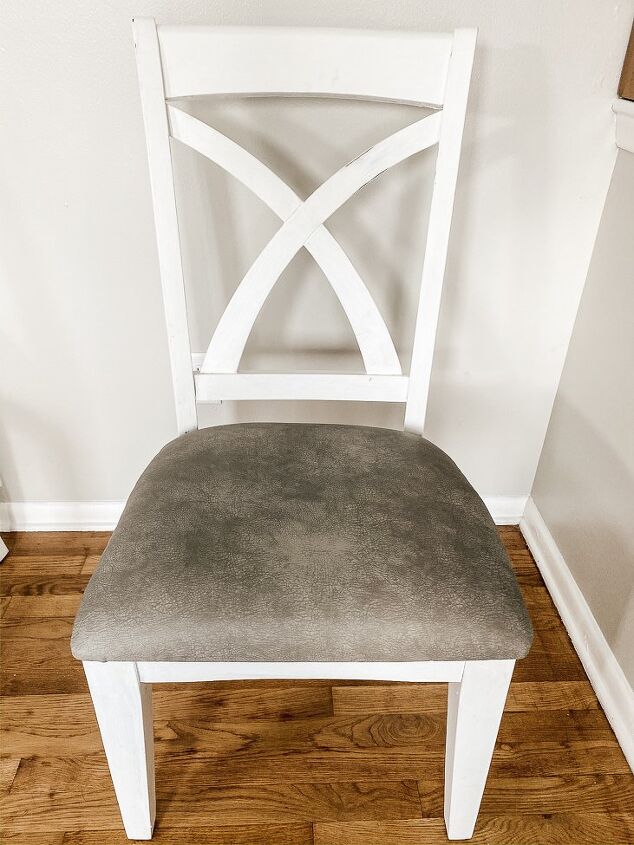
How To Re-cover Chair Cushions
Now, I am by no means an upholstery (re-upholstery?) expert, but if I can re-cover chair cushions.. SO CAN YOU!
It’s so easy and saved me from buying an entirely new dining room table.
Thank heavens, because I love my dining room table!

There’s nothing overly special about it. It’s been refinished previously. The paint job on it isn’t even the greatest and honestly needs a good sanding and a fresh coat of paint.
BUT I JUST LOVE IT, OKAY!
There's a whole story in my blog post on these chair cushions about how I ended up with this table. If you're interested, I personally think it's rather amusing.
CLICK HERE TO READ THE FULL POST ON MY BLOG
Except… things have gone downhill with the chair cushions
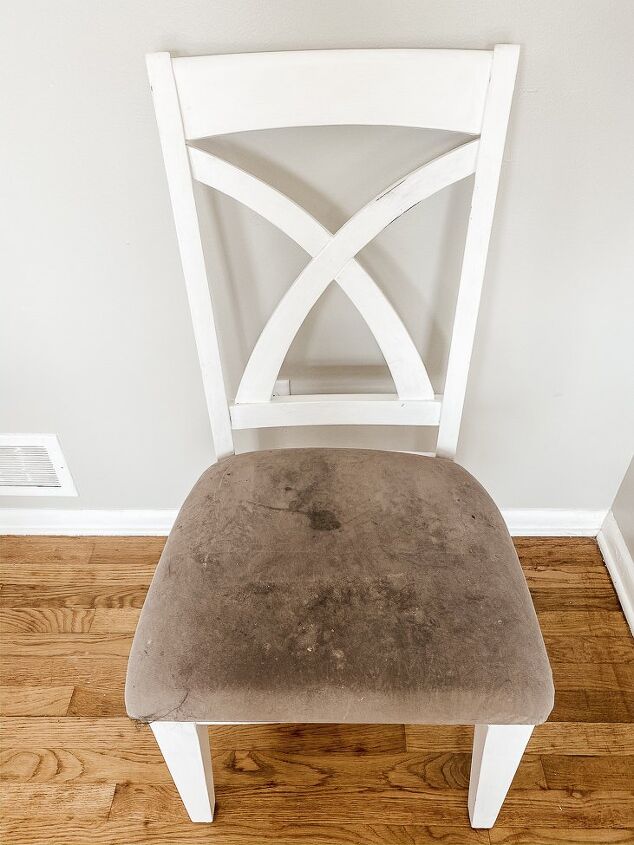
KIDS. ARE. DISGUSTING. Y’ALL.
I am CONSTANTLY dragging out the upholstery cleaner and shampooing them, which gets old real fast.
If you’re in the same situation, don’t fret… I GOT YOU!
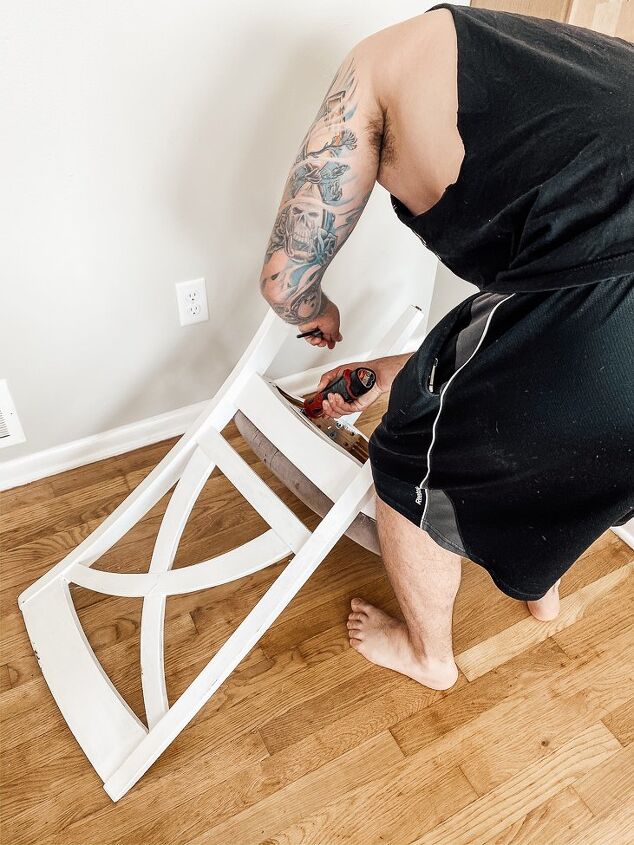
It honestly wasn’t that difficult, there were only four screws holding the seat onto the chair frame.
I enlisted my husband only because I’m pregnant and don’t like to do the bending right now.
These chairs were staple city… I just used the flat head screw driver and the needle nose pliers to pry them all out. This was the longest and most tedious part of the entire process.
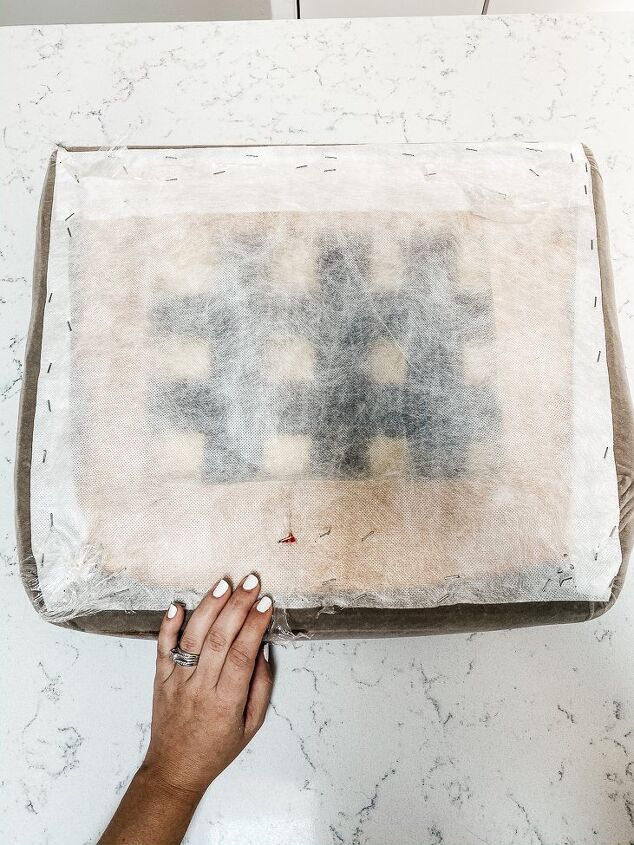
(I did save the white backing to reuse after I replaced the velvet fabric. Mainly because I forgot to purchase new when I was at JOANN’s, but it was still in good condition and worked out just fine.)
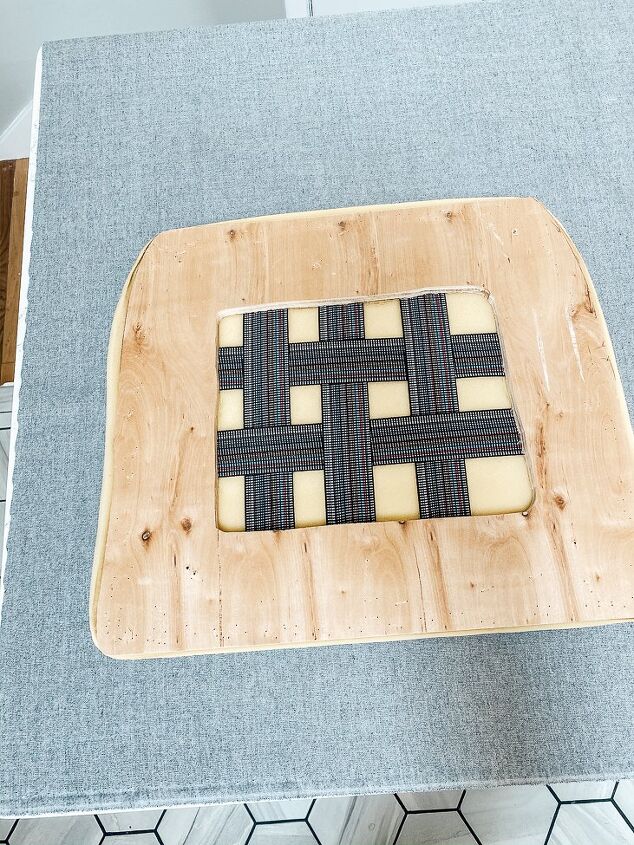
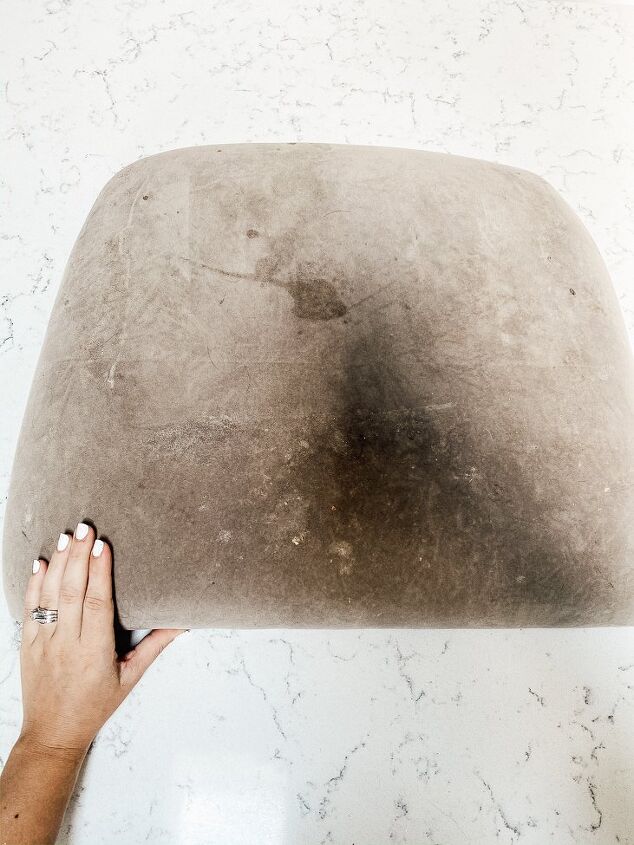
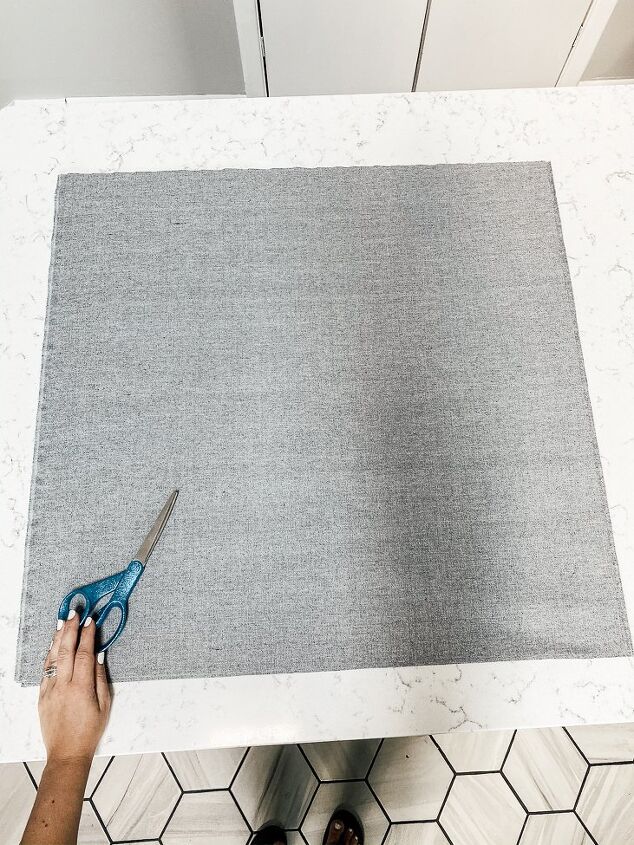
I just laid my naked chair cushion on my fabric, made sure I had enough to stretch over each of the sides, then cut around it.
There's a whole explanation in my blog post about what type of fabric I used and why I chose this one, plus some ideas on other types of fabric that might work well. For the sake of your time, I left that out here. If you want more information, then be sure to check it out.
Another thing I forgot when I was in JOANN’s was how much fabric I needed. (Pregnancy brain is a real thing, don’t judge me!)
I ended up purchasing 4 yards because I have four chairs, and it was WAY TOO MUCH. I probably would have been okay with just two yards, but this way I’ll have extra for future incidents… because KIDS!
Just be sure to measure before you go and then write it down, or at least remember.
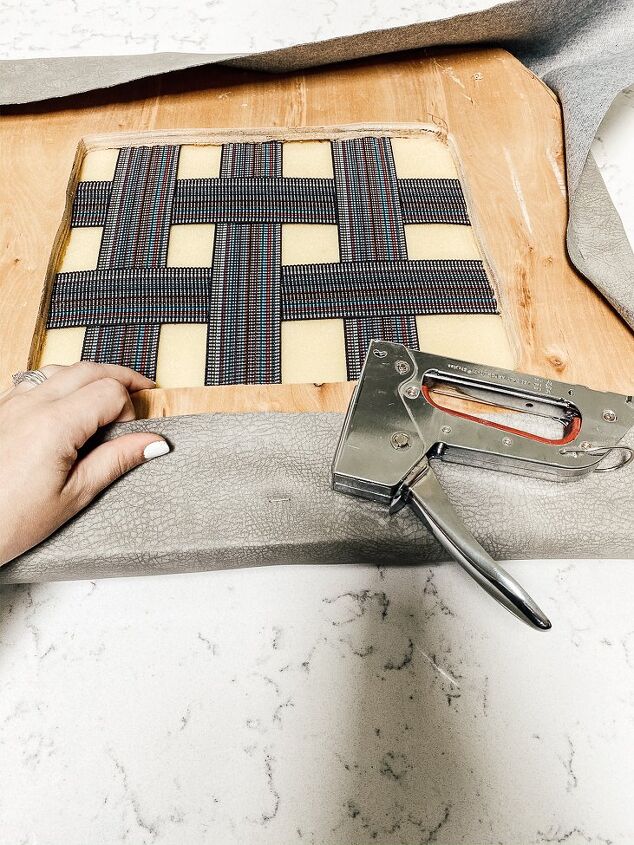
I started by stapling all the edges.
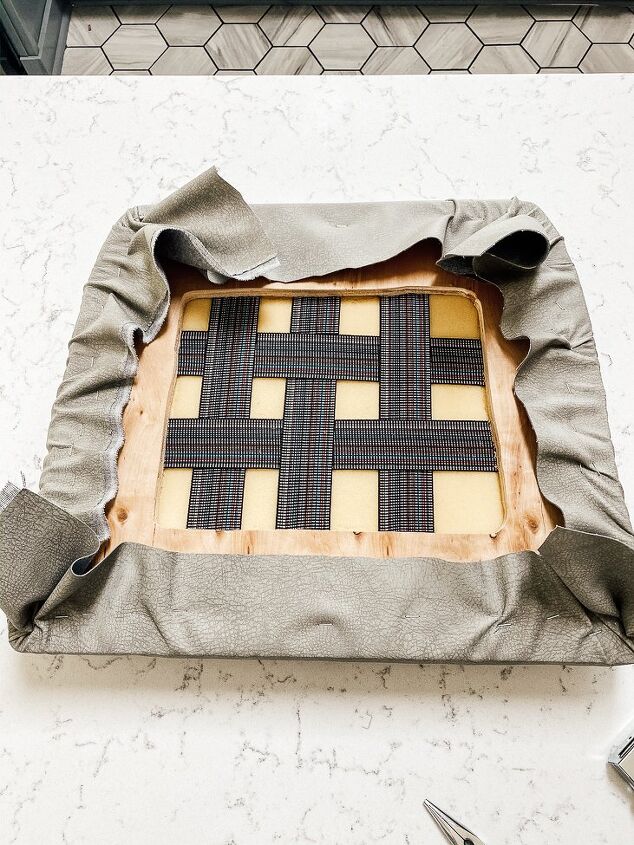
Then I was able to stretch my fabric around the corners super tight in order to reduce the number of creases.
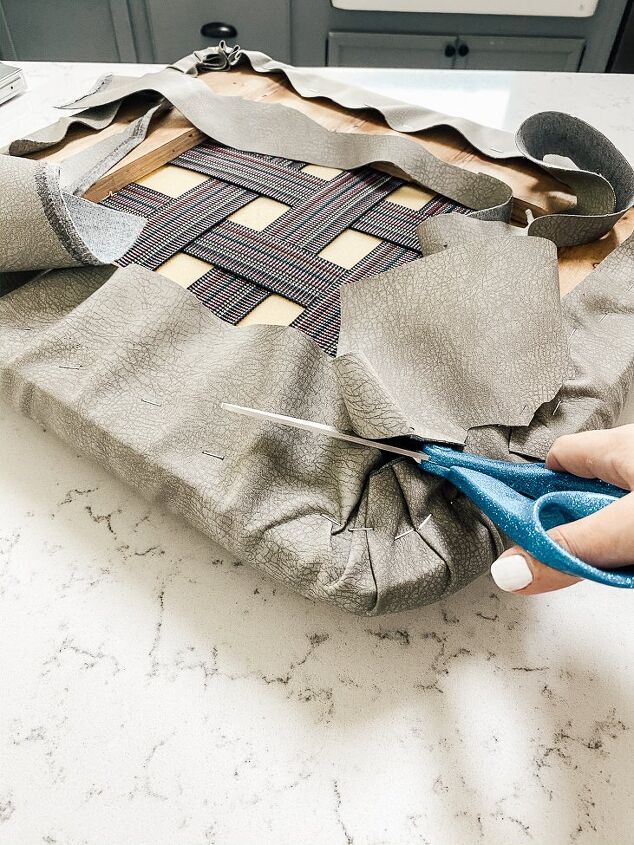
It’s nice to have a little extra to grip when pulling the fabric tight around the sides of your chair cushion, but be sure to trim the excess off once you get the new fabric secure.

Be sure to re-attach the fabric backing, or attach new. Honestly, the chairs would have been fine with without it, but since it was in good shape I decided to just use it.
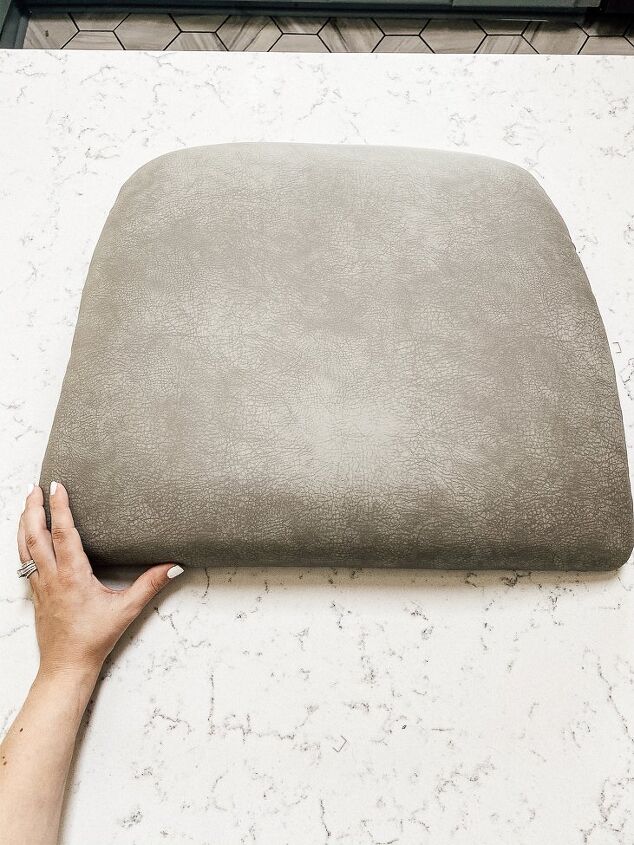
Once I flipped my cushion back over, I found a good massage smoothed out the majority of any stubborn wrinkles or creases in my corners.
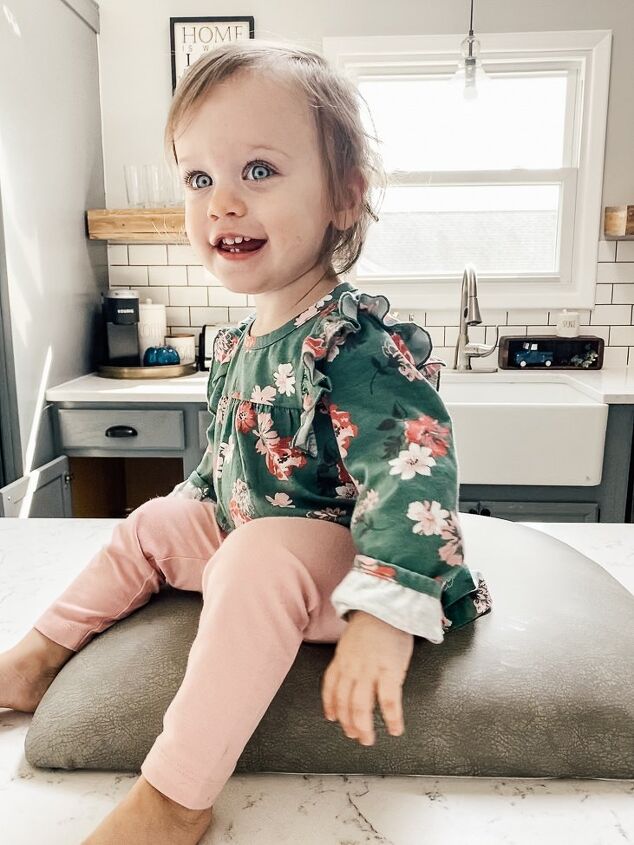
Thank goodness for tiny baby helpers, though ever so unhelpful they may actually be.
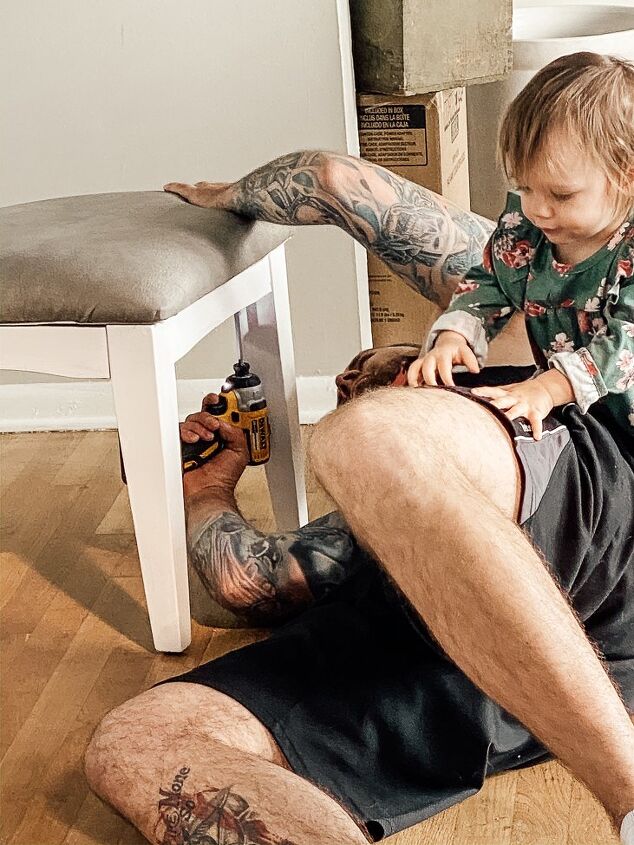
Again, I let Tyler handle this part… I’m pregnant, I don’t do the bending remember.
Lilah helped, because who doesn’t love a toddler crawling over them while they attach seat cushions.
Now that you know how easy it is to recover chair cushions, your kitchen or dining room table can live to see another day.
I had less than $40 invested in this fabric, which I purchased ON SALE with A COUPON... but if you recall, I purchased way too much and could have easily completed this project for under $20. So much better than buying an entirely new table!
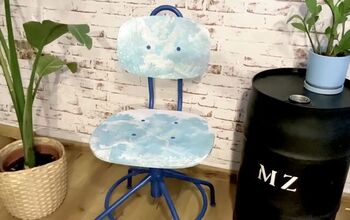
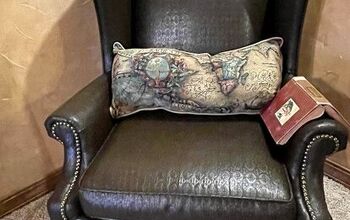
Why stop there though? Re-cover all of your chair cushions:
- Barstools
- Accent chairs
- Thrift store finds
- Ottomans
- Benches
- Patio furniture
Resources for this project:
See all materials


Comments
Join the conversation
-
Good job!
And what a cute kid!
-
So how did Tyler reattach the seats because that’s my question part…


Frequently asked questions
Have a question about this project?
Did you consider using protective fabric spray ( ala Scotchguard)
Do you need a lot of strength to use the staple gun? My hands are a little weak.