


Building a Floating Desk

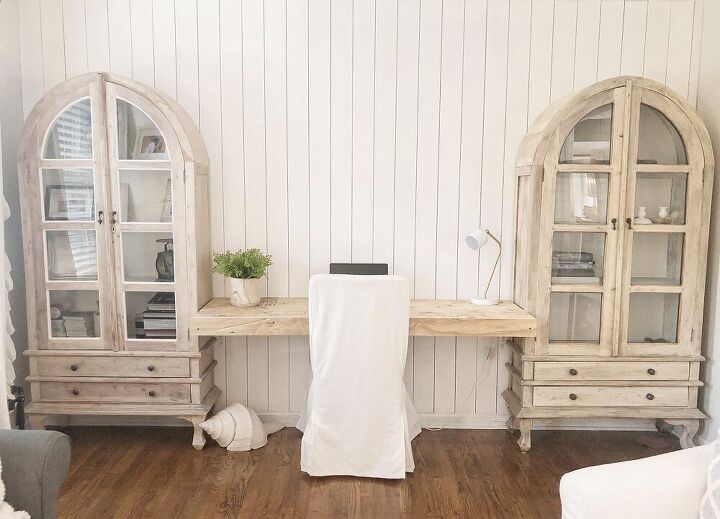
After I refinished the arches in our formal living room/2020 office space I knew I needed to give myself a desk between them. I mean who wouldn't want to sit between those two beauties??
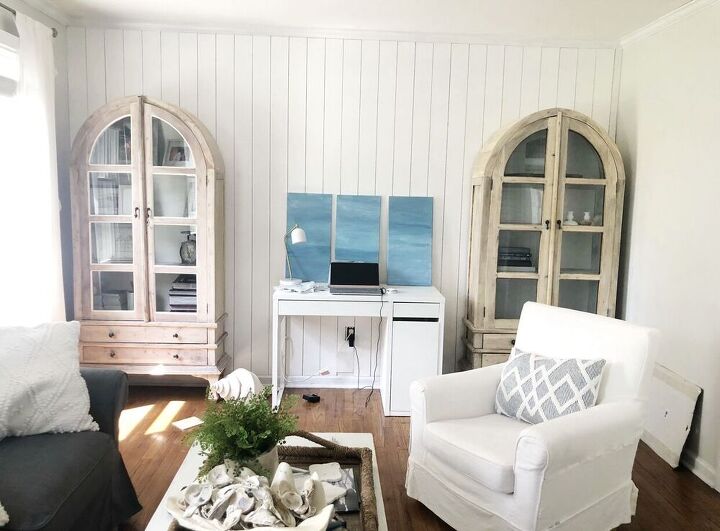
So to start I needed to figure out what size would work best, I pushed the hutches over as close to the wall I could without disrupting the door swing. Once the cabinets were in place I found that I could get a pretty good size desk at 66" wide and I figured a depth of 21" was good for what I needed.
To build this we needed a sheet of plywood and 2 2x4's, the plywood would be the top and front pieces and the 2x4's the support.
We first cut the 2x4 boards, first was the long back support, which was cut at 64.5"(to accommodate the 3/4" plywood that would be wrapping the sides). We then cut 5 main support boards, all of which were cut at 18.5" ( as to accommodate the width of the back support as well as the front 3/4" piece of plywood.
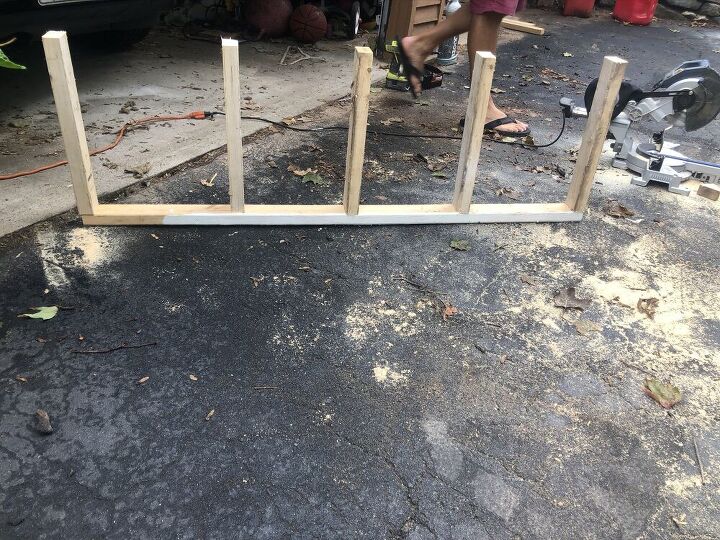
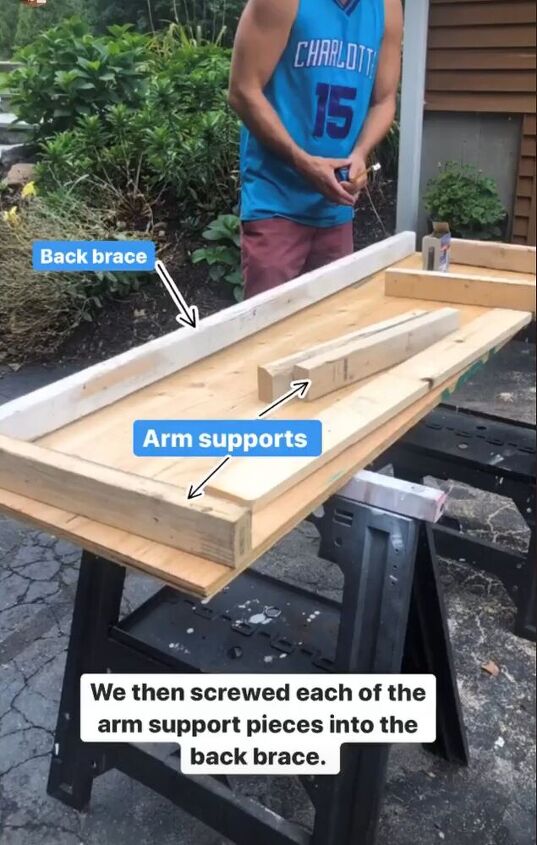
We then screwed each of the arm supports into the back brace using 3" screws.
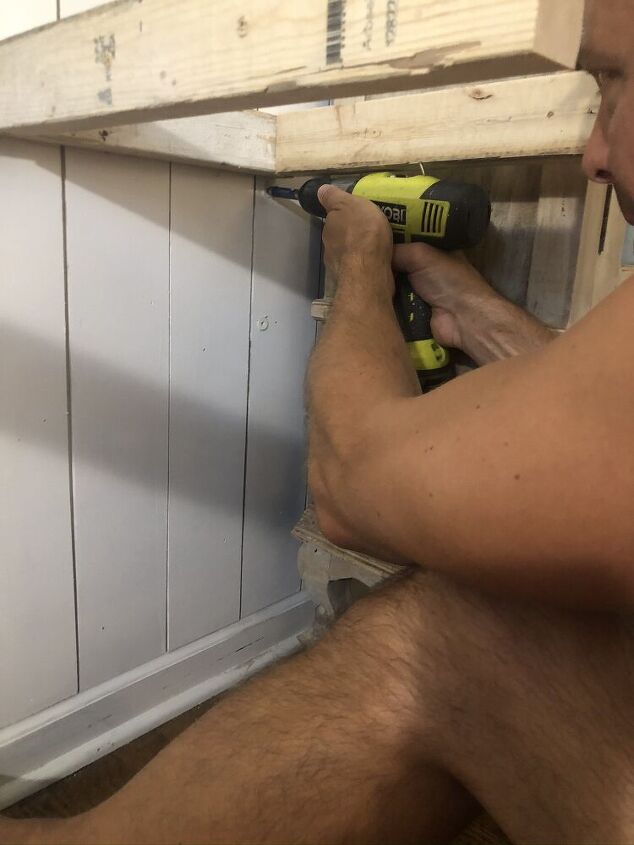
Once the supports were all attached, we carried this piece inside to attach it to the wall between the two hutches. We located the studs and made sure to screw into as many studs as possible to make it secure. We added two screws per stud.
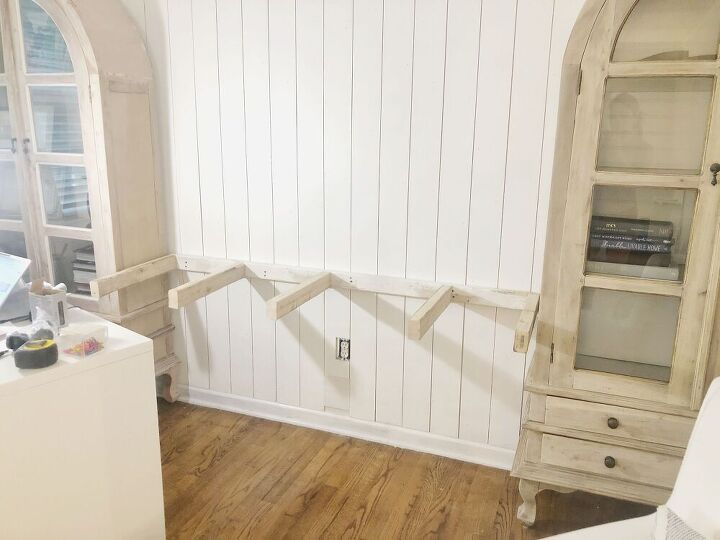
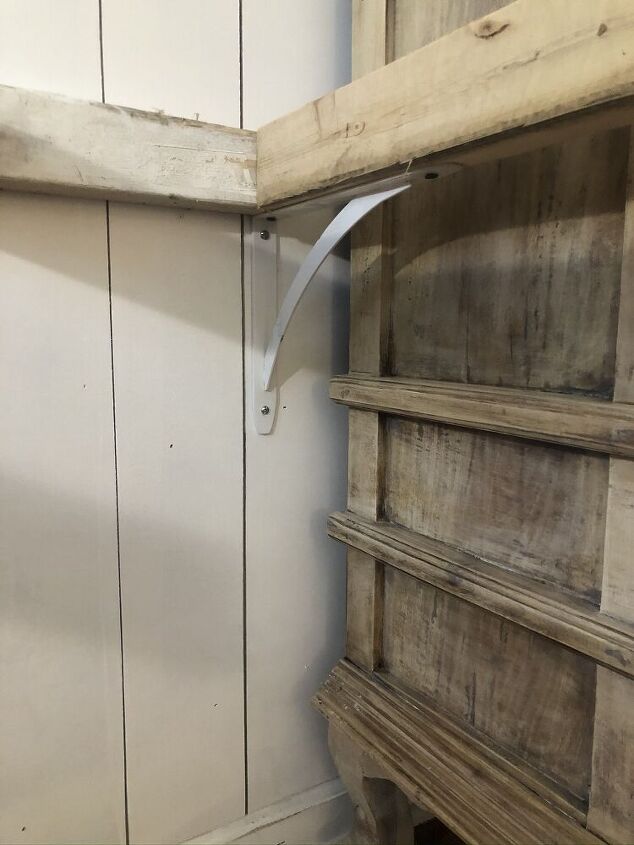
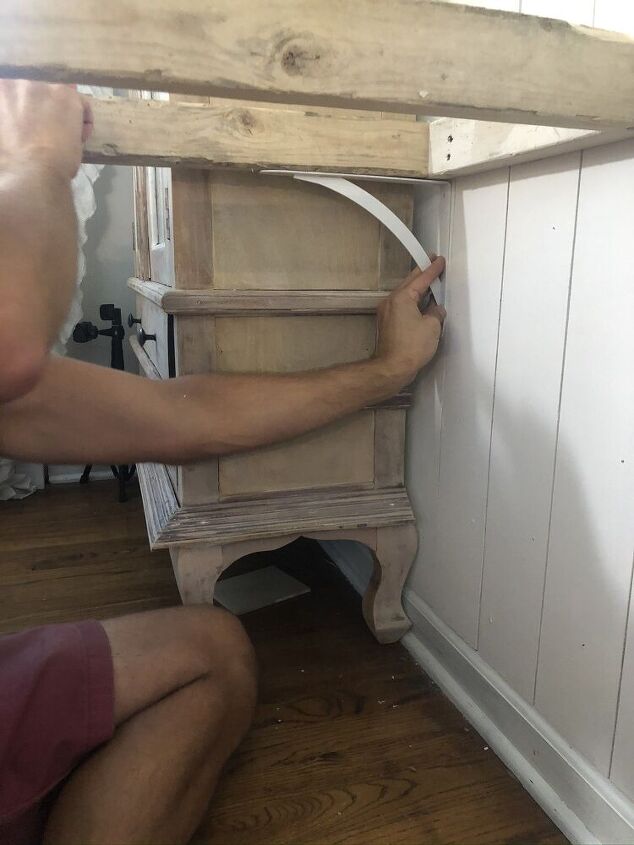
For piece of mine, we added a L-bracket to the the left and right side. We used wall anchors that could support 75lbs and attached it to each of the left and right side support arms.
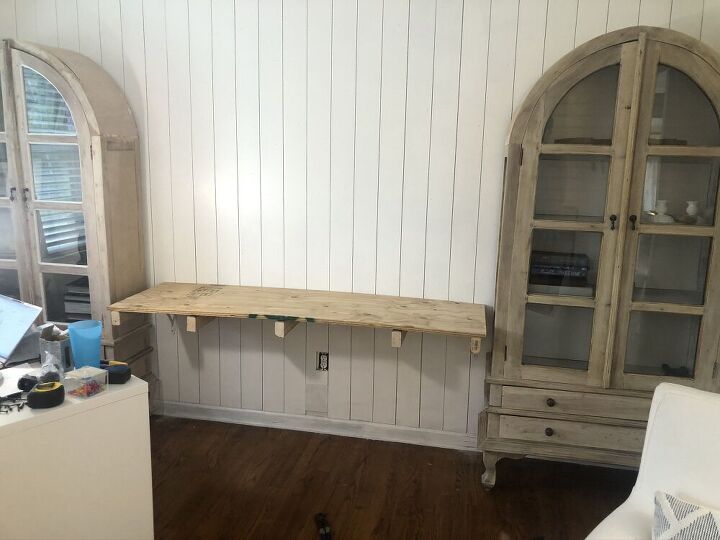
Now that the main bracket was up we could not put the top piece of plywood on. We set it onto and used 1 5/8" screws to secure it to the base below.
In the image below you can see that the plywood was lifted a bit off the support arm, this was fine because the screws would suck it down.

We then cut down a strip of plywood that would fully cover the front and sides of the desk. We cut the front strip of plywood to be 3.5" wide, and attached it by screwing it into the support arms. On the sides of the desk, we cut it the same size and attached it directly to the side support arms.
Unfortunately, I did not document this, but you can get the general idea.
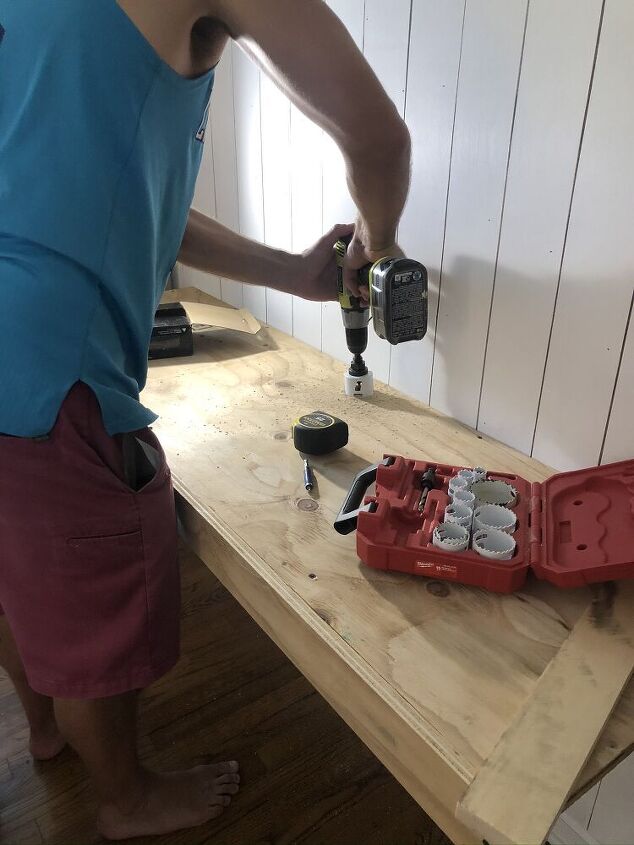
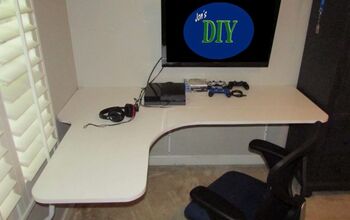
Once the desk was fully wrapped in the ply wood, we took a 2.5" hole saw and drilled three holes; one in the middle and one in either corner of the desk. this way I would have no wires running around the desk.
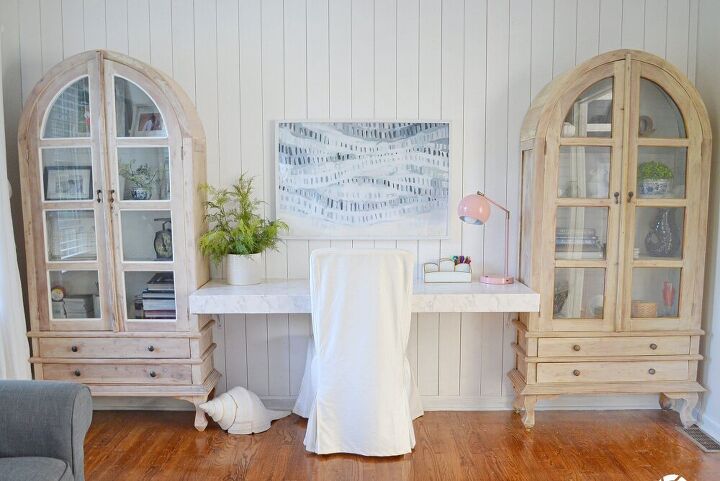
Now the desk was built! And I loved how it turned out!
I really didn't want to paint the desk, so I ordered this white marble look shelf liner to wrap the whole desk. This way it gave it a sleek look and took away the pain of painting it all!
I hope this was helpful, and that it inspired you to create a floating desk somewhere in your home! You could even use this to create floating shelves!
Resources for this project:
See all materials


Comments
Join the conversation
-
WOW! Absolutely beautiful and functional desk. Love how you accommodated for the wires so they do not droop and show [wires and cords can be such an eyesore].
Very impressive construction, good instructions and a nice, sleek, and simple look ... love it!
Thank you for sharing and inspiring! ⭐️⭐️⭐️⭐️⭐️
-
I'm inspired.


Frequently asked questions
Have a question about this project?
Lovely project. I’m curious where you got the two flanking armoires. I’ve been looking for the exact same style!
thanks in advance.
Susan
Your desk is really nice and the armoires are just gorgeous. Can you please share what work you did on them? Thanks
What was the total cost on this project? TIA
This was a great project... Great Job!