


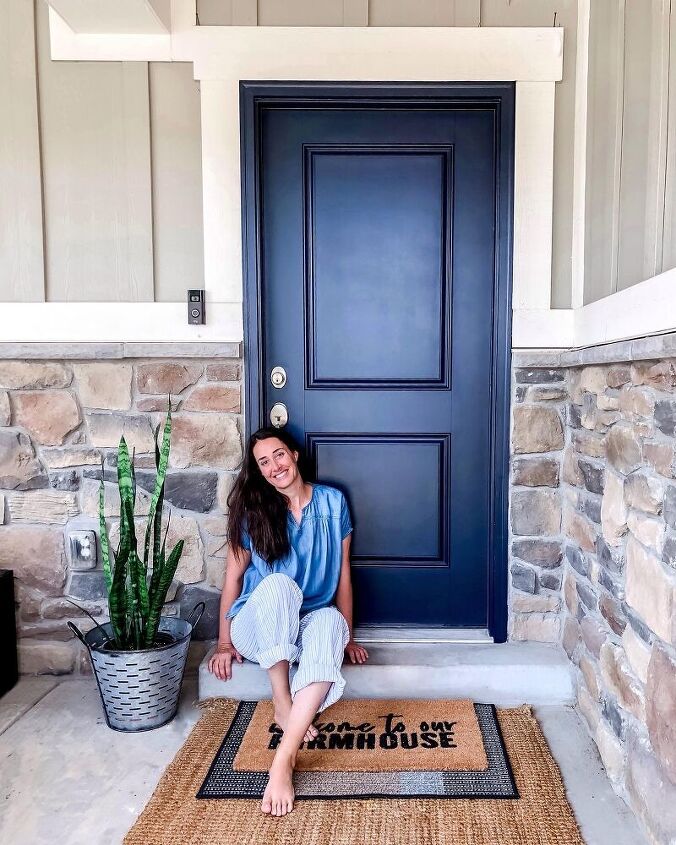
Paint Your Front Door in Just an Afternoon
With the right supplies and the best paint, you can refresh your front door in just an afternoon!
Getting started means gathering the proper supplies for this project. These are the most important. You want a paint that is designed for the outdoors and ultra fine paint rollers for the smoothest look.
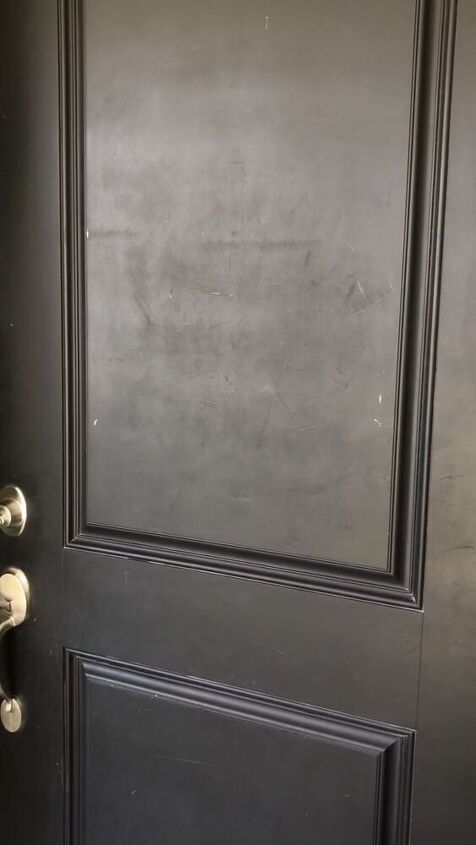
You will want to prep you door properly so the paint will adhere properly. First off, sand down any areas that are chipped with your fine sand paper. Then you will use the TSP cleaner to wipe down the door. Follow the directions on the back of the box (make sure to use gloves!). Do a final wipe down rinse with water and let dry.
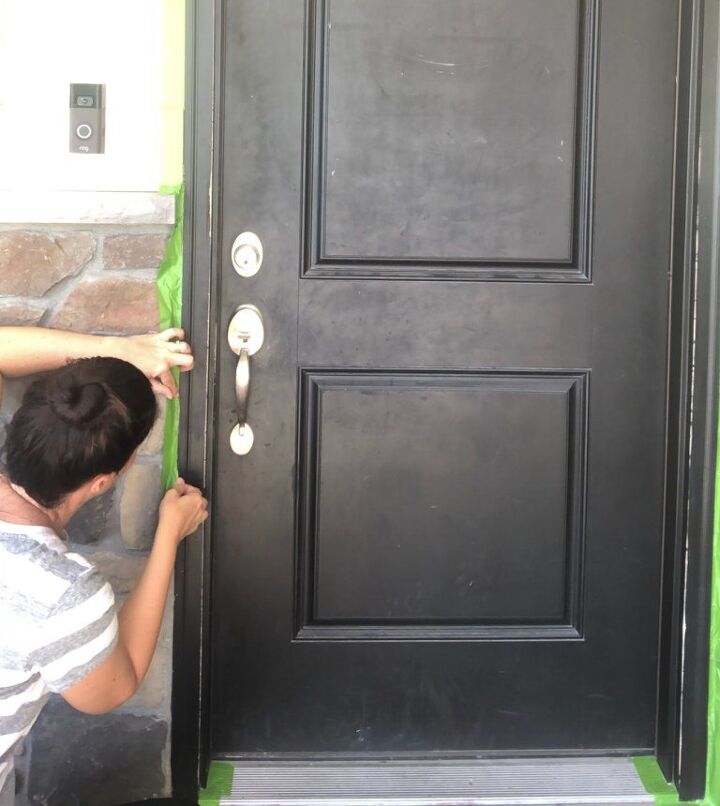
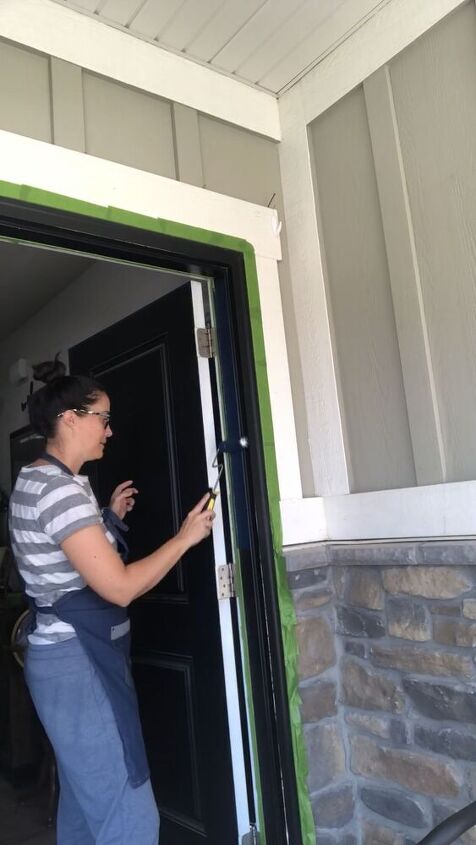
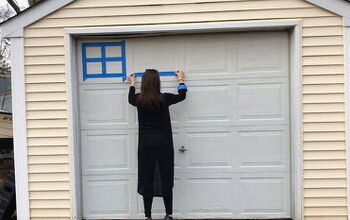
Taping is one of the most important steps. This will allow you to freely paint without leakage. I like to use Frog Tape and feel like it adheres really well. Take your time on this part and do it well.
Prepare your EVERLAST Exterior Paint by HGTV Home by Sherwin-Williams. This paint is about $25 a quart and you will need one quart for the project (two coats). This is a thick paint and goes on very smoothly.
I used the roller to do a coat on the frame of the door. It is a paint and primer and so you do not need a prep coat. You can get away with one coat as well, but I like it a little thicker, so I did two coats.
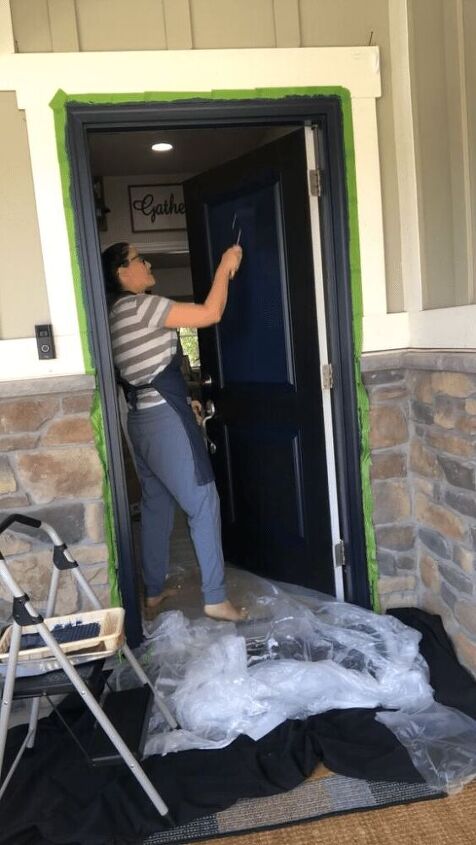
Then I painted the insets of the door with my Purdy 1.5 brush, taking care to make sure there was no bubbles. After this I rolled the rest of the door, starting at the top and going left to right in about 1 foot sections. You will cross over about 1 inch of paint when starting a new section.
In a warmer climate (check the paint can for details), the door will be ready for a second coat in 2-4 hours. If the weather is colder, you will need to wait 24 hours. Since my weather was warm, I was able to do another coat in the same day.
You can tape of the door handle, or if you choose not too, you can wipe off the paint with a baby wipe after the door is dry. Sounds crazy but it works!
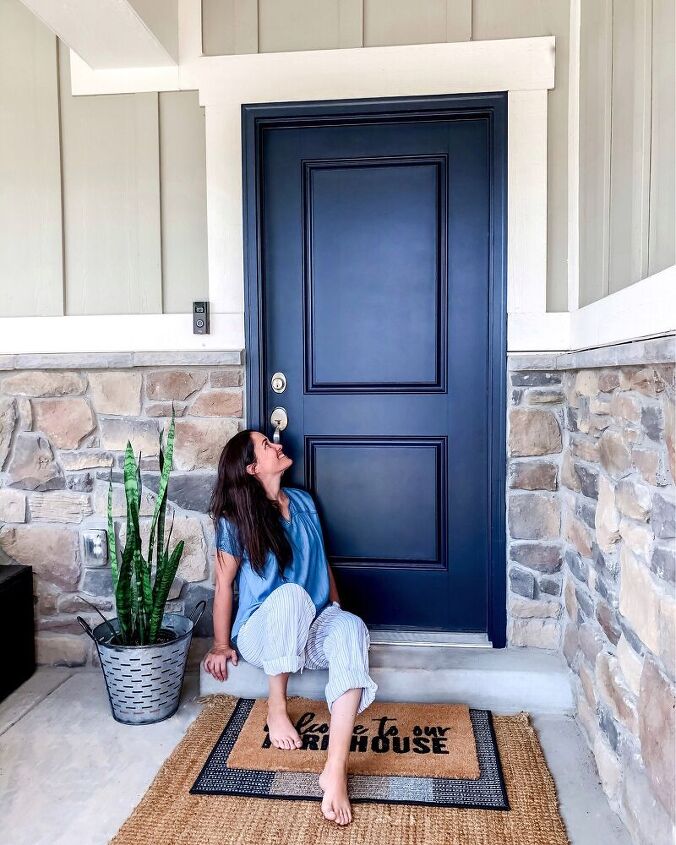
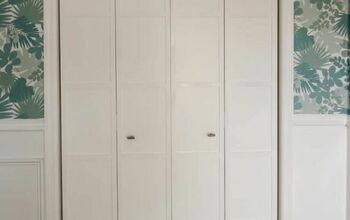
I kept my door open for 4 hours before I closed it, to make sure the paint was dry. I am so pleased how it turned out. Check out my blog to see all the details and links to this project! www.citygirlmeetsfarmboy.com and search DOOR
Resources for this project:
See all materials


Comments
Join the conversation
-
Looks good, Great job😀
-
What a coincidence! I used the same paint and color several months ago for my door! It may cost a little more but in the long run it’s worth it. Was told it will last for at least eight years!


Frequently asked questions
Have a question about this project?
Does anyone know the color?
What color did you use?
Did you brush around the moldings? My door is not flat and I don't know if a roller would work.